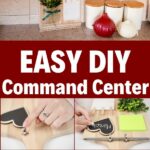
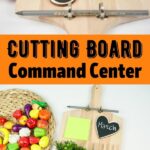
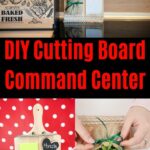
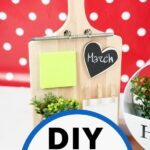
Recently, I came across a ton of cutting board crafts in a crafting group. This fun little upcycled wooden cutting board command center was inspired by some of those projects. I combined a few of my favorite crafting supplies and turned this inexpensive board into a great addition to my kitchen. If you are looking for a wonderful housewarming gift - this is it! Practical and lovely, make this as a gift or decoration for your office or kitchen.
Jump to:
Upcycled Wooden Cutting Board Command Station
Cutting boards are more than just kitchen tools, they are like an artist's palette. This blank space is ideal for turning into anything you want to make it. Of course, I have had many cutting boards in my kitchen through the years, but this is the first one used as a command station. I just adore how it blends into the kitchen counter space so easily and doesn't make anything look cluttered.
This command center makes getting organized a breeze where you can create your grocery list or write an important message. Decorate this wooden cutting board in the same colors as your room or create it with a seasonal feel or your favorite colors. There are tons of ways to customize this.
Can I Add Different Things to My Cutting Board?
I have kept this command center a bit on the basic side. Even though I added only a few items, you can add whatever you like or need. Instead of the burlap flower holder, you can add a family picture, something to do with your favorite animal, or an inspirational quote.
Consider how you will actually use this command station. Will it only be for holding grocery notes or shopping lists? Perhaps you'll use it to hold mail or even as a place to put notes for the kids. You can update it to be useful for whatever your needs may be. It's just a great way to help keep your kitchen orderly all while adding your own personality to the kitchen.
Can I Paint This To Match My Home Decor?
Of course, you can paint this any way you want! I love the idea of adding tons of details to the cutting board to suit different home decor styles or themes. Whether you use paint, paint pens, stencils with designs, or even your Cricut vinyl cutter to add a quote or monogram, it doesn't matter. Simply add a different color to really personalize your command center.
I found acrylic paints to be the best option for this for easy painting, but you can use any paint you have lying around. You could even use leftover paint from a home remodel!
What's the Best Way to Hang This?
If you decide to hang this command center on the wall, you'll want to add a nail or screw for the board to hang from on the wall. Some cutting boards already have a hole in the handle like the one I used. If this is the case for you, then you can hang it on any hook you have on the wall. It may even work with a simple command hook.
Another option if you do not want to hang the board is to prop it up on the desk. You can use a frame holder or frame easel to hold the board in place and prevent it from slipping. This is a great way to make it look a bit more like decor and less like a functional memo pad in your kitchen or office.
Supplies Needed
- Wooden cutting board
- Burlap
- Lace ribbon
- Satin ribbon
- Chalkboard paper
- Wooden heart
- Clothespins
- Memo pad
- Sticky pad
- Ring hooks
- Greenery or small potted plant
- Pen
- Scissors
- Hot glue gun
- Glue sticks or glue rope
How to Make a Cutting Board Command Center
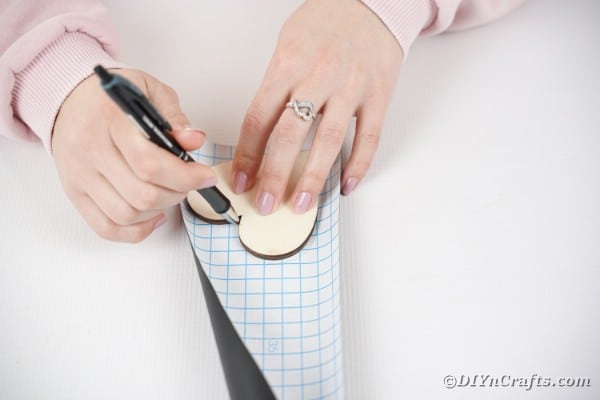
Start by placing your wooden heart on top of a piece of chalkboard paper and tracing around it then cut out that heart.
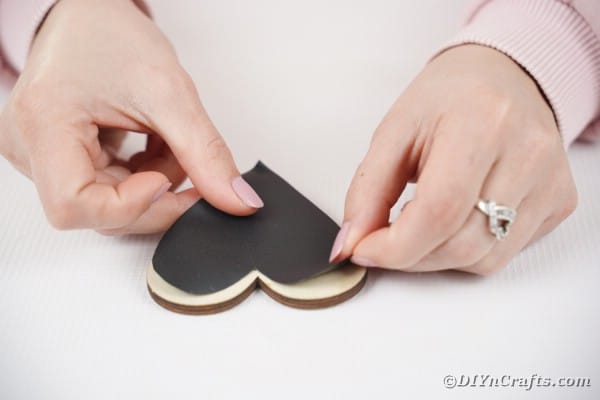
Remove the backing from the chalkboard paper and press it down onto the wooden heart.
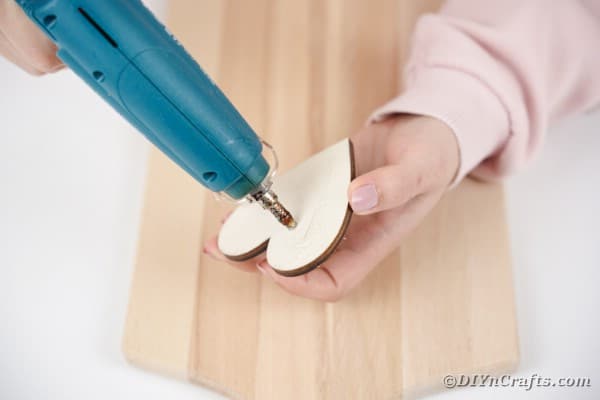
Glue the wooden heart wooden side down onto an upper corner of the cutting board near the handle.
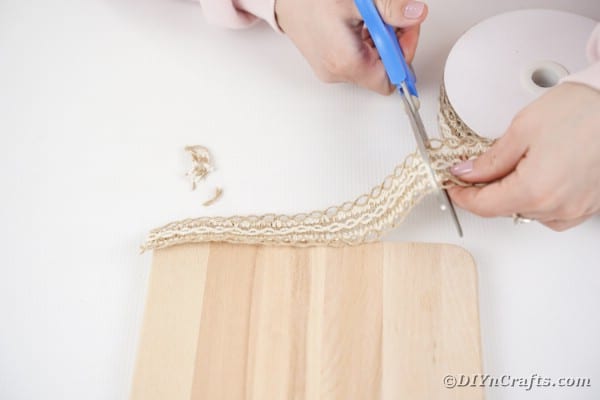
Now, cut a strip of burlap or burlap lace the length of the bottom of the cutting board and glue it to the bottom as a simple decoration.
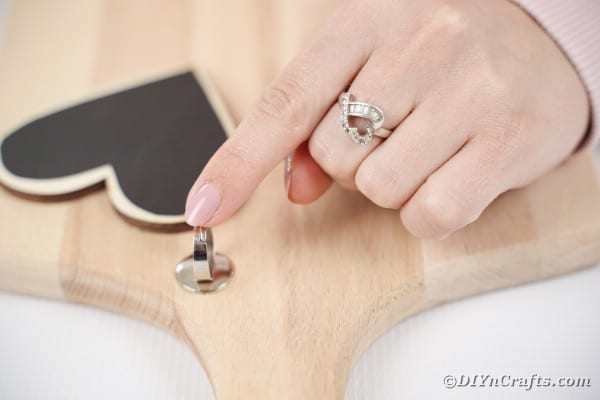
Attach two circle hooks to the top of the cutting board just below the handle. These may require you to drill a hole to screw them in place. This is just to hold the pen, so it can be glued in place if easier.
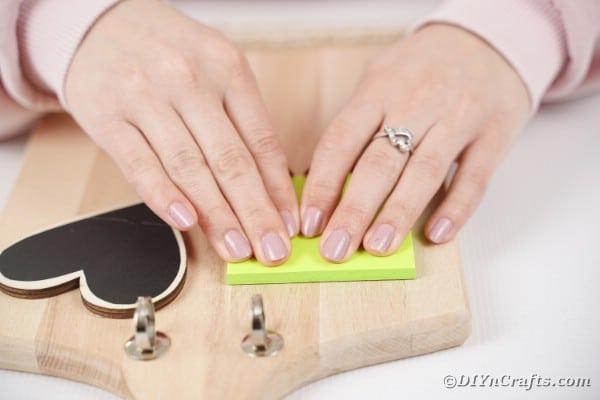
On the side opposite the heart, glue a sticky pad.
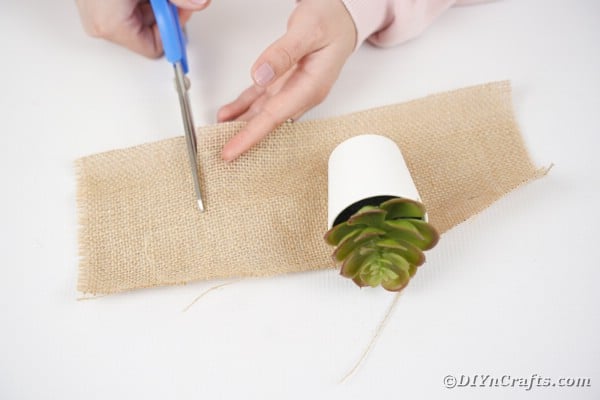
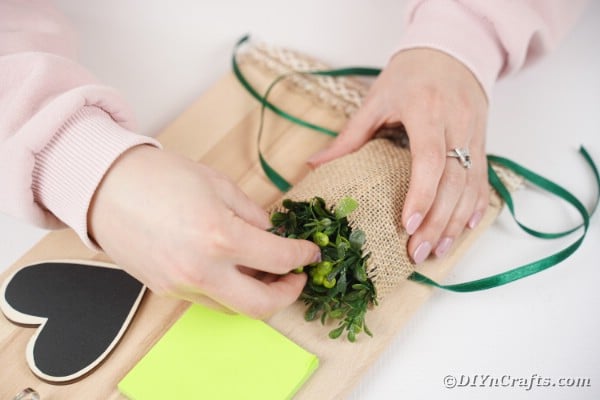
Next, you will create a pouch using the burlap to fit on the bottom of the board to hold your flower. I used a small potted plant for this, but you can add fake or real flowers, greenery, or a succulent. Cut the burlap into an 6"-8" length depending upon how large you want the pouch.
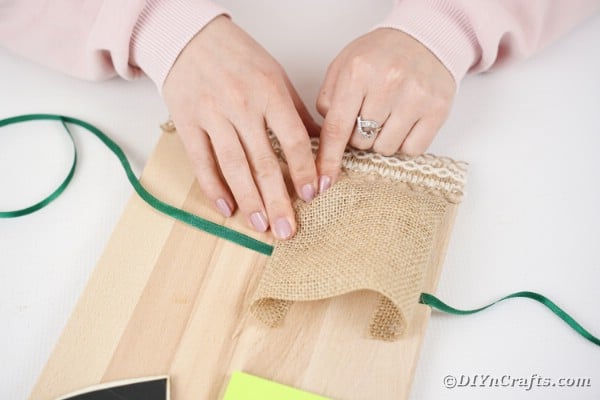
Glue a length of satin ribbon onto the board where you want your flower pouch. Then glue one side of the burlap down on one edge, making sure there is a good amount tucked under to create a fold.
Glue the bottom and two sides, leaving the top open for your flower.
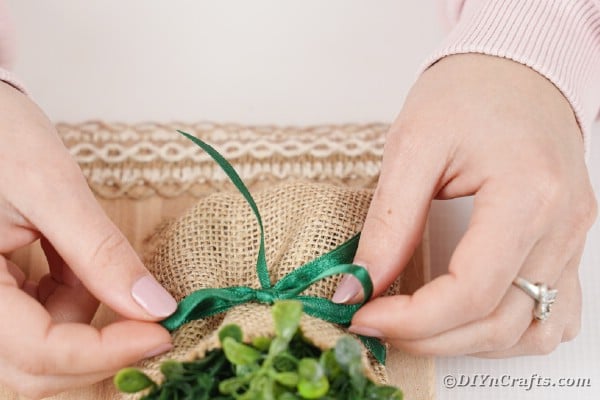
Put your flowers or greenery inside the pouch, then pull the ribbon up and tie it to form a bow in the center.
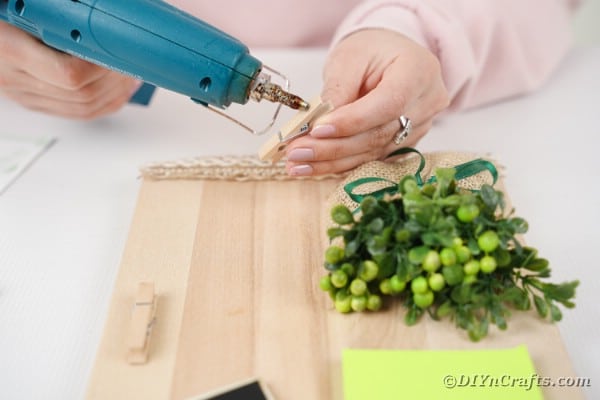
Now, you will glue 3-4 clothespins on the opposite side from the flower pouch.
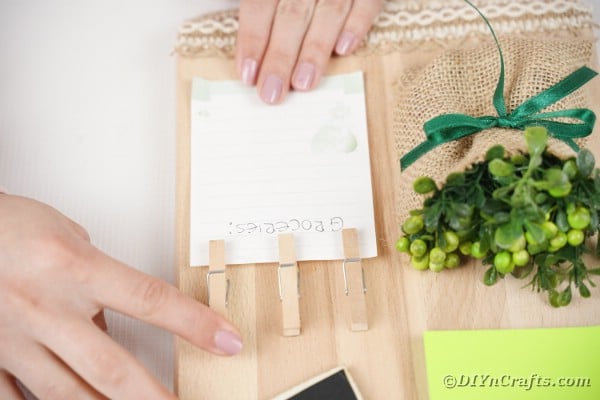
Now, attach a small notepad to them.
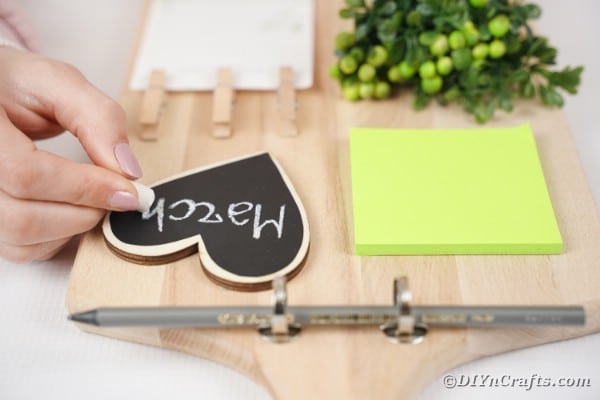
Slide a pen into the hooks and write a small message on the chalkboard heart if you want.
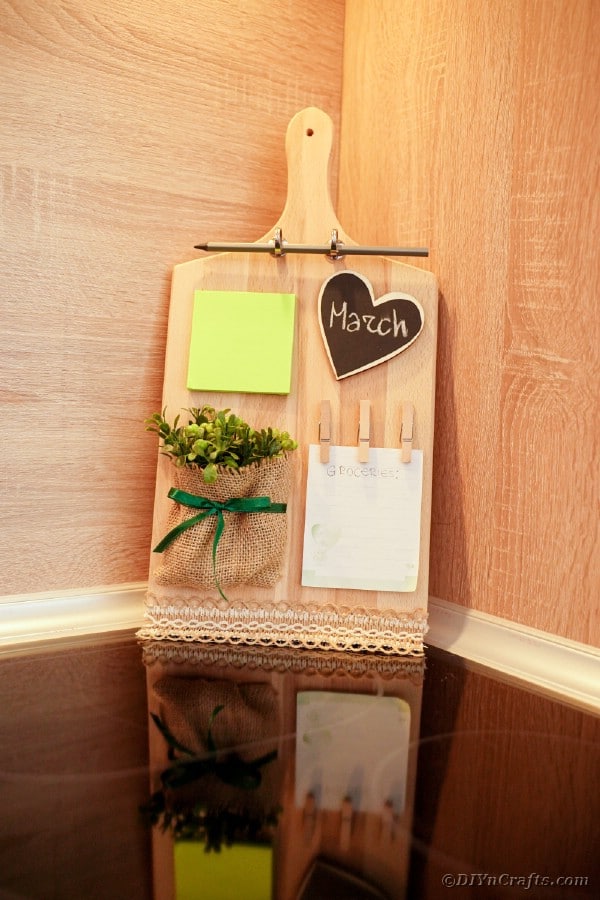
Place your upcycled cutting board on the kitchen cabinet to use as needed for keeping track of groceries.
I love the idea of a command station to help keep me organized. There are tons of ideas out there for ways to create something that works for your family. Here is a homemade wall organizer using fabric and an old picture frame. You might also like this little homework caddy that is ideal for helping keep kids pens and pencils together for school time.
I also love this cute little owl messenger project to go on the refrigerator. You might also love this huge list of DIY refrigerator magnets! So fun to add to your kitchen, and they are great for holding up those notes to your husband about grabbing milk on the way home from work.
Crafter's Tip
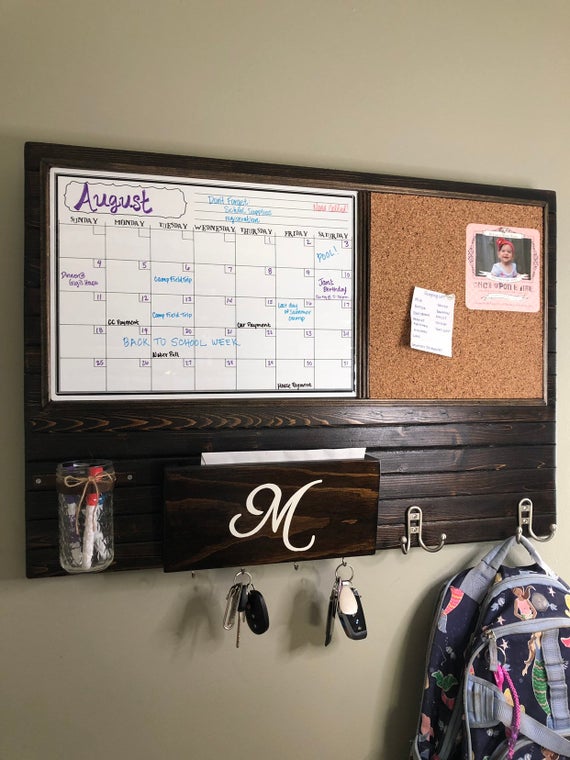
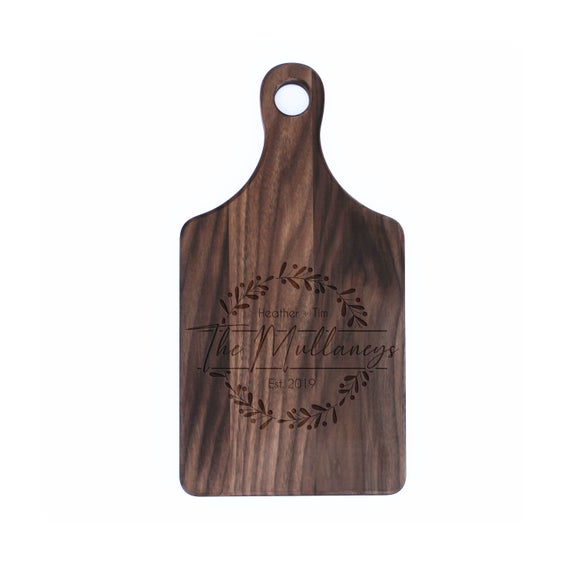
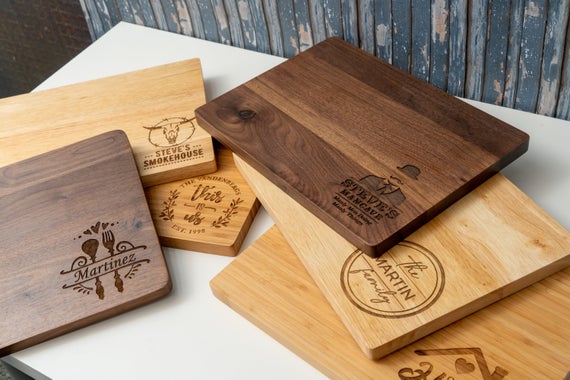
If you want to add some extra special customization to this project, grab one of these monogrammed wooden cutting boards I found on Etsy. There are dozens of options for adding a unique message or monogram.
Rustic Upcycled Wooden Cutting Board Command Station
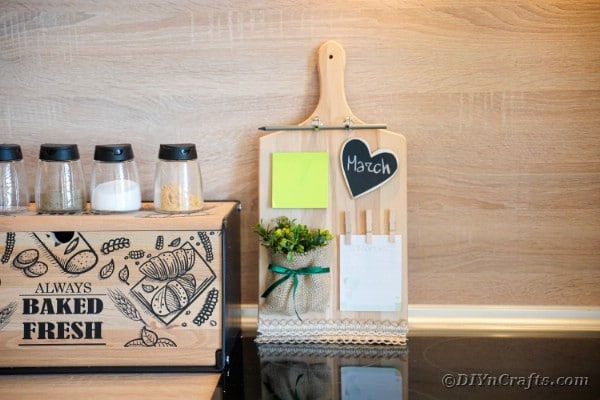
Grab a cutting board and turn it into a beautiful functional wooden cutting board command station! A perfect addition to any kitchen counter!
Materials
Instructions
- Use your wooden heart as a template to trace and cut out a heart from chalkboard paper;
- Attach the chalkboard paper to the heart;
- Glue the heart on one side of the upper half of the cutting board;
- Cut and glue a length of burlap lace to the bottom edge of the cutting board;
- Glue a stick pad on the top opposite side from the heart;
- Attach two circle hooks to the top of the cutting board right below the handle;
- Cut a 6"-8" length of burlap;
- Glue a length of satin ribbon to one side of the bottom half of the cutting board so that the middle is attached but the two ends are loose;
- Now you will glue the burlap in place so that it creates a pocket with 3 sides glued in place and the top open;
- Tuck your flower inside then tie the ribbon around the flower into a bow;
- Glue 3-4 clothespins to the opposite side of the cutting board;
- Attach a small notepad to the clothespins;
- Stick a pen through the hooks at the top;
- Now you can display your cutting board on your kitchen counter.
Notes
Paint or add ribbon to this to create a different look that fits the rest of your home decor.
Recommended Products
As an Amazon Associate and member of other affiliate programs, I earn from qualifying purchases.










Leave a Reply