Aside from cheesecake, I believe flowers may actually be my one true love. These handmade paper flowers, well, they are stunning and so easy to make! Easy enough most kids could do them, and pretty enough you'll leave them out to decorate year-round. Just what I want when I sit down for a simple project on a weekend! Grab your colorful paper and follow my tutorial to make some of your own.
Jump to:
Handmade Paper Flowers
While I love a freshly cut flower, I'm no snob when it comes to something pretty. These paper flowers are definitely a pretty addition to any room. I've used these for a number of projects over the years, but just by themselves, I find them positively lovely.
If your kids are good at cutting and folding, then this is definitely a paper project they can create. I always love it when I can get my sons involved with crafting. Seeing their creations come to life is almost as much fun as doing it myself. A simple paper flower is one of the first things I taught them to create. They loved being able to make one for me and surprise me by placing it on my desk.
I'm no stranger to making paper flowers. In fact, I've made probably thousands in my lifetime. These decorative paper flowers are another take on cutting and rolling or folding paper into a flower. I've even made homemade pom pom flowers bouquets. So easy, beautiful, and fun to make!
What's the Best Paper for Making Flowers
For this fun flower, you can use truly any paper except for tissue paper. I have some tissue paper flowers if you want to try that project instead, but I prefer a craft paper for this idea. Cardstock is a bit heavy but can be used if it is all you have on hand. I used basic colored craft paper and my sons always used construction paper.
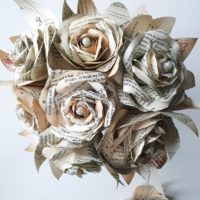
For a different look, you could pick up some patterned scrapbook paper to use for this idea. It wouldn't have a natural look, but it would still be a great choice for making them look unique. I especially love the idea of using colored papers for adding these to gifts!
Paper isn't the only thing to make flowers with! I recently made these painted upcycled paper roll flowers, and a few months ago made orange flowers. Creativity is all that is missing if you want to make flowers. There are tons of ways including these beautiful fabric flowers!
How Can I Use These?
It would probably be easier to say how you can't use them. They are truly one of the most versatile paper flowers I have made. Since they only need paper and glue to create, you can make them anytime and anywhere. Plus, they are easy to add to a number of projects. Below are a few ways I would use these flowers.
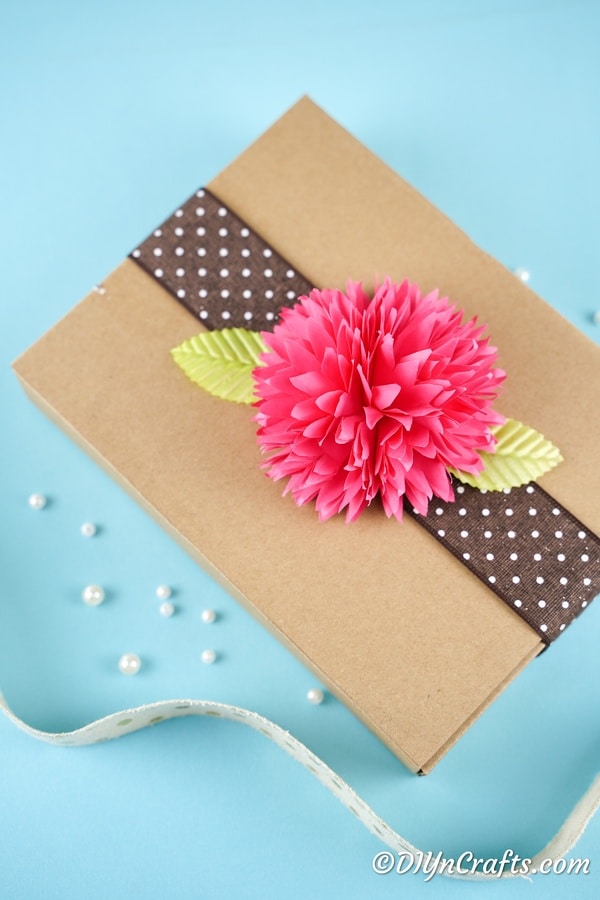
- Attach in place of a bow on gifts.
- Glue onto a wreath frame to create a multi-colored flower wreath. This floral wreath is a fun idea to get you started.
- Add to a length of floral wire and create a bouquet to display in a vase.
- Glue to a basic napkin ring for a fun flower addition to a dinner table. They are great to go along with these napkin folding techniques.
- Place on a serving tray with artificial greenery as a bright flower centerpiece. You could even use this easy upcycled picture frame tray!
- Glue to a barrette for a simple hair accessory (probably only use a few times, but still pretty).
- Drop on top of glass beads in a large glass vase or jar for a centerpiece.
Supplies Needed
- Colored paper (I chose pink)
- Craft glue
- Scissors
- Pen
How to Make Handmade Paper Flowers
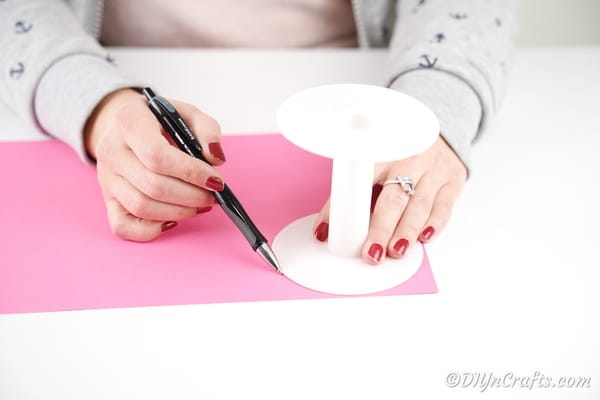
Using a round bowl or cookie cutter, trace circles onto your pink craft paper. You will need 10-12 circles about 3" across for this project.
Cut out the circles and set them aside.
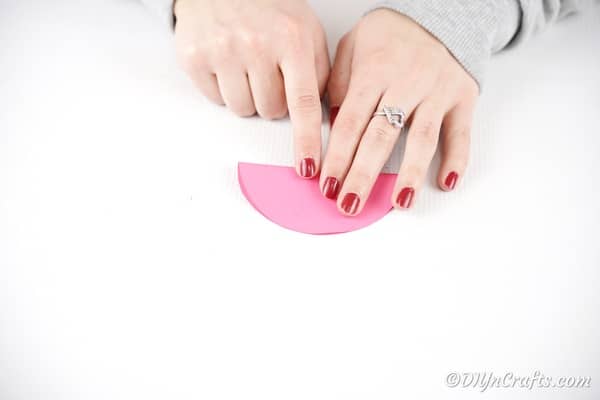
Now, you will take a paper circle, and fold it in half.
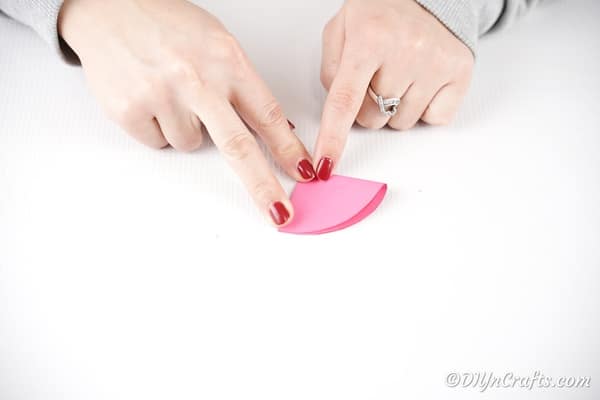
Fold it in half again.
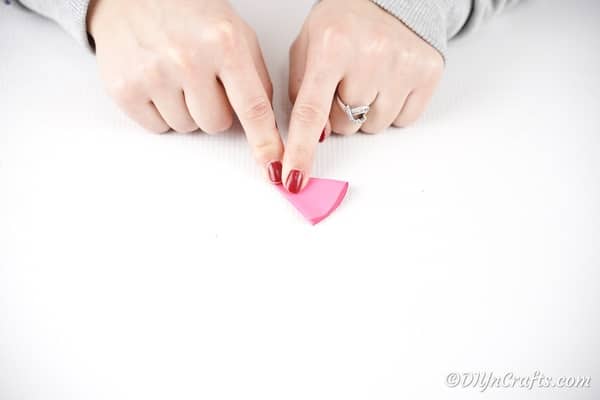
Then, fold it in half one more time.
Now, use your pen to trace a pattern around the rounded edge. I added little "v" shapes.
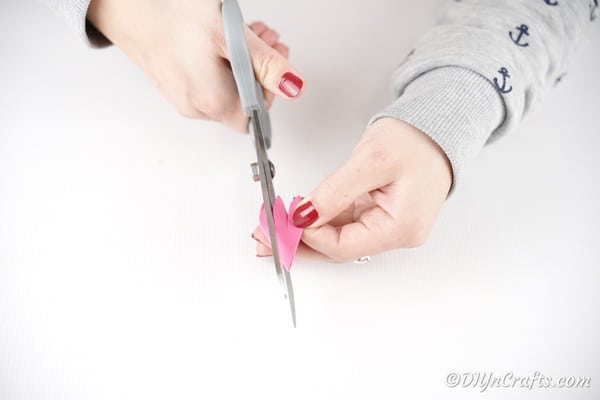
Cut along the pattern removing bits of paper around the edges to create a flower slightly pointed edge pattern all around the circle.
Repeat this process on all of the circles.
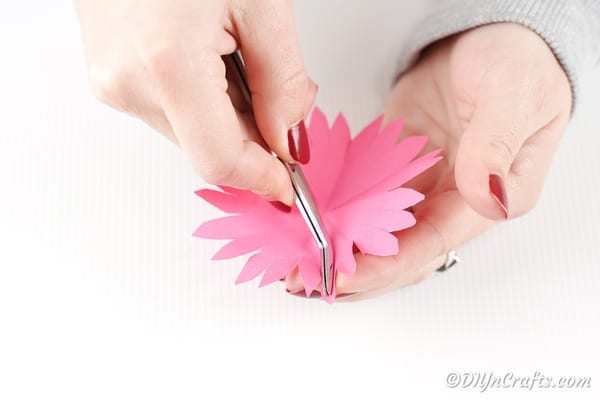
Now, take one circle and unfold it. You will then use a pencil, tweezer, or knife to "crimp" around the edge, going back and forth with the folds so that it has a rippled effect.
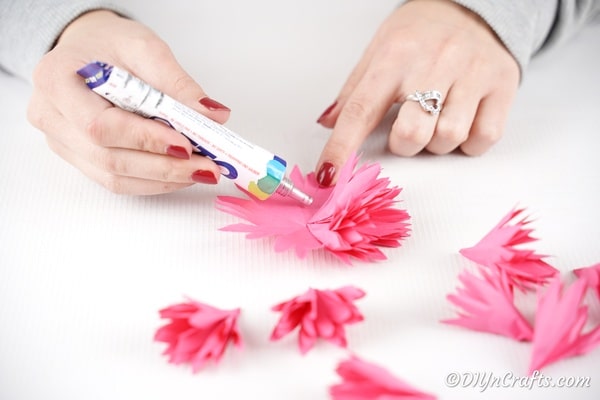
Lay this piece onto your work surface, then begin gluing the other folded pieces onto it.
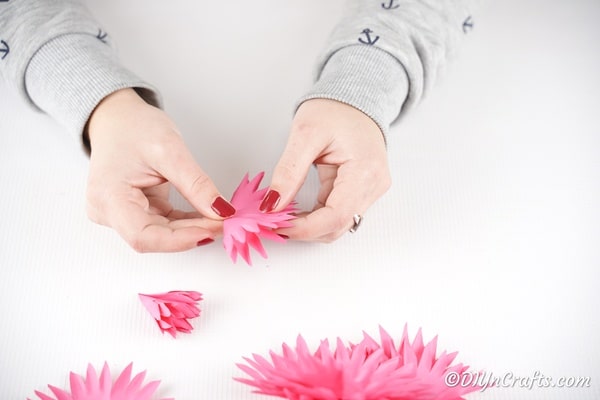
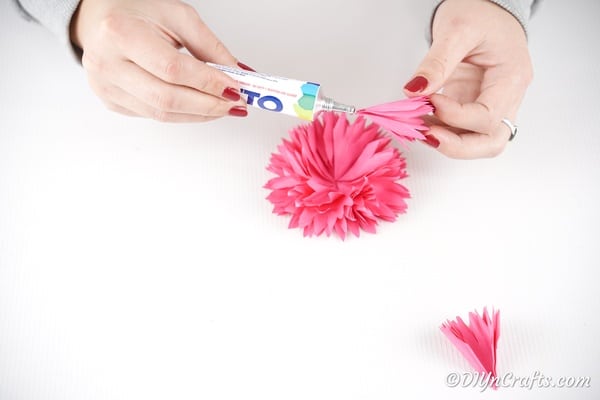
Unfold each paper piece and glue it into the center of the one before it, as shown.
Add one final folded piece to the very center, and fluff the pieces as desired.
Glue on a gift, attach to a wreath or simply share as part of a centerpiece.
Youtube Video Tutorial:
Crafter's Tip:
If you prefer, you can use a cutting machine like a Cricut, or even a specialty round paper cutter to cut out your circles. This may save some time if you plan to make a large number of these flowers.
Feel free to mix and match colored paper within the same flower for a verigated look. This definitely adds more life to your flowers. Especially when using a darker tone paper on bottom layers and a lighter color on top. Since I make so many paper projects like this, I always grab my multi-colored craft paper from AdornIt on sale. They have amazing paper collections with tons of patterns and colors that I can't find elsewhere at the affordable price. If you aren't currently shopping for paper, I recommend signing up for their email newsletters that announce sales.
For the kids, I always grab construction paper in bulk on Dollar Tree online. Easy and affordable right to my doorstep.
Beautiful Handmade Paper Flowers
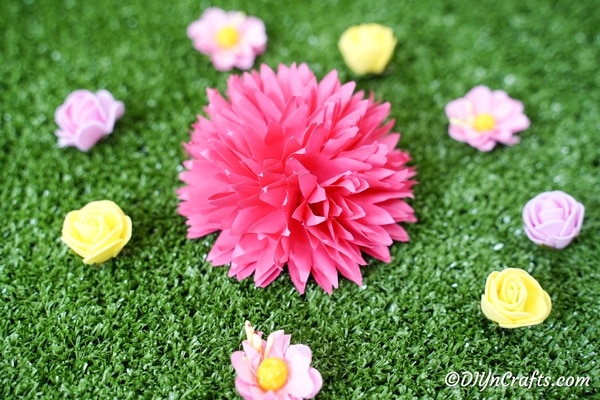
Follow this simple step by step tutorial for making handmade paper flowers beautiful enough to display as a centerpiece or use as a bow on presents!
Materials
Tools
- Scissors
- Craft glue
- Pen
Instructions
- Trace and cut out 10-12 circles about 3" across and set aside;
- Take one circle, and fold it in half;
- Fold it in half again;
- Then fold in half one final time;
- Now, you will trace and cut around the rounded edge a "v" or rounded "u" shape to create the edges of the flower;
- Repeat this process with all of the circles;
- Now, you will unfold your first circle, and using a knife or folding tool, crimp the folds so that they fluff up as shown;
- Now, unfold your circles and glue them together stacking on top each other and gluing in the center;
- Once you have all but one in place, you will leave the final circle folded and put into place in the center of the flower with glue;
- Display or use as desired. centerpiece.
Notes
Mix and match colors of paper to create beautiful unique variegated patterns.
Recommended Products
As an Amazon Associate and member of other affiliate programs, I earn from qualifying purchases.


Leave a Reply