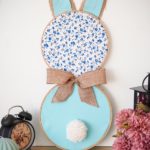
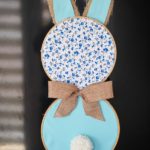
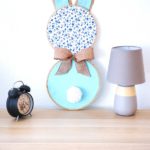
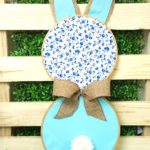
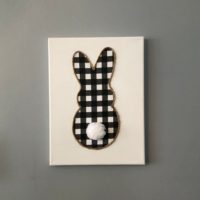
How adorable is this Easter bunny wall art decoration? I love how cute and so easy this is to make. It's a great addition to any room to help decorate for Easter and springtime.
Jump to:
Easter Bunny Wall Art
Easter bunnies are an iconic symbol of springtime and new life. This adorable bunny is a super easy and fun idea to add to your home decor for Easter. I love that it can be made so fast, and mostly, that it fits my love of farmhouse rustic styles.
While this wall art is something that is easy enough for most kids to create, I find this to be more for adults to create. The different steps take a bit more precision, and working with fabric can just be frustrating for kids. For this project, you can have fun personalizing the bunny for your home decor, and that makes it another great choice for any home.
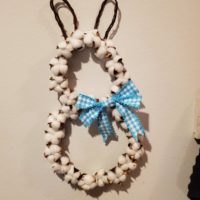
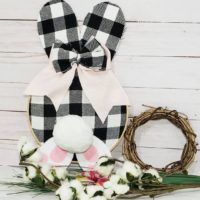
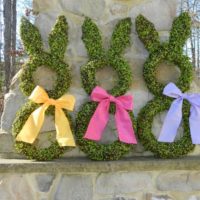
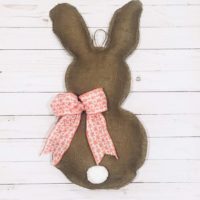
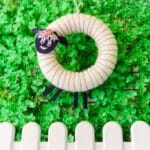
Make sure you also check out our latest Easter bunny wreath tutorial for another fun idea. You might also like this bunny shaped wreath that is super rustic and reminds me of springtime.
Can I Use Different Colors Fabric?
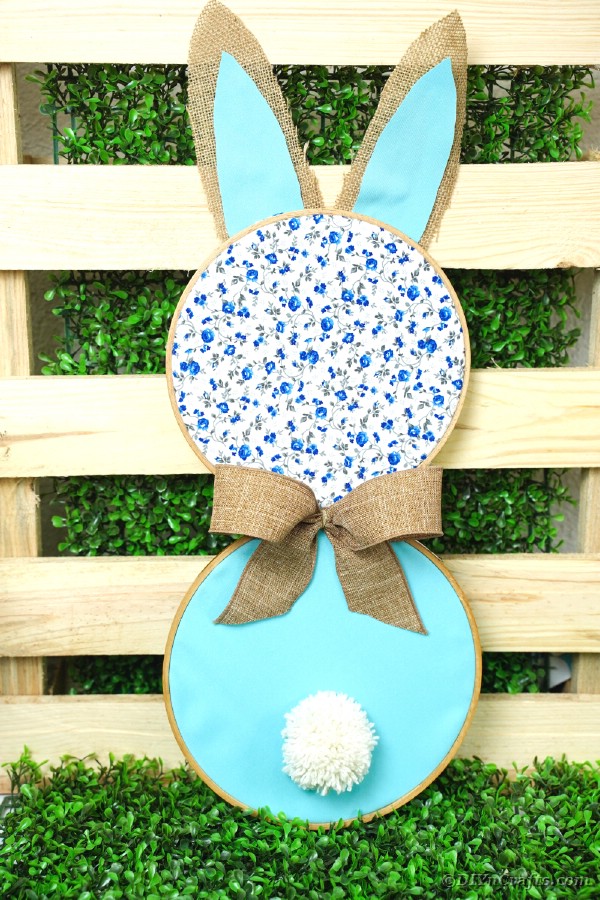
Of course you can! I love this beautiful blue floral fabric, and the light blue paired wonderfully. You can choose any color or colors you prefer. I think it looks great with two options. Having one pattern and one solid color gives this a bit more pop when hung on a wall. Of course, if you prefer to use all solid-colored fabric, that will look just as beautiful.
I used burlap for the bow and ears as it has that rustic farmhouse appeal that I love. You could use any thick ribbon you prefer for these needs. Match your home color scheme, party decor colors, or just your favorite springtime colors.
I love this wall art hanging above this little upcycled flower pot bunny or even this fun Easter bunny pallet project alongside this yarn bunny bunting.
How do You Hang this Easter Bunny?
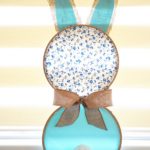
Since this uses embroidery hoops to create the bunny, it is super easy to hang from the wall. You can simply add a nail or a Command hook and slip it onto that. If you prefer, you can attach ribbon or string to either side of the back of the embroidery hoop, then hang it from a hook on the wall.
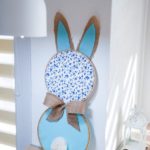
Other ways to display it include propping against your mantle, sit it on a bookshelf, prop on top of a dresser in your bedroom, or sit against the wall above the buffet in your dining room. It's so cute and easy to display!
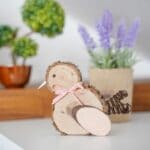
I love these little burlap covered wooden bunnies, and think they would look adorable next to this! Add that next to this party ball turned into a bunny, and you have a wonderful Easter display for your mantle.
Supplies Needed
- Embroidery hoops
- Fabric
- Burlap
- Burlap ribbon
- White yarn
- Scissors
- Hot glue gun
- Hot glue sticks or hot glue rope
- Needle
- Thread
How to Make Easter Bunny Wall Art
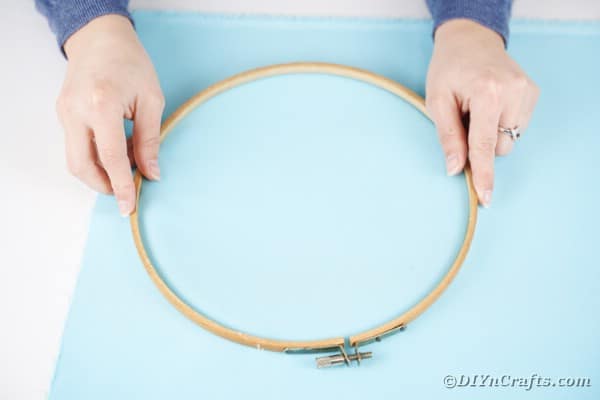
Start by measuring your fabric to fit in the embroidery hoop.
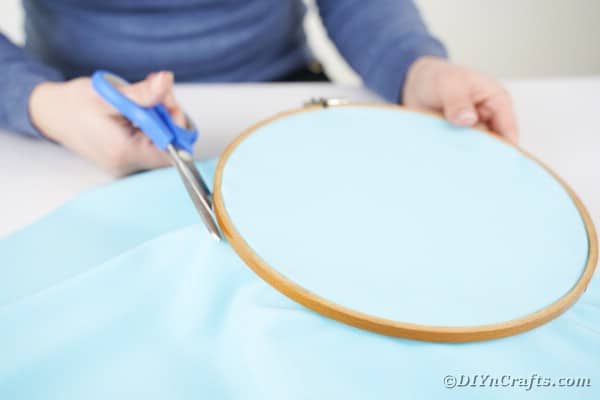
Place the fabric inside the embroidery hoop and trim off any excess.
Repeat this process for both hoops.
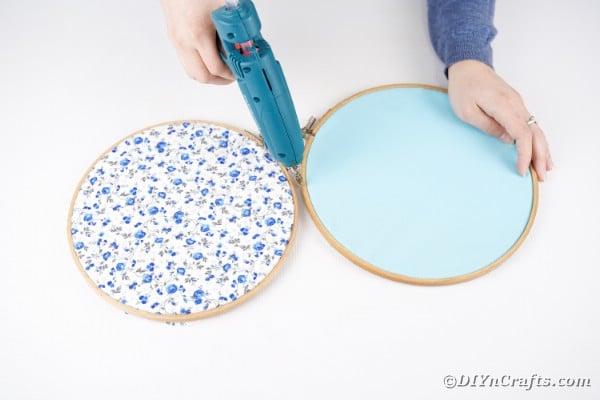
Now, you will hot glue the two hoops together, one on top of each other.
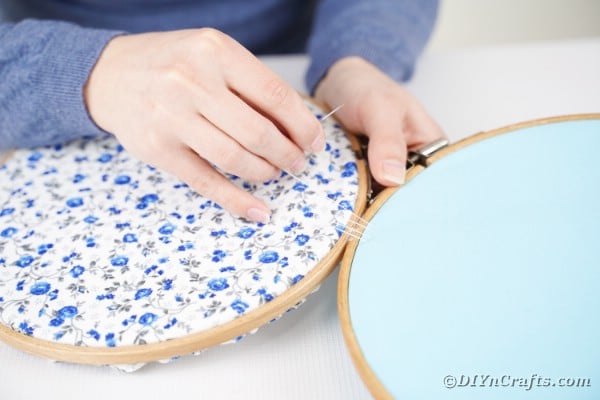
After you have glued them together, use a needle and thread to sew them together with a few stitches, as shown below.
Wrap the yarn around your hand and create a pom pom for the bunny tail.
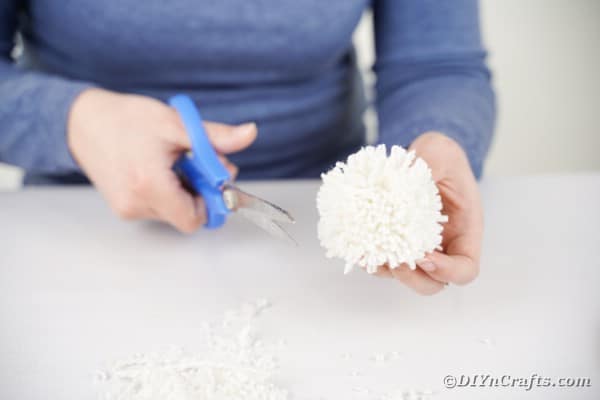
Trim the edges of the yarn pom pom to make it a nice fluffy tail.
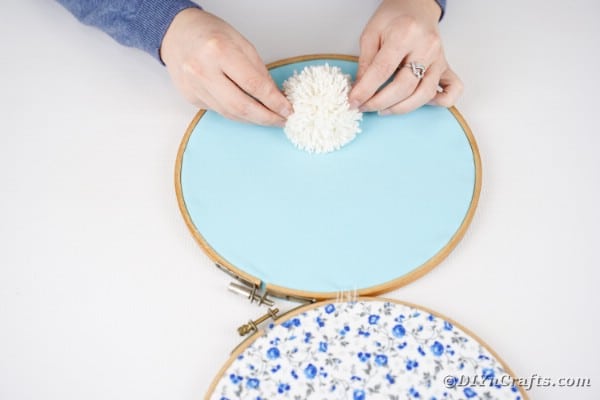
Glue the bunny tail pom pom in place.
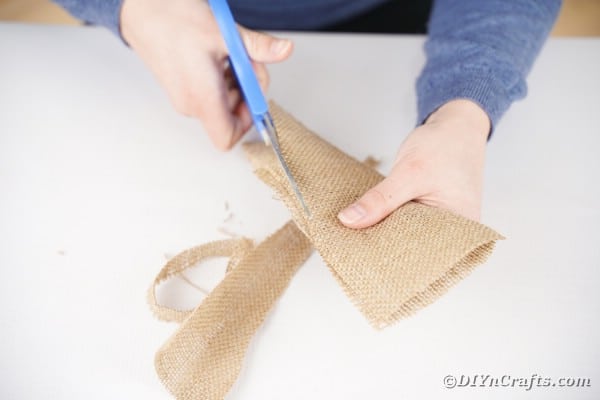
Next, you will cut two large ear shapes from burlap.
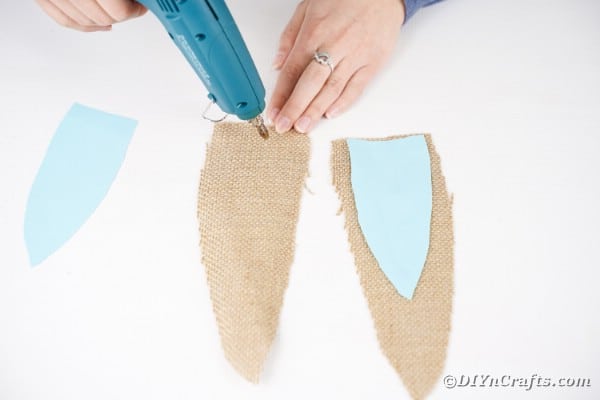
Cut two slightly smaller pieces of fabric to fit inside the burlap ears and attach them with glue.
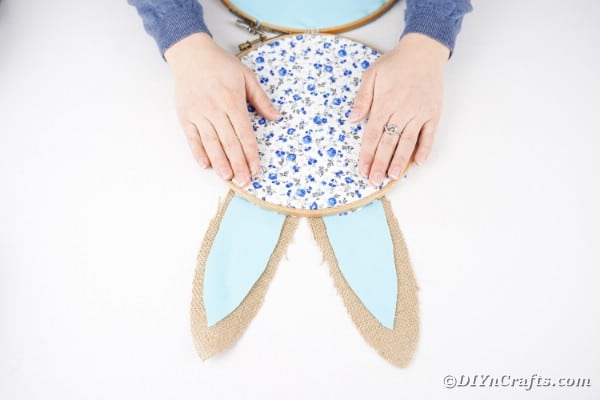
Attach the ears on the back of the top embroidery hoop with glue.
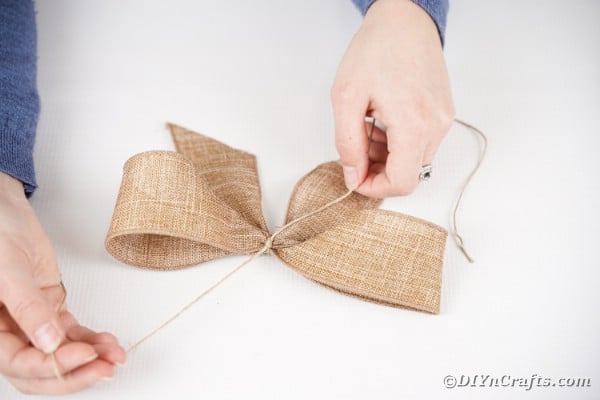
Using burlap ribbon, create a bow for the bunny.
Glue the bow in place, covering the seam between the two embroidery hoops.
Display the bunny on a wall or your mantle.
Crafter's Tip
Pick up scrap fabric at your local fabric store or fabric bundles on Etsy to keep on hand for projects like this. They are excellent for small projects where you don't need large amounts of matching fabric pieces.
Cute DIY Easter Bunny Wall Art Decoration
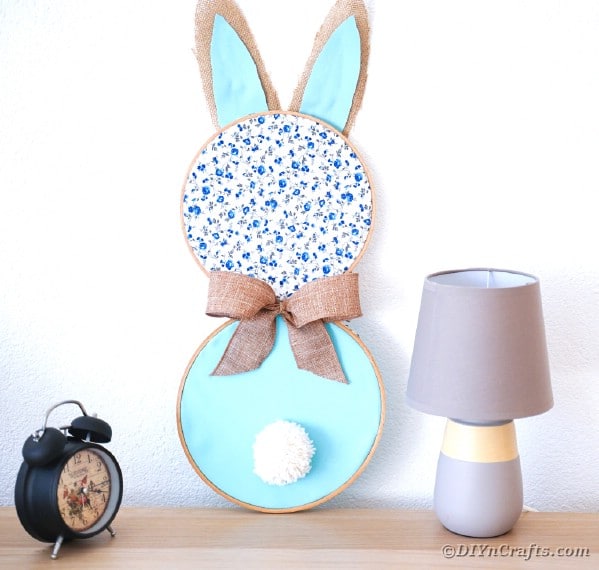
Create this beautiful bunny wall art using just embroidery hoops and fabric. This step by step tutorial makes this a fun and easy Easter decoration project.
Materials
Instructions
- Measure the fabric and cut to fit inside your embroidery hoops;
- Place the fabric inside the hoops, and trim off any excess;
- Repeat this process with both hoops, then glue the two hoops together with hot glue to form a bunny shape;
- Using needle and thread, secure the hoops together with an extra layer of stitching in the middle;
- Now, you will make a yarn pom pom for the bunny tail by wrapping yarn around your palm, sliding it off an tying in the middle, then cutting the loops on each side to fluff out into a ball;
- Glue the pom pom on the bottom hoop to form a tail;
- Next, cut two large ears shapes from the burlap;
- Cut two slightly smaller ears from your fabric;
- Glue the fabric ears onto the middle of the burlap ears;
- Attach the ears to the back of the top embroidery hoop;
- Now, you will make a bow out of burlap ribbon and glue to the middle of the hoops to form a bow-tie for the bunny;
- Hang on the wall, sit on the mantle, or display!
Notes
You can use any combination of fabric or burlap for this project to suit your style and decor styles.
Recommended Products
As an Amazon Associate and member of other affiliate programs, I earn from qualifying purchases.






Leave a Reply