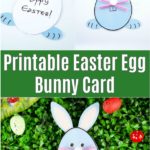
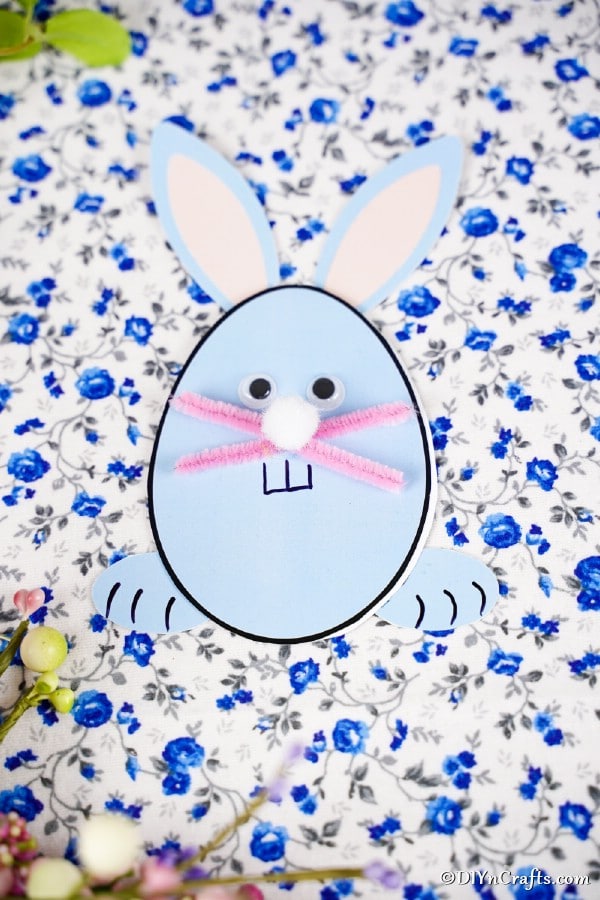
When you are looking for the cutest Easter Bunny Card, look no further. This easy printable egg Easter bunny card is the perfect starting point for the best Easter card you will make. Starting with the basic shape, let the kids go wild, creating their own cards with no end to the possibilities.
Jump to:
Egg Shaped Easter Bunny Card
There is nothing that says Easter more than the bunny. In this case, the kids can create their own Easter bunny cards and then use them as presents to give to family and friends or to decorate their rooms. This Easter bunny craft is great for a simple afternoon craft, an Easter get together, or after dying Easter eggs.
You'll love this printable Easter cupcake topper as another addition to your spring traditions. I like to add them to this cute little vanilla glazed mini cupcake to serve the kids while they are making these DIY cards.
What Other Options Can I Use for Whiskers?
When you are making the whiskers for the bunny card, you can use anything you like. You can draw the whiskers on for the easiest option if you are in a hurry. Alternatively, you can get creative and use different craft supplies. You can glue paper on as the whiskers or use your imagination and some of the ideas listed below instead.
- Leather strips: Leather strips will add a fun dynamic to the card. It adds texture and a unique quality.
- Pipe Cleaners: Pipe cleaners or chenille sticks can be cut in half and then glued into place. There are many different styles and colors of pipe cleaners available. This makes it easy to create a different look by twisting them into spirals before gluing them on.
- Toothpicks: Using toothpicks, kids can glue them on as is or paint them different colors.
- Q-Tips: The fluffy end of the Q-tip will look cute as the ends of the whiskers.
- Yarn, String, or Embroidery Floss: You can't go wrong with this crafting staple. It is easy to use, and kids love to glue string to paper.
If you need more fun things to keep the kids busy, check out my list of Easter crafts for kids and toddlers. You could also put them to work making these cute paper birds or even teach them how to upcycle a paper lantern into an Easter bunny.
Can I Use Stickers for the Mouth & Eyes?
There are so many fun and easy ways to make the mouth and eyes for the bunny card. My favorite method is drawing them on, but if you aren't very good at freehand drawing then use what you are comfortable with for this. Another easy method is to use something like googly eyes to give your bunny a different look.
Stickers are a fun option to make the mouth and eyes for the bunny. If you have a Cricut, you can use this cute eye SVG file to make your own homemade stickers on sticker paper. This is great if you want to give each of your bunnies a slightly different look.
Get creative with the stickers by using some that are glittery, some that are different colors, and some that are basic shapes. Kids can mix and match styles and designs to make each card look different.
They can even add some of those leftover stickers to this simple paper Easter bunny craft!
Supplies Needed
- Easter Egg Shaped Bunny Card Template
- Pink pipe cleaner
- White pom pom
- Googly eyes
- Craft glue
- Black marker
- Scissors
How to Make an Egg Shaped Easter Bunny Card
Begin by printing off the PDF template for the card here.
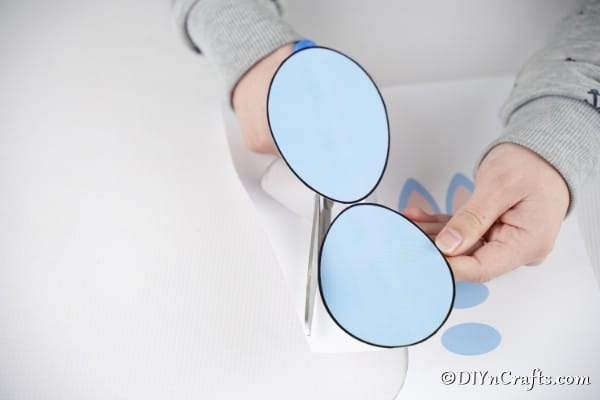
Now, you will cut out all of the shapes: the egg shape, 2 ears, and 2 feet.
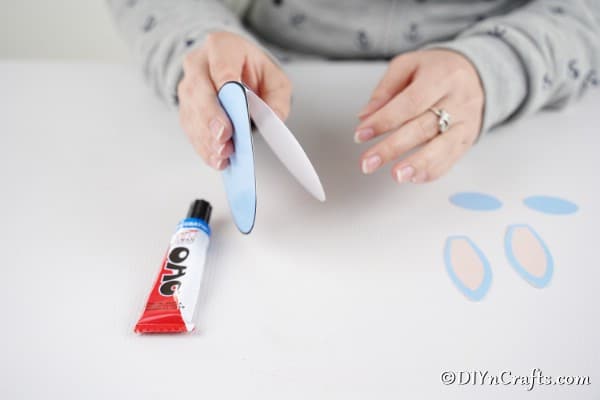
Once everything has been cut out, you will fold the double-sided egg shape in half to form the fold of the card.
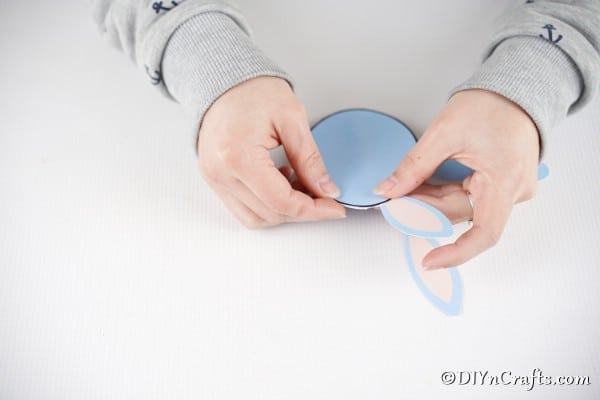
Next, you will glue your ears on the top of the egg shape, leaving the opening at the bottom of the egg.
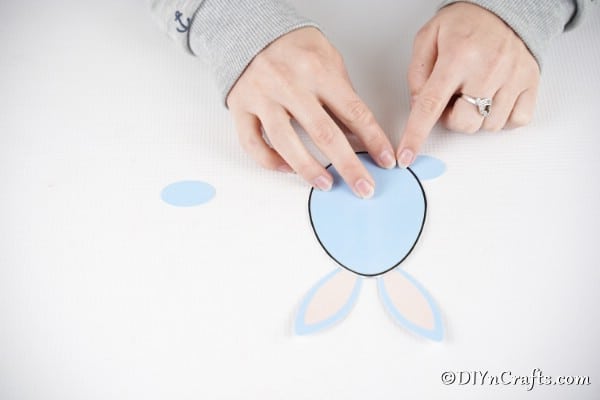
Add your feet on either side of the bottom of the Easter egg bunny.
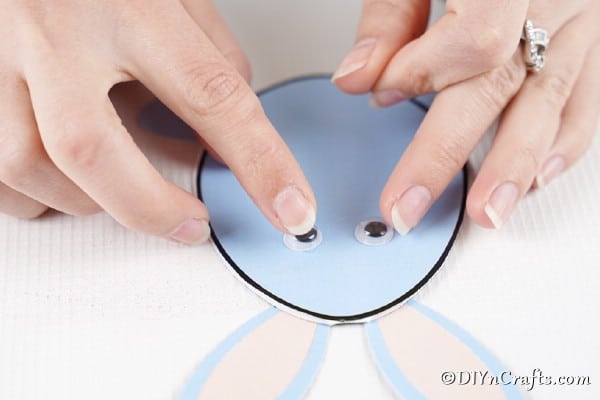
Once the ears and feet are in place, you will glue on the googly eyes with craft glue.
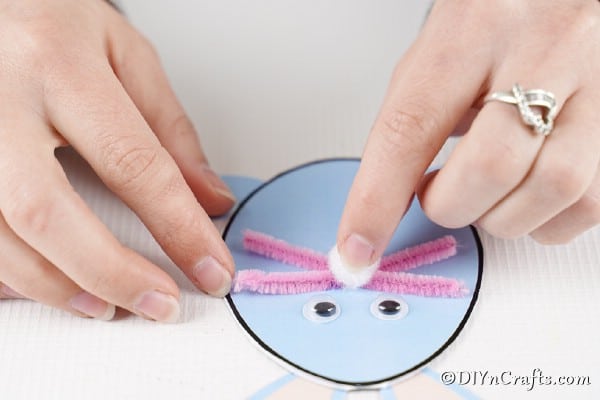
Fold your pipe cleaner in half and cut, then fold it in half again and cut. This will create 4 equal-sized whiskers.
Glue the whiskers (2 per side) onto the face a bit below the eyes. Now, you will glue the white pom pom in the center of the whiskers, as shown, to make the nose.
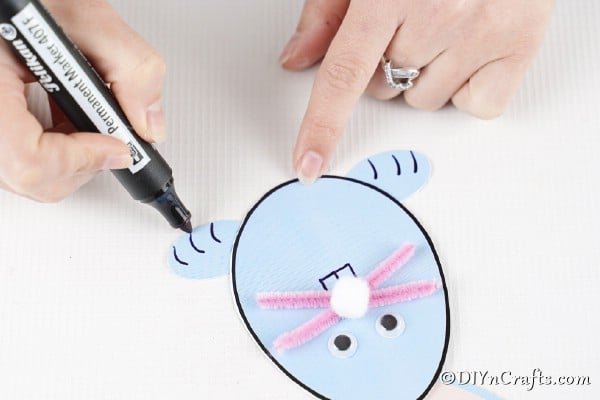
Draw on bunny teeth.
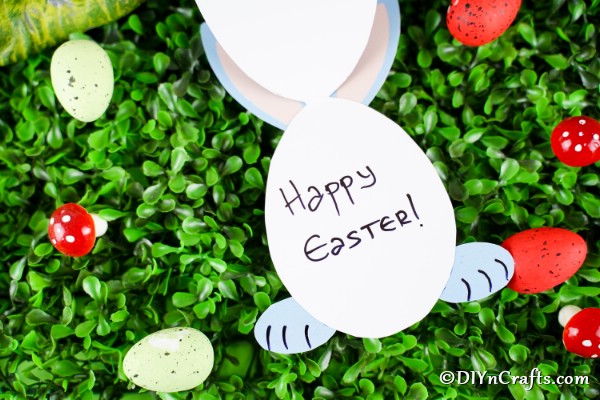
Lastly, open the card and write an Easter message.
Send to loved ones or add to your mantle to display!
Pro Tips:
For this project, I recommend using a nice heavy weight craft paper or card stock. To add a bit of extra pizazz to your bunny card, I love the idea of using a die-cutting machine like the Cricut to create custom stickers for this project. One thing I love about my Cricut is that I could add this pattern to my design studio, and the Cricut would cut it all out for me!
Printable Egg Shaped Easter Bunny Card
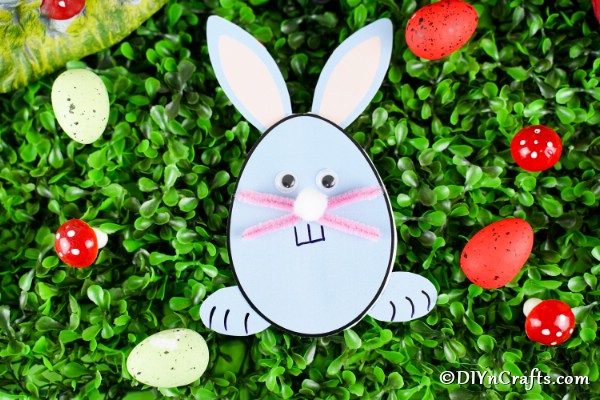
Turn a simple printable template into this adorable egg shaped Easter bunny card! A simple Easter kids craft that is dual purposed for decorating and gifting to others!
Tools
- Scissors
- Craft Glue
- Black Marker
Instructions
- Print the bunny card template HERE;
- Once printed, you will cut all shapes out: the egg, feet, and ears;
- Now, you will fold the double sides of the egg in half to form a card;
- Glue the ears on top of the egg where you folded the paper;
- Add the feet to the bottom open half of the card with glue;
- Now, you will glue on the googly eyes with craft glue;
- Fold a pipe cleaner in half, then in half again, and cut into 4 pieces;
- Glue the pipe cleaners onto the front of the egg shape to create whiskers, putting 2 on each side just below the eyes and glue the white pom pom into place between the whiskers;
- Now, you will draw on bunny teeth and toes on the feet using our marker;
- Write a message on the inside of your egg and gift or display.
Notes
Feel free to add a bit of glue to the ears or feet and sprinkle on some glitter to make your bunny card extra sparkly!
Recommended Products
As an Amazon Associate and member of other affiliate programs, I earn from qualifying purchases.
-
 Cute Bunny - Bunny Sticker - Easter Sticker - Easter Bunny - Cute Easter Sticker - Pink Rabbit Sticker
 -
 Handmade Easter Card Set. Embossed Easter Bunny Greeting Cards.
 -
 Easter Card with Fluffy Tailed Bunnies and Easter Eggs Inside
 -
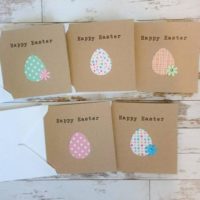 Pack of 5 handmade Happy Easter cards in white or brown
 -
 Colored Paper
 -
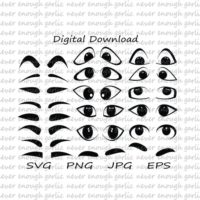 Eye SVF Files




Leave a Reply