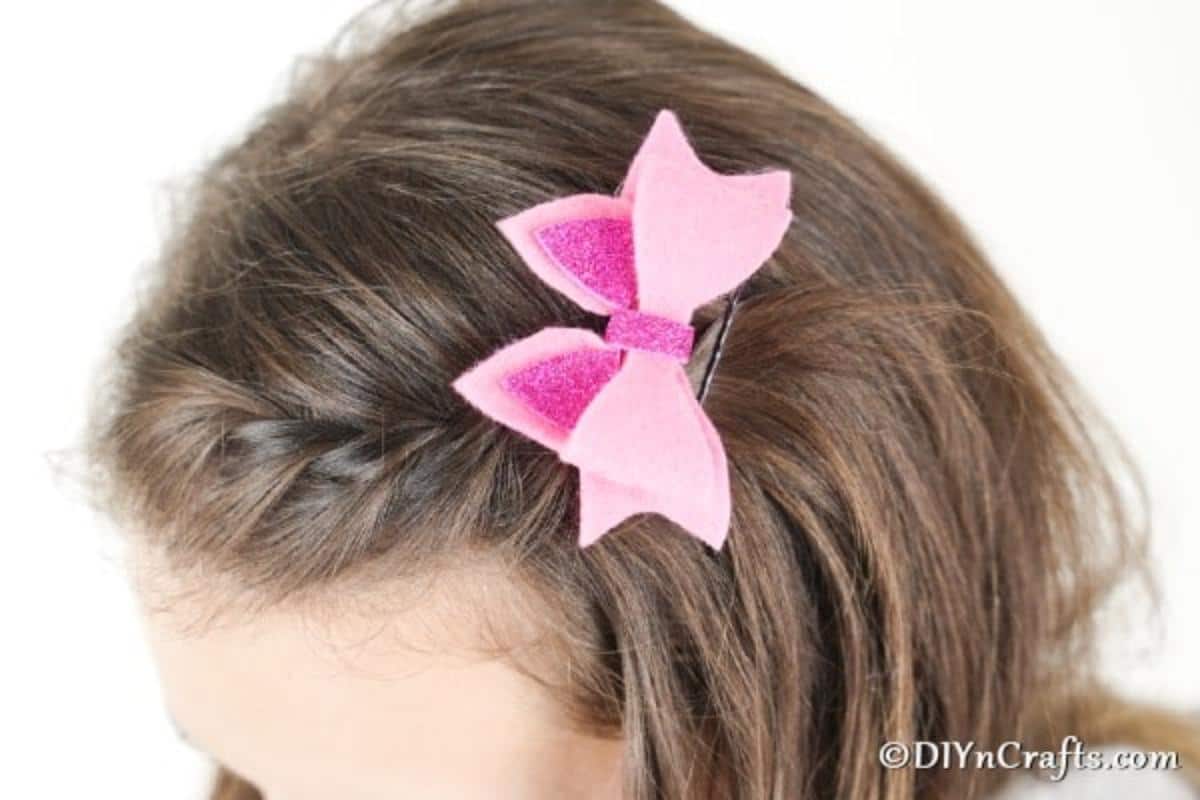
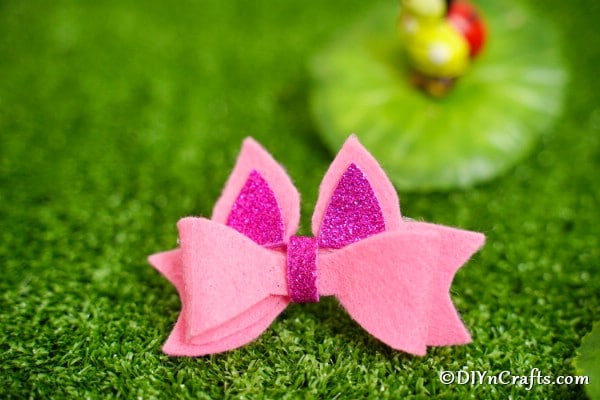
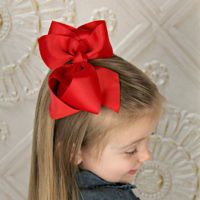
I am always looking for cute ideas for hairstyles, and this little no-sew hair bow is adorable! It is easy to make, cute for almost any length of hair, and inexpensive!
What more could you ask for in a cute accessory? This is great to go in any little girl's hair! Make this bow in multiple colors, so your little one has one for every outfit in their wardrobe!
Jump to:
DIY No-Sew Hair Bow
Over the years, I've made bows with a number of things. There have been ribbon bows, sewn fabric bows, and even duct tape bows, but this one made from foam paper may be my favorite!
It's so easy to cut and design, and with a bit of glue, it's ready to clip into the hair. Plus, since it is fast to create, that means I could make one for all the little girls in my family easily as a gift!
If you want to add to your hair bow and styling collection, make sure you check out my fabric flower headband. You may also like this list of crochet headbands or these summer headband patterns. There are so many great ways to add fun to your hairstyles!
What is the Best Hair Clip to Use?
Since my hair is very fine, I tend to need a clip that will stay in place easily. Some barrettes really work best on thicker hair, while others like a bobby pin style fit and work on any hair type.
I recommend looking at the ones you've purchased at a store and finding the type that you prefer, then taking that to the craft store with you to find a matching barrette.
Some popular choices I found on Amazon:
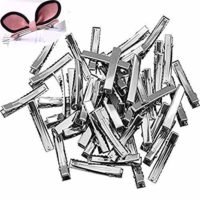
- Alligator Clips
- Barrette Hair Clips with Cabochon Setting
- Snap Hair Clips
- Prong Hair Clips Covered in Grosgrain Ribbon
- French Style Barrettes
- Mixed Box Crafting Barrettes
Supplies Needed
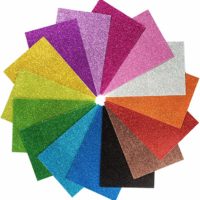
- Pink glitter foam paper
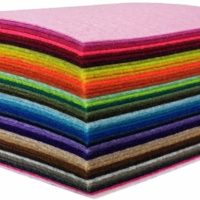
- Solid pink felt
- Barrette
- Scissors
- Pen or pencil
How to Make a No-Sew Hair Bow
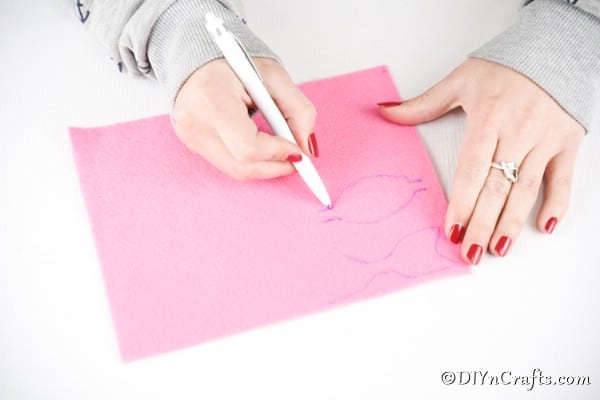
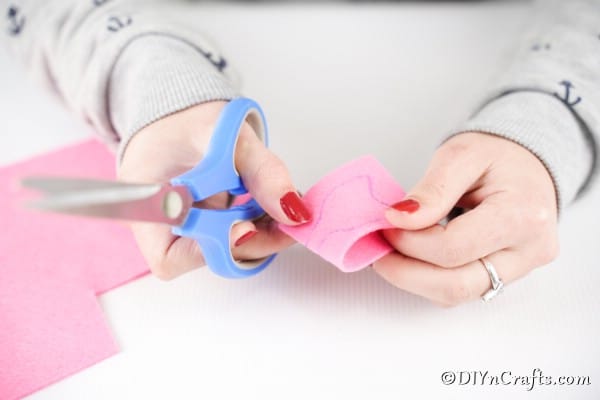
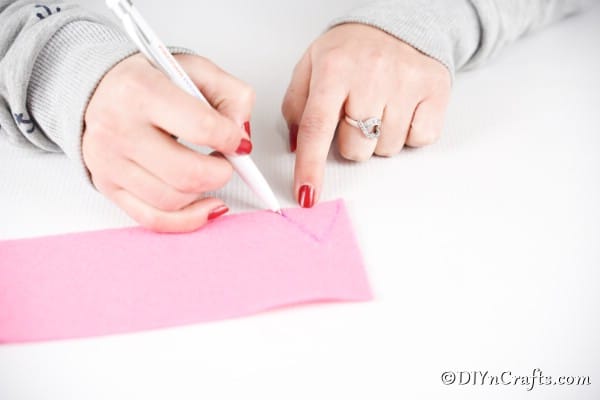
Begin by drawing the two bow shapes onto your felt.
You will draw one half of the bow, then fold over the felt and cut out with one side being the template for the other side.
Now, draw small triangle pieces and cut them out from the felt.
Next, you will draw 2 small triangle pieces from your glitter foam paper slightly smaller than the solid pink felt triangles.
You will also need to cut a small strip of glitter foam paper to go around the center of the bow.
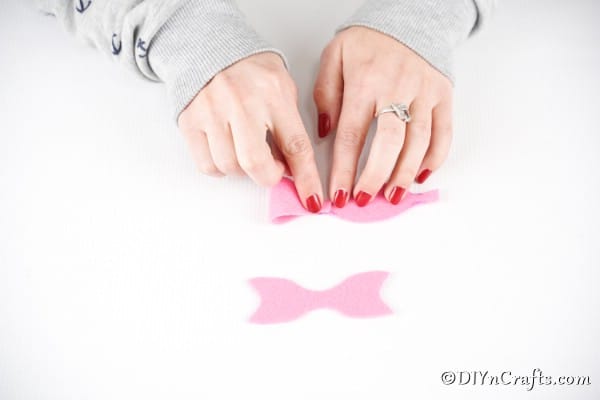
Once all pieces have been cut out, you will then fold over the outside edges of your larger bow shape and glue the small pieces in the center to form a bow as shown.
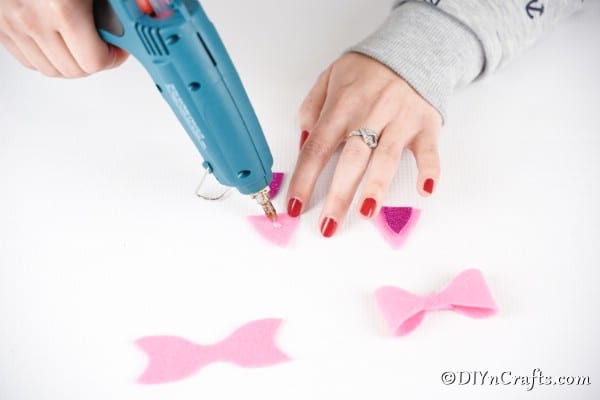
Next, you will glue the glitter foam pieces onto the solid triangles.
Your next step is to begin assembling the bow.
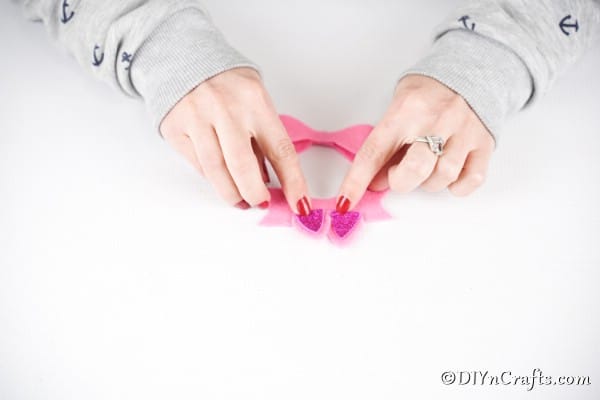
You will start by gluing the 2 triangles toward the center of the flat bow, as shown.
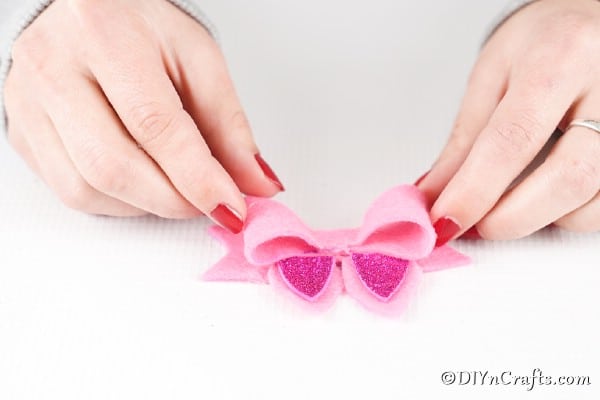
Then, you will glue the folded bow onto the flat bow as shown.
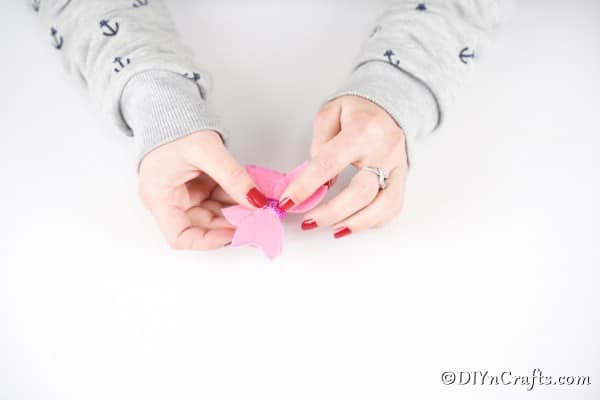
Add the small strip of glitter foam paper to the center of the bow, securing on the back side.
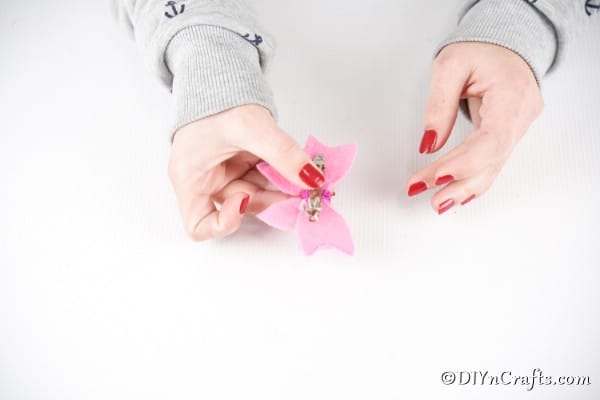
Next, you will attach the barrette you chose to the backside of the flat bow-shaped foam piece.
Now you can wear the bow as desired!
Printable Step-by-Step Tutorial:
Cute DIY No-Sew Felt Hair Bow With Video
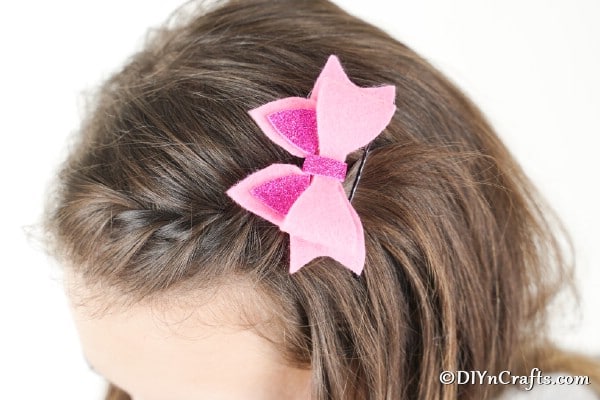
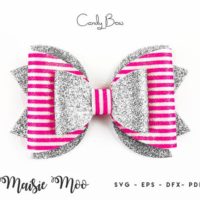
Make an adorable DIY no-sew hair bow using just a bit of felt, craft foam, and glue! A stunning bow is ideal for any little girl to wear!
Materials
- Pink felt
- Solid pink foam paper
- Barrette
Tools
- Scissors
- Pen or pencil
Instructions
- Begin by drawing a bow shape onto your felt;
- Next, you will draw a bow shape with extended sides to fold back over as shown below;
- Now, draw small triangle pieces and cut out from the felt;
- Next, you will draw 2 small triangle pieces from your glitter foam paper slightly smaller than the solid pink felt triangles;
- You will also need to cut a small strip of the glitter foam paper to go around the center of the bow;
- Once all pieces have been cut out, you will then fold over the outside edges of your larger bow shape, and glue the small pieces in the center to form a bow as shown;
- Next, you will glue the glitter foam pieces onto the solid triangles;
- Your next step is to begin assembling the bow;
- You will start by gluing the 2 triangles toward the center of the flat bow as shown;
- Then, you will glue the folded bow onto the flat bow as shown;
- Add the small strip of glitter foam paper to the center of the bow securing on the back side;
- Next, you will attach the barrette you chose to the backside of the flat bow shaped foam piece;
- Now you can wear the bow as desired!
Notes
Have fun making this in a variety of colors to fit every outfit in your wardrobe!
Recommended Products
As an Amazon Associate and member of other affiliate programs, I earn from qualifying purchases.








Caitlyn O'Brien
Aww, this is so cute! It looks like a simple and inexpensive, yet pretty gift. I'll definitely be using this idea soon!