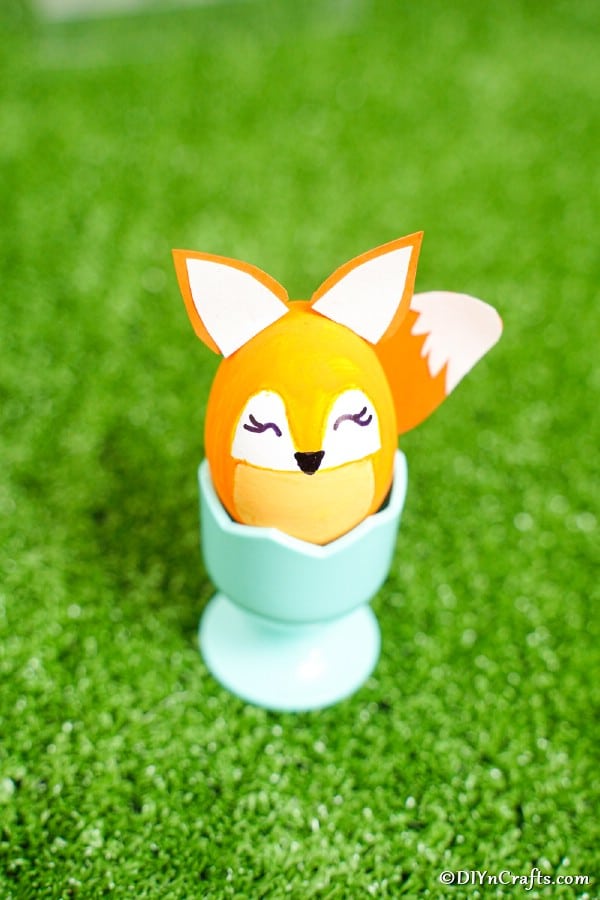
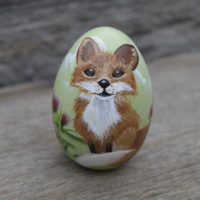
If you love decorating Easter eggs in a different way than the old dye packs, this cute little Easter egg fox decoration is for you! This is a simple painting craft with a few small additions that make your regular hard-boiled egg for Eater look adorable. Fox-themed crafts have been popular for a few years now, and this one definitely came out better than I expected. I'm sure you'll love it as much as I do!
Jump to:
Easter Egg Fox Decoration
Easter is such a great time of year in our house. Admittedly, Christmas is my favorite holiday, but Easter is a close second. Spring is in the air. Flowers are blooming. Kids get to scramble around hunting eggs after church. I even get to enjoy Easter lunch with my family, and as always, we bring out the classics like this Easter bunny cake that my Granny used to make.
On top of all the fun we have, I love the bright colors and themes of Easter in crafting. From decorating Easter eggs like this cute fox down to the pastel of the fake grass in baskets, I love every last inch of the holiday. So, even if I no longer use those dye packs for eggs, I still make time to decorate some for the kids. This Easter egg fox decoration is just another fun spin on classics.
Check out this adorable craft stick fox for kids. It's not necessarily Easter themed, but it still fits the theme of this cute egg. My kids loved making these at the same time, but they also loved making this chicken craft stick decoration too!
If you need more ideas for them, check out my huge list of Easter crafts for kids and toddlers. So many great ways to keep them busy and having fun.
Can I Use Plastic Eggs Instead?
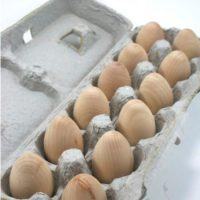
Yes! If you have less time, don't want to boil eggs, or even perhaps you are vegan and don't use eggs at all, use plastic instead! Simple plastic eggs you can find online, like this huge batch of plastic eggs on Amazon or the dollar store. Cheap ones can make this much easier. You can even buy a box of orange plastic eggs on Amazon or wooden craft eggs on Etsy. Both are great ideas for making this craft last year after year!
If you use plastic eggs, then you might want to check out this great list of non candy egg filler ideas. So many cute things you can tuck inside the egg that won't give kids cavities in their teeth! My kids especially loved it when I made these Troll Easter eggs a few years ago and stuffed them with little troll dolls!
What Paint is Best for Eggs?
If you plan to use plastic eggs, simply buy them that are already orange in color. For those who are following this original tutorial and making Easter egg foxes, then you will need to paint that hard-boiled egg orange.
I used a simple orange craft paint and did a thin layer so it dried fast. Other common options would be to use watercolor as it would dry much faster and is inexpensive. Go really old school and drop them into a cup with orange food coloring, vinegar, and water to dye the traditional way.
Note: While this is on a food product, you won't be ingesting the shell of the egg, so the paint doesn't have to be food-safe or food-grade.
If you want a little less messy project for the younger kids, have them make these simple but pretty yarn Easter eggs instead. So easy to make and a fun way to keep little hands clean but busy. They might also enjoy doing this Easter chick matching game while you wait for eggs to dry.
How do I Dry The Paint on My Eggs?
I have found the best method of painting these is to paint one half of the egg and sit it with that side up in an egg cup. Once that side is dry, paint the other side and sit into the egg cup dry side down for it to finish drying.
If you don't have egg cups, I highly recommend getting some. I love these personalized ceramic egg cups and this simple set of porcelain egg cups. Both are great for projects like this, but also for enjoying a dippy egg for breakfast.
You can also paint it completely, then lay it flat to dry, and go back to touch up any smudges when you add the ears and face to the Easter egg fox. Use whatever method works best for you. Remember, this isn't a craft that needs to be perfect. Mostly, it's about having fun and bonding with your kids around a favorite holiday activity.
Supplies Needed
- Hard-boiled eggs or plastic Easter eggs
- Orange craft paper
- White craft paper
- Orange craft paint
- White craft paint
- Black marker
- Craft glue
- Scissors
- Paintbrush
How to Make a Fox Easter Egg Decoration
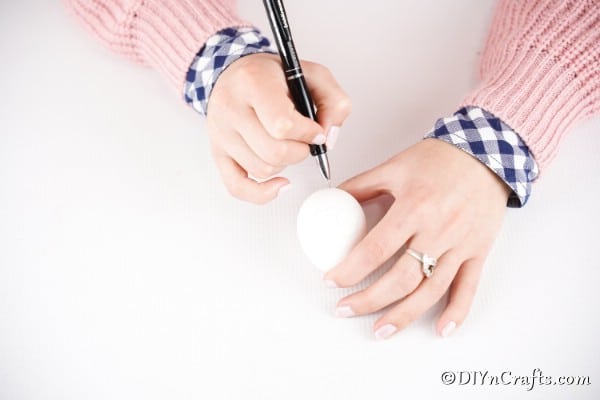
Begin by using your pen to trace a small "stomach" onto the front of the egg, along with two large eyes. The area inside this will not be painted.
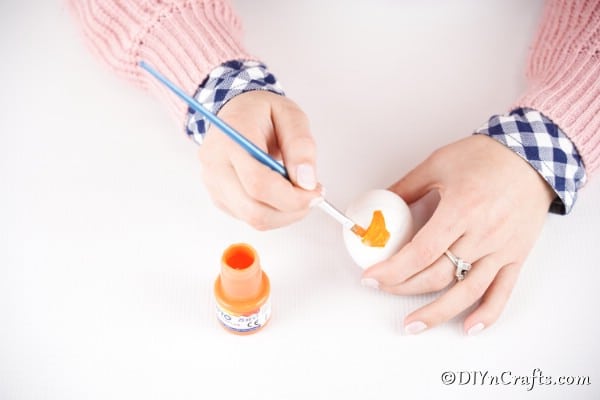
Now, you will paint the rest of the egg orange.
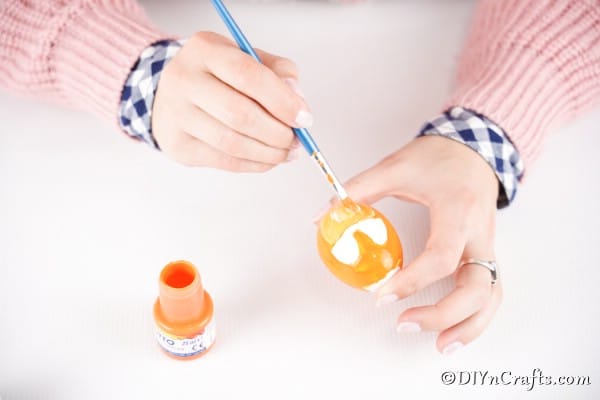
Add a bit of orange paint and white paint in place on the stomach area and swirl so that it is slightly lighter in color than the rest of the fox.
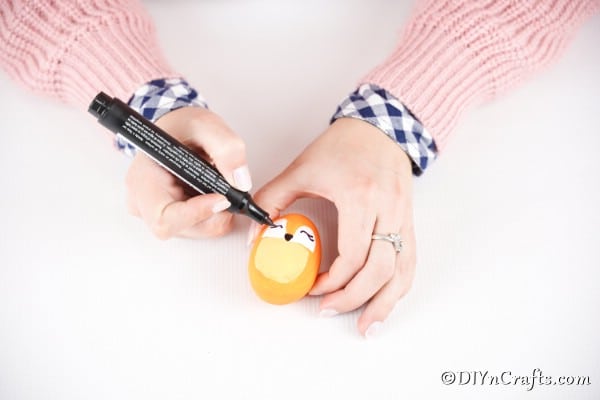
Once the paint has dried on the egg, you will then use your marker to create eyelashes on the white eyes and a small nose between the eyes.
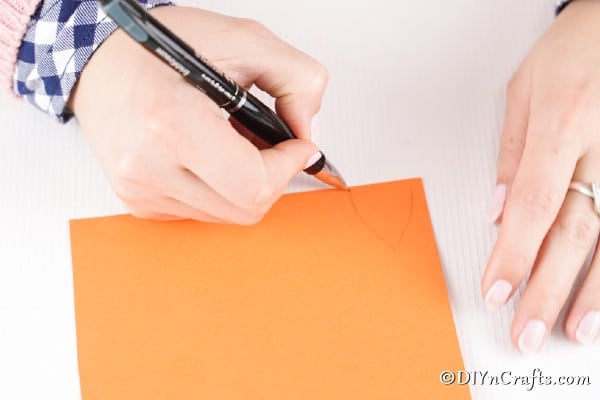
Now, use a pen or pencil to trace ears and a tail shape on the orange craft paper.
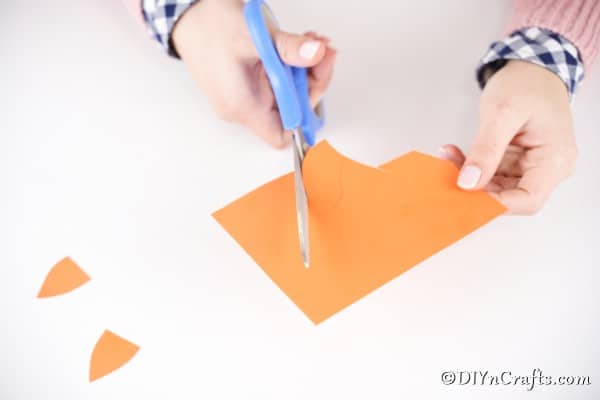
Cut out the ears and tail and set aside.
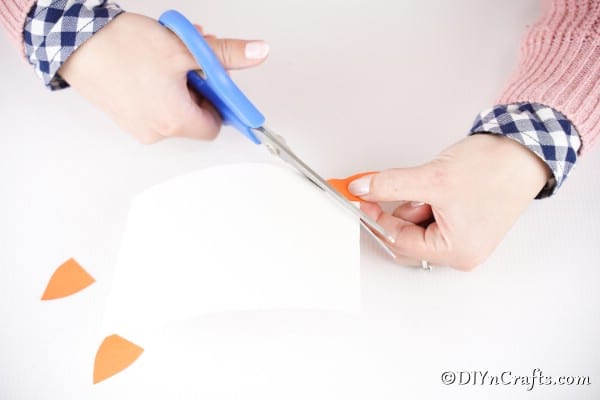
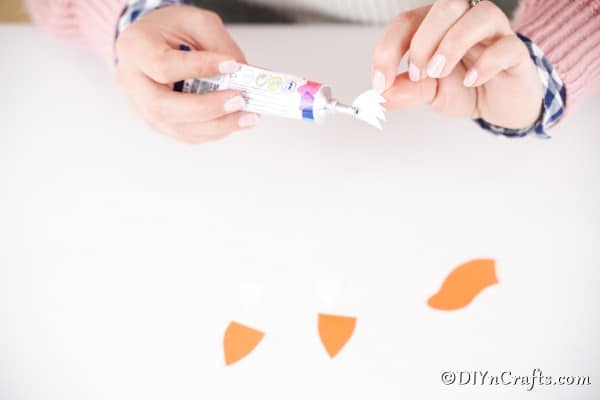
Next, you will trace slightly smaller ears onto the white paper and a small white piece to go onto the tail.
Glue the white ears onto the orange ears and set aside.
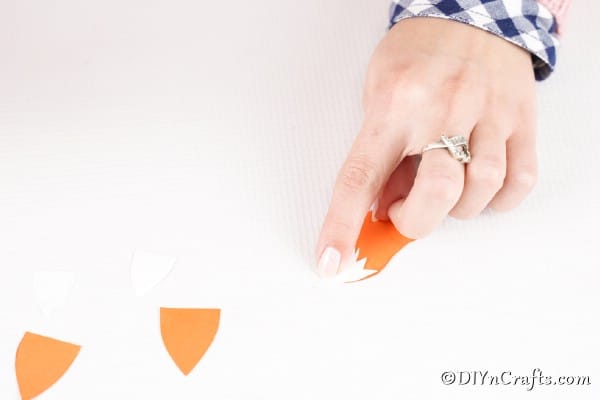
Trim one side of the white tail piece so that it is pointy on one side and looks like fur. Then, you will glue it to the end of the tail.
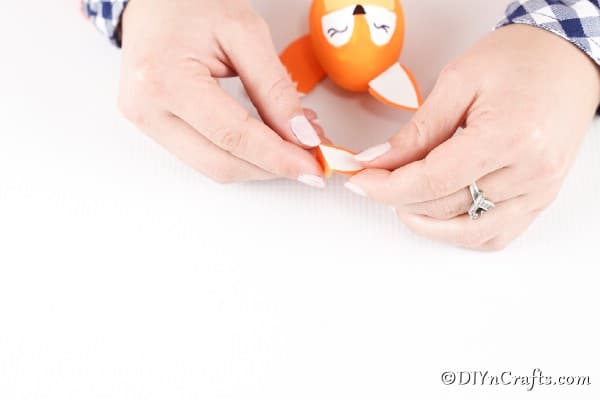
Attach the ears to the top of the egg with craft glue and do the same with the tail on the bottom backside of the fox.
Now, you can put your egg on display or hide it for the kids to hunt!
Cute DIY Easter Egg Fox Decoration
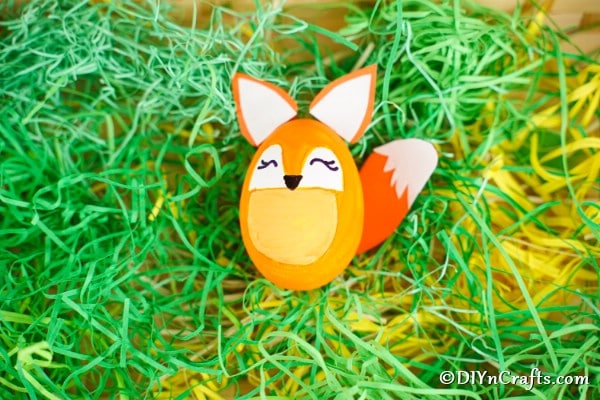
Make an adorable Easter Egg Fox Decoration with this simple tutorial using paint and craft paper to create a unique and fun egg for kids to hunt this year!
Materials
- Hard boiled eggs or plastic eggs
- Orange craft paper
- White craft paper
- Orange craft paint
- White craft paint
- Black marker
Tools
- Craft glue
- Paintbrush
- Scissors
Instructions
- Using a pen or pencil, trace a stomach and eyes onto the front of your egg. These will not be painted;
- Now, paint the remaining area orange and allow to dry;
- In the stomach area, swirl white and orange craft paint together and fill in so that it is slightly lighter in color than the rest of the painted fox;
- Add eyelashes to the eyes, and a small black nose between the eyes using your marker;
- Set this aside to dry, and begin tracing the ears and tail onto orange craft paper;
- Cut out the ears and tail and set aside;
- Trace slightly smaller triangular ears on the white paper, and another triangle that will be trimmed to look more like fur to go on the end of the tail;
- Cut the white pieces out and glue the ears in place onto the orange ear pieces;
- Now you will trim the flat end of the white tail piece into a slightly jagged edge to look more like fur;
- Glue the white end on the tail;
- Attach the ears and tail to the eggs using craft glue;
- Display or hide for kids to hunt!
Notes
To save time, you can use stickers for the eyes and ears on this Easter egg fox.
Recommended Products
As an Amazon Associate and member of other affiliate programs, I earn from qualifying purchases.






Leave a Reply