Aren't ladybugs just the most precious things?! I love this little upcycled flower pot ladybug. It's an adorable addition to my front porch or garden. A great way to add something unique and custom, that is inexpensive and fun to make. Whether it is garden decor you love or simply ladybugs, this is a perfect craft to add to your list!
Jump to:
Upcycled Flower Pot Ladybug
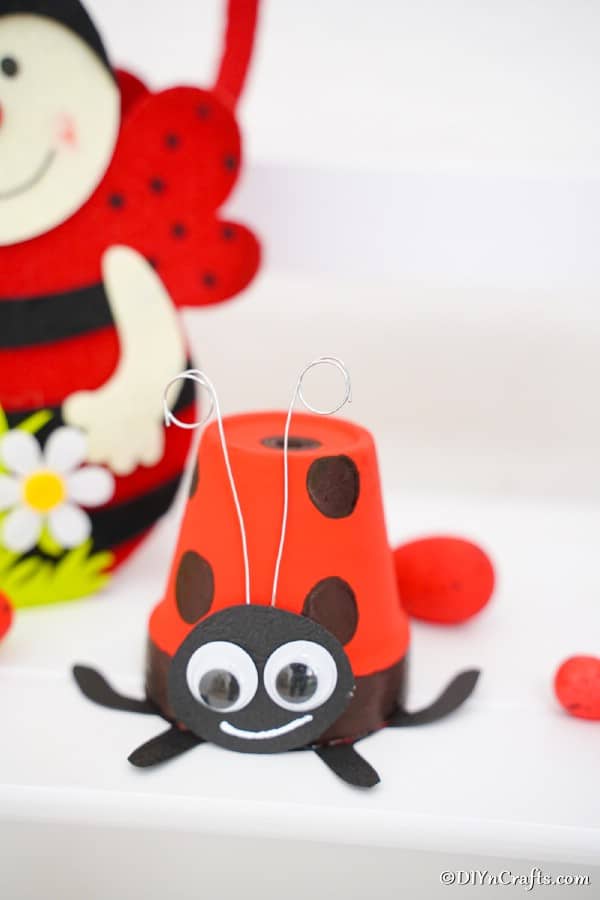
Ladybugs are one of my favorite creatures, and even though they can be pesky sometimes, I still love seeing them in my garden. When it isn't the right season for ladybugs, I can add them back into my garden with this adorable little flower pot ladybug! This is one craft that is super easy to make, cute as a button, and looks great in your garden or simply on a shelf in your home.
If you love ladybugs like I do, then you'll love these painted ladybug stones. So cute and a great addition to the painted rocks in gardens! I've even turned golf balls into ladybugs before and added them to various decorations around the house. You can even add ladybugs made from spoons to your craft list.
What's the Best Paint for Flower Pots?
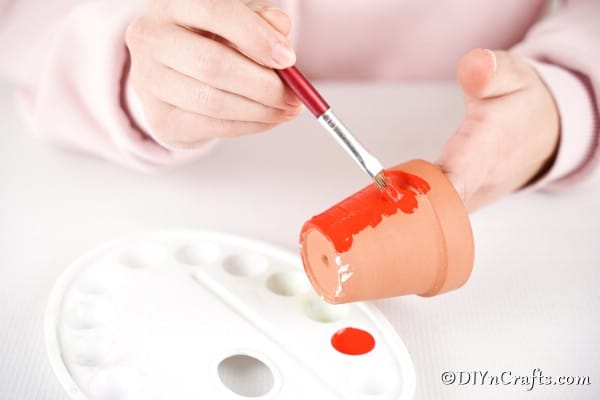
Since these are going outside, I prefer using an oil based paint, spray paint, or craft paint. In this instance, I used some red acrylic craft paint I had on hand. If you are planning to make multiple flower pot ladybugs, then you might want to use spray paint instead to make it faster to paint them.
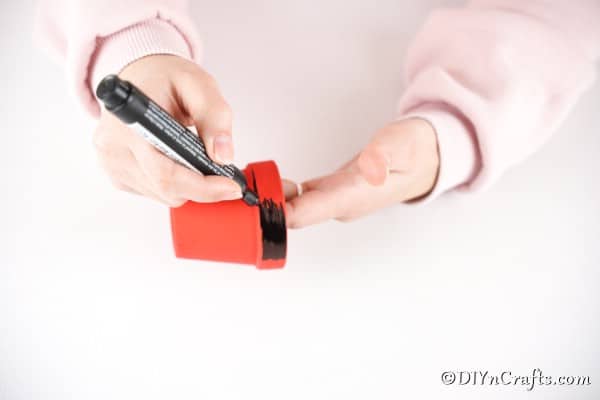
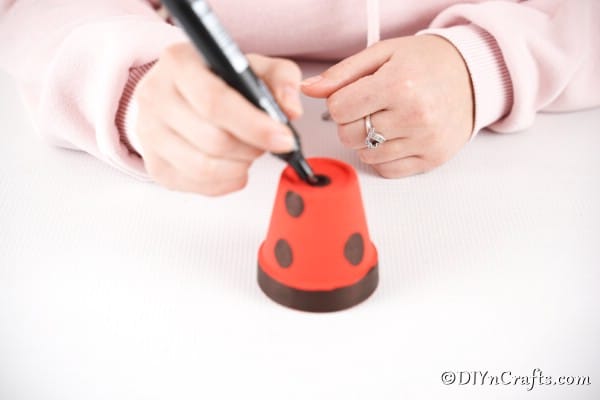
I also found that paint pens are really easy to use for making the black dots on the red ladybug body. You can use a black magic marker also for this part, but I like the paint pen for a cleaner and darker spot.
If you have extra paint and flower pots, go ahead and make this cute flower pot frog garden decoration. I also added this flower planter bee decoration for the garden to my little display of garden critters.
Supplies Needed
- Small flower pot
- Black craft paper
- Craft wire
- Googly eyes
- Red craft paint
- Black marker or black paint pen
- Scissors
- Hot glue gun and glue
How to Make a Flower Pot Ladybug
Begin by painting the outside of your flower pot completely red and set aside to dry.
Once the pot has dried, you will paint the rim black.
Now, you will draw a few black circles around the outside of the pot in random places.
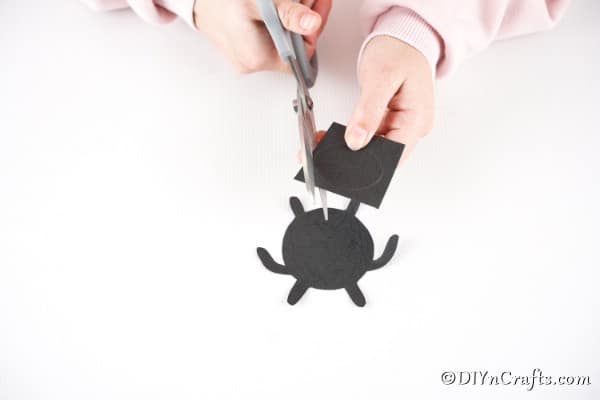
Using the black paper, you will cut out an oval black face, and a circle the size of the opening of the flower pot with 6 legs.
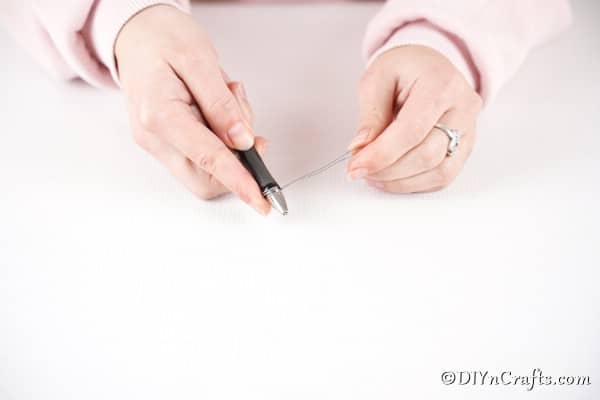
Cut two equal lengths of wire and roll down one end of each to form a circle for the antennae.
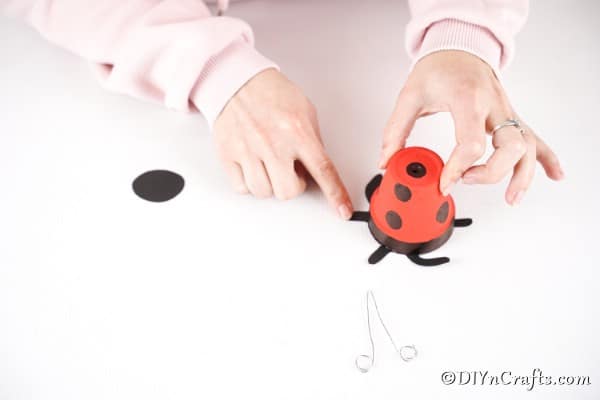
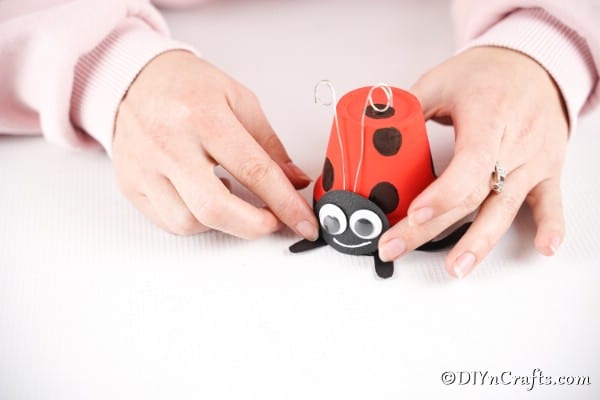
Glue the circle with legs in place on the bottom (normally top rim) of the flower pot.
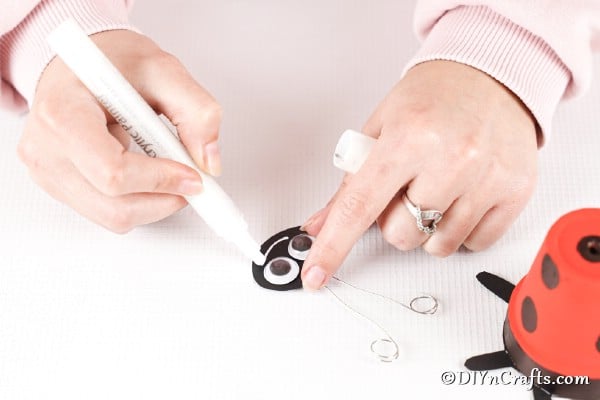
Next, add the googly eyes to the oval face and use a white marker or paint pen to draw a smile on the face.
Glue the antennae in place on the bottom of the pot so the rounded portions are poking out above the top of the painted pot. Glue the face in place.
Display in your garden.
Printable Step-by-Step Tutorial:
Cute DIY Upcycled Flower Pot Ladybug
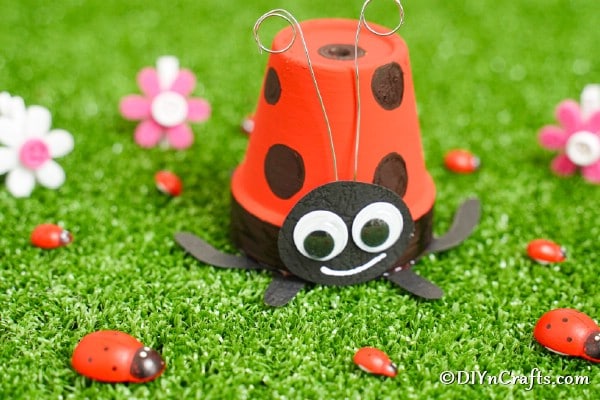
Turn an old flower pot into this adorable upcycled flower pot ladybug to go in your garden or as a decoration on your shelf! A perfect paint craft for you and kids to make!
Materials
- Small flower pot
- Black craft paper
- Craft wire
- Googly eyes
- Red craft paint
- Black marker or black paint pen
Tools
- Scissors
- Hot glue gun and glue
Instructions
- Begin by painting the outside of your flower pot completely red and set aside to dry;
- Once the pot has dried, you will paint the rim black;
- Now, you will draw a few black circles around the outside of the pot in random places;
- Using the black paper, you will cut out an oval black face, and a circle the size of the opening of the flower pot with 6 legs;
- Cut two equal lengths of wire and roll down one end of each to form a circle for the antennae;
- Glue the circle with legs in place on the bottom (normally top rim) of the flower pot;
- Next, add the googly eyes to the oval face and use a white marker or paint pen to draw a smile on the face;
- Glue the antennae in place on the bottom of the pot so they rounded portions are poking out above the top of the painted pot. Add the face to the front of the flower pot so the antennea is sticking out above the face ;
- Display in your garden.
Notes
Feel free to make these in various sizes to display around the garden.
Recommended Products
As an Amazon Associate and member of other affiliate programs, I earn from qualifying purchases.






Casey
Look good