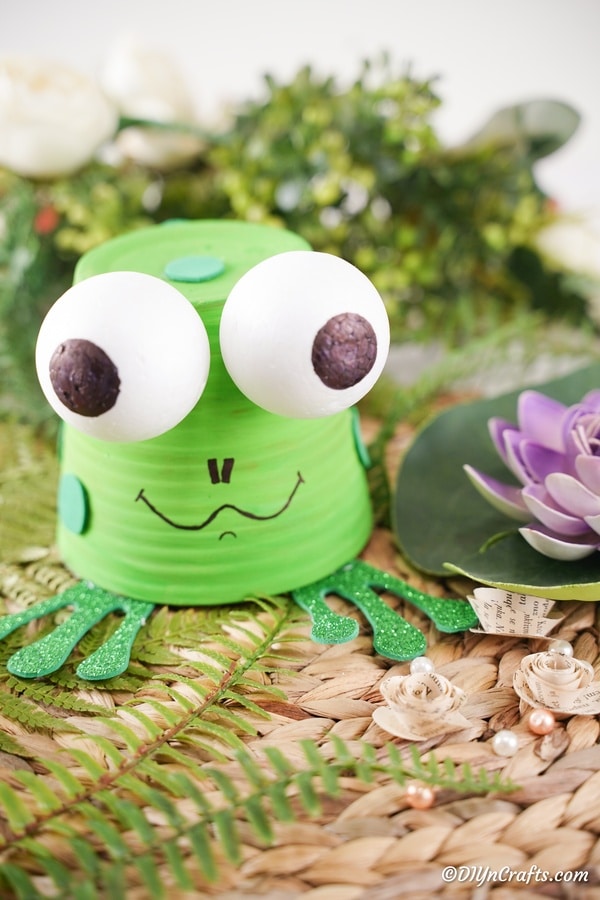
You will fall in love with this adorable upcycled flower pot frog craft! So cute, easy to make, and perfect for decorating your garden, porch, or entryway! All you need is a bit of green paint, a flower pot, some glue, and old golf or styrofoam balls! Grab the supplies, and make a few of these today.
Jump to:
Flower Pot Frog Craft
I love frogs! They are so adorable and always a cute addition to your garden. Admittedly, I like actual living frogs, but also the cute little fake frog additions to the decor. While this flower pot craft fits outdoors easily, it's definitely cute enough to add to a shelf in your home as a fun craft for springtime.
Flower pots are one of my favorite things to upcycle or repurpose. Not only are they durable, but they are also super affordable. I've turned flower pots into tons of fun things like this clay pot lighthouse for the garden or this "tipsy pots" vertical flower bed. They are truly a great addition to your craft closet!
What Paint Will Be Weather Proof?
The two best methods for making sure this cute frog is waterproof are to use waterproof paint or to add a sealant. This truly depends upon your preferences, and if you plan to leave it in the garden so it might be rained on regularly.
For most garden projects, I will use craft paint I have on hand and know that if I don't seal them, they may fade in time. Other times, I will grab waterproof outdoor spray paint and use it. For example, when I made this hanging bumble bee craft garden decoration last year, I just used yellow spray paint out of convenience.
If you want to deal over craft paint or any water-based paint, simply use a can of sealant and spray over the project once the paint is dry. Allow the sealant to dry, then continue making your flower pot garden frog.
Where Should I Display This Flower Pot Garden Frog?
Anywhere you wish! Much like my other garden decorations, I like to add them throughout the shrubs, flower beds, or even vegetable gardens to add some variety to the area. You can, of course, simply put this on a porch railing, sit it on an outdoor table, or even next to your front door as a cute little Froggie greater when you come home.
Other fun ideas for displaying your clay pot creations:
- As a centerpiece for a kids' birthday party or spring/summer gathering.
- On a buffet table with other fun critters as decorations at a party.
- Sitting on a bookshelf like a bookend.
Need more to add to your garden? Check out this list of garden pot decorations. Tons of cute ideas there to add variety to your home decor both inside and outside. I also love these shiny ball lawn ornament decorations, and one of my favorites has to be these painted rock garden markers.
Supplies Needed
- Terra cotta flower pot
- Green paint
- Golf balls or ping pong balls
- Solid green foam paper
- Glitter green foam paper
- Black marker
- Scissors
- Hot glue gun and glue
- Paintbrush
How to Make a Flower Pot Frog
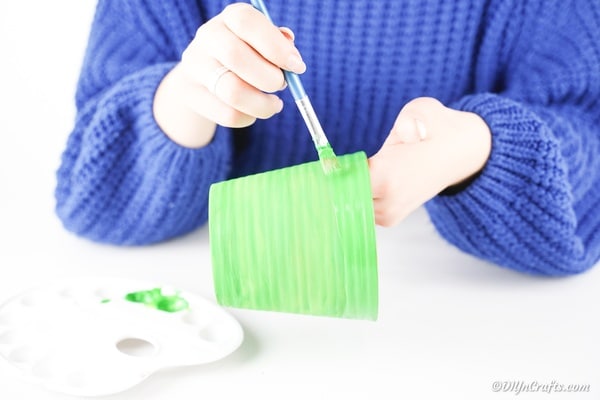
Begin by painting the outside of your clay pot green, including all sides and bottom of the pot. Turn upside down with an opening on the bottom until dry.
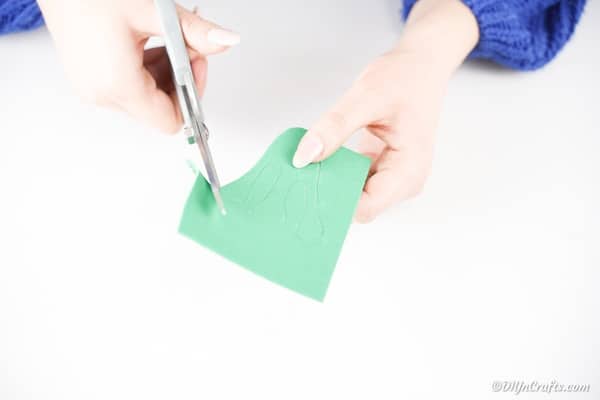
While the paint is drying, draw a frog foot shape onto the back of your glitter foam paper.
Cut out two frog feet.
You can also cut out several small circles of plain green foam paper while you are cutting out the feet. These will go onto the frog later.
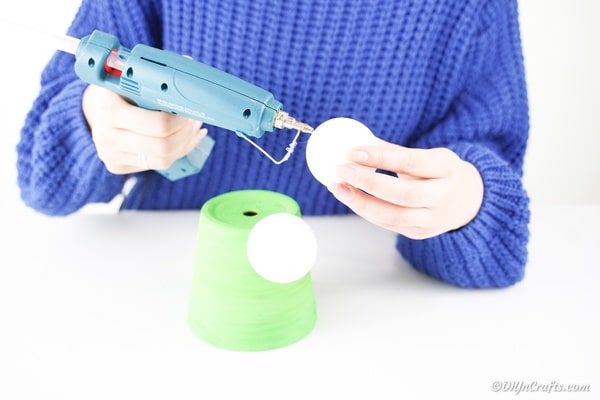
Once the paint is dry, you will attach your two golf balls or ping pon balls toward the top (used to be bottom) of the clay pot.
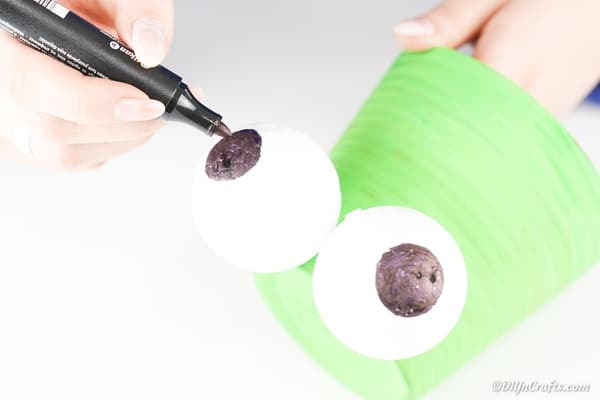
Glue them both into place, then use your black marker to draw and color in large eyes.
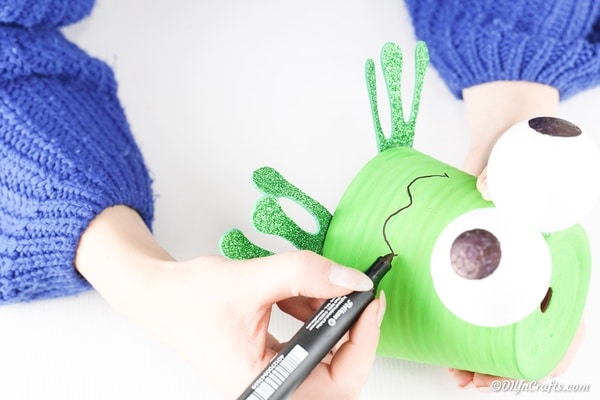
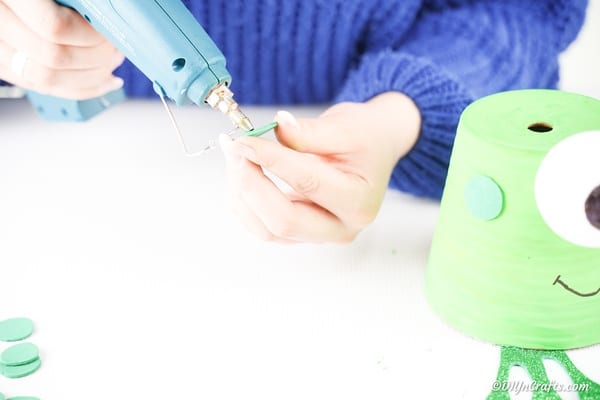
Now, using hot glue, you will attach the feet you cut out earlier. You will also use this time to draw a mouth onto your frog.
Once those are in place, add the small circles of foam paper around the outside of the pot to add some "warts" to your frog.
Display in the garden as desired.
Printable Step-by-Step Tutorial:
Upcycled Flower Pot Frog Garden Decoration
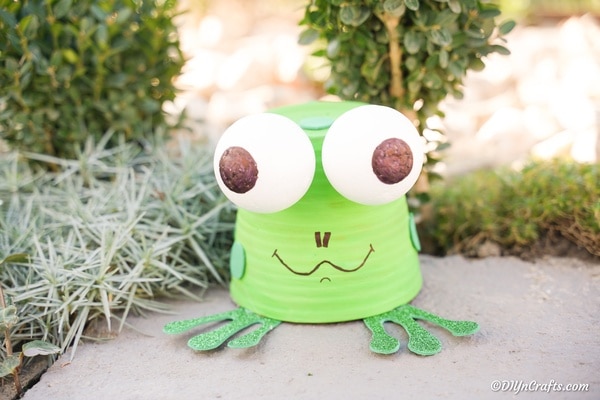
Turn a simple garden planter into this gorgeous Upcycle Flower Pot Frog Craft! So cute as an addition to your garden decorations!
Materials
- Terra cotta flower pot
- Green paint
- Golf balls, ping pong balls or styrofoam balls.
- Solid green foam paper
- Glitter green foam paper
Tools
- Black marker
- Scissors
- Hot glue gun and glue
- Paintbrush
Instructions
- Paint the outside and bottom of your clay pot;
- While the paint is drying, you will draw frog feet shapes onto the back of the glitter paper and cut them out;
- You will also draw circles onto the solid foam paper in various sizes and cut them out then set aside;
- When the paint has dried, use hot glue to attach the ping pong or golf balls to the top of the clay pot with open end being the bottom;
- Use a black marker to draw eyes onto the ping pong balls;
- Next, you will glue your frog feet in place on the bottom, and draw a smile and nose onto your frog;
- ll circles of foam paper around the outside of the pot to add some "warts" to your frog;
- Display in the garden as desired.
Notes
Use 2-3 different sized flower pots to create a family of frogs with a mom, dad, and children. You can even add little foam hats to the tops of them to help give them personality.
Recommended Products
This post contains affiliate links which I earn a small compensation from should you make a purchase.




Leave a Reply