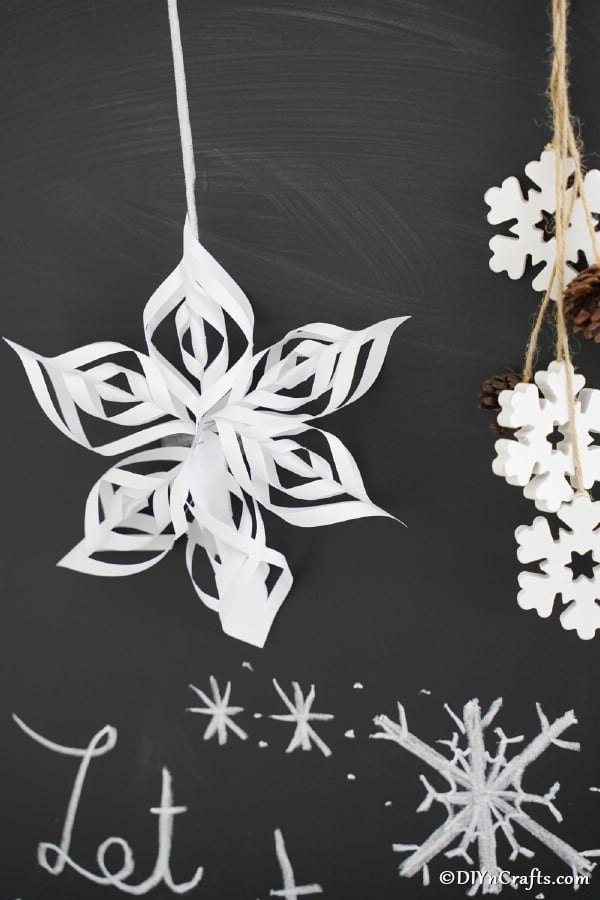
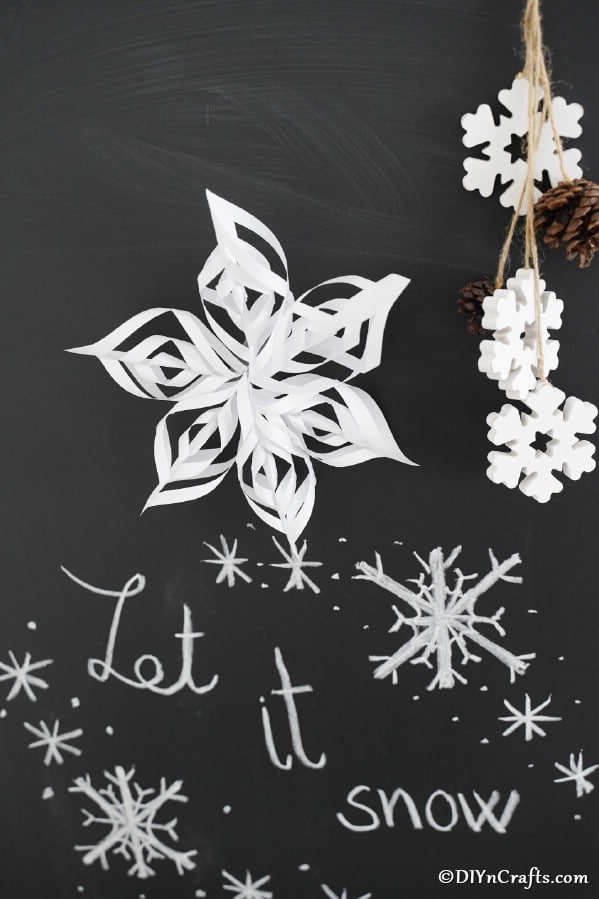
If you've ever made a paper snowflake before, then you are going to fall in love with this tutorial for making 3D snowflakes and stars to hang on your tree.
These are so easy to cut apart and add to the tree, and this tutorial has 3 unique designs you will love. Whether you all them a snowflake or a star doesn't matter, they look great on your tree no matter what!
Here are some great 3D stars you can make out of cardboard that are a bit different but just as beautiful on your tree. If planning your holiday crafting days, make sure to print out this countdown to Christmas printable and add it to your mantle.
Jump to:
3D Snowflakes and Stars Christmas Decoration
I have made snowflakes and stars in various forms for years to decorate around the holidays. These are so simple and easy, though; I know you will love them!
They are just cute decorations you can hang with fishing lines from the ceiling or hang with ribbon on your tree. I've even added these to the top of a present before for a fun addition to add depth to a present.
If you want more fun snowflakes or star ideas, make sure you check out these colorful paper snowflakes or snowflake ornaments from an old book page. They are great additions to your holiday tree and are super easy to make.
What's the Best Paper for Making These?
The joy of this idea for an ornament is that you can truly use any paper or even cardstock that you want. The snowflakes and stars pictured were made out of simple white copy paper.
You can use cardstock, craft paper, construction paper, or perhaps even foam board pieces. I love how easy these are to make and turn into a unique ornament on the tree.
Your kids might enjoy throwing together these pasta snowflake ornaments while you work on this more intricate paper cutting project.
They might even like this rustic hazelnut Christmas ornament idea since it is fun and different than the normal ornament craft.
Can I Add Glitter to My 3D Snowflakes?
Yes! One of my favorite things to do is add glitter to Christmas decorations. This is an easy one you can simply add a bit of glue to and sprinkle glitter to add a bit of sparkle to the ornament.
You can even use glitter paper or foam board instead of the white paper to make them if you want!
I love glittery crafts and always look for glitter paper when I can. Recently, I made these pom pom gnome ornaments using glitter foam paper and they turned out amazing.
The same paper would work great for these stars and snowflakes. You could even use this paper to make these fun 3D Christmas cards for giving to friends.
Supplies Needed
- Paper
- Stapler
- Scissors
- Glue
- Pencil
How to Make 3D Snowflake Stars
Snowflake Design 1
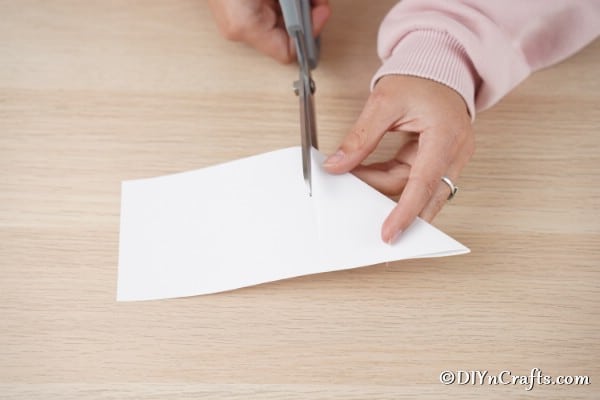
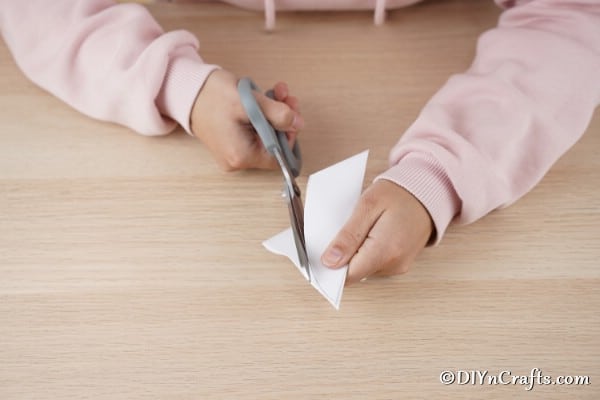
For the first snowflake or star, you will take a basic piece of paper and cut it into a square. I do this by folding it over from corner to side and cutting off the excess paper.
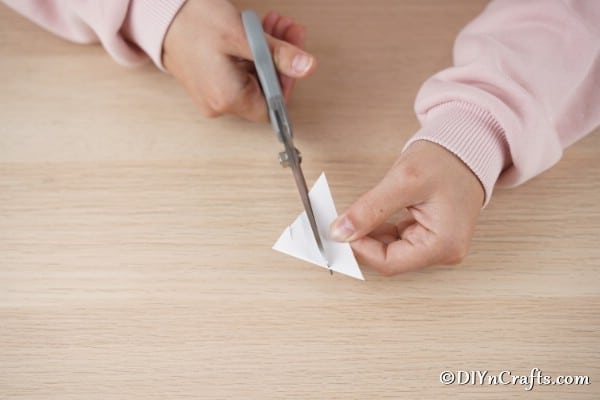
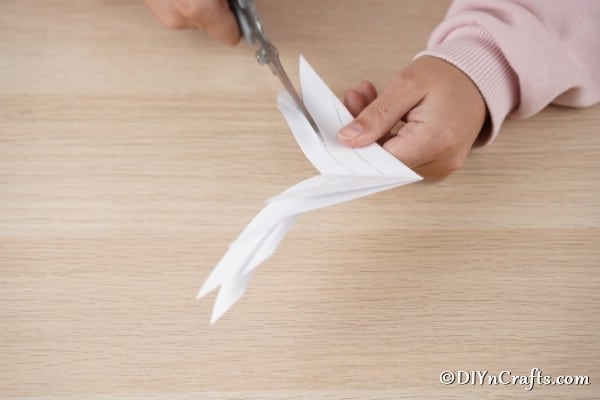
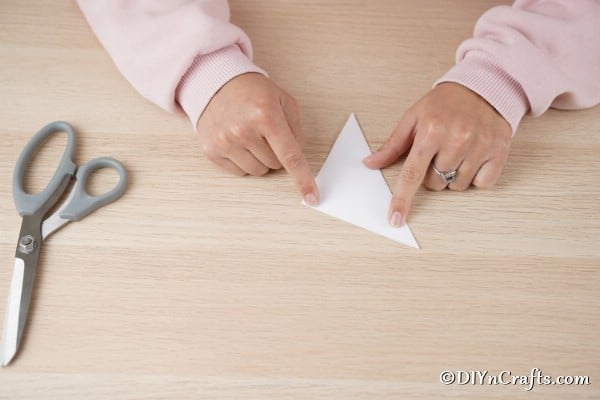
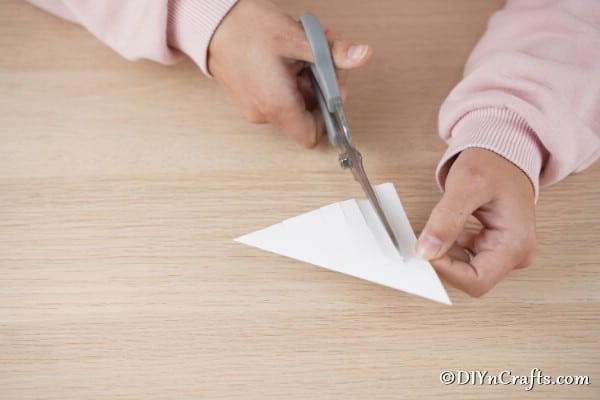
Next, you will fold the square diagonally to create a triangle. Now, you will cut through the paper about ¼"-½" apart but don't cut all the way through the paper.
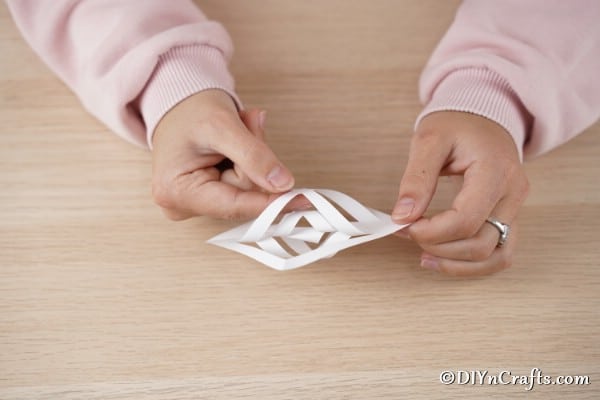
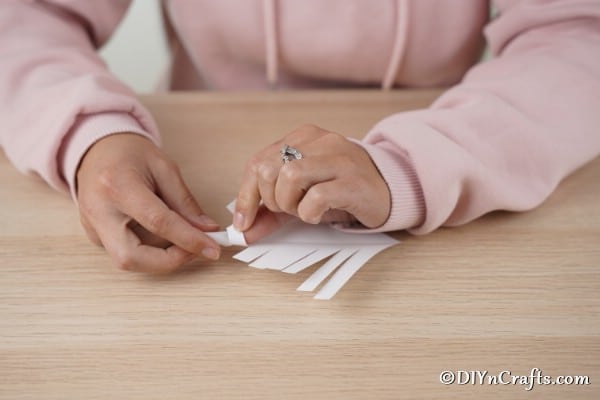
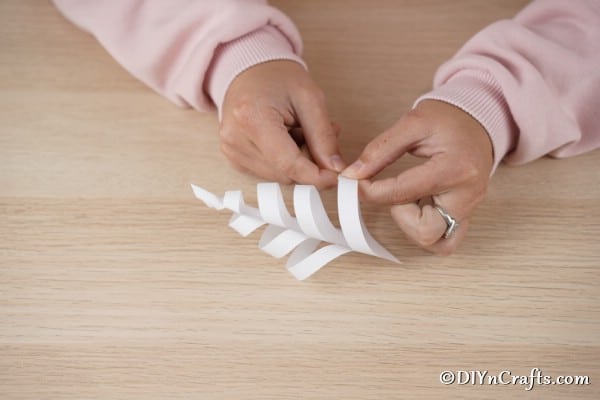
Open the triangle and connect the pieces going in opposite directions with glue.
Repeat this going down the line until you finish with all the pieces.
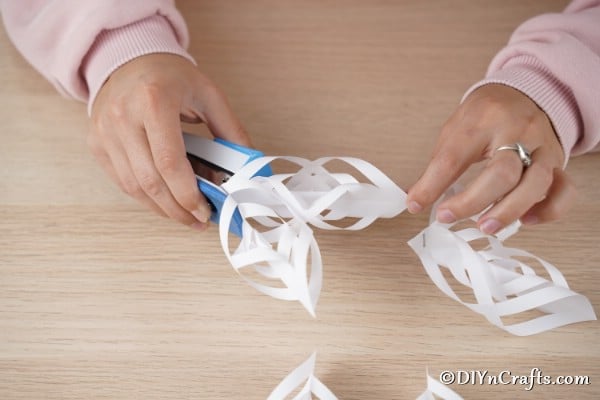
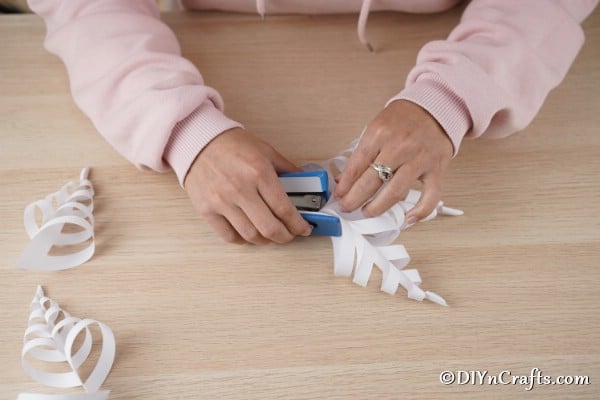
Repeat this with as many pieces as you want, and then connect them together in the middle with a stapler.
Glue or staple a string or ribbon through the middle to hang from the tree.
Snowflake Design 2
For this design, you will start with the same process to cut the paper into a square.
Now, you will fold this diagonally into a triangle and draw a leaf shape on one side of the paper.
Cut along the line to shape the paper.
Open the paper and now draw two leaves meeting in the middle and one smaller line repeating the previous one, just smaller.
Cut along these lines starting opposite the end they are folded.
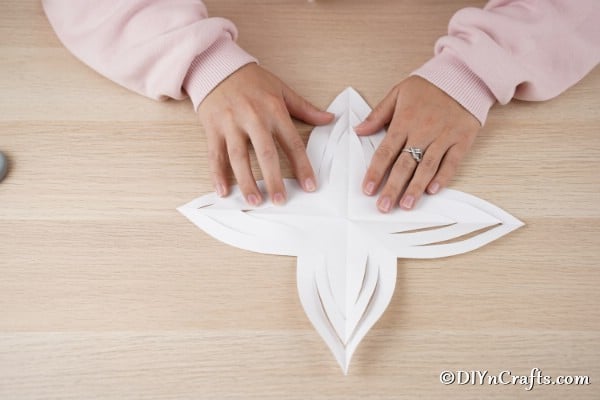
Open the paper and shape them as shown.
Repeat this process for one more.
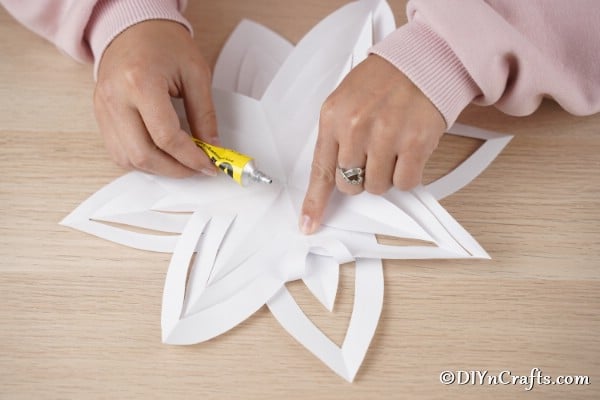
Now, take the middle of the snowflake and attach it to the middle of the first snowflake but at a different angle.
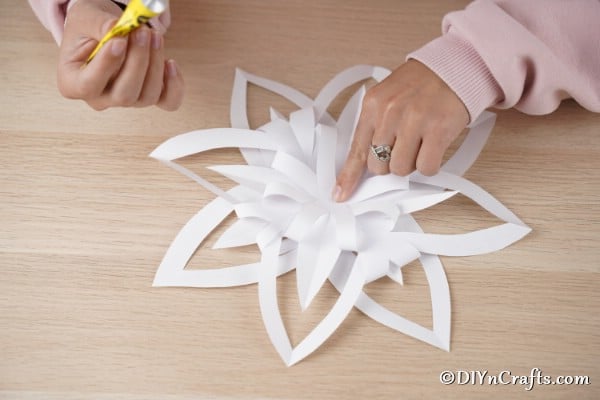
Now add smaller pieces cut similarly or strips of paper to form a star shape in the middle and glue to seal.
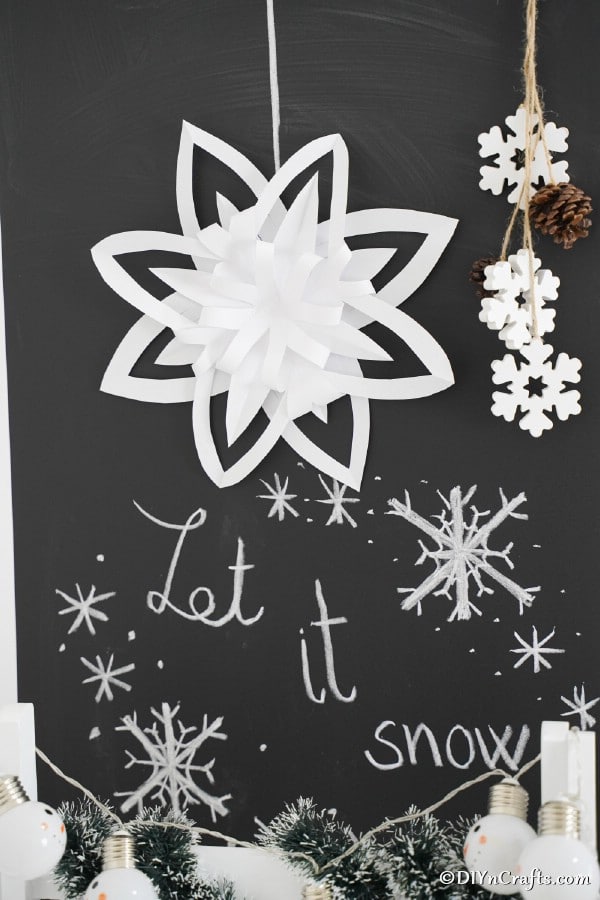
Repeat this process until all the pieces are glued in the middle. Of course, you can use any colored paper or folding method to create the extra pieces on top if you prefer using different versus the same design.
Snowflake Design 3
Create another square of paper and fold it in half to form a triangle. I like doing this with all of the pieces I will be using because it saves time later down the road.
Cut the strips again, not quite through completely, starting from the open side, opposite of the fold.
Now, open up the paper and start gluing the pieces together every opposite direction.
Repeat this process on as many papers as needed to form a snowflake. I created six.
Now, staple them together in the middle, being careful not to rip them apart.
Add a ribbon to hang them from the tree and display them with your other holiday decorations.
Printable Step-by-Step Tutorial:
Easy 3D Snowflake Stars Paper Christmas Decorations
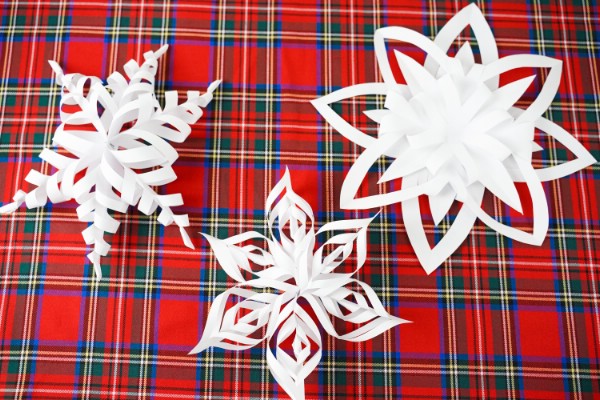
Turn simple copy paper into 3 beautiful 3D snowflakes or stars to hang on your tree in no time at all! A great addition to any Christmas tree.
Materials
- Paper
Tools
- Scissors
- Glue
- Stapler
Instructions
Snowflake Design 1
- For the first snowflake or star, you will take a basic piece of paper and cut it into a square;
- Next, you will fold the square diagonally to create a triangle. Now, you will cut through the paper about ¼"-½" apart but don't cut all the way through the paper;
- Open the triangle and connect the pieces going in opposite directions with glue;
- Repeat this going down the line until you finish with all pieces;
- Repeat this with as many pieces as you want, and then connect them together in the middle with a stapler;
Snowflake Design 2
- Create a square out of paper and fold into a triangle;
- Now, you will fold this diagonally into a triangle and draw a leaf shape and then cut along that line;
- Next, you will open and draw two more lines meeting in the middle at the same angel parallel to the edge of the paper;
- Cut the two pieces you've drawn being careful not to cut completely through;
- Open the paper, and shape them as shown;
- Repeat this process for one more;
- Now, take the middle of the snowflake and attach it onto the middle of the first snowflake but at a different angle;
- Repeat this process until all the pieces are glued in the middle. You can do many of varying sizes like this, or simply cut and fold to create the middle of the snowflake;
Snowflake Design 3
- Create another square of paper and fold it in half to form a triangle;
- Cut the strips again not quite through completely, starting from the open side, opposite of the fold;
- Now, open up the paper, and start gluing the pieces together every opposite direction;
- Repeat this process on as many papers as needed to form a snowflake;
- Now, staple them together in the middle.
Notes
Make your stars and snowflakes with various colors of paper and glitter foam for a fun decoration to add to your home.








Vicky
I am trying to subscribe but every time it just sends me to the subscribe page and not letting subscribe. I have entered but it won't let me use my email address.
Vanessa Beaty
Hmm maybe the confirmation email is already in your inbox can you double check?