Making these cute DIY craft stick Christmas ornaments is one of my all-time favorite things to do each year! I adore the cute look they add to the tree, but the big bonus is that I can add a date to the back and track them year to year. If my kids are making these with me, they can add their names and see how their painting skills have changed over the years.
If you like the snowman as much as I do, check out this list of snowman crafts you can make in under 5 minutes! So fun to add alongside these rustic snowman decorations to your holiday decor!
Jump to:
Craft Stick Christmas Ornaments
What can I say? I am a sucker for crafts that remind me of childhood. I am truly just a kid at heart, after all. Using popsicle sticks or craft sticks to make fun characters has always been a part of my holiday routine. This year, I have made tons of them!
I recently made craft stick lollipop ornaments and this fun snowman photo ornament for the tree to showcase the kids' pictures this year. Those along with this fun craft stick Christmas sign. What a fun tree I will have this year!
How to Color Craft Sticks with Food Coloring
Before I get into how to make these, I wanted to share some tips for making them with you. Recently, I learned that you can dye your craft sticks in different colors! Having always used paint or marker, I thought this was a super fun idea that could add variety to your crafting this year.
To dye your craft sticks with food coloring, you simply need to pour water and a few drops of your food coloring into a glass, and then dip your craft sticks into the glass for about 15 minutes. Pull it out and pat dry, then allow to dry completely before crafting with it.
This is a great way to add different colors and have extra fun with the kids. Have fun dying some of your craft sticks red and green for the Santa and tree, or even make them unique colors or tie-dyed if you want!
You could even use this method to dye your own string for this cotton thread snowman ornament if you wanted. It's just a super fun way to add color to the sticks without painting. For those who don't mind painting, add this simple snowman ornament to your list of crafts to make. It's adorable on the tree!
How to Glue Popsicle Sticks Side by Side
If you've ever worked with craft sticks before, you know how thin they are. Sometimes, that makes gluing them together side by side difficult. Since two of these ornaments have to be glued side by side, I decided to share my three favorite methods of doing this with you.
1: Use another craft stick on as a brace and glue them to it and line up next to each other.
2: Add extra glue between each stick to hold it securely and hold it together until it dries, then scrape off excess glue that bubbles out if needed.
3: Lay the craft sticks on a flat surface in the way you want them to be glued, then using a brush, spread glue over all of one side. Once that glue dries, seal the other side the same way. This leaves them with a shiny surface, but will also hold them together.
I love the addition of not just ornaments for the tree, but ornaments that look like the tree this year. We made this pasta Christmas tree ornament and a paper straw mini Christmas tree ornament already this year. This craft stick tree will be great to add to the list! They all look great on the tree or displayed next to these DIY Ho Ho HO blocks on the mantle.
Supplies Needed
- Gold and red glitter foam paper
- Orange felt
- Red, green, white, and black paint
- Buttons
- Satin ribbon
- Cotton balls
- Googly eyes
- Decorative stars
- Pom pom
- Black permanent marker
- Paintbrushes
- Scissors
- Hot glue gun and glue
How to Make a Craft Stick Christmas Tree
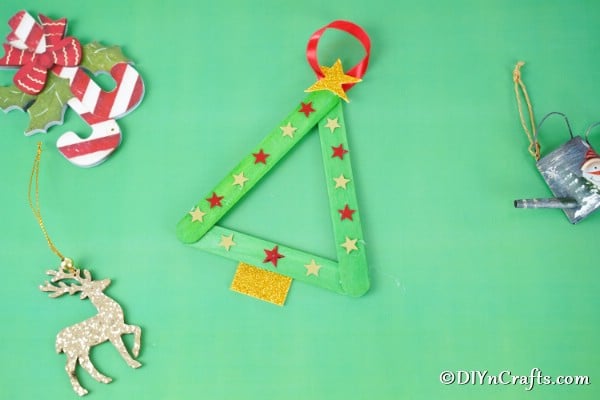
To make the Christmas tree, you will need 3 craft sticks. You can buy these in different colors, dye them as mentioned above, or paint them like I did for this project.
Once they have dried completely, you will trim one of these to be shorter than the other two. It should be about ⅔ as long as the other popsicle sticks.
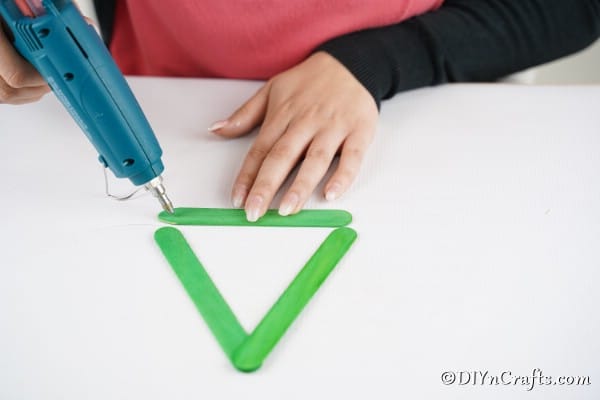
Using a hot glue gun, you will attach them into a triangle shape with a shorter stick on the bottom.
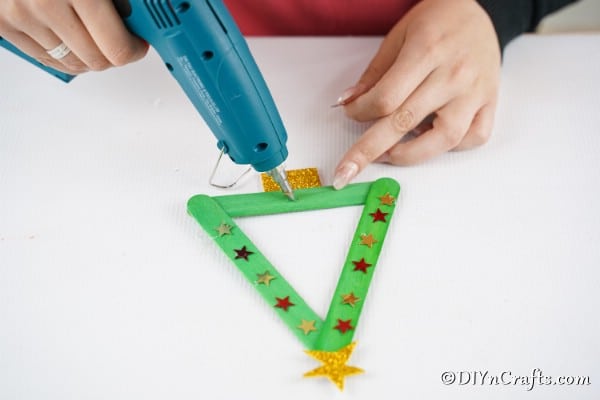
Now, you will use the gold foam paper and cut a small square to be the "trunk" of the tree and a small star to go on the top of your tree.
Add these, along with decorative stars, to the tree.
Cut and loop a piece of ribbon, then secure it to the back of your "tree" with hot glue.
Now, you can hang this on your tree!
How to Make a Craft Stick Santa Claus
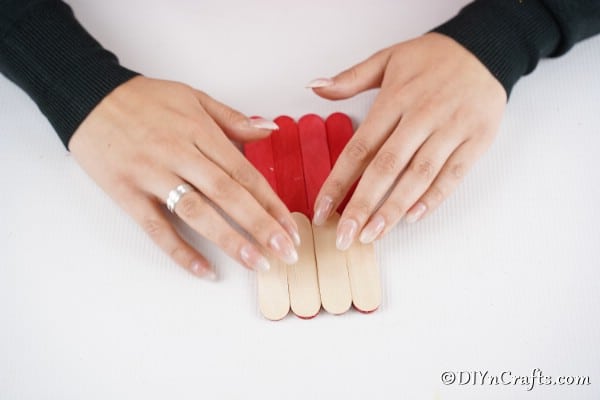
To make Santa, you will need to paint 4 craft sticks red. You will aslo need 2-3 additional craft sticks for this project.
Once the paint has dried completely. You will begin gluing the red sticks together. Use one of the methods above, or simply use an extra craft stick and glue to it then slide against each other.
Once you have these together, you will attach the other craft sticks to half of the red sticks. You can also paint the top half a cream color if preferred.
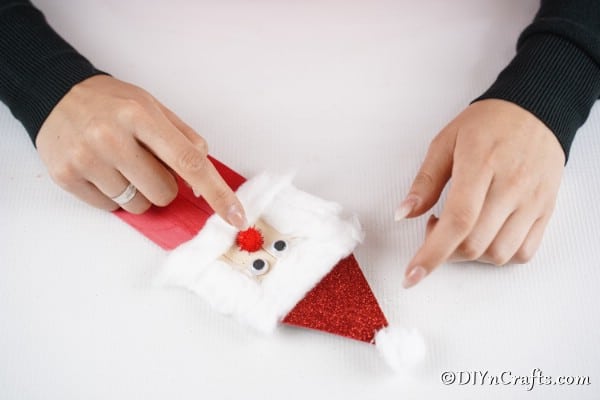
Now, you will use the cotton to create a beared and face for your Santa.
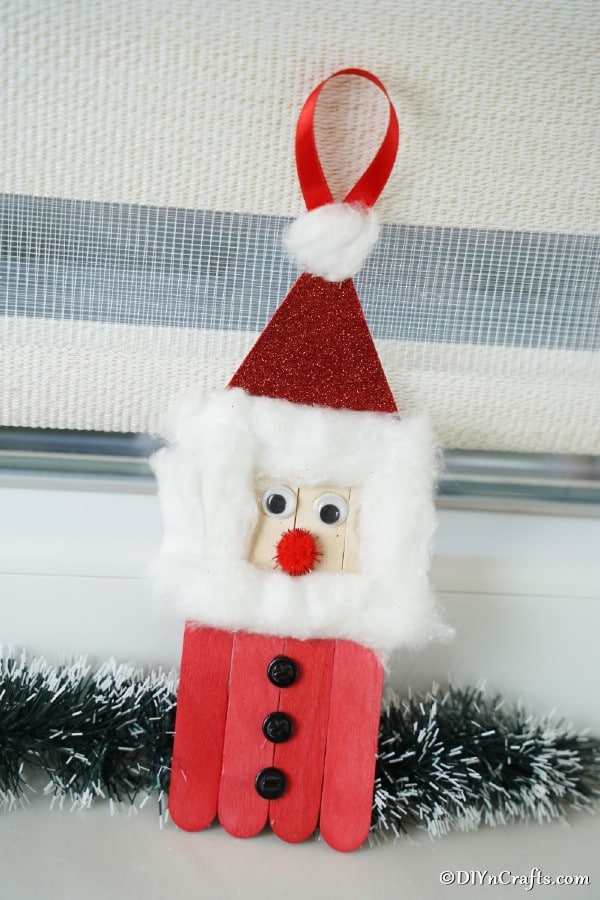
Attach a red glittered hat cut from the foam paper, and top it with a pom pom or additional cotton ball.
Finally, add the googly eyes, pom pom, and buttons to complete the look.
Add a loop of ribbon to the top, and now you can hang your popsicle stick Santa on the tree.
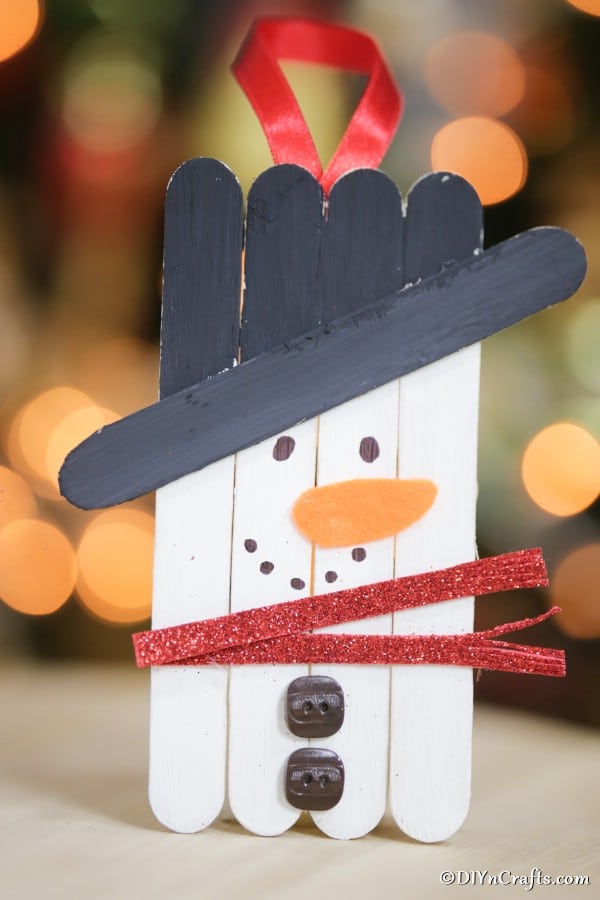
How to Make a Craft Stick Snowman
For making the snowman, you will need 4 craft sticks that have been painted white, and one solid black craft stick.
Line the white craft sticks up and glue them together as you did with the Santa craft.
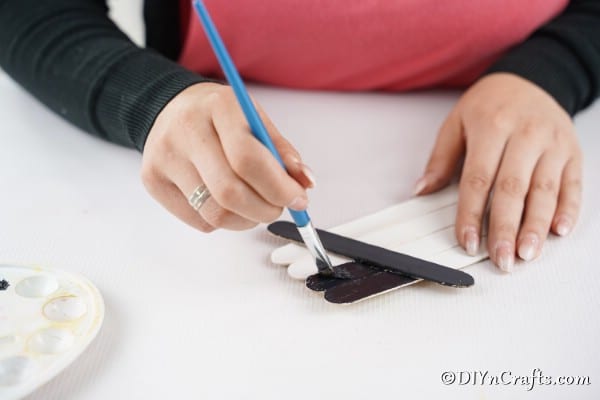
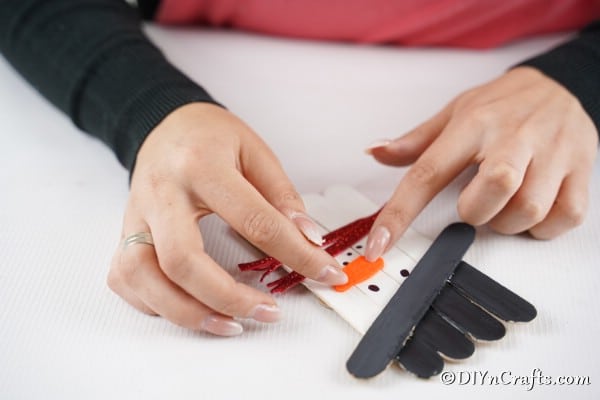
Once they are glued, you will take the black craft stick and glue it in place on the front at an angle. Now, you can paint the craft sticks above the black one black also to create the snowman hat.
Cut a scarf out of the red glittered foam paper and attach it with sticky foam or hot glue.
Draw on the eyes and mouth, and glue a few buttons below the scarf.
To finish your snowman, you will add a carrot nose made from felt, fabric, or paper.
Video meta: Have fun creating your own favorite classic Christmas characters into ornaments using craft sticks with this simple tutorial!
Cute DIY Craft Stick Christmas Ornaments
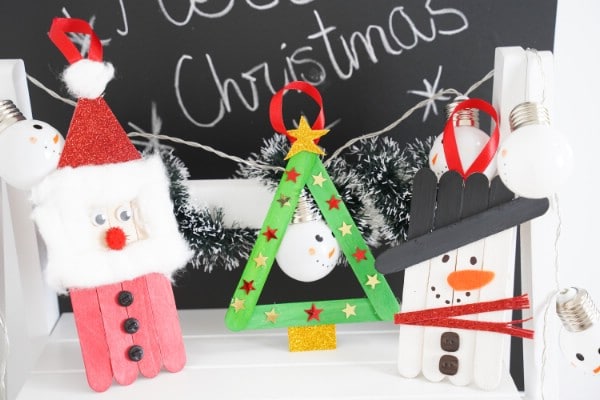
Craft sticks are easy to turn into these adorable ornaments! Santa, snowman, and Christmas tree craft stick ornaments are a perfect addition to any holiday tree this year!
Materials
- Gold and red glitter foam paper
- Orange felt
- Red, green, white, and black paint
- Buttons
- Satin ribbon
- Cotton balls
- Googly eyes
- Decorative stars
- Pom pom
- Black permanent marker
Tools
- Paintbrushes
- Scissors
- Hot glue gun and glue
Instructions
- Begin by painting your craft sticks. You will need 4 white, 1 black, 3 green, and 4 red craft sticks. Once these are painted, set them aside to dry.
How to Make a Craft Stick Christmas Tree
- To begin, you will trim one of the green craft sticks down to about ⅔ the length of the other two;
- Glue these craft sticks together forming a triangle shape with the shorter stick on the bottom;
- Cut out a small square and a small star from the gold foam paper to use as your trunk and tree topper;
- Attach the star topper, bottom tree trunk, and decorative stars to complete the look;
- You can add a loop of ribbon to the top with hot glue, and now you are ready to hang your tree!
How to Make a Craft Stick Santa
- To begin, you will glue together 4 red craft sticks;
- Once the glue has dried, you will add 4 more craft sticks that are half the size, to the top half of the red sticks. You can also paint this half a white or cream color if preferred;
- Add cotton balls to the top half of the Santa to create a beard and face on Santa;
- Cut and add a triangle of red glitter paper to the top to act as a Santa hat. This will be topped by a white pom pom, and then a small loop of ribbon will be glued to the back for hanging;
- The final step will be to add buttons along with the red sticks for his suit, and googly eyes with pom-poms on his face.
How to Make a Craft Stick Snowman
- To make your snowman, you will start by gluing together the 4 white craft sticks;
- Next, you will attach a black craft stick across the top half at an angle to form the hat;
- You will paint the top half of the snowman black to form the hat;
- Cut a small length of red glitter paper and attach halfway down the snowman as a scarf;
- Glue on buttons and draw a simple face before attaching a piece of orange felt as the snowman nose;
- The final step will be to add a loop of ribbon on the back for hanging.
Notes
Have fun decorating each of your ornaments the way you prefer. I love adding sparkly glitter, extra real ornaments to the tree, or even a little felt jacket on the Santa for fun!
Recommended Products
My favorite Etsy Christmas items. (Affiliate Links)
-
 The Gang - Pack of 10 Christmas Cards
 -
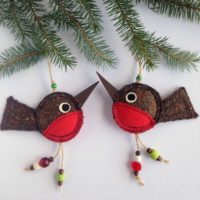 Robin Ornament Christmas Robins Christmas Tree Ornaments
 -
 French Beaded Christmas Tree from Christmas Collection by Lauren Harpster
 -
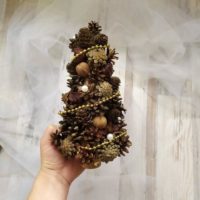 Mini Christmas tree Christmas decoration ornaments
 -
 Family of 3: First Christmas as Grandma & Grandpa Personalized Snowman Ornament
 -
 Snowman light up snowman





Leave a Reply