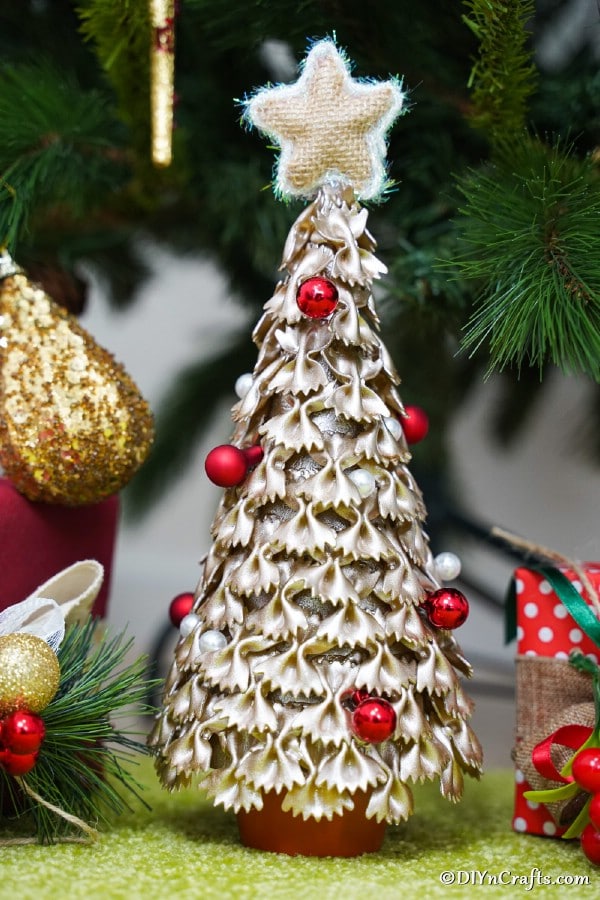
This cute little miniature pasta Christmas tree is a great project to add to your holiday decorations. It is cheap, easy, and super fun to customize to your decor theme for the year. I love that I can make these in varying sizes with different colors of paint to add variety to any room.
If you like this tree, then I know you will love my Christmas tree made out of pinecones or a Christmas tree out of cardstock strips.
Jump to:
Miniature Pasta Christmas Tree
Macaroni arts and crafts are things I loved doing as a kid, so why not as an adult? This little Christmas tree decoration is so easy to make, and after painting looks really elegant. Who knew pasta could be so beautiful?
I've made other fun pasta crafts before, and this is just one of my Christmas ideas. Just recently, I made a pasta Christmas tree ornament to hang on the tree. As you can see, different types of pasta went into this decoration, but the result was still truly adorable. I especially love how easy it is to use pasta for kids' crafts. You don't have to worry about them breaking something expensive or glass that could hurt them.
Need more Christmas tree or decoration ideas? This trick for making a Christmas tree out of an old book is easy and stunning for rustic decor. I also love this miniature Christmas tree craft. There are so many options!
Can I Use Different Pasta Shapes?
Of course! One of my favorite things about crafting is how easy it is to adapt things to what I have on hand. I love how the bowtie pasta looks when layered on this tree because it gives a similar look to real branches. You could use different shapes or styles of pasta if you preferred and make them look like different types of trees. We already have pine, spruce, cedar, and fir trees as real live Christmas trees, why not use different pasta shapes when crafting one?
My tutorial for how to make pasta snowflake Christmas ornament is super cute and it uses a variety of pasta shapes.
What Paint Sticks to Pasta the Best?
Any oil-based paint will work for this craft. Acrylic craft paint is typically my go-to choice, but you can also use spray paint as I did for this craft. Gold spray paint works great as I can cover the whole area quickly, and it will dry faster than other paints. Plus, it adds a shimmer that you can't always get from other paint types.
Tip: Look for glitter paints for an added sparkle on your tree!
Make sure to print this countdown to Christmas printable and setup on your mantle for the kids to watch as Christmas gets closer!
What Do You Use as the Base For this Pasta Christmas Tree?
The base for this Christmas tree made out of pasta is a simple small terra cotta flower pot. These are often on sale for less than $1 at the garden center, so I will pick up several and tuck them away for crafting projects. If you don't have access to a little flower pot, you can use a block of wood, a candle, an old glass, a shot glass, or any number of items you don't mind covering with this tree design.
If you are making this with the kids, make sure to prepare some of these cute Christmas tree kids snacks ahead of time to surprise them while you work.
Supplies Needed
- Bowtie pasta
- Cardboard or thick cardstock paper
- Small terra cotta flower pot
- Gold spray paint
- Miniature Christmas ornament balls
- Burlap
- Styrofoam piece (in star shape if possible)
- Scissors
- Hot glue gun and glue
- Stapler
- Ruler
- Pencil
How to Make a Christmas Tree From Pasta
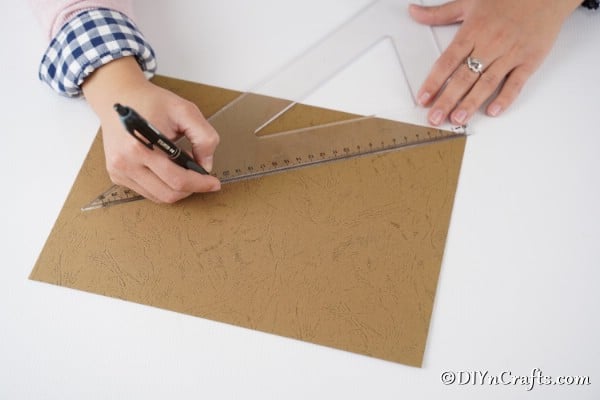
To begin making the tree shape, you will use your ruler and measure out a 21cm (8.25") arc on the cardboard.
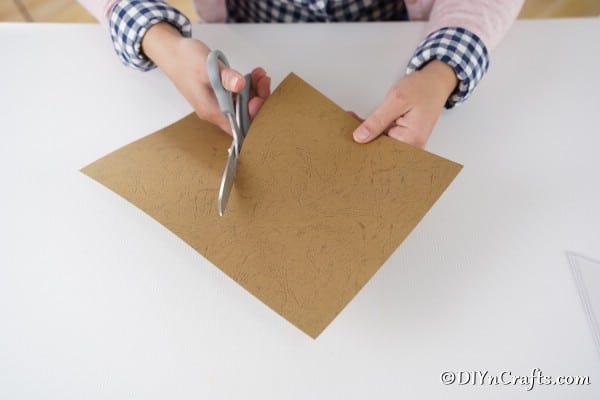
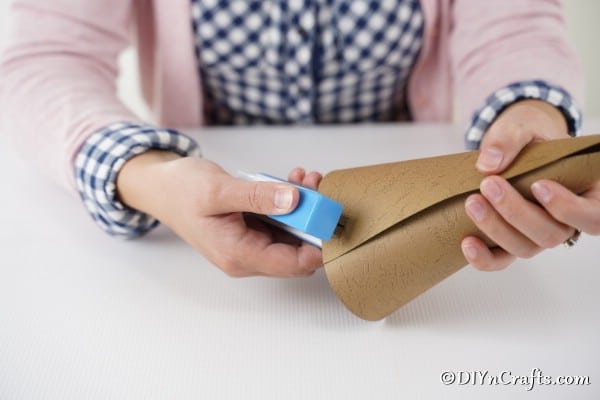
Next, you will cut the arc out of the cardboard with scissors and attach the ends together in a cone shape using a stapler (or hot glue if preferred, but the stapler holds best).
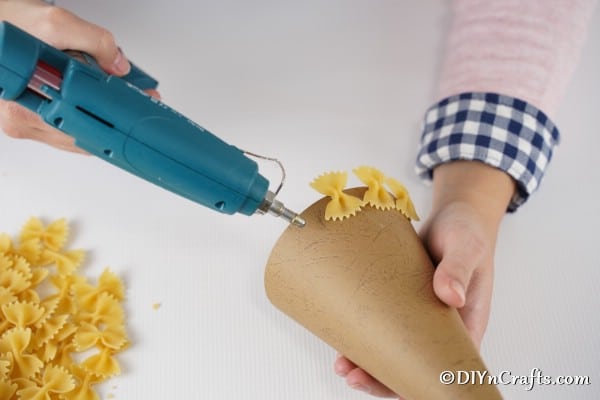
The next step is using hot glue to attach the pasta to the cardboard cone. You can follow a pattern to go in one direction as I did, or you can make your own preferred pattern. Just make sure all of the cardboard is covered completely. I started from the bottom and worked my way up to the top.
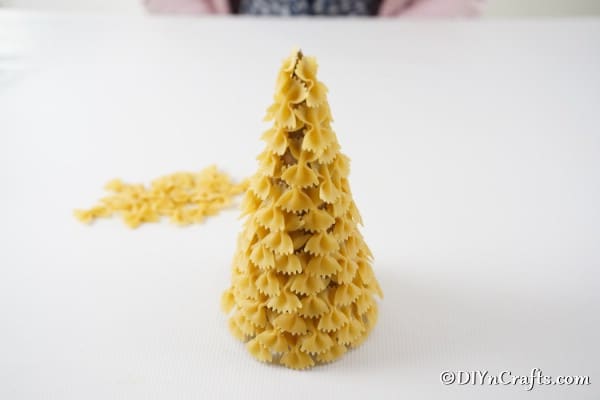
Continue adding until the whole cone is covered and set aside for a few minutes to let the glue completely dry before painting.
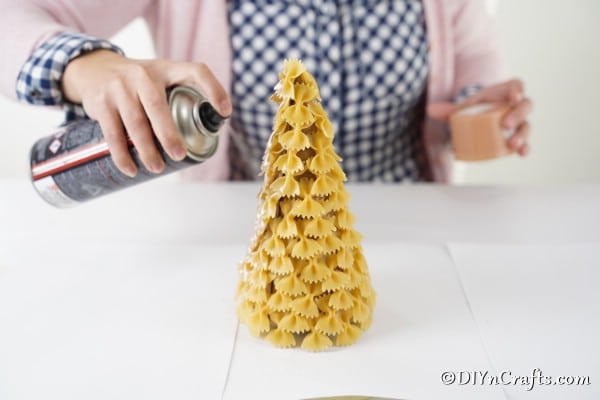
To paint your pasta Christmas tree, you will need to make sure you have a covered work surface or take this outside for safety. Simply coat the tree on all sides until it is the desired color and consistency of paint you want.
While the paint is drying on the tree, you will move on to make your star topper.
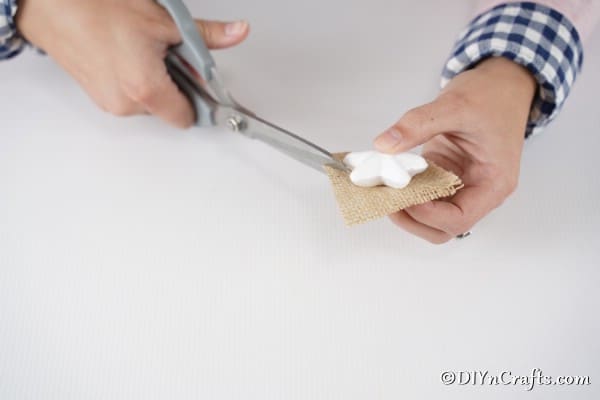
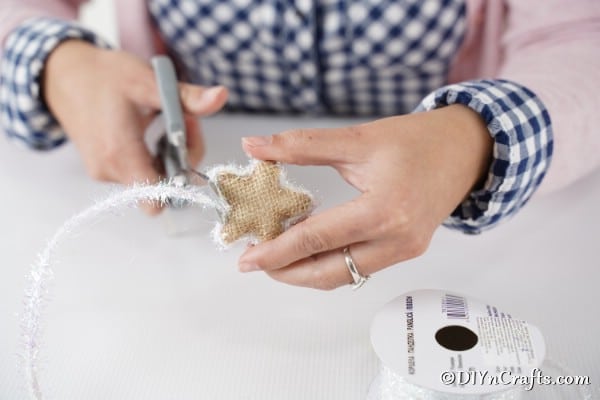
Find or make a simple styrofoam star shape and wrap it with a piece of scrap burlap.
You can also add a decorative ribbon around the edges if desired or needed to cover any open areas.
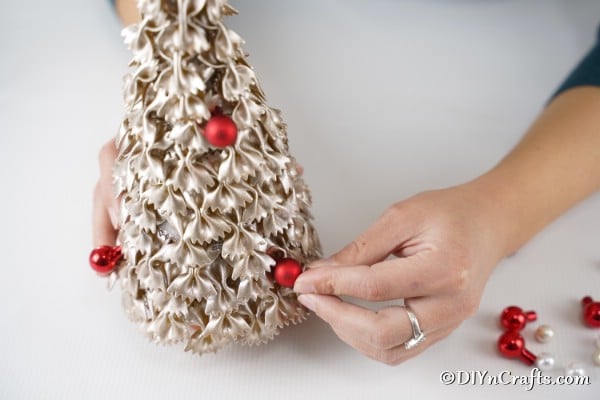
The final steps for this tree are for you to hot glue small ornaments in various areas. Add as few or as many as you like with a dot of glue.
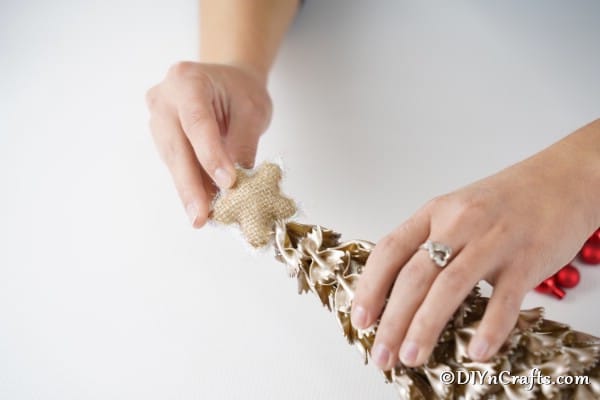
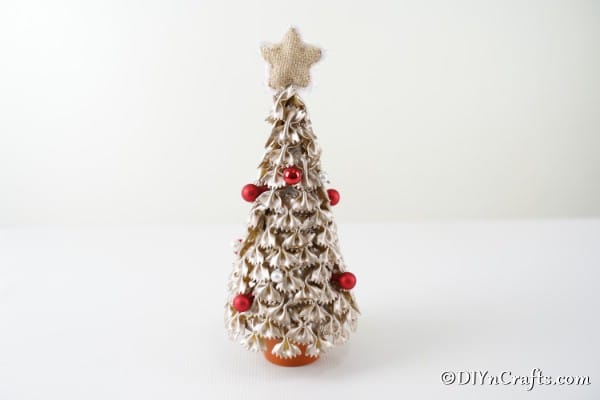
Top the tree with your burlap star, and set it on the flower pot to steady as you display it on your mantle.
Video Tutorial:
Printable Step-by-Step Photo Tutorial:
DIY Miniature Pasta Christmas Tree Decoration
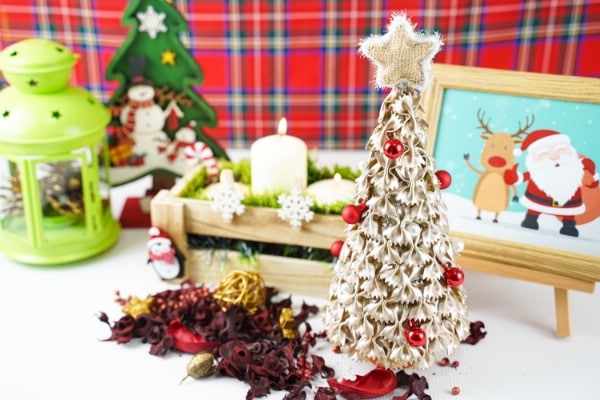
This simple Christmas tree from pasta is a perfect way to add a fun tree to your holiday decorations! Made in minutes, it's a great project for kids to help you create!
Materials
- Bowtie pasta
- Cardboard or thick cardstock paper
- Small terra cotta flower pot
- Gold spray paint
- Miniature Christmas ornament balls
- Burlap
- Styrofoam piece (in star shape if possible)
Tools
- Scissors
- Hot glue gun and glue
- Stapler
- Ruler
- Pencil
Instructions
- Begin by measuring your arc that will be a cone for the tree on a piece of cardstock or cardboard. I made mine a 21cm (8.25") arc. Place the pencil marks at 21cm, and then connect the dots to make an arc shape;
- Cut the arc out of the paper or cardboard and attach the ends together in a cone shape with a stapler;
- Next, you will begin gluing the pasta onto the cone with hot glue;
- Continue this process until the entire cone is covered. I used a pattern starting at the bottom, but you can attach them however you prefer;
- Now, you will lay down paper or take the cone outside and spray it all over with gold spray paint;
- Set the tree aside to dry and begin cutting out the burlap to attach to a styrofoam star or the tree topper;
- Wrap the star with burlap and secure with glue. You can add a bit of lace or ribbon around the edges if desired;
- Attach the star to the top of the tree with hot glue;
- Now, you can glue the miniature ornaments onto your tree;
- Place the tree on top of the mini flower pot and display.





Leave a Reply