You are going to love how adorable this pumpkin ornament is! Such a cute idea to add to your Halloween or Thanksgiving decorations plans. Styrofoam balls, some scrap fabric, and a bit of time are all you need to make this fun little addition to your decor.
This would go perfectly on one of these fun Halloween tree ideas!
Jump to:
Pumpkin Ornament
I am always looking for ways to repurpose scrap fabric into a fun new craft idea. This pumpkin ornament came to me when I was trying to come up with some fun new Halloween decorations ideas. In my craft area, I almost always have not just bits of fabric but various sizes of styrofoam balls lying around. They just come in handy in so many ways. When I saw them in a basket, this idea popped into my head, and I was totally in love with how it turned out.
This little pumpkin ornament would go great with my pumpkin button wall art and even fit alongside this fall decor pumpkin yarn garland.
Where Can I Display This Pumpkin Ornament
I've already mentioned how cute this would look hanging on your Halloween tree, but that's not the only way to display such a cute ornament. You can easily fit this into any of your fall decor ideas.
I love how this looks alongside other fall-themed items like nuts, apples, pears, and hay in a cornucopia or wooden basket. You can also attach strings to the top and hang from a garland along your mantle. If you make these in various sizes, you could hang larger ones from the ceiling for your holiday-themed parties. In fact, a large pumpkin ornament is an ideal centerpiece for your Thanksgiving table!
What Type of Fabric Should I Use for This Pumpkin?
You can really use any fabric you have on hand, but I believe a thicker fabric works best for this project. You want it to cover the styrofoam ball so that none of the white shows through the cloth. Thinner pieces might not be as nice for this project.
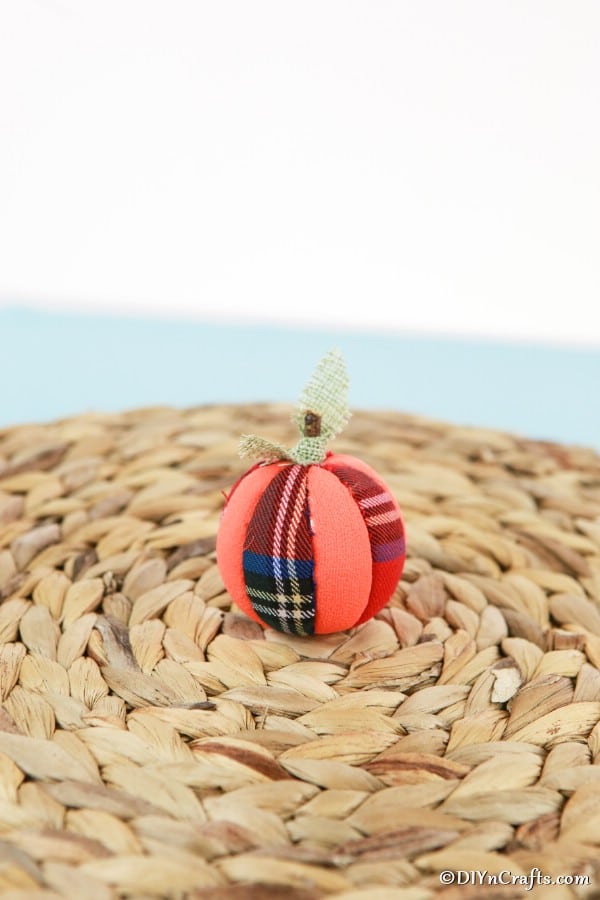
I love the idea of using plaid, felt, or any solid, thicker fabric that has a harvest tone. Orange, yellow, gold, rust, maroon, and green are favorites, but you can easily mix in some deep red, blue, and brown for a unique and beautiful pumpkin ornament.
Supplies Needed
- Styrofoam ball
- Scrap fabric
- Small twig/branch
- Craft knife
- Scissors
How to Make a Pumpkin Ornament
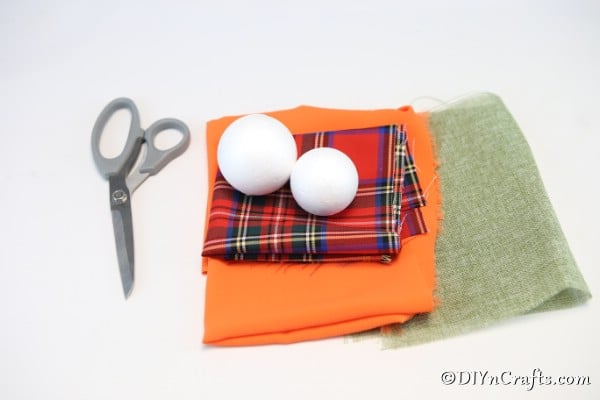
To begin, gather all of your supplies together to set up your work area.
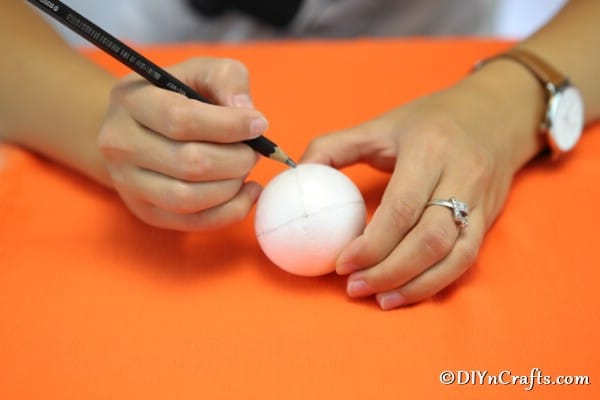
Once all of your supplies are in order, you will use a pencil to draw down the styrofoam ball, separating the surface into 8 equal "pieces." Think of it like cutting a pie. You can draw around once, then halfway between the lines, again, and then again to create the 8 sections.
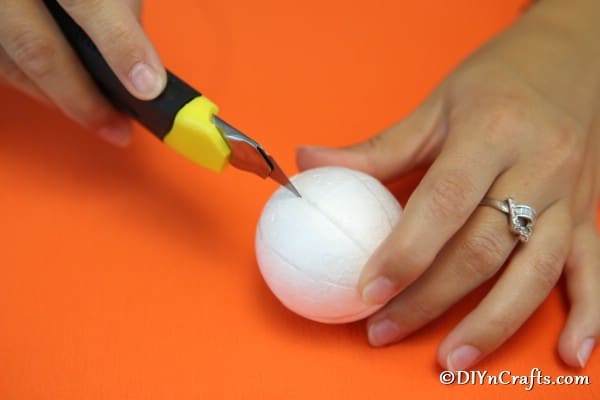
After you have traced the lines, you will use a craft knife (I like the Xacto knife), and you will trace the lines you drew to cut the styrofoam ball. You just want to make a slight cut along the lines for the fabric to adhere to inside.
Once you have made the cuts, you will then place your fabric over the pumpkin and trace out pieces the shape and size of each "piece" you have sectioned.
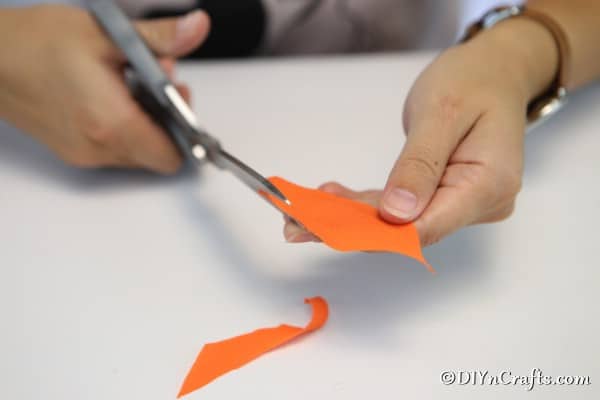
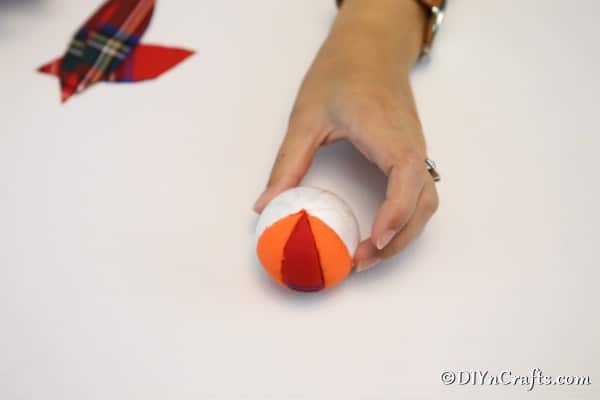
Next, you will cut the fabric into strips. I used 4 orange and 4 plaids. You can mix and match or keep all the same color depending upon your preference. As you cut the strips of fabric, cut slightly larger than the outline so there is enough to fit tightly into the crevices of the ball.
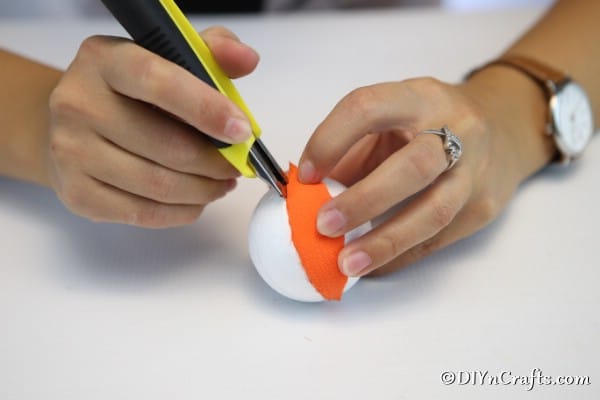
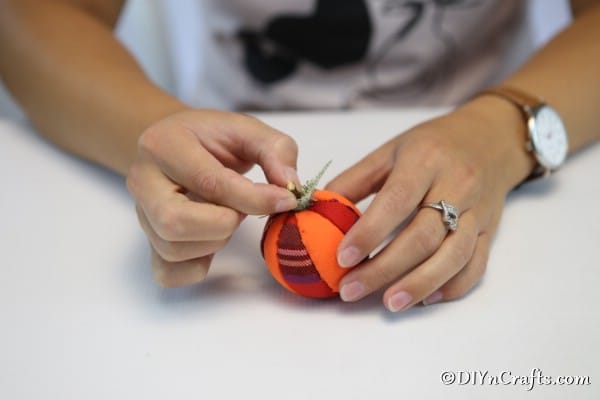
Next, you can stuff the fabric on the ball, tucking edges into the crevices until the whole styrofoam ball is covered.
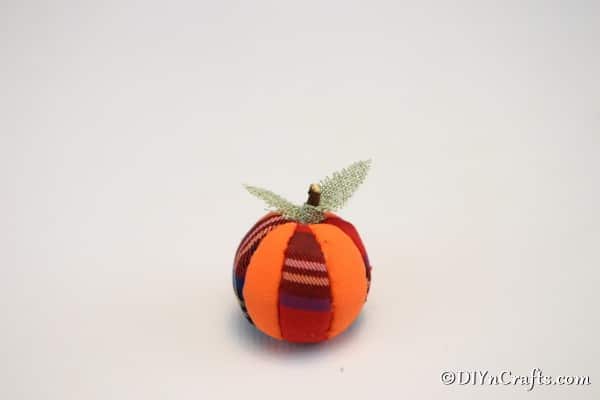
Your final step will be to push a small twig down into the top center to create a stem. You can add a leaf to this with glue if you desire.
Video Tutorial:
Step-by-Step Printable Tutorial:
DIY Pumpkin Ornament Fall Decorations Idea
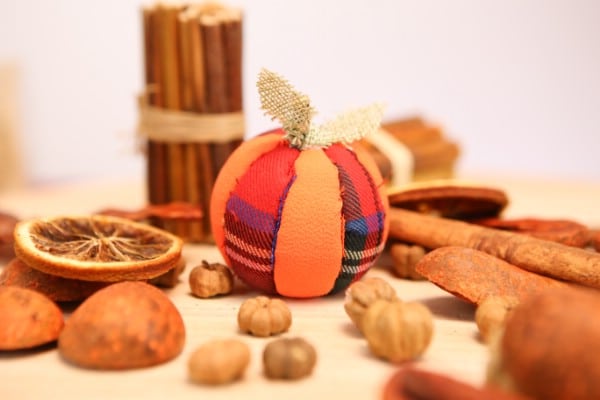
This adorable pumpkin ornament is a cute addition to your fall decor! Simple fabric and styrofoam balls turn into adorable simple ornaments to add to your fall decor!
Materials
- Scrap fabric
- Styrofoam ball
- Small branch or twig
Tools
- Xacto Craft Knife
- Scissors
Instructions
- I begin all craft projects by gathering my supplies and having them on my workstation within easy access;
- Your first step will be to use a pen or pencil to draw lines around the ball creating 8 pieces. Like segments of an orange;
- Next, you will use your craft knife to cut down each of these lines. You do not want to cut through the ball, but just a small indentation to allow you to tuck the fabric into the groove;
- Once the pieces have been cut, you will place your fabric scraps on the ball to trace an outline of the segment;
- Cut the fabric following your outline, but cutting slightly larger than the area so you have enough room to push this into the grooves;
- Once the fabric has been cut, you will place the fabric into the groove, and push lightly with your knife or a pen to tuck in and secure;
- Alternate colors to create fun patterns;
- Once you cover the entire ball, you will push the branch or twig into the top center of the pumpkin;
- You can add a fabric leaf to the twig if you wish;
- Once completed, you will display as you prefer;
Recommended Products
My favorite Etsy fall decor items.






Leave a Reply