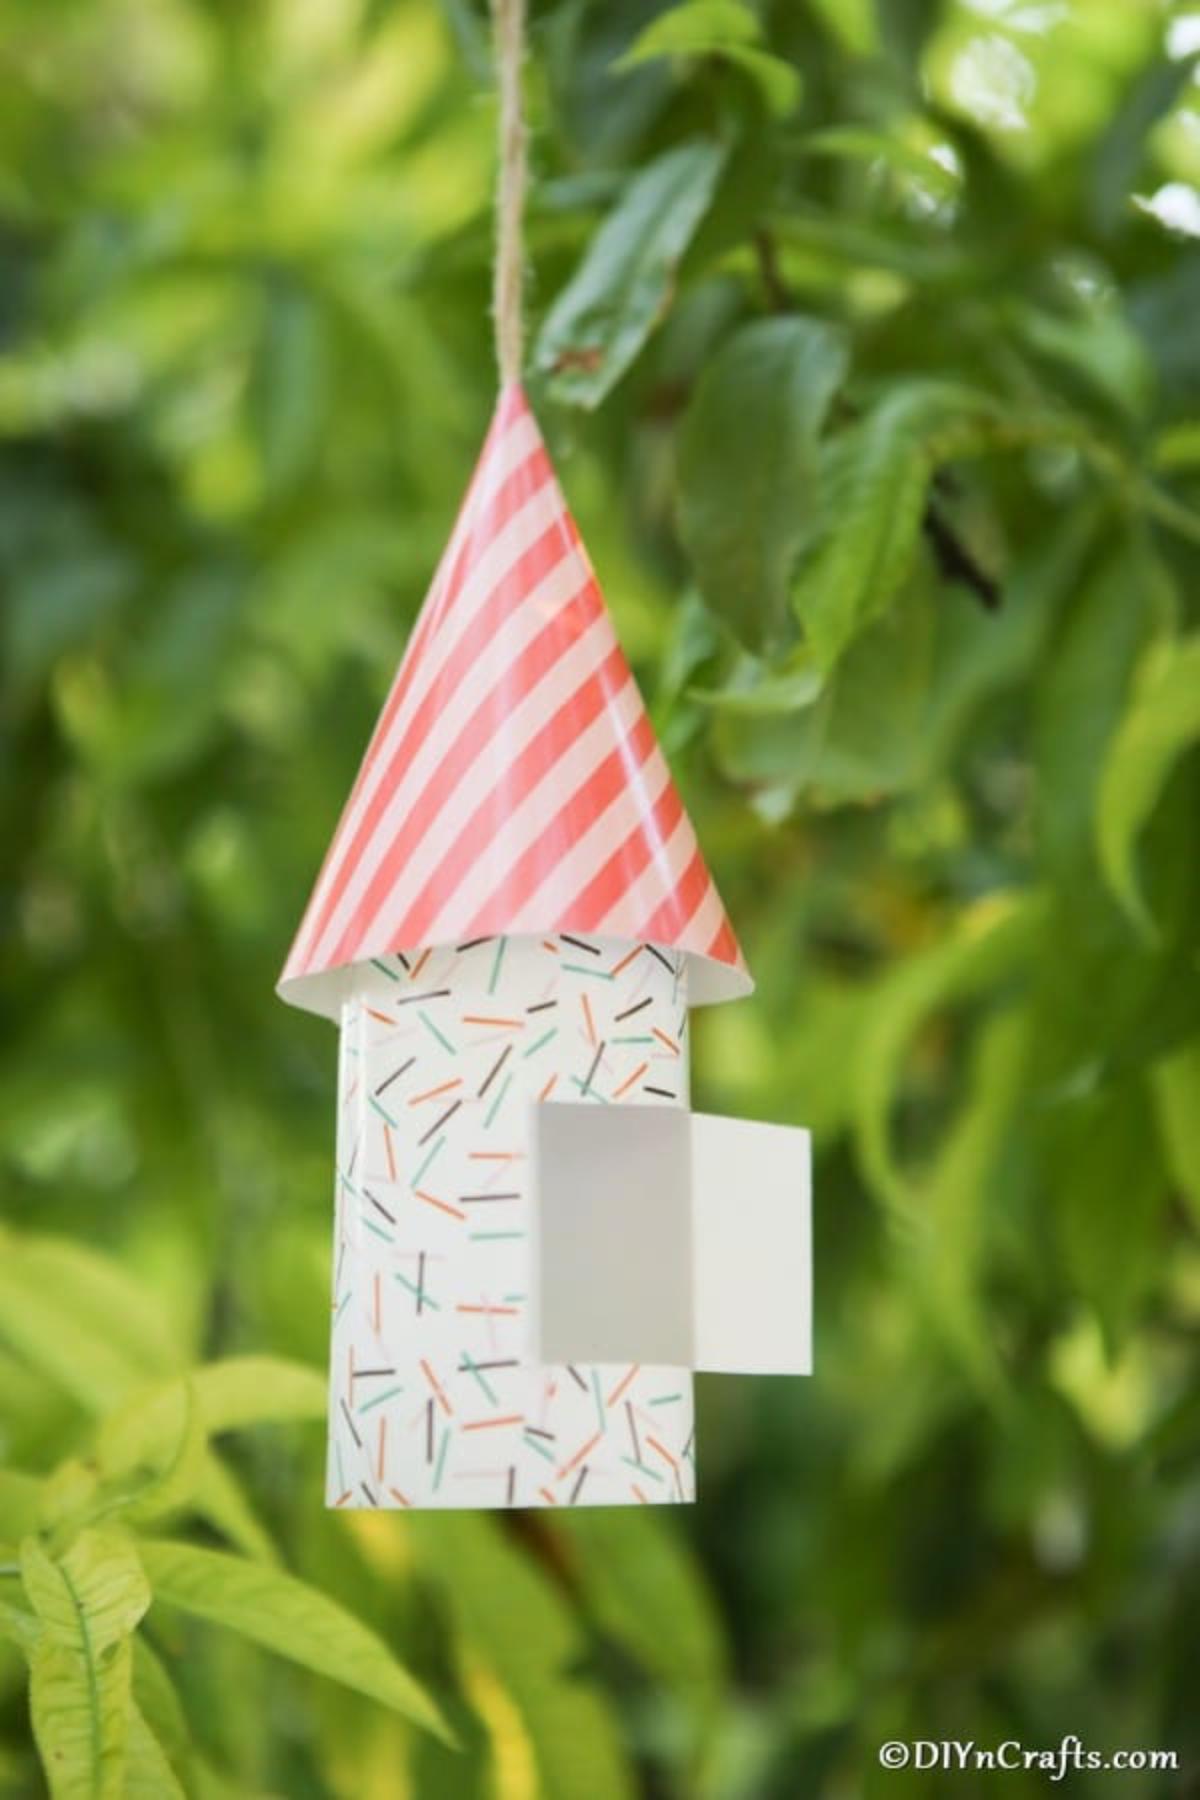
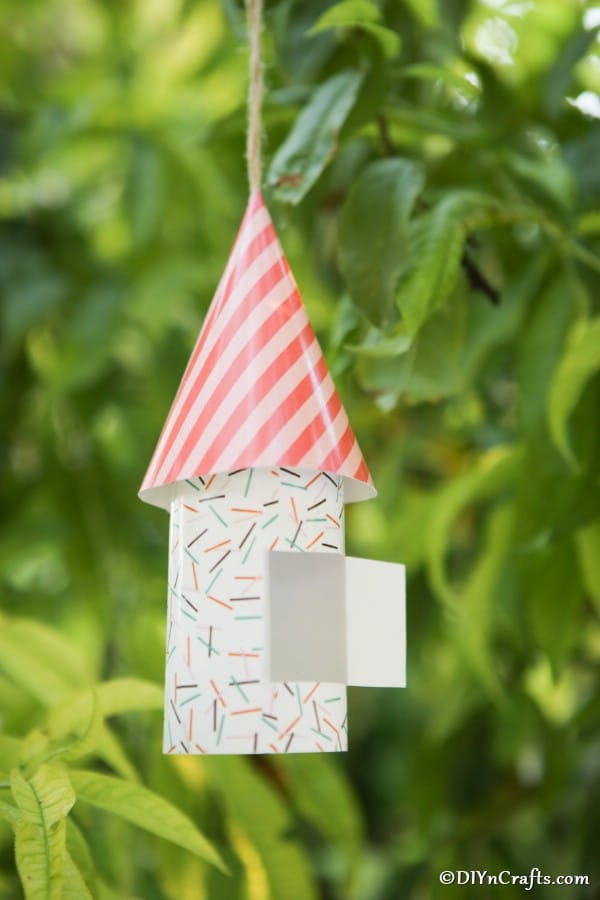
If you have a garden then you need a gnome house made out of paper! This craft is one that is super easy to make and hang outside in trees or place on shrubbery in your garden or around your house. All you need are a few pieces of printed paper, scissors, glue, and something to hang them. It is such an easy craft to make with your kids, too!
Check out this list of fairy garden ideas for your home that go great with the gnome house idea!
Jump to:
Paper Gnome House
I just love gnomes! The cute little creatures show up in gardens all the time, and even at the holidays. (Check out my rice sock gnome for Christmas!) So, I decided to add some to my garden with little paper-crafted houses.
I love that this is one of those crafts I can make in just a few minutes using stuff I already have on hand in my craft boxes. It's even easy enough that kids can help you make one or two with their own unique color preferences.
What is the Best Paper for These Gnome Houses?
The great thing about this craft idea is that you can use really any paper you want to use. I like stiffer craft paper as it makes it easier to hold up and work with, but you could make this house with any paper.
When local hobby stores are on sale, I like to grab a ton of different patterns and colors of paper for crafting. Michael's and Hobby Lobby often have large pieces of patterned craft paper for 4/$1. Sometimes I even see them on sale for 10/$1! When that is the case, I like to get pieces with these fun patterns.
You could also use a pattern you find online and print on regular copy paper if you wanted. I've even had my kids use plain white paper and draw their own designs for use in these types of projects.
Will the Gnome House Last Outside in the Rain?
As they are? No, they will not last outside in the elements. The paper, when wet, will begin to crumble and fall apart if you want to take extra time to spray these with a sealant.
They may work outside in the rain. I would recommend testing inside on some you don't care about before hanging them outside if you expect a rainstorm.
Where Can I Display My Garden Decorations?
This gnome house craft is perfect for hanging in the garden on shrubs, plants, and trees. You can also use this as a great project for making fairy houses around the garden.
I've even seen these used as decor for a garden gnome or fairy-themed party! They are tons of fun to make and decorate with custom themes for parties!
Supplies Needed
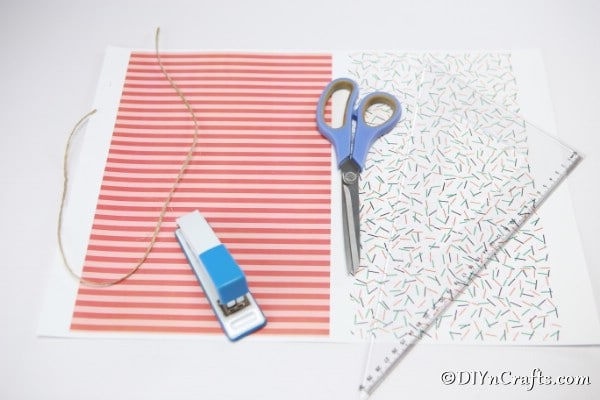
- Printed or colored paper
- Glue
- Thread
- Scissors
- Craft knife
- Ruler
How to Make a Paper Gnome House
Gather all of your supplies together and set them out within easy reach.
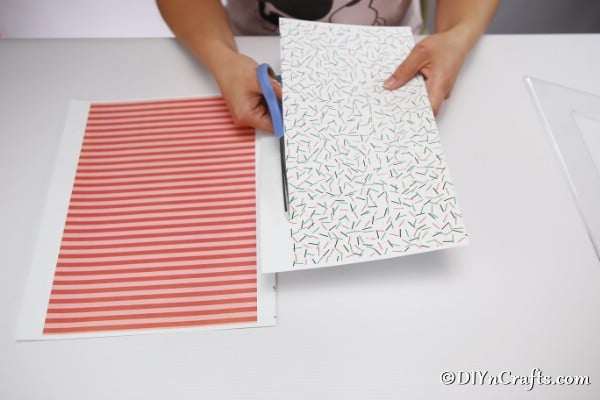
Pick the color of paper you want to use as the base of your house. You will then cut it into a strip the width you want to create the height of the house base.
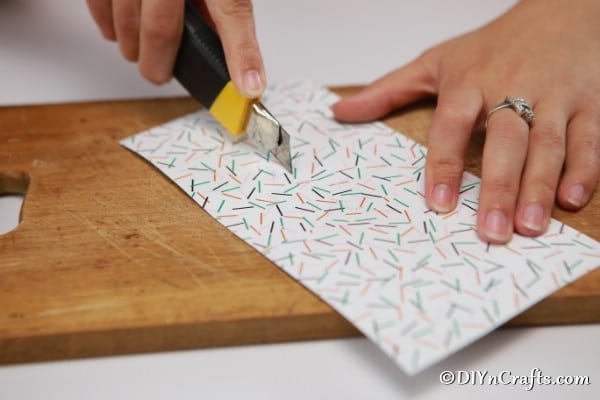
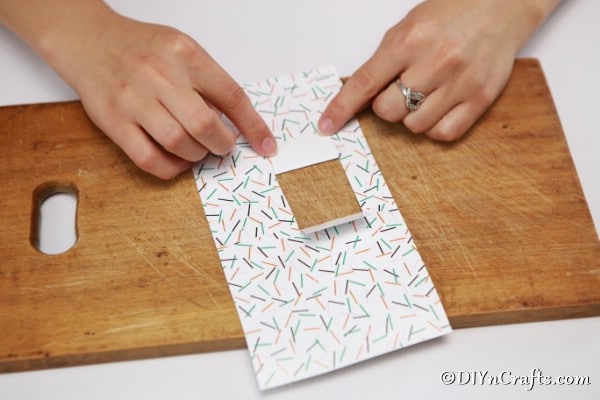
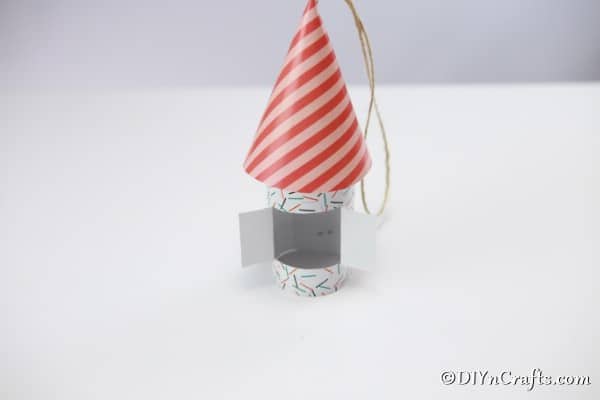
Before you connect this, fold the paper in half, and using the halfway mark, cut 1"-2" up into the paper to create the little house door.
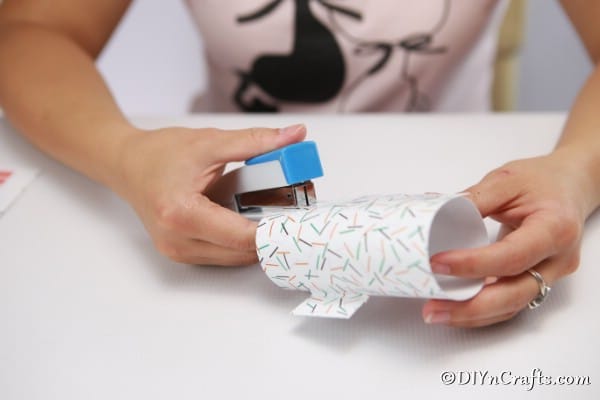
Attach the ends forming a tube. I used glue but you can also use staples if easier.
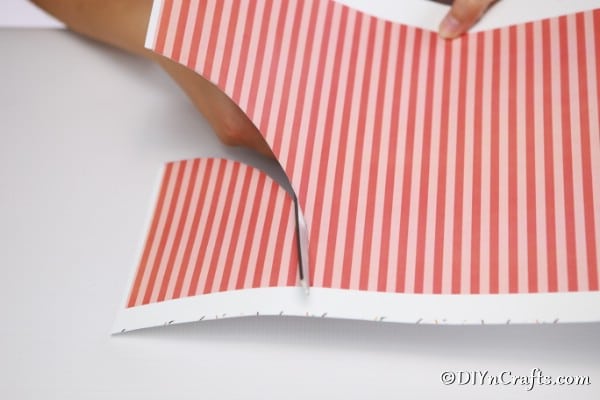
Cut a cone shape out of the other color or patterned paper. To do this, you will cut a half-circle shape and then roll to connect with the point on top.
Make sure it fits to sit over the base of your house, then staple or glue the ends together to make a cone.
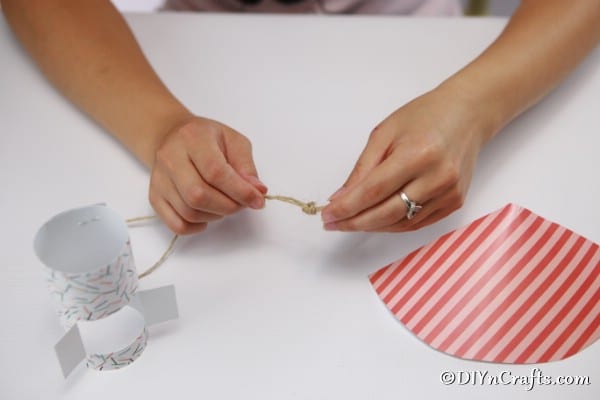
Using a length of thread, ribbon, or fishing line, create a knot on one end of the thread, then push through the middle of the pointy end of the cone.
The knot should be on the inside of the cone. Then, you can create a small loop at the top of the thread for hanging the house onto a tree or shrub.
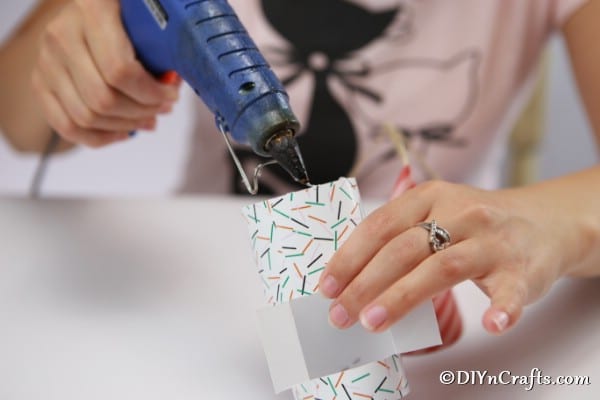
Using glue, attach the base to the cone on top of the house.
Let the glue dry completely before hanging.
Video Tutorial:
Printable Step-by-Step Photo Tutorial:
DIY Paper Gnome House Garden Decor
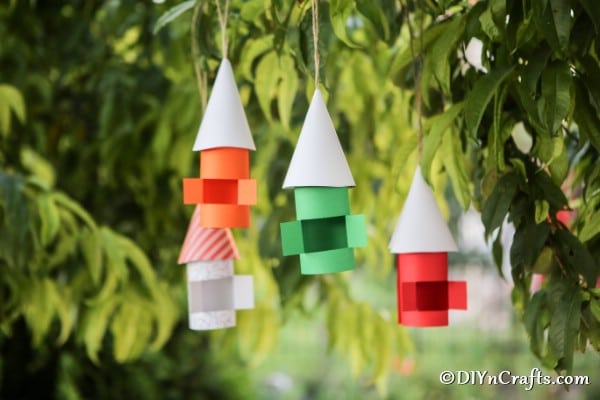
This Paper Gnome House is the perfect easy and cheap garden decoration! Whip this up with paper, glue, and a few minute's time!
Materials
- Patterned or color craft paper
- Thread for hanging
Tools
- Glue or staples
- Scissors
- Craft knife
Instructions
- To begin, you will pick out at least two colors or patterns of paper to use;
- Begin by cutting a length of paper to roll and connect to make the house base;
- Before you connect this, fold the paper in half and using the halfway mark, cut a small door using the craft knife;
- I cut a slit about 1" from the bottom of the paper, and then sliced around that to make both sides open as flaps for a door;
- Next, attach the ends together using glue or staples to form a tube base;
- To cut out the top, cut the paper in a half-moon shape then roll and connect or staple together to form a cone shape;
- Make sure to measure and see that it will set on the top of the base to fit well;
- Using thread, fishing line, or a ribbon, cut a length and tie a knot in one end;
- Thread the line through the middle of the cone so that the knot is on the inside and keeping the line from pulling all the way through;
- Next, tie a small loop at the top for hanging;
- Attach the cone to the base with glue or staples, then display as desired.







Leave a Reply