I absolutely love how easy it is to turn mason jar lights into a fun Halloween mummy lantern! A few empty glass jars, some paper glue, googly eyes, and your imagination are all you need to create your own unique lanterns to light the way this Halloween!
Love mummies? Make sure you add our mummy pizzas recipe to your Halloween party menu.
Jump to:
- Mason Jar Lights for Halloween
- What Are the Best Jars to Use for this Lantern?
- Can I Paint this Mason jar Lights Craft Instead of Wrapping it Like a Mummy?
- Supplies for Mummy Lantern
- How to Make Mummy Mason Jar Lights
- Video Tutorial:
- Step-by-Step Photo Tutorial:
- Materials
- Tools
- Instructions
- Recommended Products
Mason Jar Lights for Halloween
Lanterns and fun luminaries are one of my favorite things to make when I want to add holiday decorations to my house. They are super versatile, functional, and typically really inexpensive. This idea to make mason jar lights is now a favorite Halloween decoration on my list!
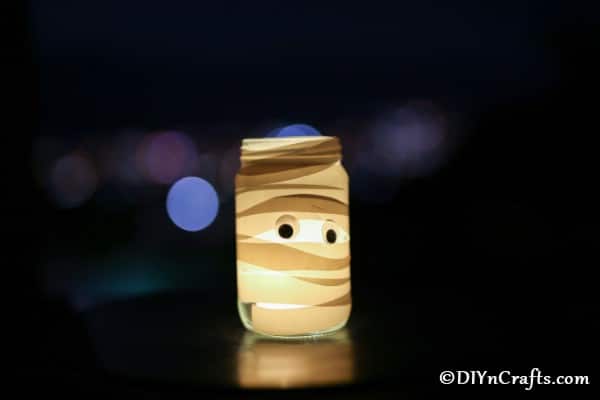
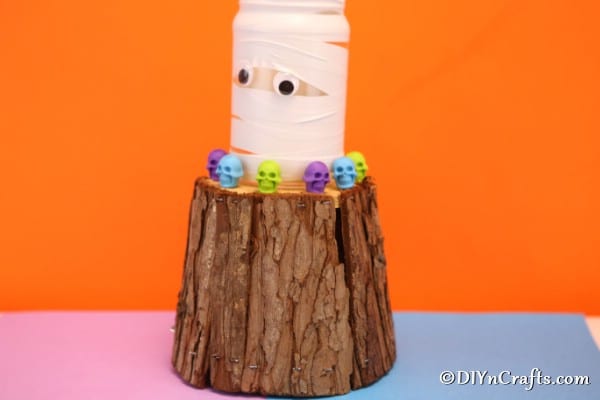
These jars are great for sitting in the middle of your table for a Halloween party. You can set them up as a centerpiece, or you can even add them to stairways or on your front steps to light the way.
Want something to make with the kids for Halloween? Get them to help you with this fun list of easy Halloween kids crafts. So many great ideas on the list to create the ultimate Halloween decorations for your home or party.
What Are the Best Jars to Use for this Lantern?
My preference is obviously a nice, wide-mouthed mason jar. While I typically have these in my kitchen from various canned foods I have made, I know they aren't always readily available.
If you don't have mason jars handy, you can easily use any wide-mouthed glass jar. Pickles, mayonnaise, and other condiments often come in these jars. Simply wash them out well and peel off the label. You could also use a plastic jar or glass jar you found at your local dollar store. Since you don't need a lid on top of this, it's even easier to find random jars to use.
Pick a few different sized jars to make a family of mummies! No two are alike, so you don't have to worry about making them look perfect.
Can I Paint this Mason jar Lights Craft Instead of Wrapping it Like a Mummy?
I find that using paper tape on this project is the easiest way to make a mummy lantern. You can, however, use rolled gauze and glue it to the jar. I always found it tons of fun to grab rolled gauze and, when playing Halloween games, pretend I was a mummy and wrap myself in it! The same idea would work on this jar.
You could even paint your jar if you wanted. If you choose to paint your jar, you will want to make sure it dries completely before you add it to your table display for Halloween. When painting a jar as a mummy, you can use not just white paint but also hints of gray or tan to look more like an old weathered mummy would appear.
There are many variations on turning a jar into a mummy, but if in a hurry and wanting minimal mess, the paper tape method is easiest.
Supplies for Mummy Lantern
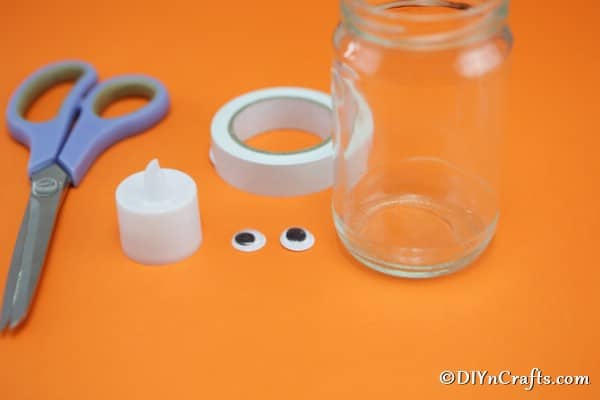
- Mason jar or wide-mouthed jar
- Paper tape (sometimes called paper glue)
- Googly eyes
- Battery-operated tealight candle
- Scissors
- Hot glue gun and glue
How to Make Mummy Mason Jar Lights
Begin by gathering up your supplies. I suggest using paper tape, but you may choose an alternate method listed above. If you want to use paper tape, you will most often find two varieties. There is one that is often found in the hardware department to wrap pipes and one that is found in first aid to help secure gauze. They have different textures, but I would recommend the first aid paper tape is the best option.
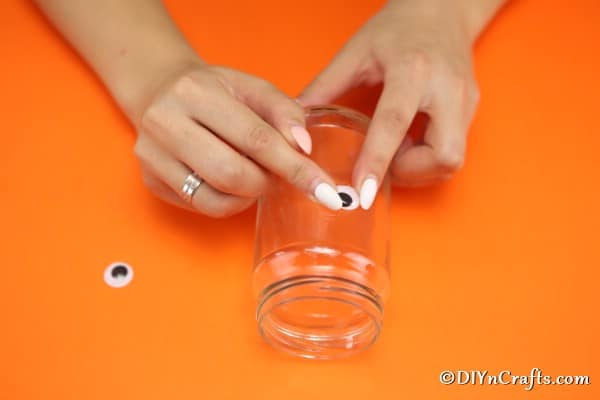
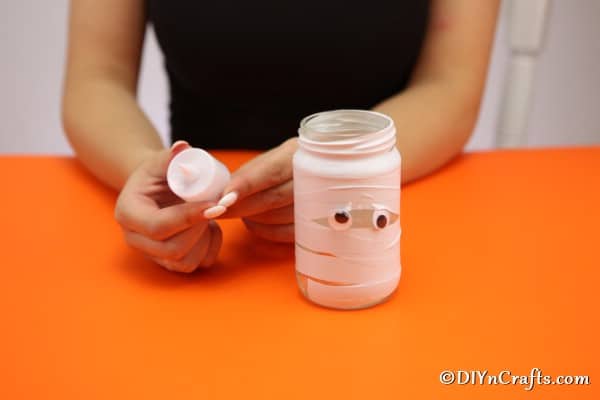
Once your supplies are in order, you can place your googly eyes onto the jar. I put mine about ¾ of the way up the jar. Secure these with hot glue. I chose the same size eyes, but you could definitely make it more spooky by using one small and one large eye.
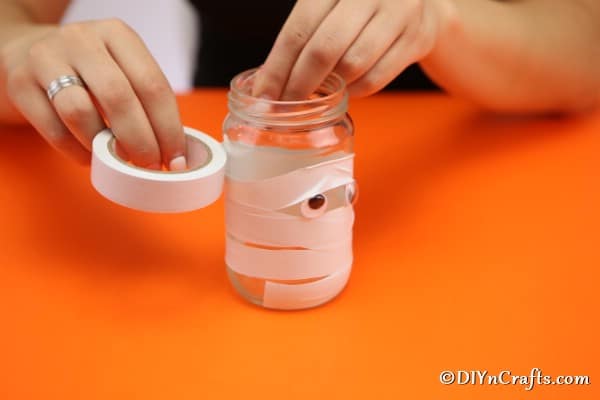
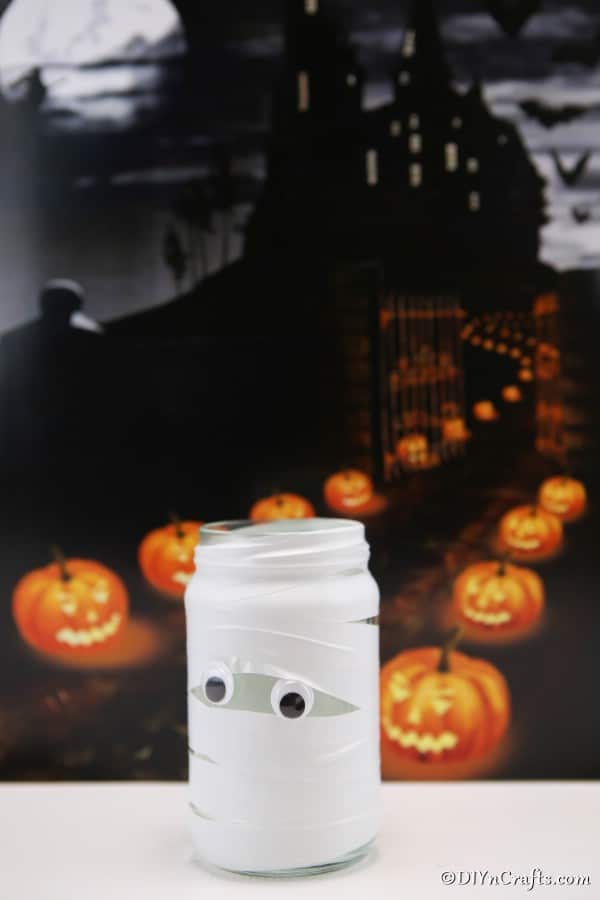
Next, you will begin taking the paper tape and wrapping it around the jar, leaving small gaps here and there so it looks like a real mummy. Since it is sticky on one side, it will be easy to secure as you move along.
Overlap layers as you wish, and if you run out and have to use another roll, just wrap over it so it looks like a loose end. This process isn't perfect.
When you get to the area with the eyes, do not cover them, but feel free to have part of the paper tape across the edges. This creates a more authentic look.
All you have to do now is choose where you want to display your mason jar lights mummy and place your battery tealight inside!
Video Tutorial:
Step-by-Step Photo Tutorial:
DIY Mummy Mason Jar Lights Decoration
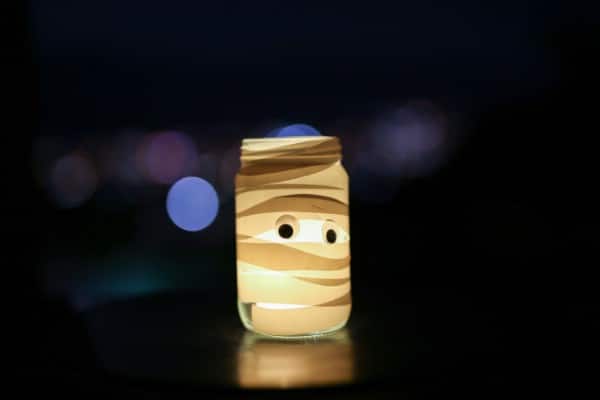
Have fun making mummy mason jar lights to use as Halloween lanterns at your next big spooky party or event!
Materials
- Paper tape (sometimes called paper glue)
- Googly eyes
- Mason jar or wide-mouthed jar
- Tealight battery operated candle
Tools
- Scissors
- Hot glue gun and glue
Instructions
- Place all of your supplies on your workstation to get ready for creating your mason jar lights;
- Begin by adding your googly eyes to the jar about ¾ of the way up. I used the same size eyes, but you could use one big and one small for a spookier appearance;
- Next, you will begin wrapping the paper tape around the jar. Leave gaps here and there to allow light to show through and make it look more natural;
- When your paper tape is close to where you placed the eyes, leave a gap around them, but you may want to add the tape along the edge of the eyes so they look more authentic;
- Once you are happy with the appearance of your layers of tape, you can drop the tealight candle into the jar;
- Setup your mason jar mummy lantern along dark paths, stairs, or just as a centerpiece on your table;
Recommended Products
As an Amazon Associate and member of other affiliate programs, I earn from qualifying purchases.





Rosanna Catlin
Way to go... I love this... I think I will have to make some of them for our New Apartment for Halloween Next year... But will be making them and everything else you have made... My Grandson will be more interested in the making of them also.... Thank you for sharing this WITH ME AND EVERYONE ELSE
Vanessa Beaty
Aww thanks for the kind words Rosanna, glad you and your grandson have a good time with my projects! 🙂
Behealthiers
Begin wrapping the bandage around the jar, making sure not to leave any gap between the wrap. You can apply glue onto the jar as your are wrapping it to keep the bandage secure.