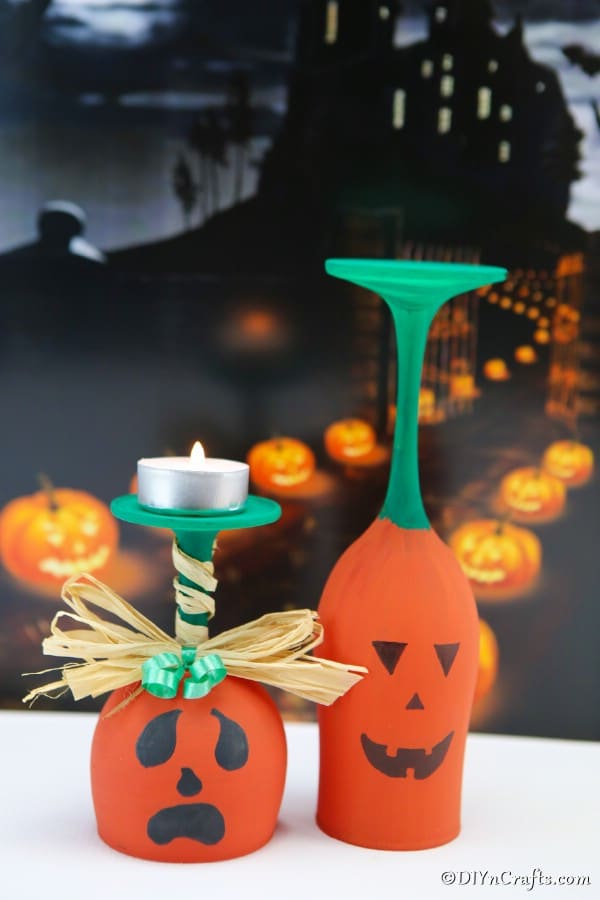
Fall is here, and it's time to have fun making some unique pumpkin art decorations for your home. I love this simple wine glass pumpkin idea! With a bit of paint and some inexpensive wine glasses, you have a super cute fall decor piece for your home!
If you are looking for more beautiful rustic decorations for fall, don't miss these DIY fall centerpieces. So many beautiful options to update your home easily for the season!
Jump to:
- Pumpkin Art from a Wine Glass
- Where can I buy cheap wine glasses?
- What is the best paint for painting glass pumpkin art?
- Can these wine glasses be used to drink from?
- Supplies for making a wine glass pumpkin
- How to make wine glass pumpkin art decorations
- Video Tutorial:
- Printable Step-by-Step Photo Tutorial:
- Materials
- Tools
- Instructions
Pumpkin Art from a Wine Glass
You already know I am the queen of repurposing everyday items. It should be no surprise that painting wine glasses to make them look like something totally different is a new passion of mine. I've already made rustic candle holders and wine glass tealight candle holders out of discarded glassware. Why not turn one into a pumpkin for Halloween?!
I love that I can hop over to my local dollar store and pick up wine glasses for just $1 each. I already have craft paint in my craft supply cabinet. So, this project can be as little as $1 our of pocket per glass. Perhaps even less if you pick up glasses for a lower price.
Where can I buy cheap wine glasses?
This is the most important question for making this adorable pumpkin art glass. Wine glasses can be an expensive item when you buy quality brands, but for this project, you just need a simple glass.
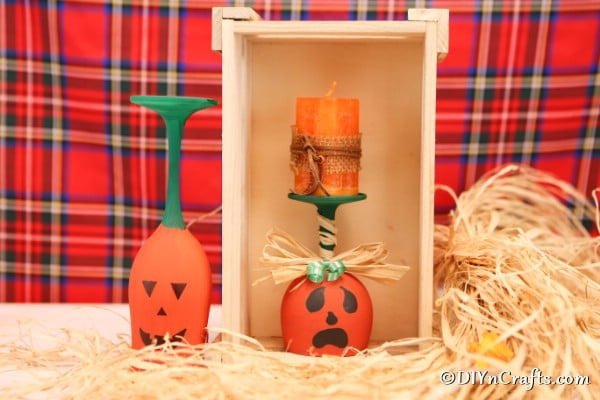
As you can see, I used two different types of wine glasses for my pumpkins. That means you can use really any glass that has a long stem. I bet a martini or margarita glass would even work for a uniquely shaped pumpkin.
I have found inexpensive glassware at dollar stores, bulk warehouse club stores, yard sales, thrift shops, and of course you can buy wine glasses on Amazon for a lower price. The best prices often come from ones I have picked up at thrift shops. They are an excellent place to find glassware for under $1 per piece.
You can check out some of the fun Christmas wine glass ideas that I have done in the past using thrift shopped glasses. This shows you that an expensive glass definitely isn't needed for a wine glass-painted craft.
What is the best paint for painting glass pumpkin art?
For this project, I used just basic craft paint. You can pick up acrylic paint or enamel paint for making pumpkin wine glasses. The difference really depends upon the finish you want.
Since this piece is not an art glass piece you will be putting into a kiln to set, the type of paint you use really isn't as important as how it fits into your budget and the colors available.
While I haven't used it for painting glass, you could also try tempera paint. Since it comes in powdered form, it is great for buying in bulk and keeping on hand but not having to worry about it drying up or going bad before you can mix and use it on your projects.
Can these wine glasses be used to drink from?
No. While the glass itself is safe to drink from, once they have been painted they cannot be used as a beverage glass any longer. Since you cannot seal the paint or cure it to not wash off, it isn't feasible to use this for wine any longer.
Additionally, there would be concern about chemicals in the paint being ingested, and while most likely non-toxic, it still wouldn't be pleasant.
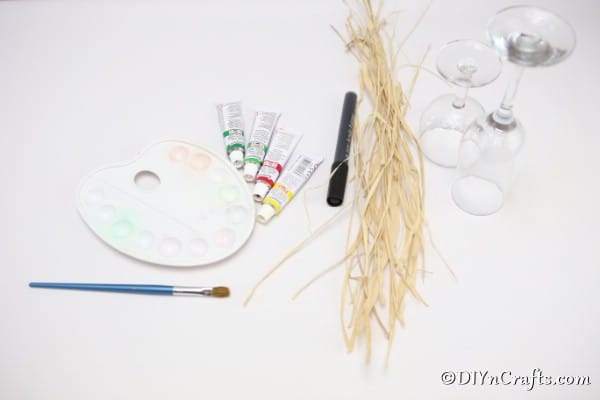
Supplies for making a wine glass pumpkin
- Wine glass(s) in size and shape preferred
- Craft paint in orange, green, and black
- Paintbrush
- Black permanent marker
- Decorative straw or twine
- Hot glue gun and glue
- Tealight candle (I prefer battery operated for safety, but if using for decor only, any candle will work)
How to make wine glass pumpkin art decorations
To begin, I like to wash and thoroughly dry my glasses for the project. Remove any sticky label film, dirt, or grime. I usually will run them through the dishwasher and then allow them to air dry before I begin a project using wine glasses.
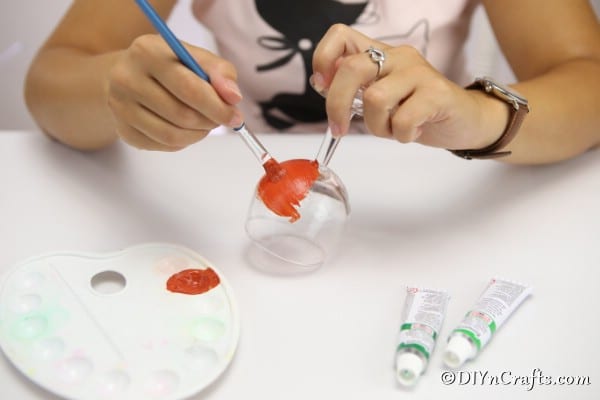
Gather your supplies for the project, and then turn your glass upside down so the base of the stem is upwards, and the opening of the glass is on the table or workspace.
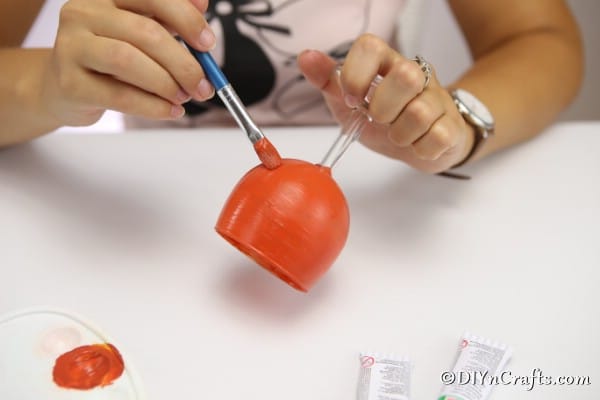
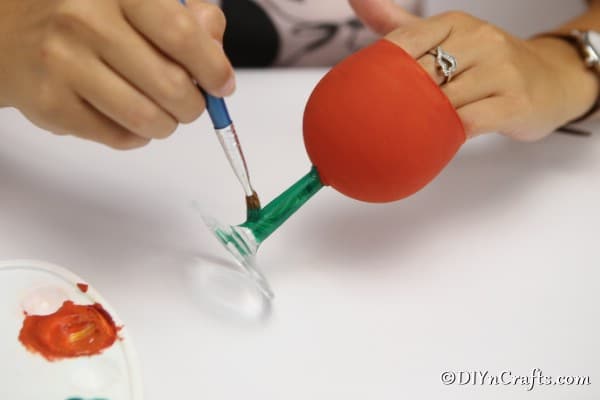
You will begin by painting the glass part orange. Make sure to coat the entire cup well so that when it dries, the paint will be solid and not streaked.
Next, you will move on to paint the stem and base of the wine glass green. This resembles the stem and/or leaves of the pumpkin.
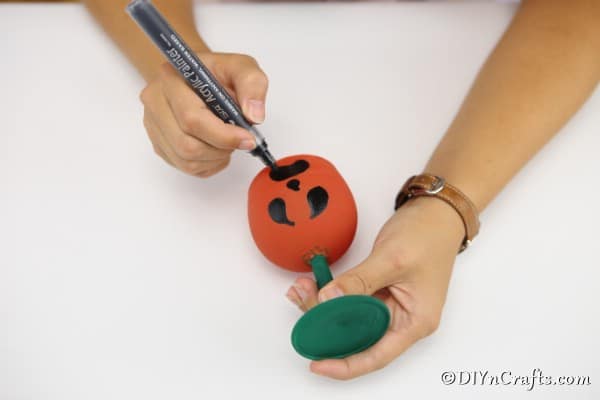
Once the glass has dried completely, you will use the permanent marker to draw the face outline for your pumpkin art. You can fill the face in with permanent marker, or with the paint depending upon your preference. Have fun making faces that are happy, sad, or scary.
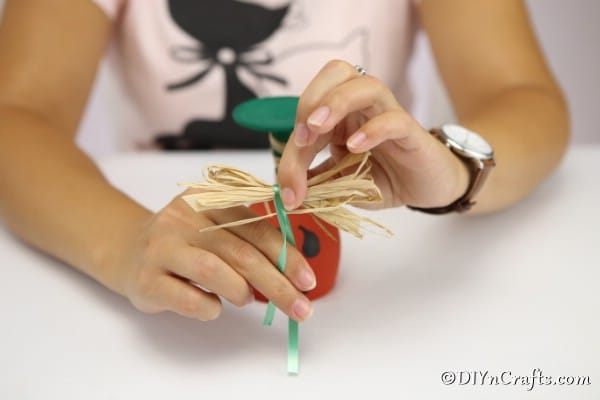
Once all of the paint has dried completely, you will add a bit of decorative straw or twin to the stem of the pumpkin.
Top it with a candle and display as you prefer. I think these are perfect on a mantle alongside our fall decor yarn pumpkin garland.
Video Tutorial:
Printable Step-by-Step Photo Tutorial:
How to Make a Wine Glass Pumpkin Art Decoration
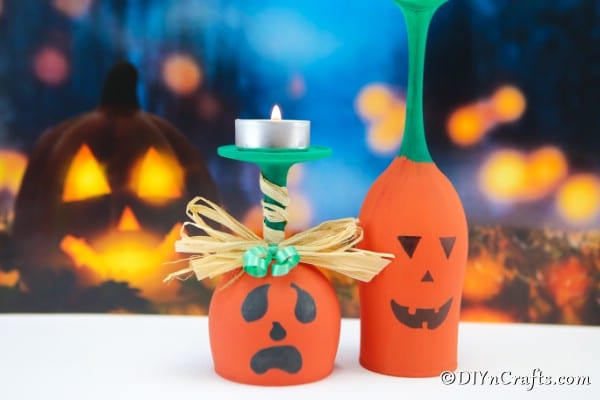
Grab your wine glass, paint, and imagination to make this adorable wine glass pumpkin art as a fun Halloween decoration!
Materials
- Wine glass(s) in size and shape preferred
- Craft paint in orange, green, and black
- Black permanent marker
- Decorative straw or twine
- Tealight candle (I prefer battery operated for safety, but if using for decor only, any candle will work)
Tools
- Paintbrush
- Hot glue gun and glue
Instructions
- Make sure your wine glasses have been washed and are completely dry;
- Gather your supplies and prepare your workstation. I like to wear a smock or apron and lay down newspaper when painting to protect clothing and table;
- Turn your wine glass upside down so the base of the stem is facing up;
- Using orange paint, coat the entirety of the wine glass except for the stem. You want to paint this thoroughly so no streaks or light shows through;
- Once the orange paint has dried, you will then paint the stem and base a green color of your choice;
- After the entire glass has had time to completely dry, you will use a marker to create the outline of a face. Make some happy, some sad, some scary, or goofy;
- Fill in the face with a permanent marker, or paint if you prefer;
- Last, you will tie a piece of decorative straw, ribbon, or twine around the stem of the glass and secure with hot glue;
- Your pumpkin art is ready to display! I added a tealight candle to the top, but you can display as is if you prefer;




Leave a Reply