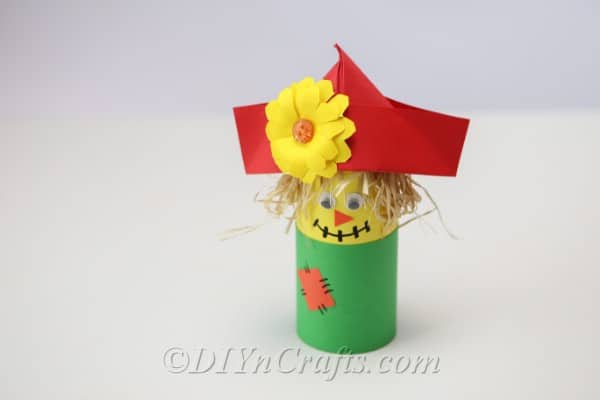
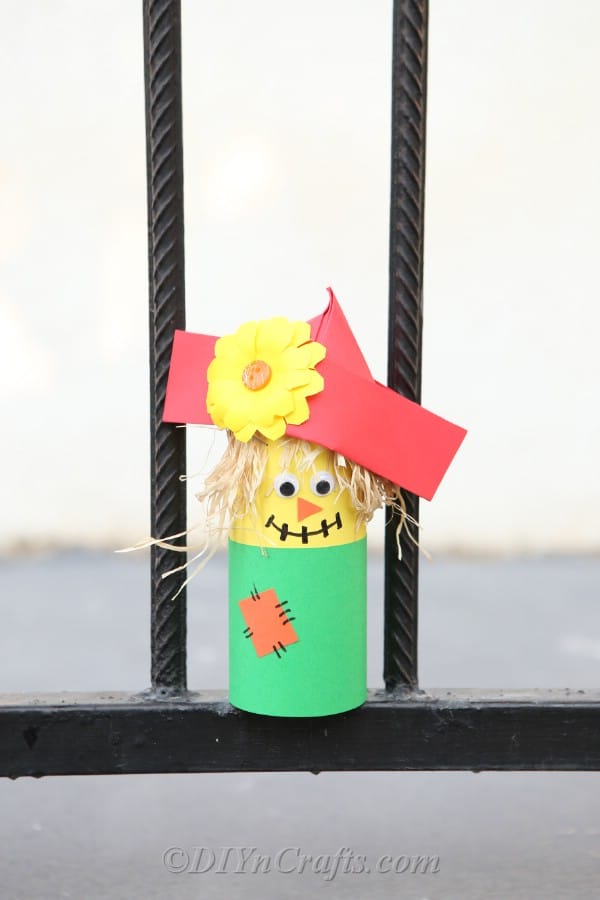
Are you looking for a fun and simple scarecrow craft to make with your kids for fall decor? This super cute paper scarecrow is a perfect idea using simple construction paper, glue, twine, and a black marker. It is safe for kids to make and is a fun way to customize different decorations for your holiday table!
Want more scarecrow craft ideas? Don't miss my list of fun DIY scarecrow ideas for fall decorating!
Jump to:
- DIY Paper Scarecrow Craft
- Teach your kids while making this scarecrow craft
- Should I use real hay or twine for the scarecrow hair?
- Can I make my scarecrow different colors than shown?
- Supplies for scarecrow craft
- How to make a paper scarecrow craft
- Video Tutorial:
- Step-By-Step Printable Tutorial:
- Materials
- Tools
- Instructions
- Recommended Products
DIY Paper Scarecrow Craft
Paper crafts are some of my favorites to make with my kids. I love that they are safe for even the youngest kids but also so inexpensive. Let's face it - when kids want to make something every day, the cost of supplies can add up fast. Colored paper is so inexpensive and durable - it's the ideal craft medium for kids.
Scarecrow crafts are a ton of fun because they can help you take the scary part away from the decoration and teach your kids all about what scarecrows are meant for during the fall season!
Teach your kids while making this scarecrow craft
When you are cutting the paper and having your kids help you glue the twine or hay on for hair on their scarecrow, you can make it a little educational craft. Learning new things isn't just for the classroom! It happens everywhere in your daily life. This is a great time to share with your kids about how a scarecrow is literally meant to scare a crow.
You can easily use this time to talk to them about where your food comes from and how crows are famous for plucking seeds out of gardens as they are just being planted and then eating the food once it starts growing.
Serve your kids these cute scarecrow pudding cups after they finish making their craft! What a cute snack idea everyone will love.
Should I use real hay or twine for the scarecrow hair?
Ideally, you would be able to use hay for the hair because it is traditional to a real scarecrow. It should be easy to locate a few pieces at a local store that has hay bales displayed. If that isn't available, you can definitely use a rustic twin that is hay colored. Just cut it into small pieces and glue it just like you would the hay.
Note: If you do use hay for this craft, make sure anyone helping or that you are gifting it to doesn't have allergies this would aggravate.
Can I make my scarecrow different colors than shown?
Of course you can! Scarecrows are traditionally made from old or scrap clothing pieces. They are often rugged, have holes in them, or are mismatched. While I love the bright orange, yellow, and green colors used in our example, you could mix and match whatever you prefer. This is also a great way to let your kids really get excited about using their own imagination. Don't discourage any colors they choose for the scarecrow. Instead, help them have fun creating unique combinations they love!
This scarecrow isn't safe for sharing outside, but you can check out our favorite outdoor fall decorations to create for adding fun additions to your yard this season!
Supplies for scarecrow craft
- Colored construction paper in multiple colors
- Hay or twine
- Paper glue
- Stapler
- Button(s)
- Permanent marker
- Googly eyes
How to make a paper scarecrow craft
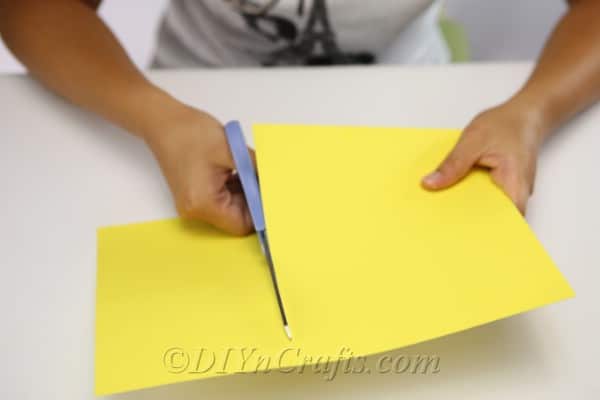
You will begin by cutting your colored paper down to the preferred size. For this example, I cut my piece to 10cm wide. You can definitely make these in a variety of sizes if you prefer.
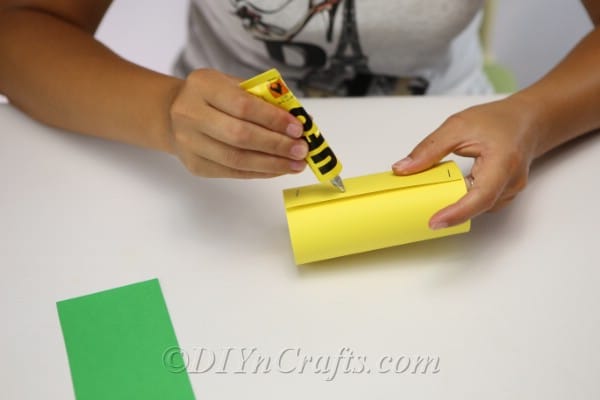
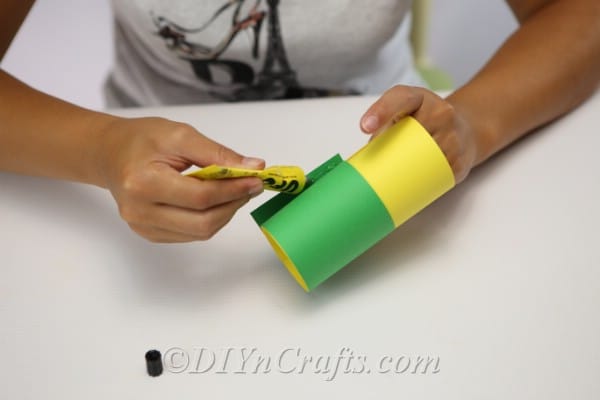
Once you have your core piece cut to length, you will staple the ends together to create a cylinder shape. Once you have that secure, you will cut the second color of paper in a slightly shorter length. You will attach it over the top of your core piece, stapling or gluing it into place.
You want this second piece to cover part of the first piece so it looks like a body - the top being the shirt/face and the bottom being the pant/bottom.
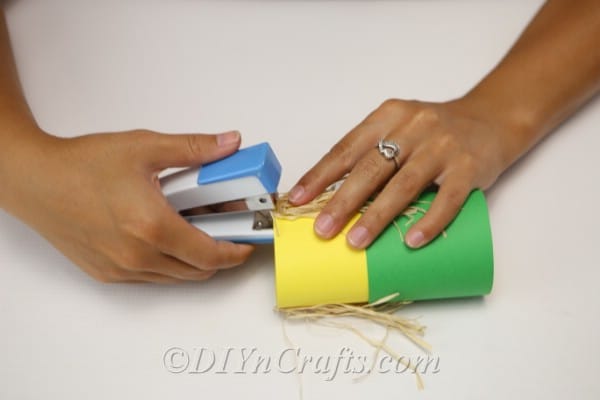
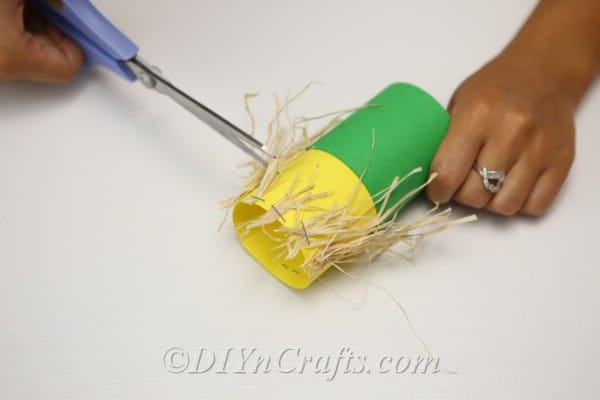
Your next step is to add the hay or twine around the top piece of paper to create "hair" for your scarecrow. Cut and style this attaching with glue or staples until you have the hair how you prefer.
Next, you will use an alternate color of paper to create the hat for your scarecrow.
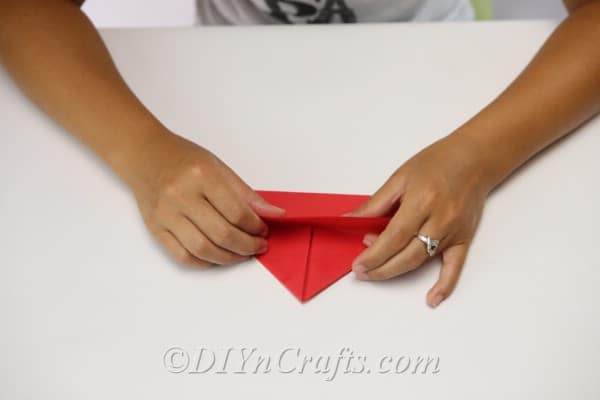
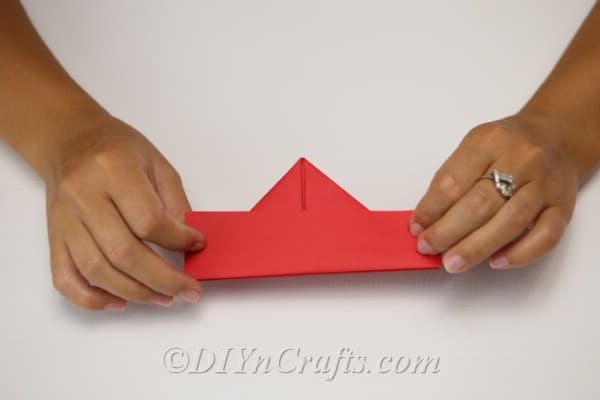
Fold it in half, then take the two corners and fold them inside, meeting in the center. This will form a triangular shape. Next, fold the left side on the bottom up and open the hat by putting your hand inside and gently pushing the paper apart.
You will make sure the paper hat is secure, then attach it to the head of your scarecrow. The glue is great for this part.
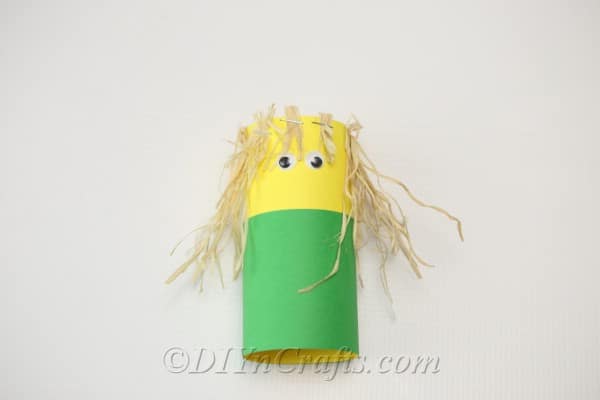
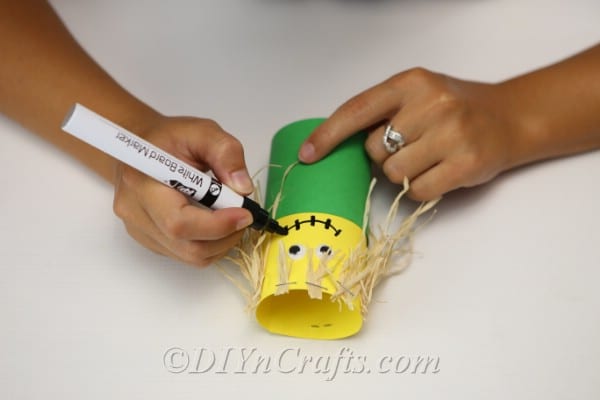
Use an alternate color of paper to cut out a triangle to be used as the nose, and attach it and the googly eyes with glue. You can add freckles, a smile, or other features using a permanent marker.
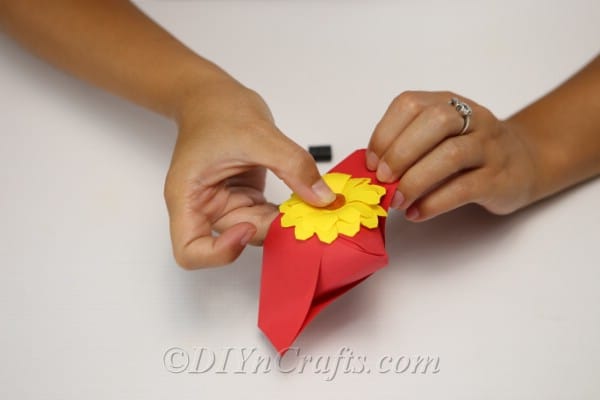
Lastly, you can use scrap paper and buttons to add "patches" or "flowers" to the hat and clothing portion of the scarecrow.
Video Tutorial:
Step-By-Step Printable Tutorial:
Easy DIY Paper Scarecrow Kids Craft
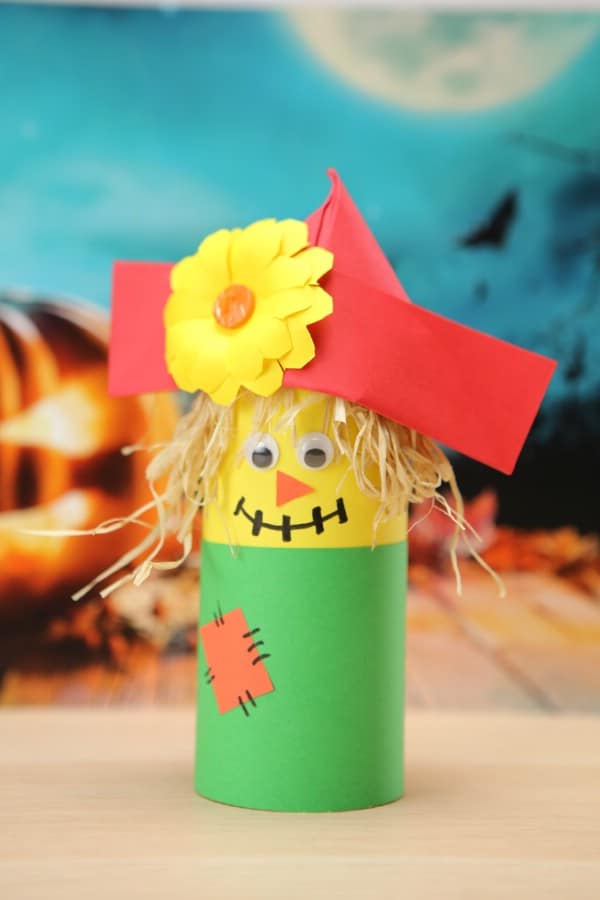
Make this DIY Paper Scarecrow Craft with your kids in just a few minutes! Colored paper, glue, twine, and creativity create a cute scarecrow!
Materials
- Colored or construction paper
- Twine or Hay
- Googly eyes
- Button(s)
Tools
- Stapler
- Craft Glue
- Permanent marker
- Scissors
Instructions
- Begin by cutting your core piece of paper to a size you desire. Mine was cut to a 10cm width;
- Next, you will staple the two ends together forming a cylinder;
- Once that is secure, you will measure a different color of paper a bit shorter but the same length as the first paper. This will be wrapped around your first core piece to create the body of the scarecrow;
- Once you have that piece cut, you will staple or glue it into place Next you will add the twine or hay pieces around the top of the first piece to create hair. Secure this with glue or staples;
- Next, you will trim the pieces to the length you prefer for your scarecrows hair;
- Attach googly eyes to the front of the scarecrow to begin creating a face;
- You will add a paper triangle nose and use a permanent marker to create the face;
- Use an alternate piece of paper, fold it in half, then fold two corners into the middle creating a triangle;
- Next, fold the left side on the bottom upwards. Open the hat by putting your hand inside and pushing the paper apart;
- Last, you will add any embellishments to the hat. Extra paper can be turned into a flower and added with a button and glue;
- Secure the hat to your scarecrow with glue or staples and display;
Recommended Products
As an Amazon Associate and member of other affiliate programs, I earn from qualifying purchases.





Leave a Reply