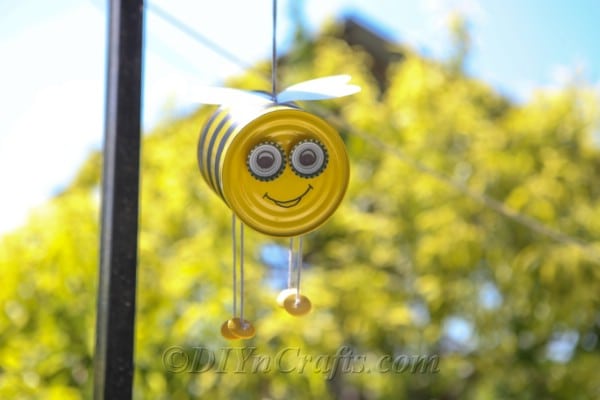
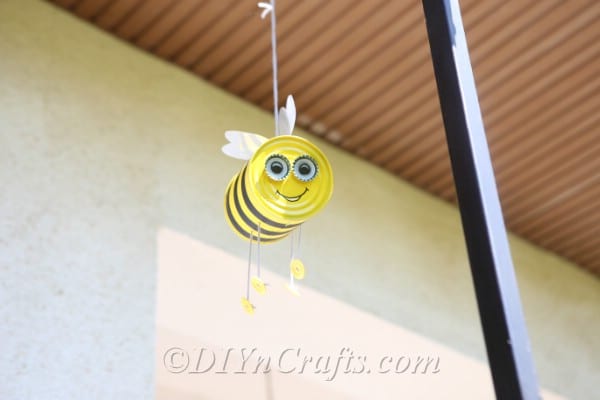
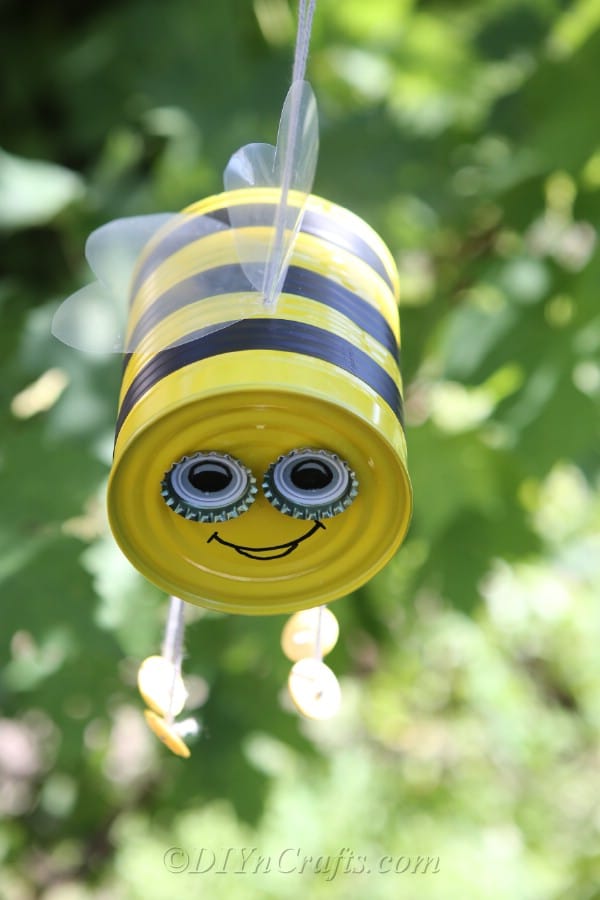
Upcycled tin cans make this adorable DIY Bee Craft a fun project that you can pull together in minutes! Tin cans, paint, tape, and a few odds and ends combined to make a super cute addition to any garden or porch. Celebrate your love of bumblebees with this whimsical recycled items project.
Love recycled crafts? Check out this list of 50 Tin Can Projects!
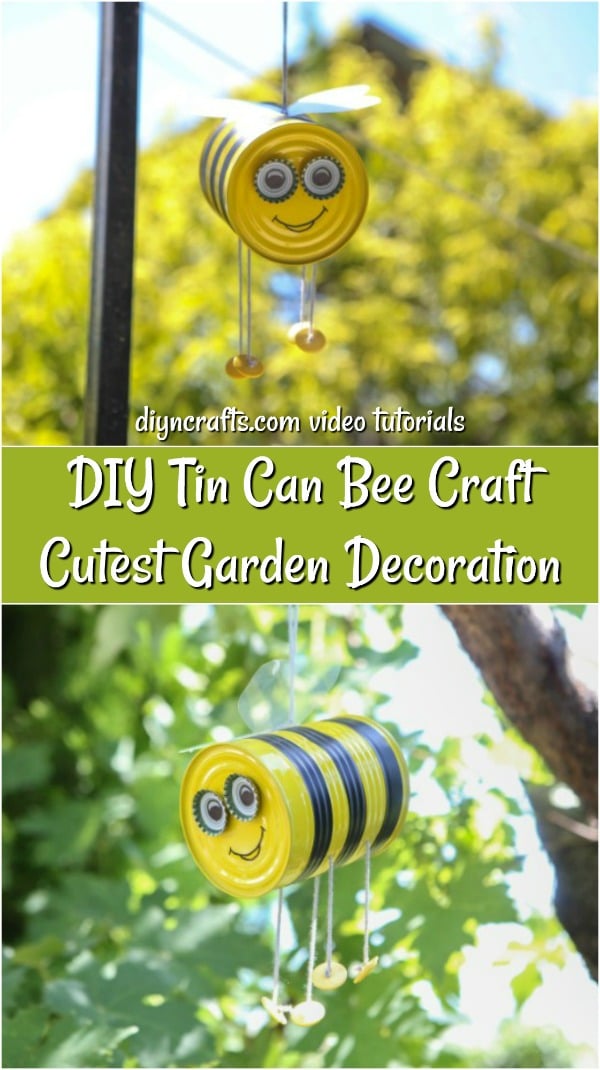
DIY Hanging Bee Craft Garden Decoration
While some are afraid of bees and their sting, I love the little fuzzy bumblebee. Not only is it a sign of warm weather in most areas, but they are also one of the most important parts of our ecosystem. Of course, I also think they are super cute with their fuzzy yellow fur and black stripes.
This upcycled craft idea uses a simple tin can leftover from your favorite canned soup or vegetable. Clean it up, remove the label, and have fun turning it into a cute decor item for your porch, trees outside, or garden!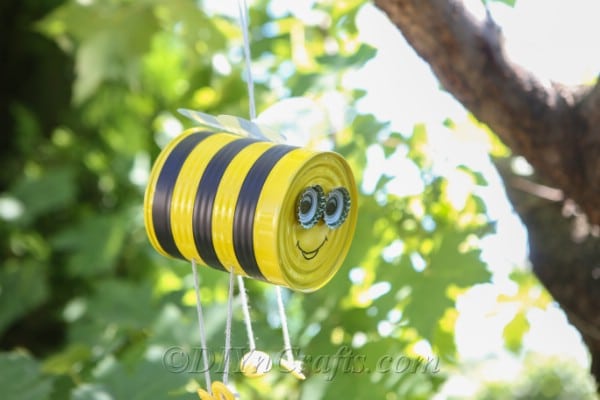
How to clean cans for tin can crafts
Before you begin painting your tin can to create this super cute bee craft, it needs to be clean. You want the paint to stay on the can, and also look smooth. I prefer simply hand washing the can inside and out after I remove the label.
If there is sticky glue or residue on the can leftover from the label, you can soak in hot water to loosen and then remove. When that doesn't do the trick, using a product like, Goo Gone, is a great alternative that will typically break up any bits of glue.
Before painting, allow the tin can to fully dry.
Best paint for this bumblebee craft
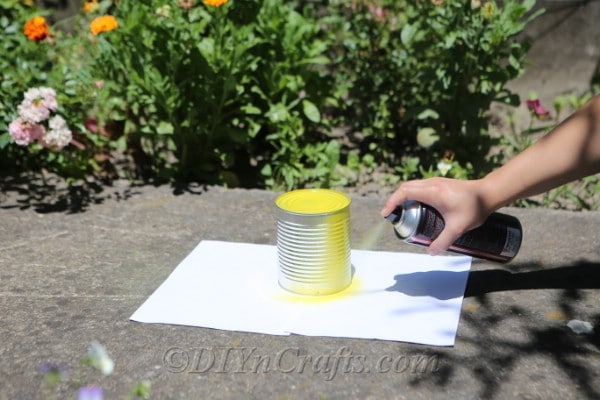
As shown, I used spray paint for this particular project. It truly makes it simple and fast, while also being cost-effective. If you live near a dollar store of any kind, you may even be able to find yellow spray paint for $1. This makes it a perfect solution for the bumblebee craft.
Other options that work well for painting tin cans:
- Acrylic craft paints
- Enamel wall paints
- Tempera paint (only if craft will be inside out of elements)
- Paint pens (best for fine details rather than the entire can)
Tip: Once the can is dry and before you apply stripes and eyes, spray with a coat of clear varnish to seal the paint in for better durability.
Supplies for this DIY bee craft
- Tin Can
- 4 Yellow Buttons
- Yellow Spray Paint
- 2 Bottle Caps
- Black Sticky Tape (electrical tape is perfect)
- Thread (for hanging)
- Piece of plastic (for making wings)
- Scissors
- Hot Glue Gun
- Black Marker
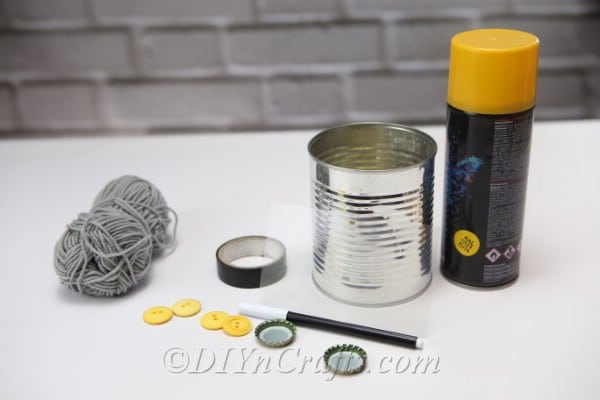
How to Make a Hanging Bee Craft
To begin, you will want to prepare all of your supplies so they are easy to find when needed.
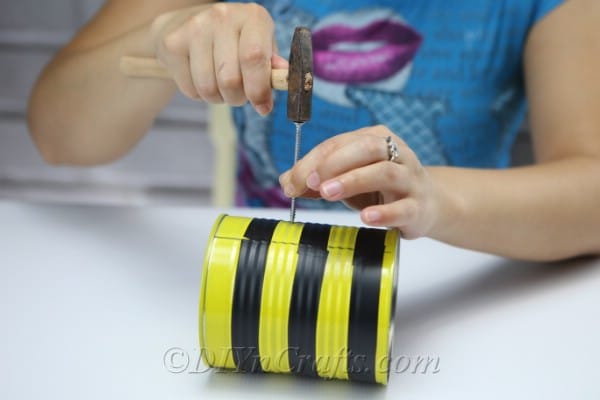
You will begin by cleaning and drying your can. Once dry, you can move on to painting, or you can use a nail or similar tool to punch 2 holes on each side of the can. These will be for threading "legs" through later. This can also be done later if preferred.
Next, you'll spray or paint the can until it is a nice yellow color. If using spray paint, make sure to do this outside or in a well-ventilated area. Let the can dry completely before moving to the next steps. This usually takes 1-2 hours.
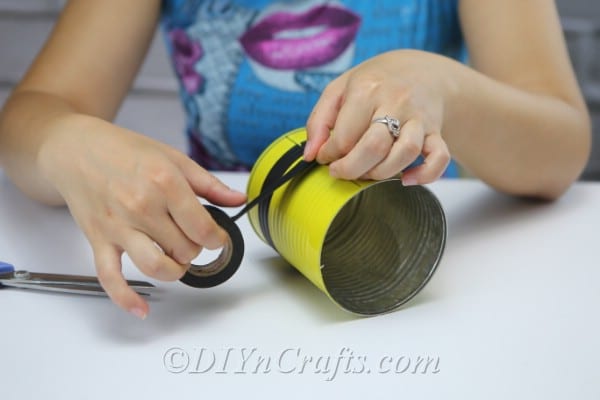
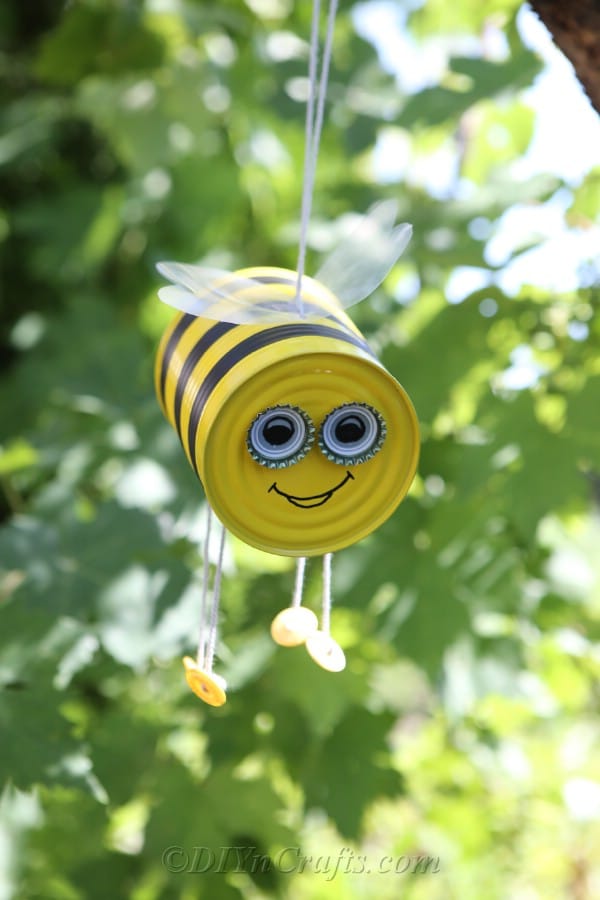
Once the can has dried, you will use the black tape to create stripes by securing around the can. If needed, use hot glue for extra strength. At least 2 but potentially 3 stripes will fit on your can depending upon size.
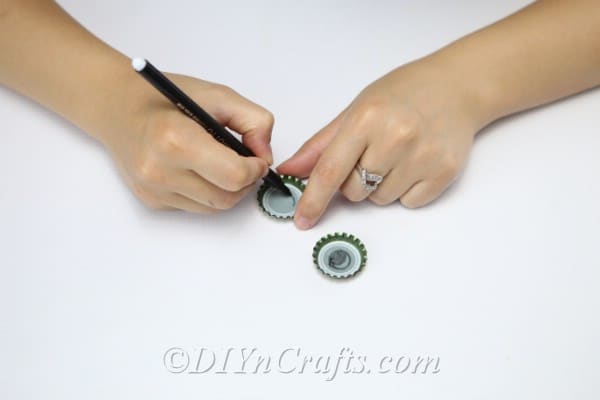
For the bee face, use the marker to create a smile you like. Next, you'll glue draw eyes on the bottle caps and then secure them to the front former bottom) of the can with glue.
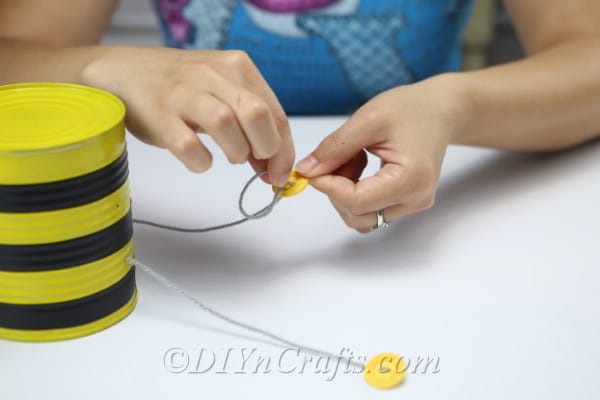
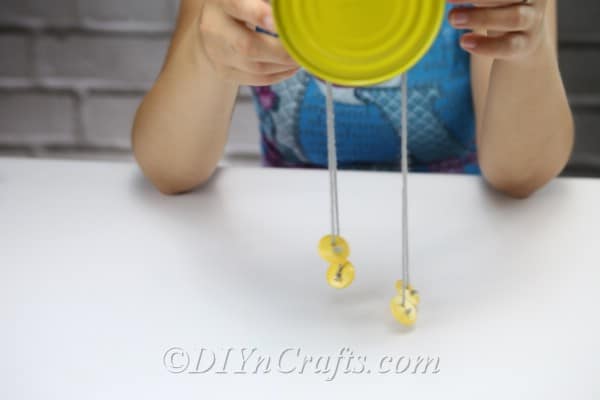
Thread your buttons through preferred twine or thread, then into the prepared holes on the sides of the can and tie a knot to keep them in place. You can also add a layer of glue on the inside over the knot if desired.
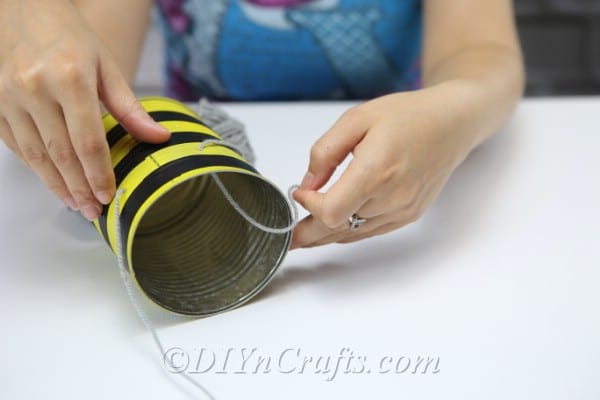
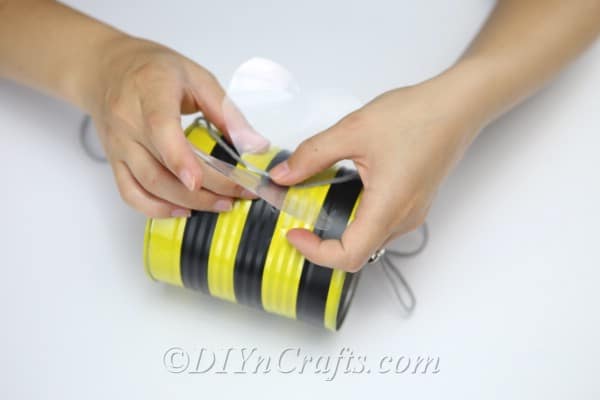
Your final steps are to use the piece of clear plastic and cut it into wings to glue on top of the bee craft, then tie a thread to the top for hanging the bee from a tree.
Note: You can punch another hole in the top of the can to string a hanging thread through, or can glue beneath the wings.
Video tutorial:
Printable Photo Tutorial
DIY Bee Craft | Hanging Tin Can Bumble Bee
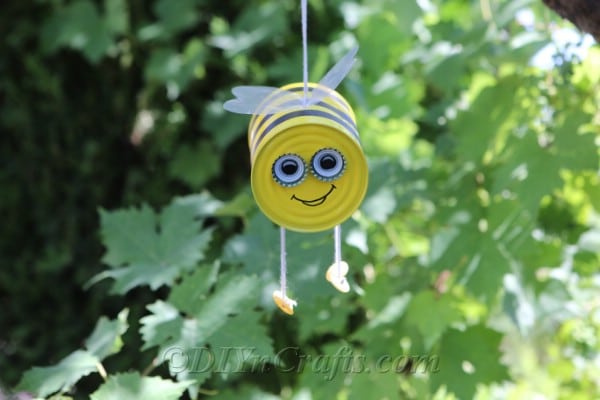
This Upcycled tin can bumble bee Craft is a super cute way to add flare to your garden with simple craft supplies you have on hand!
Materials
- Tin Can
- 4 Yellow Buttons
- Yellow Spray Paint
- 2 Bottle Caps
- Black Sticky Tape (electrical tape is perfect)
- Thread (for hanging)
- Piece of plastic (for making wings)
- Black Marker
Tools
- Scissors
- Hot Glue Gun
Instructions
- To begin, you will want to prepare all of your supplies so they are easy to find when needed.

- You will begin by cleaning and drying your can.
- Next, you'll spray or paint the can until it is a nice yellow color. If using spray paint, make sure to do this outside or in a well-ventilated area. Let the can dry completely before moving to the next steps. This usually takes 1-2 hours.
- Once the can has dried, you will use the black tape to create stripes by securing around the can. If needed, use hot glue for extra strength. At least 2 but potentially 3 stripes will fit on your can depending upon size.
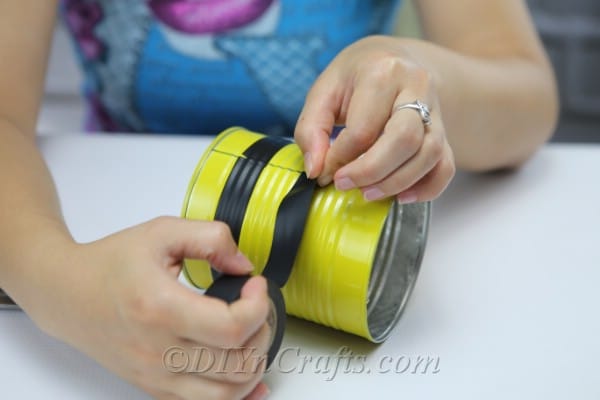
- For the bee face, use the marker to create a smile you like. Next, you'll glue draw eyes on the bottle caps and then secure them to the front former bottom) of the can with glue.
- Use a hammer and screw/nail to create holes on the sides of the can for threading the "legs" through. 2 on each side will be needed.
- Thread your buttons through preferred twine or thread, then into the prepared holes on the sides of the can and tie a knot to keep them in place. You can also add a layer of glue on the inside over the knot if desired.

- Your final steps are to use the piece of clear plastic and cut it into wings to glue on top of the bee craft, then tie a thread to the top for hanging the bee from a tree.
- Note: You can punch another hole in the top of the can to string a hanging thread through, or can glue beneath the wings.
Recommended Products
As an Amazon Associate and member of other affiliate programs, I earn from qualifying purchases.
More upcycled tin can ideas
If you love this idea, then I know you'll adore all of our fun upcycled tin can ideas. This bee craft is just one of many of our favorite ways to create a unique decor item using inexpensive and recycled household items.


Joanne Badilla
What Type of plastic are you using for the wings?
Sunshine HoneyBee
We think the plastic is from milk carton.
Rebecca Payne
So Cute! Love it.
Anonymous
So cute I will be making one. Thank you