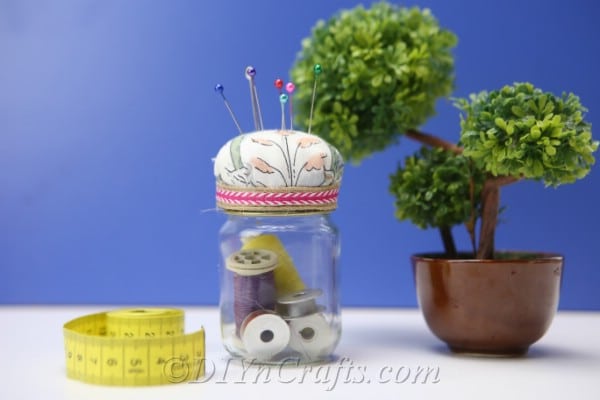
I like to take my sewing projects with me around the house from room to room. Recently, I saw a concept for a pincushion jar which got me excited, because that is a perfect way to carry your supplies around and keep everything neat and in one place while you are working.
It was also an opportunity for a DIY project! So, I decided to make my own pincushion jar and share a video tutorial with you so that you can make one as well.
Jump to:
- How to Make a Pincushion With a Small Jar
- How to Make a Pincushion from a Mason Jar or Any Other Type of Jar
- What to Do With a Pincushion Jar Once You’ve Completed It
- How to Make a Pincushion Jar Step-by-Step Photo and Video Instructions
- Materials
- Tools
- Instructions
- Recommended Products
- What To Make Next After Your Pincushion Jar Is Ready
How to Make a Pincushion With a Small Jar
Delightfully (and somewhat ironically), this is actually a no-sew project. This makes it fast and easy to complete.
How to Make a Pincushion from a Mason Jar or Any Other Type of Jar
Let's go over the materials and tools that you will need to create a pincushion jar. The only tools you will require are a pair of scissors, a pen or pencil, and a glue gun.
For the materials, you will, of course, need a jar. I used a small jar for this project, but you could use a larger one depending on how many sewing supplies and what types of sewing supplies you want to keep inside. I have noticed that Mason jars are a popular choice for this project.
Along with your jar, you will also need a piece of cardboard, some fabric in any color or pattern you choose, a ribbon that complements your fabric, and some cotton or cotton balls.
What to Do With a Pincushion Jar Once You’ve Completed It
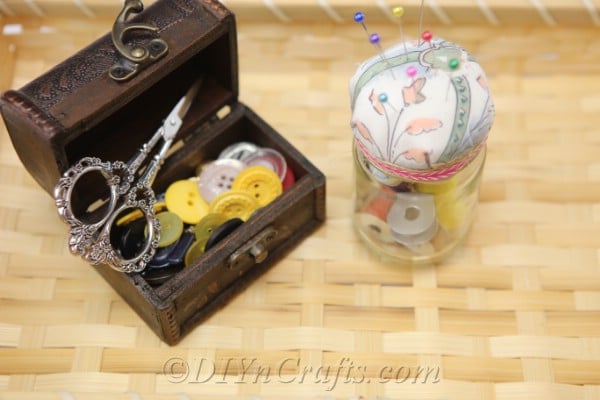
If you enjoy sewing, obviously, this is a great project to do for yourself. If you do not sew, again, you can still complete this project since it does not entail any sewing itself. Once you have completed your pincushion jar, you can give it as a gift to somebody you know who enjoys sewing projects.
How to Make a Pincushion Jar Step-by-Step Photo and Video Instructions
We are now ready to begin with our video tutorial for making a DIY pincushion jar. You can find a quick reference list of materials and tools required below along with written instructions to go with the video.
DIY Sewing Kit Organizer Pincushion Jar
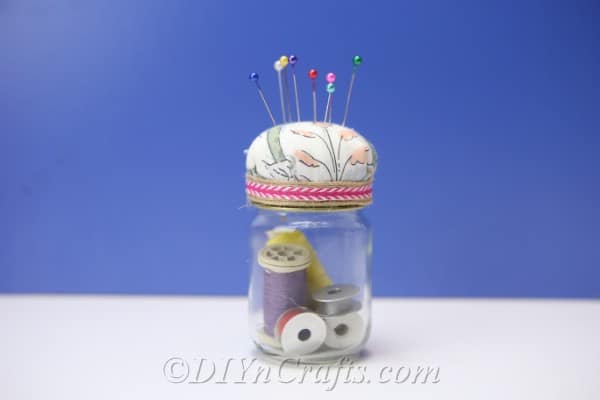
Have you ever wanted to make your own pincushion jar? This video tutorial will show you how to do it in just a few simple steps.
Materials
- Jar
- Fabric
- Ribbon
- Cotton
- Cardboard
Tools
- Scissors
- Hot glue and glue gun
- Pen or pencil
Instructions
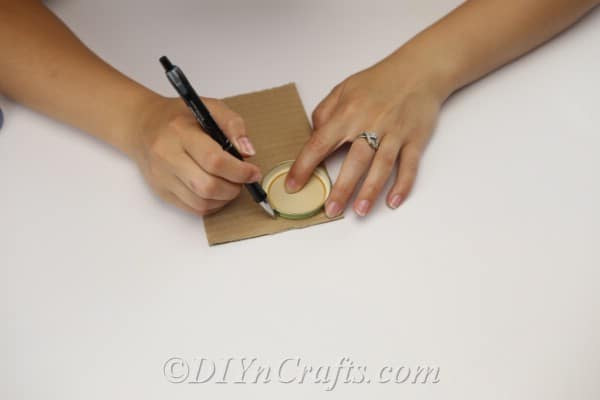
- To get started on this project, take the lid off of your jar and set it down on top of the piece of cardboard. Using a pen or pencil, trace around the perimeter of the lid.
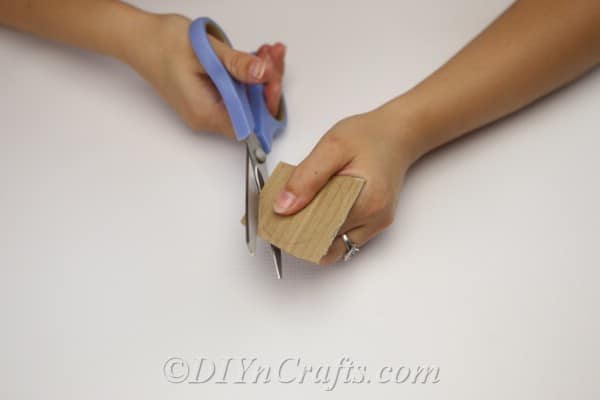
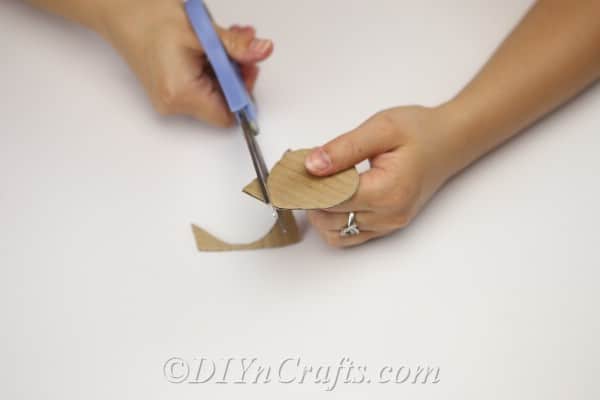
- Use a pair of scissors or a precision cutting tool to cut out the circle of cardboard. Once you've done this, you should have a piece of cardboard which perfectly fits the lid of the jar. If it protrudes at all, just do a little extra trimming until it is right.
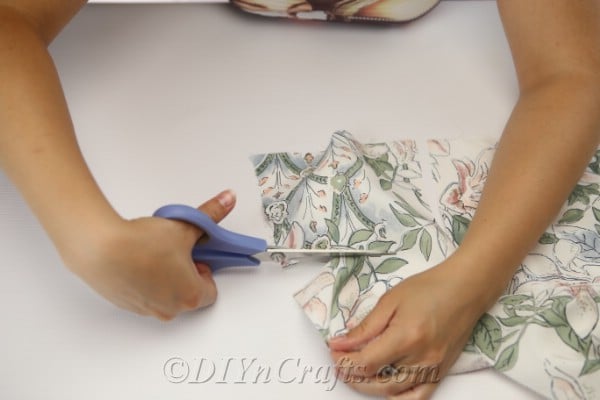
- Cut out a section of fabric which is large enough to fit over the top of the circular piece of cardboard with plenty of excess around the edges to wrap underneath. The exact shape of this piece of fabric is not overly important.
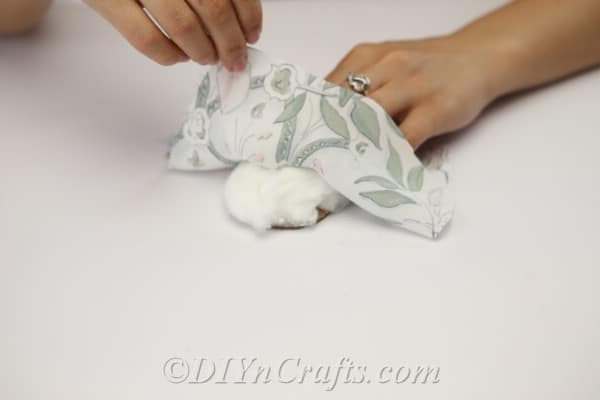
- To create our pincushion, we are going to place some cotton on top of the cardboard circle. Once the cotton is in place, set the fabric down on top of that.
- Holding all of these components together, carefully turn over the fabric, the cotton and the cardboard circle so that the fabric is now on the bottom, the cardboard is on top, and the cotton is still sandwiched in the middle.
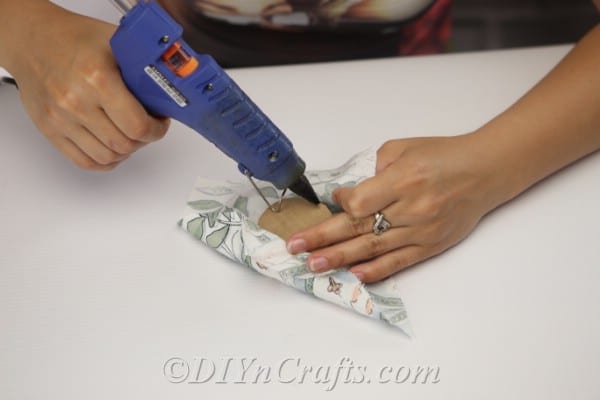
- Put some hot glue on the upright-facing side of the cardboard circle. Fold in the edges of the fabric, gluing them in place. You may still have some extra fabric protruding around the edges. If so, simply add another layer of hot glue, and continue folding in the edges. Try and get the folds of fabric as flat as you can in preparation for the next step.
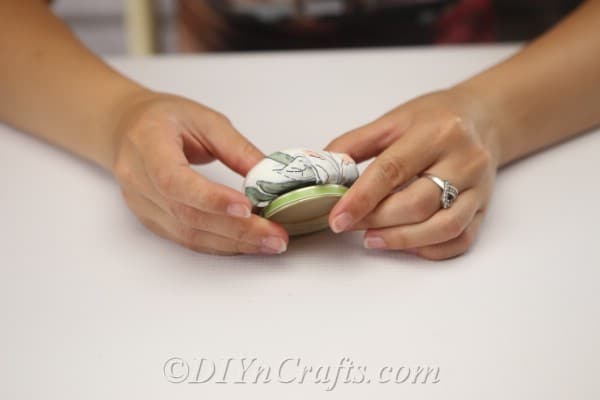
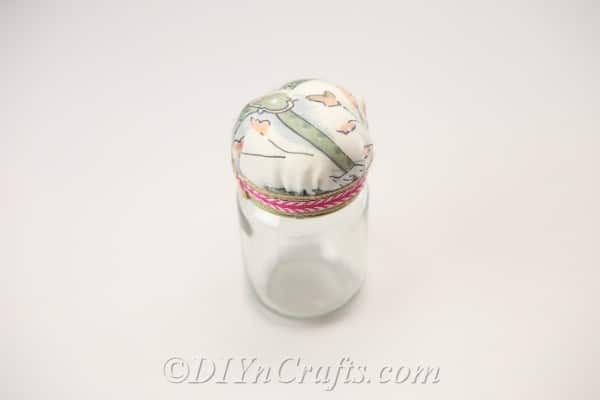
- Once you have finished folding and gluing in the edges, you will have completed the pincushion portion of the project. Now, you need only attach it to the top of the lid of the jar. You can use hot glue to do this as well.
- While we now have a functional pincushion jar lid, the join between the lid and the pincushion isn’t all that breathtaking, is it? Even if you managed to get the pincushion to sit relatively flush against the lid, it has an “unfinished” look.
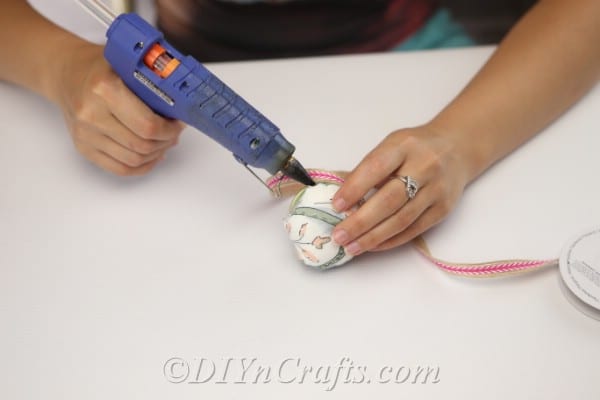
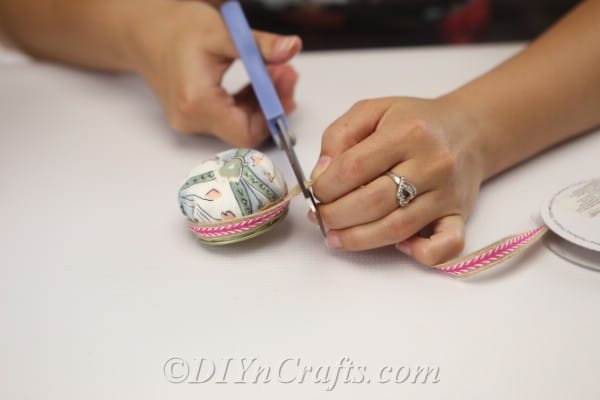
- To correct this, we will wrap and glue a ribbon around the lid to hide where the pincushion and the lid meet.
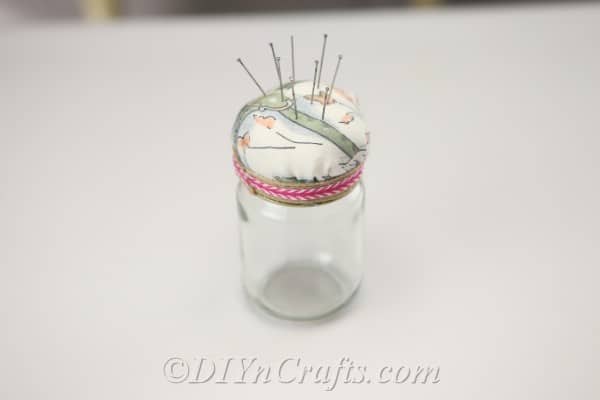
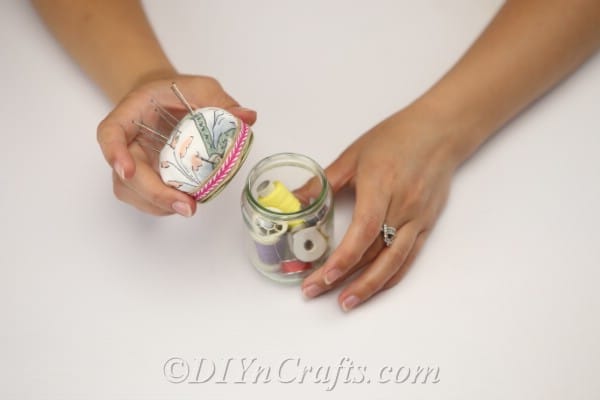
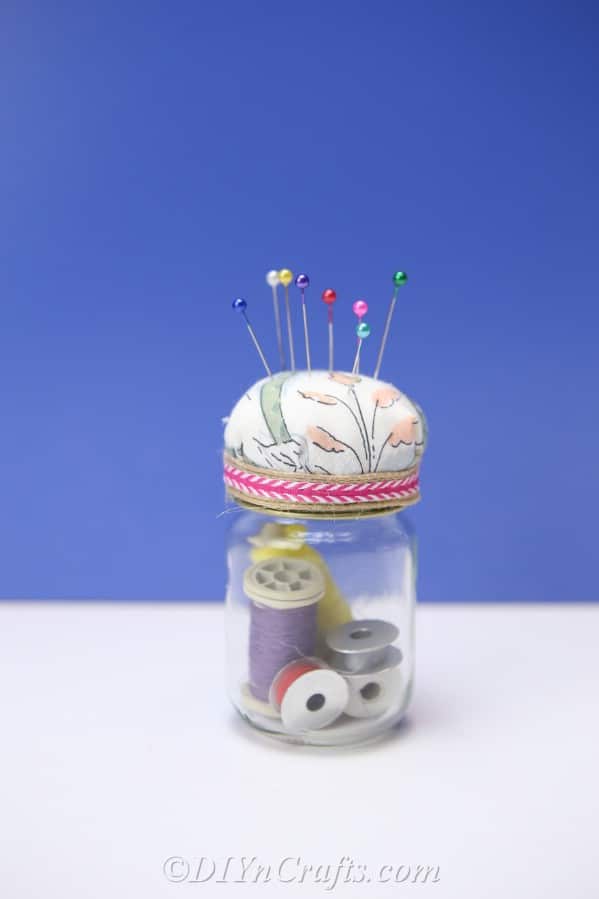
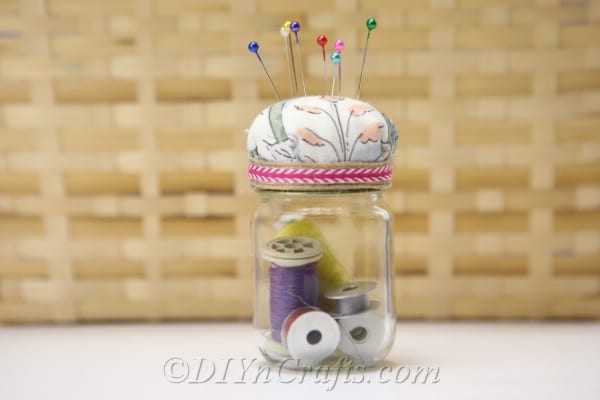
- Now, your project is complete! You need only put the lid on the jar to have the completed pincushion jar ready to use. If you give one of these as a gift, be sure to put some supplies inside!
Recommended Products
My favorite Etsy sewing organizers.
What To Make Next After Your Pincushion Jar Is Ready
After you finish making your pincushion jar, you will probably want to do some easy sewing projects. To get you started, here are 30 DIY summer sewing projects with free patterns. And for kids going back to school, here are 10 easy-to-sew DIY lunch bags and pouches. Also, check out 20 gorgeous DIY boho fashion pieces you can make for summer.
Finally, if you want to make all of your sewing projects easier, check out these 80 genius sewing hacks and pro tips. These save time and effort and make life so much easier while you are working on your projects! Check back with us soon for more sewing tutorials.
Pin this project:




María Esther carvajal campos
Me gusta son proyectos muy útiles y entretenidos