If you ask me, there are a few decor items quite so beautiful as wind chimes. They’re appealing to both the eyes and the ears.
As it turns out, they are also surprisingly easy to make, and you can customize them to look and sound exactly the way you want!
In this video tutorial, you’ll be following along and creating your own rustic wind chime using simple, cheap supplies.
Jump to:
How to Make a Wind Chime the Easy Way
This project is fast and simple, and anyone at any age can do it (so long as they are old enough to use the hot glue gun).
You get to decide exactly what materials to use and how many strands you want hanging from the wind chimes.
How to Make a Wind Chime With Beads
In order to create these DIY wind chimes, you will need to pick up some simple craft supplies.
You may already have the tools you need: a pair of scissors, some hot glue, and a hot glue gun.
As for the materials, you'll need a wooden craft hoop, some twine, some old keys, and some beads.
I used faux pearls, but any beads are fine. If there are other items you would like to use as well to alter or enhance the appearance of your wind chime, feel free.
One of the most exciting things about this easy project is its customizability.
What Can You Do With Your DIY Wind Chime?
After you finish making your DIY rustic wind chimes, you can find them on your patio, in your garden, or even indoors near a window. They also make wonderful gifts.
How to Make a Wind Chime Step by Step
Excited to get started making your own rustic wind chime? Find the full list of materials and tools that you need for this craft below.
There are also written instructions that you can follow along with as you are watching the video and creating your own DIY wind chime.
Video tutorial:
How to Make a Rustic Wind Chime

Always wanted to learn how to make DIY wind chimes? We’ll show you how to make wind chimes step by step in our new video tutorial.
Materials
- Twine
- Faux pearls or other beads
- Old keys
- Wooden craft hoop
Tools
- Hot glue and glue gun
- Scissors
Instructions
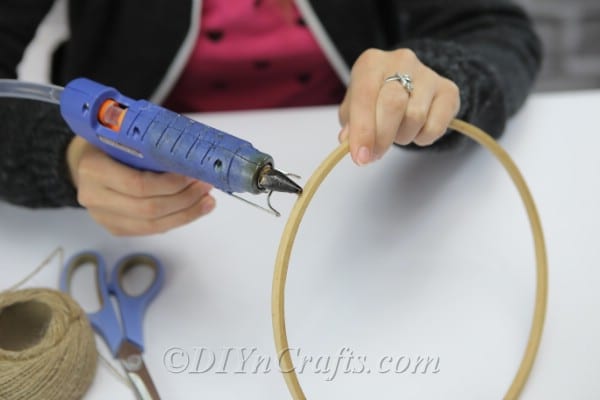
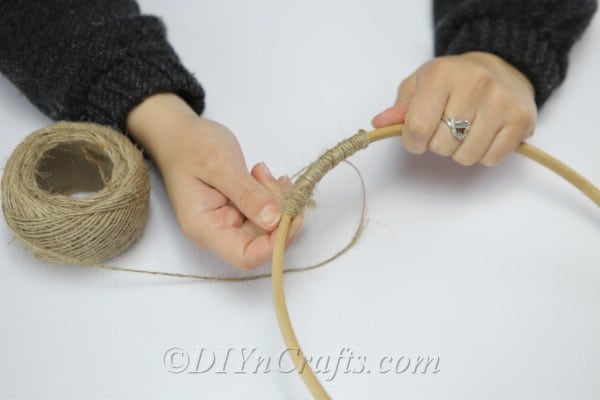
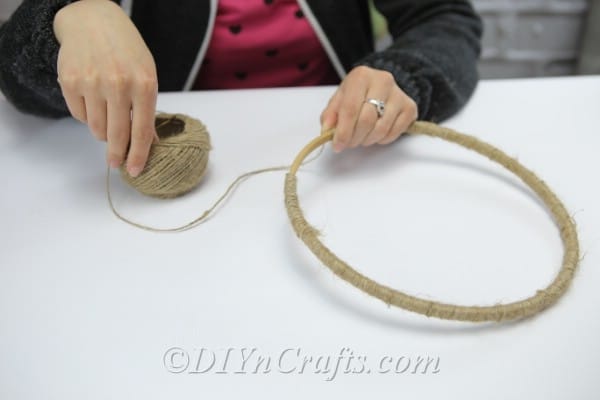
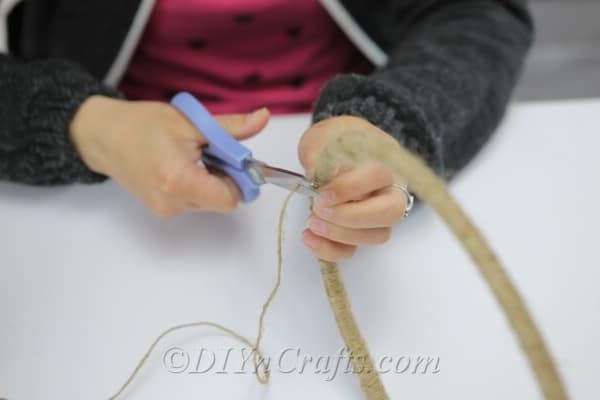
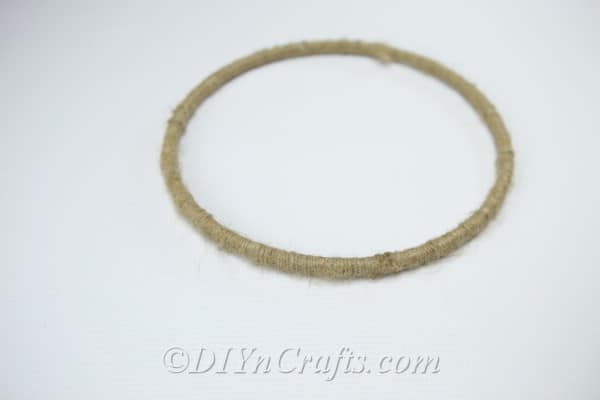
- Get your wooden hoop and some twine. Applying hot glue as you go, wind the twine around and around the loop to cover it up completely. When you have done so, you can cut the twine.
- When you have completed this step, your hoop should look like this:
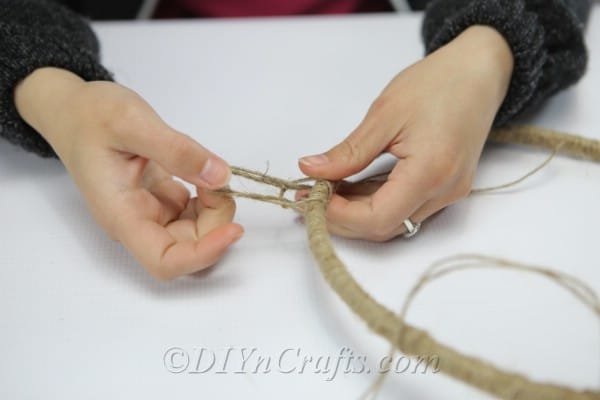
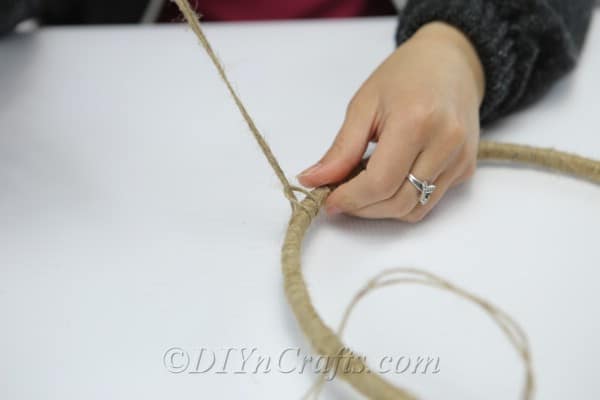
- The next step is to cut four pieces of twine of equal length. Imagine a square in the center of your twine-wrapped hoop. Tie one of the pieces of twine to each of the four corners of the invisible square so that they are equidistant from each other.
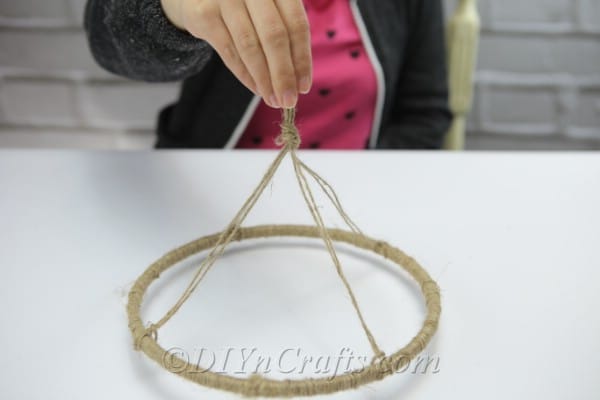
- Once you have your four pieces of twine attached, join them together in the middle so that you can hang your wind chimes by them.
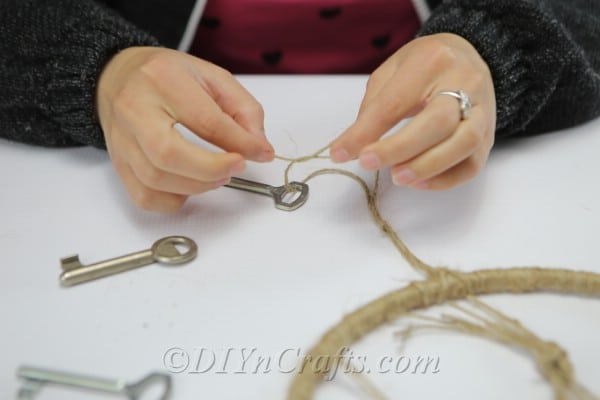
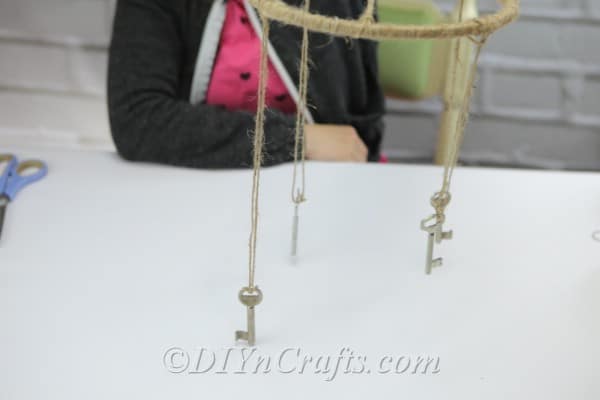
- Use twine to attach some keys hanging around the hoop.
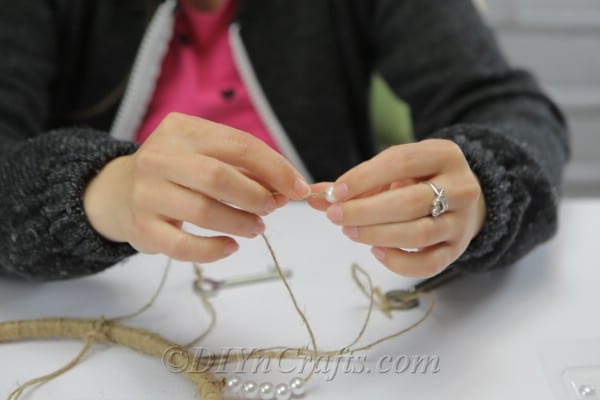
- Finally, attach more pieces of twine to hang down from the hoop and string beads onto them. You can tie them off at the bottom or apply a bead of hot glue to ensure that they do not slide off.
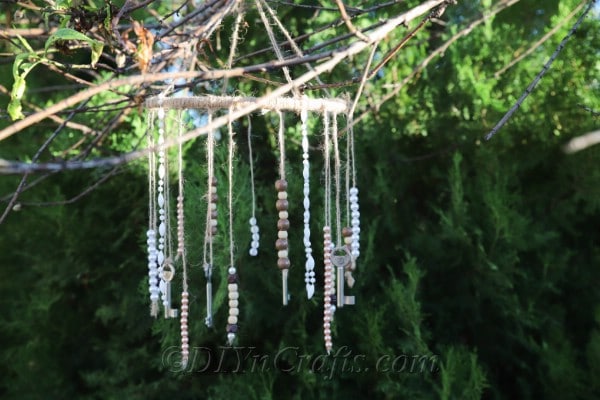
- Once you have finished making your DIY rustic wind chime, it should look something like this:
Recommended Products
My favorite Etsy wind chimes. (Affiliate links)
More Rustic and Beachy Decor Projects to Make Next
If you enjoyed making your own rustic DIY wind chime using old keys, we have 40 more wind chime ideas for you to play with!
You’ll also find more great ideas for wind chimes in this list of 20 beachy décor projects.
And if you want to try some more rustic décor projects, learn how to make a rope-covered bottle vase and how to make a nature-inspired clock.
Check back with us soon for more cheap and easy DIY projects!







Leave a Reply