There is nothing that I love more than to take something that seems useless and turn it into something that is beautiful and functional. That is definitely the case with this DIY wooden vase hanger, and I am so excited to share this tutorial with you.
Jump to:
What You Need To Make This DIY Vase Hanger
The really great part about this craft is that you get to use repurposed items. For this one, I used an old dresser drawer for the wooden base.
You can build the base from scratch if you don’t have an old drawer to use, and that’s a really easy process, too. But it’s the perfect way to put an old drawer to good use.
Where To Hang Your DIY Wooden Vase Hanger
I have my DIY wooden vase hanger on the front porch, but you could hang this just about anywhere, or stand it up against a wall. This would be beautiful in a kitchen window, and it has that great rustic look if you want to add some farmhouse charm to the room.
You could do a few of these and use them for wedding decorations, too, or just give them out as gifts. Who wouldn’t love their own rustic wooden vase hanger?
How To Make A Wooden Vase Hanger
You are going to love how easy it is to turn an old dresser drawer and a few glass jars into this beautiful hanging vase decoration. Use this to add some farmhouse charm to any room or give it as a gift for any special occasion.
How To Make A Wooden Jar Vase Hanger
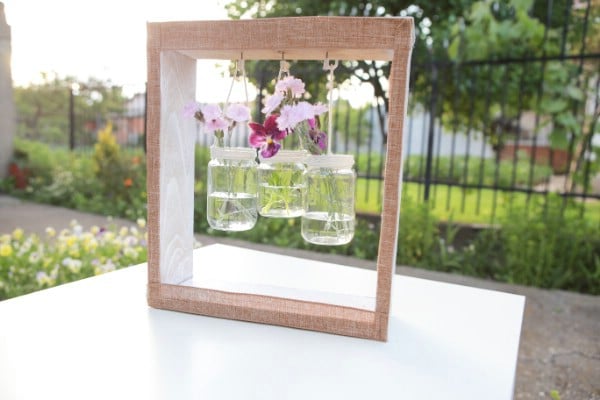
Learn how to turn a repurposed dresser drawer and some glass jars into this beautiful hanging wooden vase. A video tutorial shows you how easy this DIY vase hanger is to make.
Materials
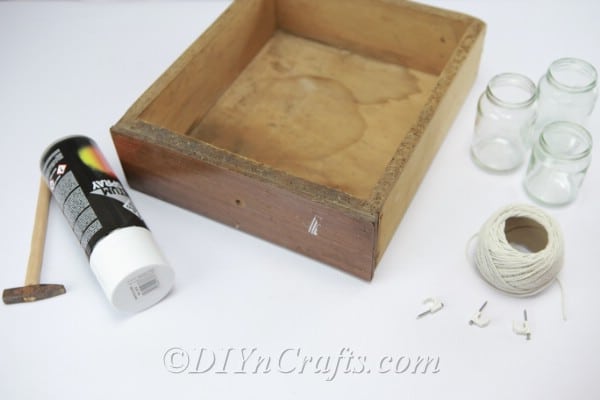
- Wooden Box Frame – I used a drawer from a broken down old dresser
- Glass Jars
- Thread
- Small Hooks
Tools
- Hammer
- Hot Glue Gun
Instructions
- First, you need to either build a wooden box or prep your old dresser drawer.
- If you are using a drawer, remove the bottom of the drawer and any hardware like drawer pulls.
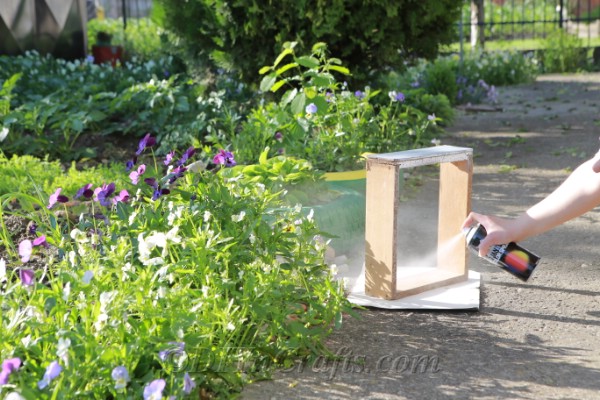
- If you want to paint the box, now is the time to do that. Make sure that you allow plenty of time for the paint to dry before you proceed with the remainder of the project.
- Choose a jar, or two or three, that will fit inside the box frame and will not hang to the bottom.
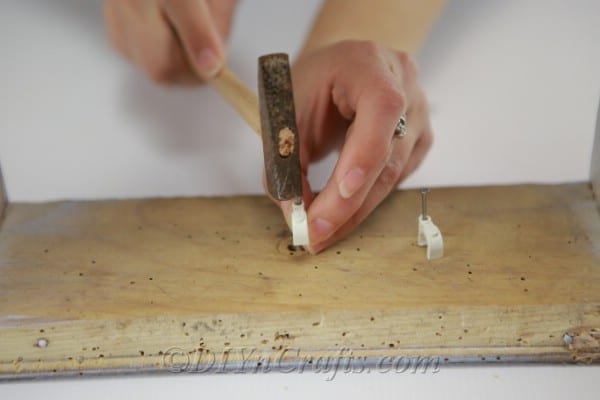
- Use your hammer to attach the hooks to the top inside of your wooden box. If you are using those little ones that screw in, you can use a drill to make a small hole and then just attach the hanger.
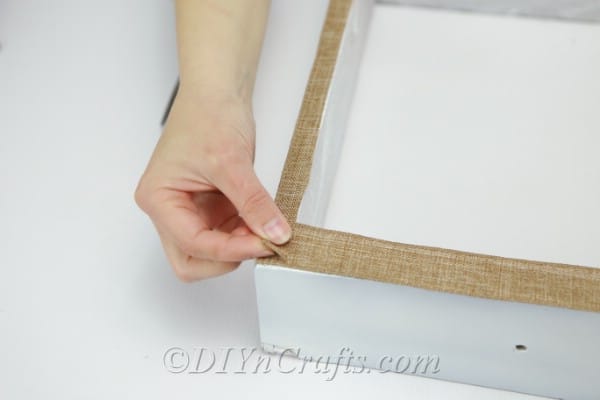
- You can also add some burlap or lace to the front of your box to give it more of a rustic look.
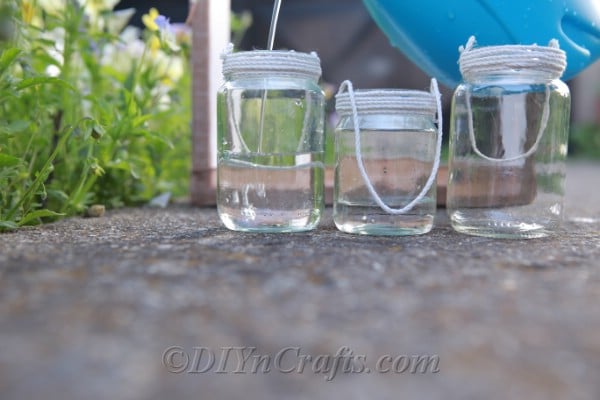
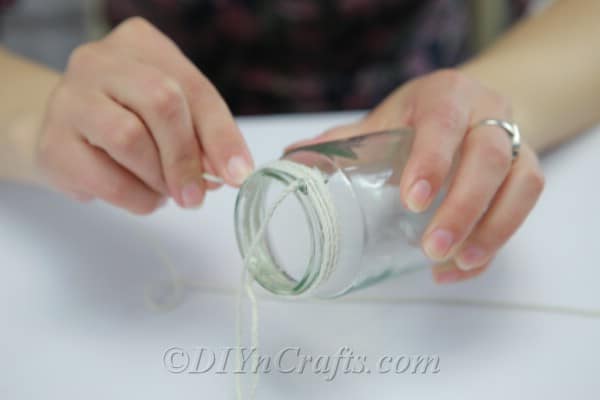
- Glue thread, ribbon, or twine – whatever you are using – to the tops of all of your jars, leaving enough so that you can hang the jar from the hanger.
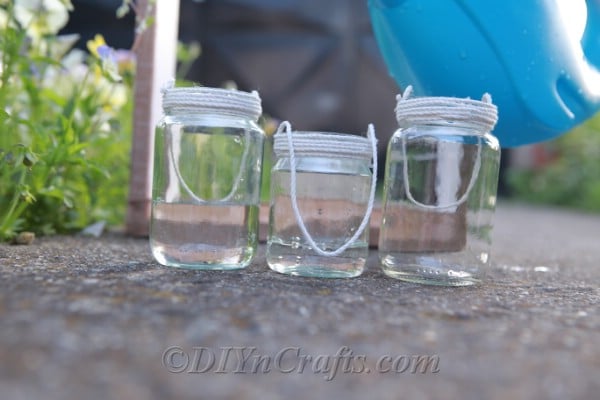
- When you get enough thread or twine on the jar so that you are happy with how it looks, make a loop for the hanger and then glue down the end pieces to secure them.
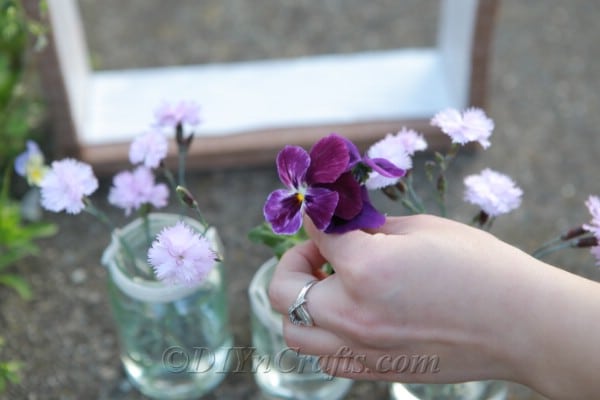
- Hang your jars inside your box frame and add some flowers.
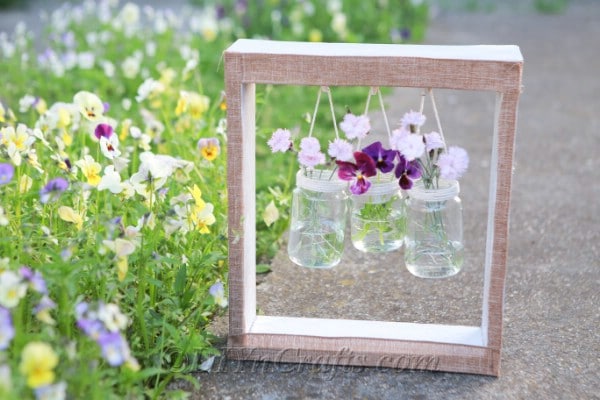
- That’s it! See, I told you this was easy! When you’re finished, your DIY wooden hanging vase should look something like this:
What Else Can You Repurpose?
If you’ve seen any of my tutorials, you know that there are so many ways to turn trash into treasure. I’ve shown you how to repurpose an empty glass jar into these lovely DIY photo luminaries.
You can also make gorgeous tealight holders from tuna cans, and I recently shared this quick and easy floating teacup decoration that you can use to repurpose broken or cracked teacups.
Pin this Project:
What’s your favorite repurposing project?




Leave a Reply