My kids loved craft foam when they were in preschool. Since they’ve gotten a bit older, we don’t make as many craft foam projects, which is why I was thrilled when I came across this one.
In this tutorial, I’m going to show you how to make the most adorable covered dish with craft foam and an old CD or two. It looks like a little donut – and let’s face it, we all love donuts!
Jump to:
Where Do You Find Craft Foam?
You can get craft foam at any hobby store, and you only need a few sheets. Normally, I buy mine in packs with different colors so that way I have all of the colors that I need in just that one pack, but you can find it in packs of just one color.
Either way, you get several sheets of foam to create with.
How To Make A Whimsical Donut Foam Covered Dish
This is honestly one of the cutest little craft projects that I have ever done. The box is adorable when it’s finished, and it’s a really simple craft. You could fill the donut box with candy when you get it done and give it as a gift.
How To Make A Whimsical Donut Foam Covered Dish
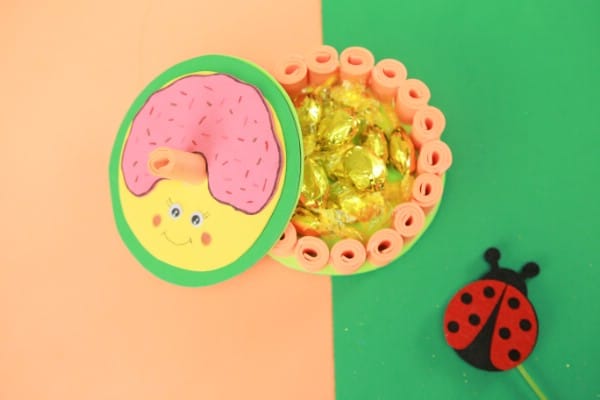
Learn how to make this fun and whimsical covered dish that can be used for candy or trinkets. The step-by-step tutorial shows how easy it is to make this dish with craft foam and an old CD.
Materials
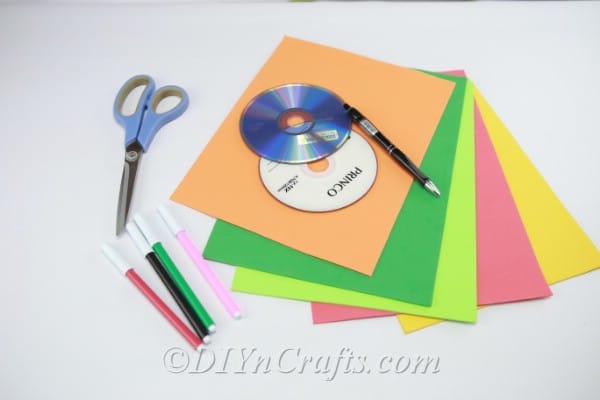
- Craft Foam In Different Colors
- Craft Google Eyes
- 2 Old CDs
Tools
- Hot Glue Gun
- Scissors
- Markers
Instructions
- First, you need to determine what colors of foam you want to work with. This would look adorable in any combination of colors. I’ve used greens, oranges, yellows, and reds, but you can use whatever colors you prefer.
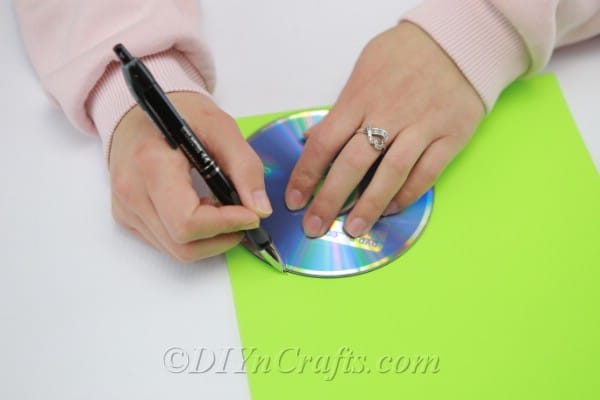
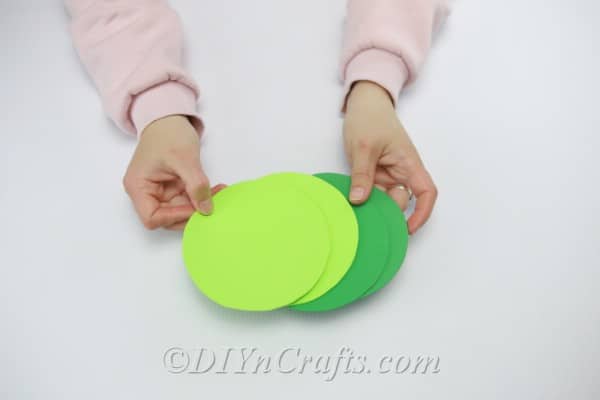
- Take one of your old CDs and draw four circles onto the foam sheets. You need all of these four circles done in the same color.
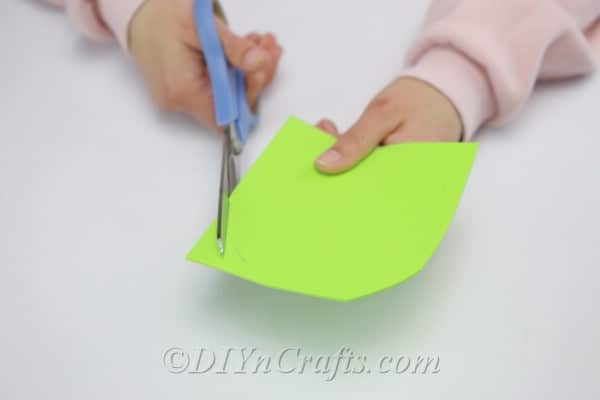
- Cut out the circles that you have drawn.
- You need to glue two circles at the top of one CD and two at the bottom. You’re going to repeat this procedure for the second CD, still working with the same color.
- These are now the top and bottom of your box.
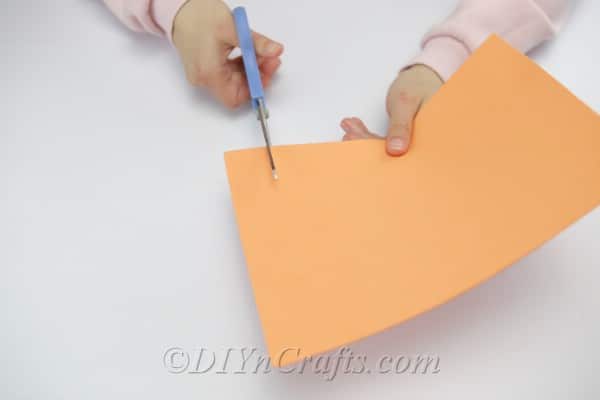
- Now you need to take a sheet of your foam in whatever color you choose, and fold it in half.
- Start cutting strips of this folded foam sheet. You need to cut about 20 strips.
- One thing to keep in mind – These strips will determine how high your box is. The width of the strip is how tall the box will end up, so choose the width of your strips depending on how high you want your box and make sure that you cut all of the strips the same width.
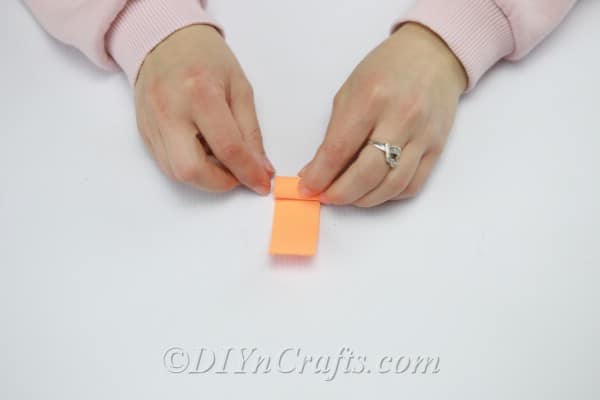
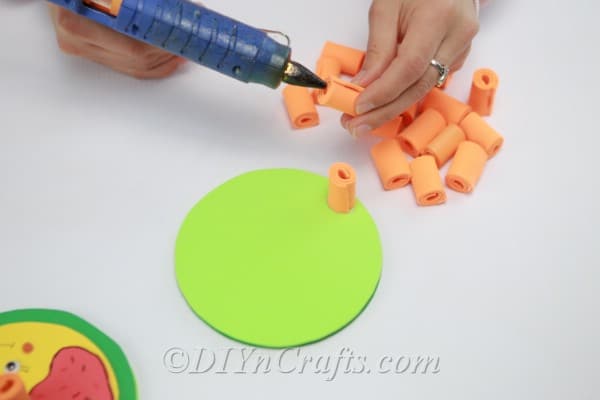
- Once you have them all cut out, roll them up and secure the ends with hot glue.
- Glue them all around one of your CDs. This is how you will create the base for your box.
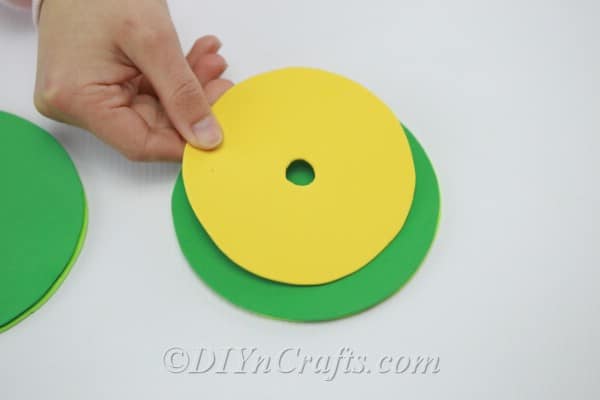
- To give it a little decoration, I have used some yellow foam. Cut a small circle and leave a hold in the middle to resemble a donut.
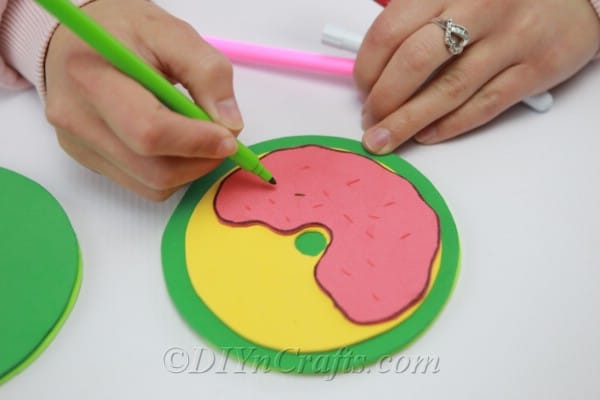
- You can use markers in different colors to draw in some sprinkles on your “donut”.
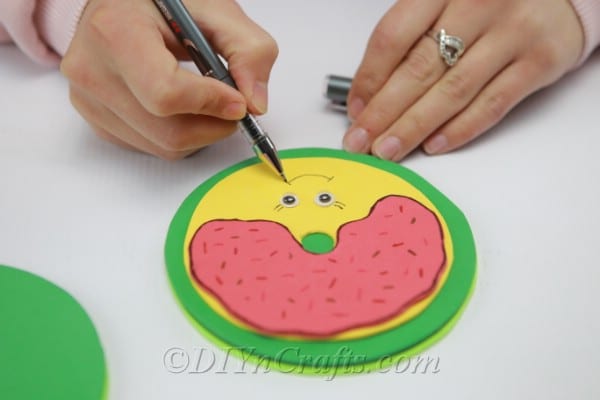
- Now, glue on your google eyes, draw in your mouth and face with markers, and you’re all done.
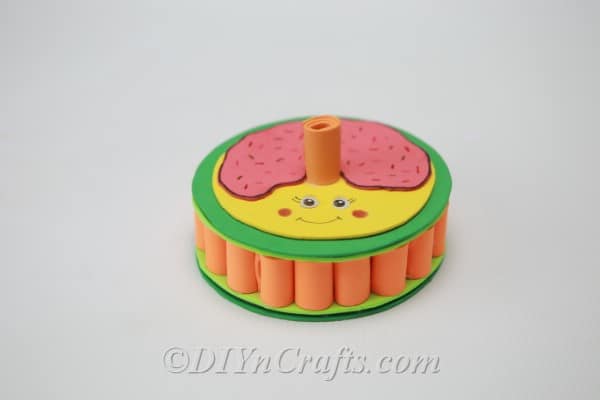
- You can also glue one of your rolls onto the top of the “donut” to serve as a handle.
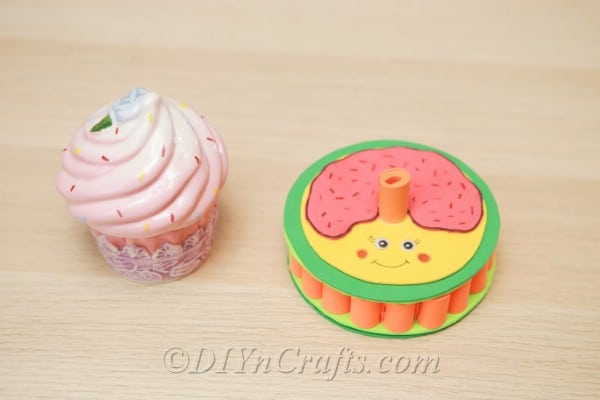
- When you are finished, your little donut box should look something like this:
Pin this Project:
What Else Can You Make With Craft Foam?
I have a really adorable Easter bunny decoration that you can make from foam sheets. Of course, Easter is over for the year, so check out these DIY puzzles. Many of them use foam sheets.
And, if you happen to have loads of CDs that you need to put to good use – this project only requires two of them – then check out these DIY garden gazing balls – you can make some of those with old CDs.
What’s your favorite craft foam project?




Leave a Reply