I have a confession to make. I am obsessed with jewelry! Honestly, I have so much that I had to recently purchase a new jewelry wardrobe just to hold it all! One of my favorite jewelry pieces is bracelets.
And I'm very excited to show you how to make this gorgeous ribbon and pearl bracelet for your own jewelry wardrobe. I got the idea from Cheryl over on That’s What Che Said. She made this a few years ago, and I've been dying to try it myself. I'm so glad that I finally did!
Jump to:
What Do You Need For A DIY Ribbon And Pearl Bracelet?
You don’t need much, honestly. I found these pearls at my local hobby shop, but you can get them at most Walmart locations and online, as well. And you don’t need any fancy jewelry-making supplies to create these gorgeous DIY pearl bracelets.
What Can You Do With A DIY Pearl Bracelet?
I made a few of these to give out for Mother’s Day this year, but you could certainly do them for other holidays or birthdays. Or, just make them for yourself!
You could change the ribbon color to red for Christmas or Valentine’s Day or use pastel colors for spring. This is a simple craft that gives you loads of gift options.
What Other DIY Jewelry Can You Make?
Did I mention how much I love jewelry? I really do, and my dresser shows it. I have so many pieces that I have made over the years. I've shown you these 25 boho jewelry ideas that you can DIY.
I’ve also got a great collection of DIY summer jewelry and even a decorative DIY jewelry organizer. Listen, if you love jewelry as much as I do, then making your own is a great way to save some money and get an amazing jewelry wardrobe at the same time!
How To Make A Pearl And Ribbon Bracelet
I absolutely adore this gorgeous pearl and ribbon bracelet, and you can make one for yourself in just a few minutes. This is the easiest DIY bracelet I have seen, and it makes a beautiful gift for any special occasion.
How to Make a Pearl and Ribbon Bracelet
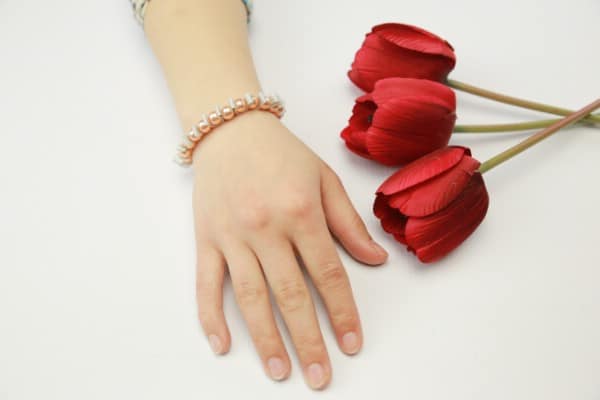
Video tutorial teaches you how to make this lovely pearl and ribbon bracelet. This is a great bracelet to give as a gift or to add to your own funky wardrobe.
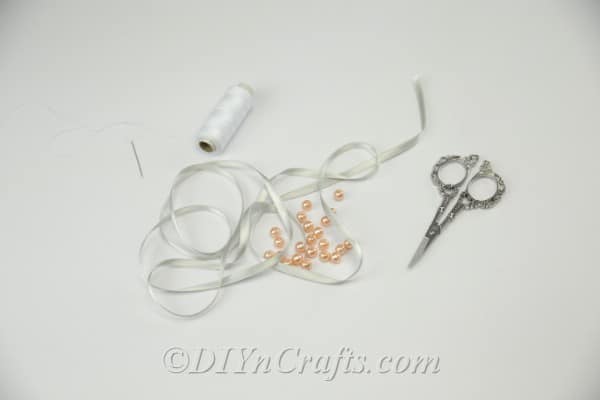
Materials
- Pearls
- Satin Ribbon
- Thread
Tools
- Needle
- Scissors
Instructions
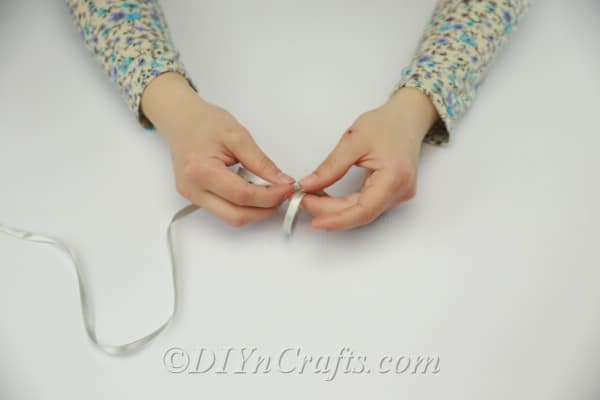
- First, gather together all of your supplies. You will start by wrapping the ribbon around your arm so that you can measure how much you need.
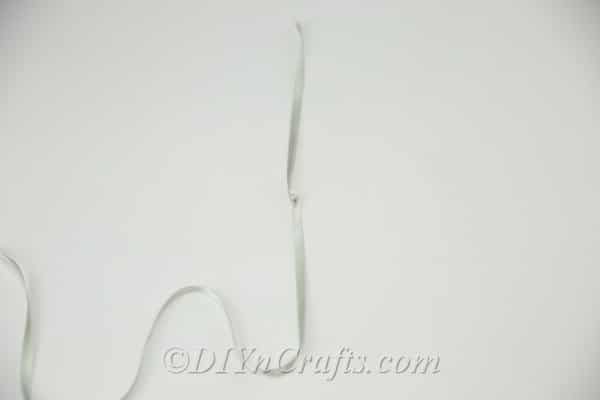
- Be sure to leave it a bit longer than what you actually need to go around your arm to allow for tying it off at the end, as well as the folding in between your pearls.
- Work up just a bit from the end of the ribbon before you begin adding the pearls. Remember, you need to be able to tie this off so your pearls will need to be a ways up from both ends.
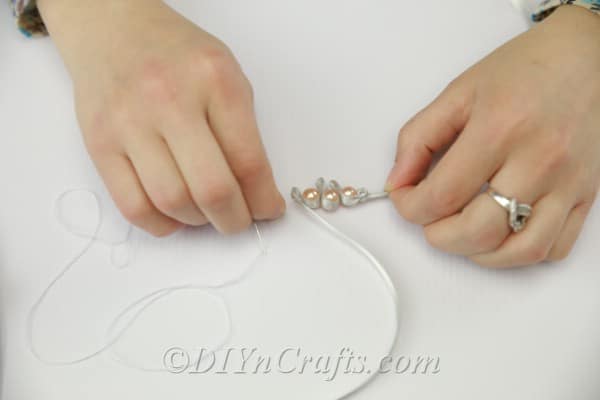
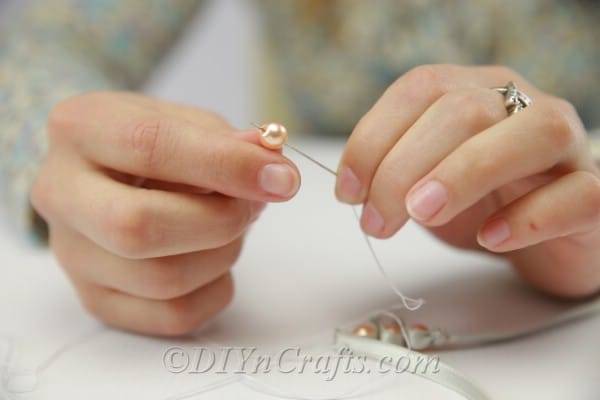
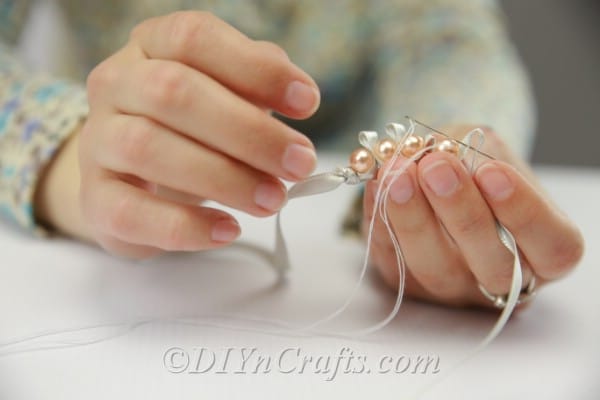
- Thread your needle and start by placing one pearl on the ribbon and folding the ribbon around it just a bit.
- Sew by pushing the needle through the ribbon and the pearl, coming out on the other side of the ribbon.
- Repeat this process, remembering to fold the ribbon just a bit around each pearl.
- You are finished with this step when your bracelet is the length that you want it to be.
- Make sure to knot your thread when you sew in the last pearl so that it doesn’t come unraveled.
- Now, tie the two ends of the ribbon together, making sure that you secure the knot pretty well. You can tie it so that it slips onto your wrist or just tie it on your wrist each time you wear it; whatever works best for you.
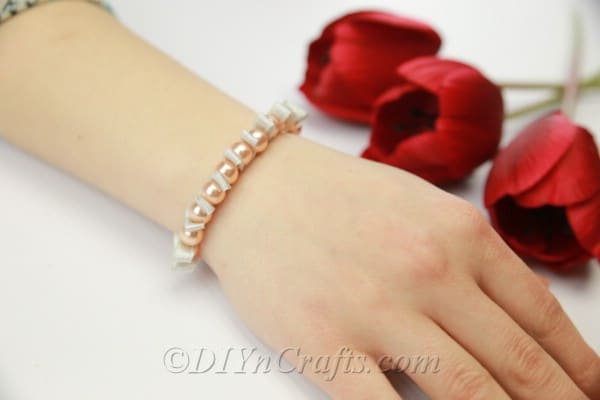
- Now put on that gorgeous bracelet and show it off! Your finished DIY pearl bracelet should look something like this:
What’s your favorite DIY jewelry piece in your wardrobe?




Barbara Schoolcraft
I want the recipes to make Starbucks coffee. You had a total of 35.
Vanessa Beaty
Oh yes here they are, if you forget an url just use the search function 🙂 https://www.diyncrafts.com/27423/food/35-copycat-starbucks-recipes-just-good-not-better-original