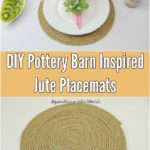
Don't you just love the unique home decor at Pottery Barn? I recently saw these fabulous round placemats that I really wanted, but their price tag of nearly $100 for the set of 4 was just way out of my league. So, I decided to try to make my own.

These DIY Pottery Barn inspired placemats are great! They're so easy to make, and they really do look just like those more expensive versions from Pottery Barn.

Jump to:
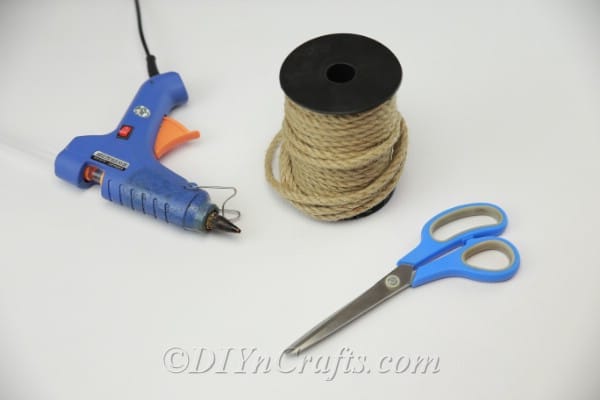
What You Need For DIY Placemats
I found this excellent jute rope on Amazon, and it's pretty cheap, or you can use sisal. You could also check your local craft or hobby stores. I know Hobby Lobby has it. Aside from the rope, you also need a hot glue gun, and that's about it.
What’s The Difference Between Jute And Sisal?
Sisal and jute are very similar, but they feel different when you touch them. Sisal is a bit coarser than jute, and which one you use for these DIY nautical placemats depends on what you have available or what you prefer. You can use either.

What Else Can You Make With Rope?
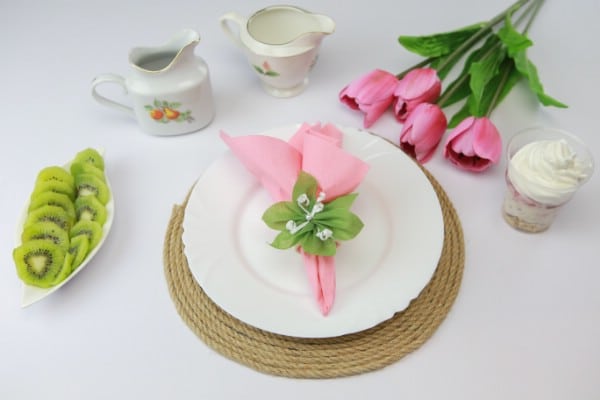
I love how rope gives things a lovely nautical look. If that's the look that you want for your dining room or patio, then these DIY jute placemats are perfect.
I've also shown you other things that you can do with some leftover rope, like this ottoman from rope and a tire and these 21 stylish DIY rope projects. Also, if you want nautically inspired decor, these beach decor projects are perfect!
How To Make Your Own Pottery Barn Inspired Jute Placemats
Make these Pottery Barn inspired jute placemats with this easy to follow video tutorial. Step-by-step instructions show you how to create these lovely nautical placemats easily.
Materials
- Rope – Jute or Sisal works well
Tools
- Hot Glue Gun
- Scissors
Instructions
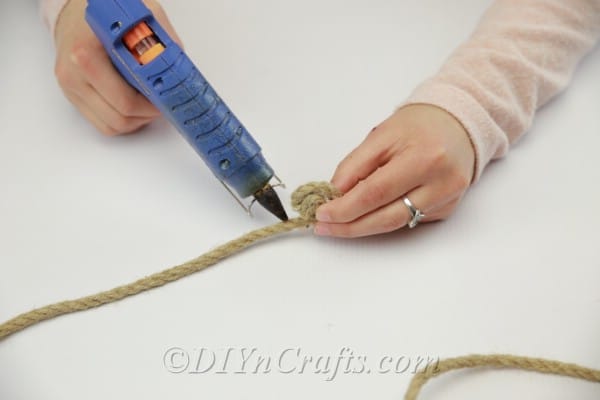
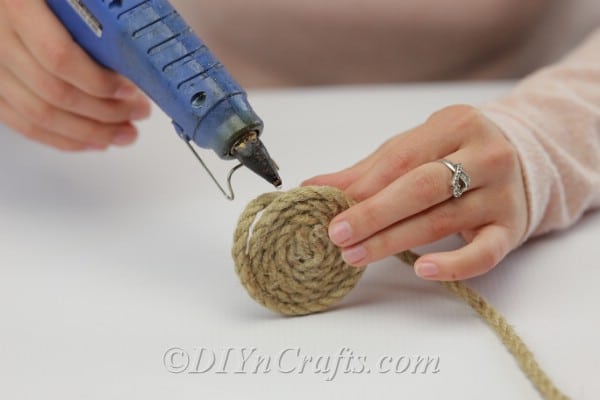
 First, choose the type of rope that you want to use.
- Start by taking the end of the rope and create a circular pattern, gluing it down as you go.
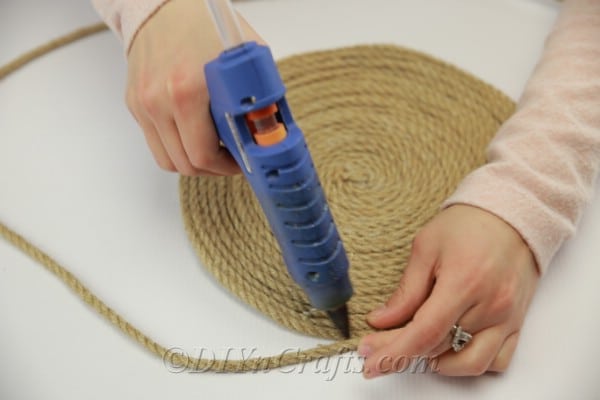
- You’re going to do this until you reach the size that you want your placemat to be.
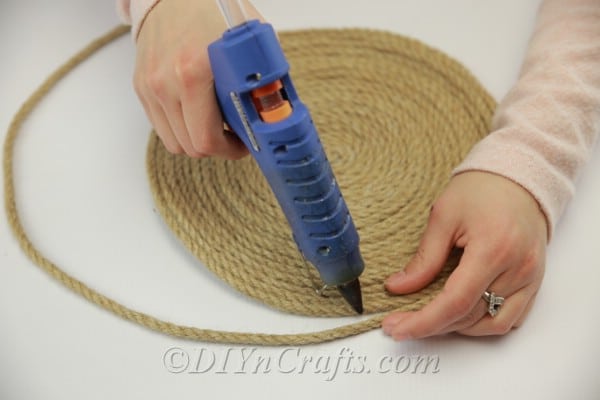
- Keep adding hot glue, making sure that you secure the rope to itself as you go along.
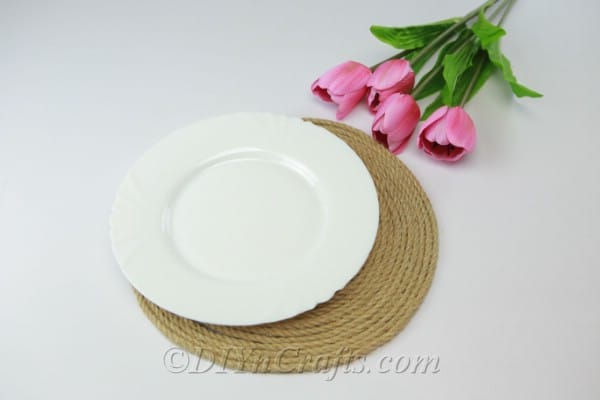
- When you get close to where you want the placemat to be, you can measure it with your plate to make sure you have the right size.
- Make your placemat just a tad larger than your dinner plate.
- Repeat this process until you have as many placemats as you need.
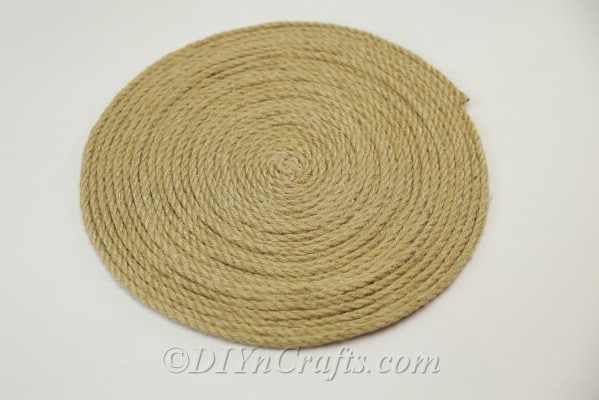
- Your finished rustic DIY placemat should look a little something like this:


Spring
Love this site vary creative and cost effective .