I love flowers. I love growing them, and I love making them from various craft supplies. I'm really excited to share this latest DIY project with you. This video will show you step-by-step how to make a gorgeous paper flower ball that you can use for any number of decorating purposes.
Jump to:
What Can You Do With A Paper Flower Ball?
So many things! I used this for a centerpiece on a small table in my living room, but you could also make this for:
- Wedding Decorations
- Bouquets for Mother’s Day
- Dinner Table Centerpieces
- Door Hanger
What Do You Need To Make This DIY Paper Flower Ball?
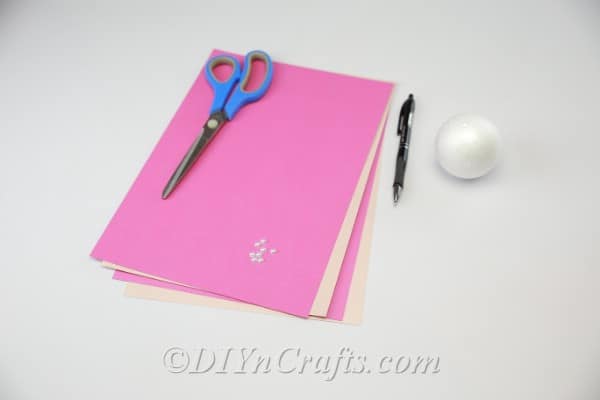
You need some colorful and thick paper. Craft paper or colored cardstock are your best options, as they are strong enough yet are still pliable. You also need a Styrofoam ball and some various decorations, depending on how you want to dress up your flower ball.
You can get all of the supplies at your local hobby shop or online – and they’re all pretty cheap, too!
What Other DIY Flowers Can You Make?
I’ve shown you so many beautiful DIY flowers. Remember these colorful tissue paper flowers? I’ve also shared with you my favorite paper flower craft, how to make a flower from a book, and these 80 beautiful floral decorations for summer.
If you love flowers as much as I do, you're going to enjoy all of these different ways to add some DIY flowers to your life!
How to Make a Decorative DIY Paper Flower Ball
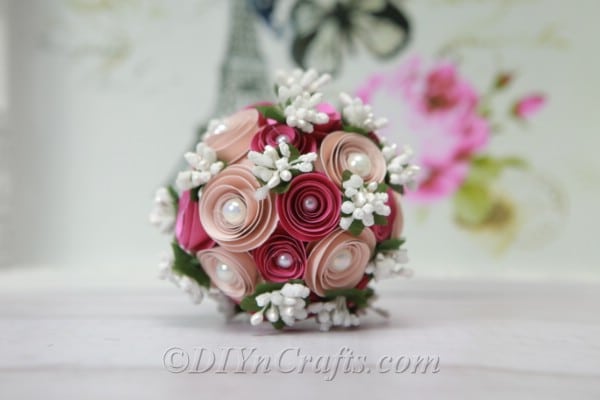
Learn how to make this elegant yet simple floral paper ball. Step-by-step and video instructions to make this great floral centerpiece or wedding decoration.
Materials
- Cardstock Or Other Heavy Colored Paper
- Styrofoam Ball
- Pen
- Pearls And Other Decorations
- Artificial Branches
Tools
- Hot Glue Gun
- Scissors
Instructions
- First, decide what color you want to make your DIY flower ball. You can go with light pastel colors or any color combination you choose. For the holidays, choose reds and golds, and for weddings, you can match the color of your wedding decorations
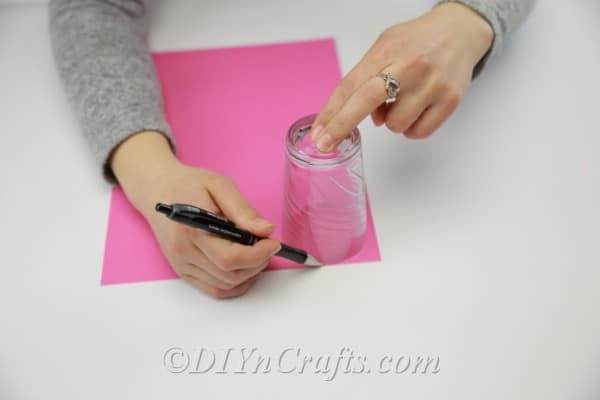
- Next, take a piece of your paper or cardstock and draw a circle. I used a small glass to trace for the circle, but you can do this in whatever size you want to create your flowers.
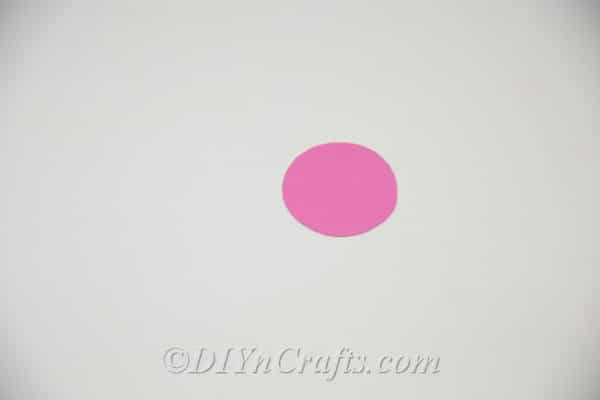
- Cut out the circle.
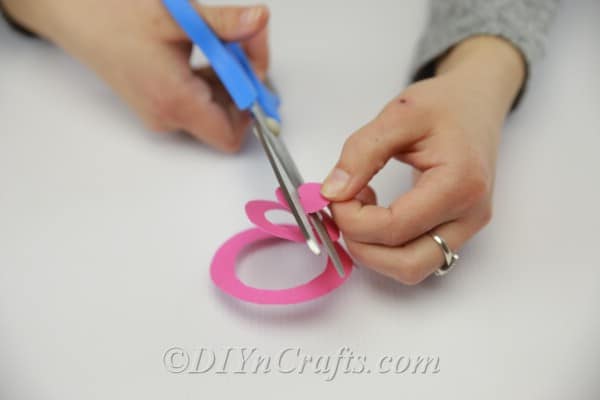
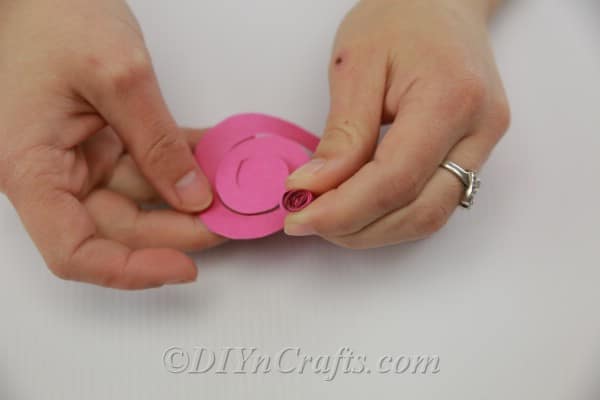
- Now comes the fun part! You’re going to start cutting a swirl from the outside of the circle until you reach the center.
- Be careful that you don’t cut this strip. You want it to be intact when you reach the center of your circle.
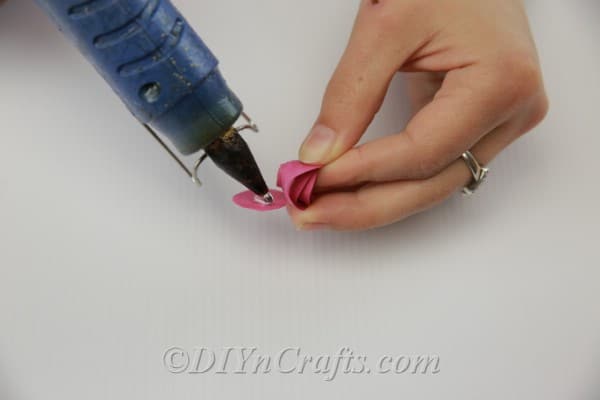
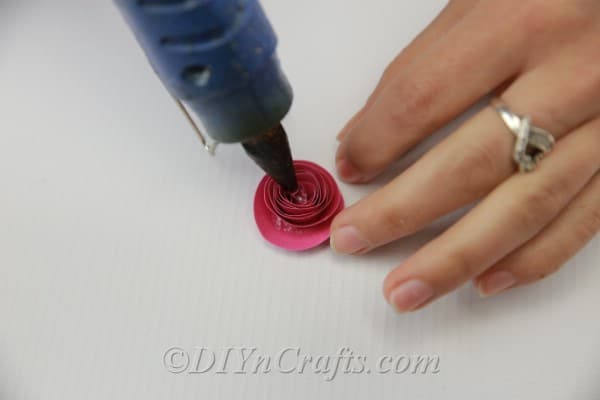
- Using your hot glue gun, secure the center of your flower.
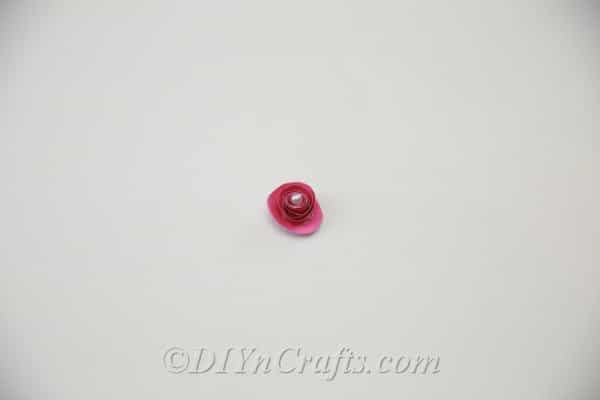
- You’ll repeat this process until you have all of the flowers that you want to create your floral ball.
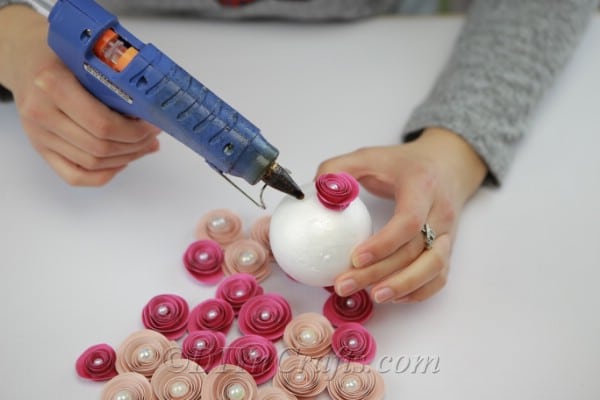
- Add in any pearls or other decorations to the centers of all of your flowers.
- You don’t have to stick to just one size! Use different sizes of circles to create larger and smaller flowers to give your floral ball more depth.
- You can also use different colors of paper or cardstock to create flowers in many different colors.
- Once you have all of the flowers that you want, use your hot glue gun to glue the flowers onto the Styrofoam ball.
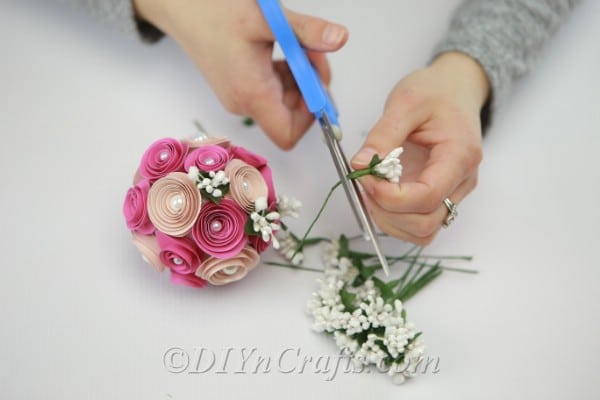
- Fill in any gaps between your flowers with faux branches and leaves.
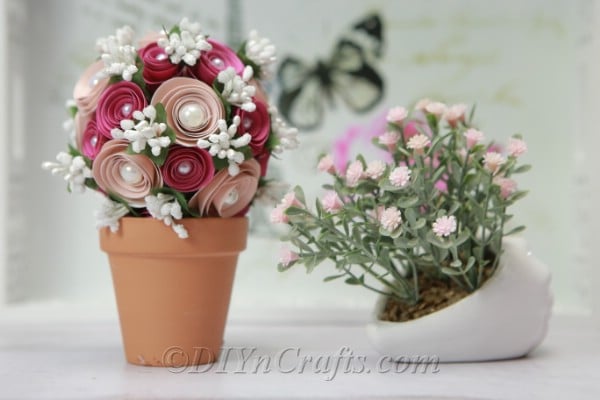
- All done! You can add ribbon if you plan to hang your decorative ball or just leave it as it is for placing in a planter or vase.
- Your finished DIY flower ball should look something like this one:
Recommended Products
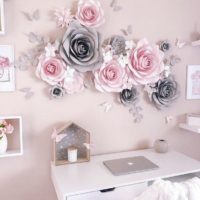
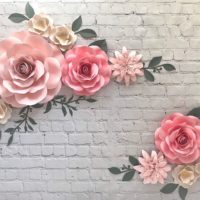
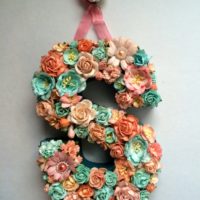
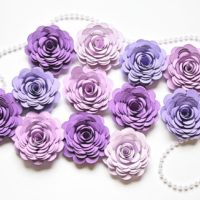
My Favorite Etsy Flower decorations.
Pin this Project
What’s your favorite DIY flower to make?




Jules
Hi The flower ball is gorgeous. I made one for my mum a few years ago, you have inspired me to make another one!
sherry
Love the fact this flower project can be printed !! MAKES CRAFTS EASIER. Thank You. Flowers look very pretty.