
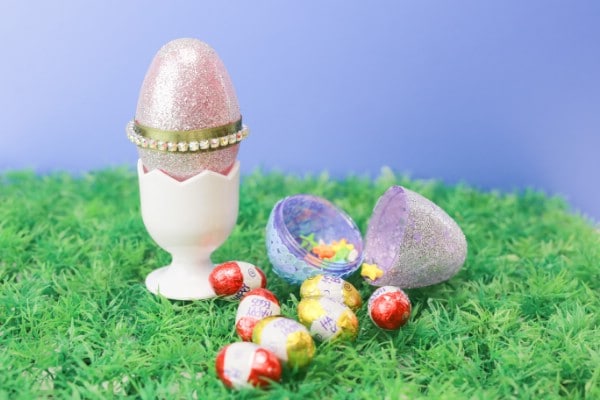
Decorating your Easter eggs doesn’t have to be expensive—but it can sure be sparkly. In this video tutorial, you'll learn how you can completely transform ordinary plastic Easter eggs so that they are fit for a king or queen.

If you have glanced at the pictures of the decorated Easter eggs you're going to be making with this video tutorial, it may be hard to believe that underneath their sparkly surfaces, these eggs are regular, cheap plastic.
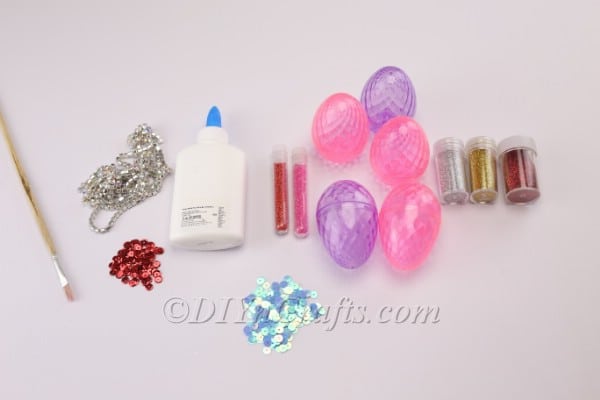
But that, indeed, is all they are. Along with plastic eggs, for this project, you are going to need some sparkles, ribbons, sequins, and rhinestones. You can pick any colors you want for all of these and mix in other materials as well if you wish.
You will either need to apply liquid glue in a thin layer over your eggs using a brush, or you will need to purchase an adhesive spray. The spray saves time, but the glue works fine.
Find all materials and tools listed below for this project, along with the written instructions for the video tutorial. Let's dive in!
Step-by-Step Video and Photo Tutorial
How to Make Decorative Plastic Easter Eggs
Think ordinary plastic Easter eggs can’t be fancy? Think again. With this video tutorial, you’ll transform your plastic eggs so that they are sparkly and glamorous for the holiday.
Materials
- Plastic Easter eggs
- Sparkles
- Ribbon
- Sequins
- Rhinestones
- Liquid glue or adhesive spray
- Brush (for the glue)
Tools
- Hot glue and glue gun
Instructions
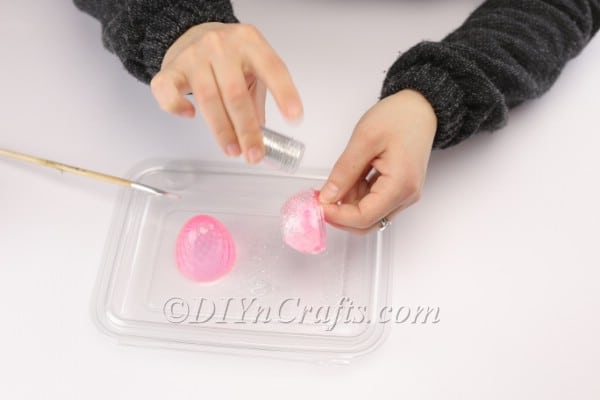
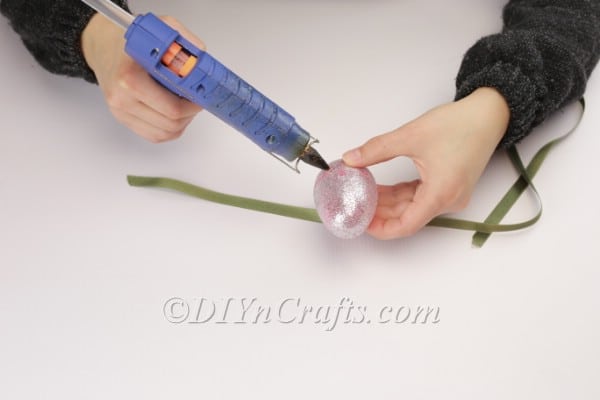
 Start by covering one of your plastic eggs entirely with glue. Again, you can either brush this on or spray it on.
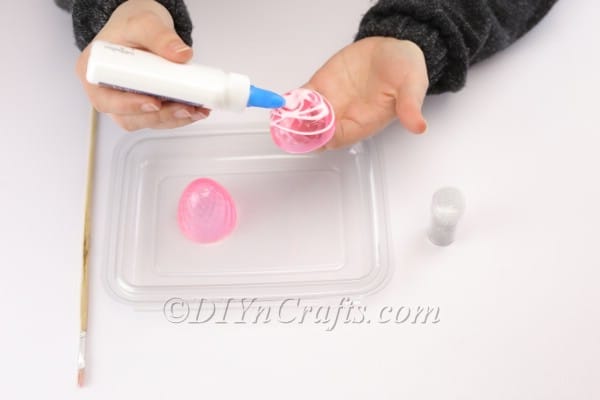
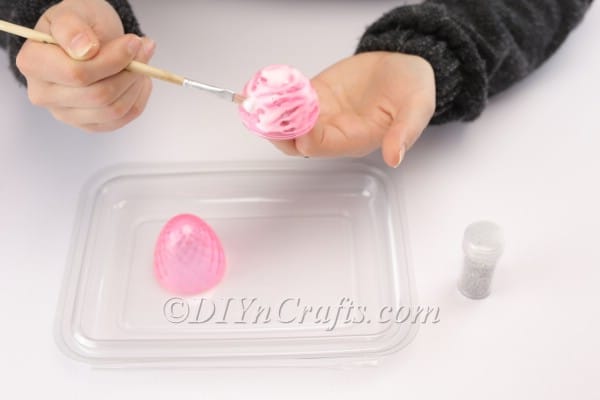
- Without waiting for the glue to dry, quickly sprinkle on sparkles, covering the egg as best you can. As the glue dries, the sparkles will stick to it.
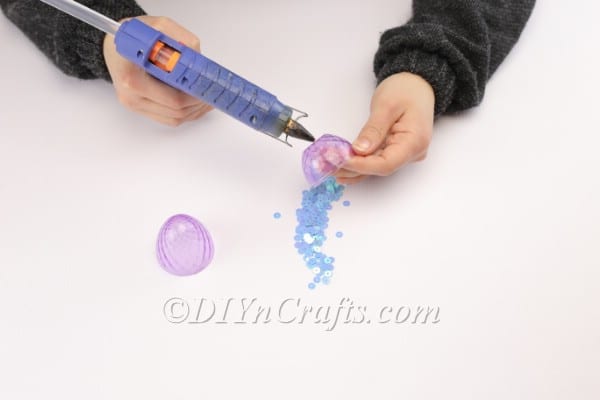
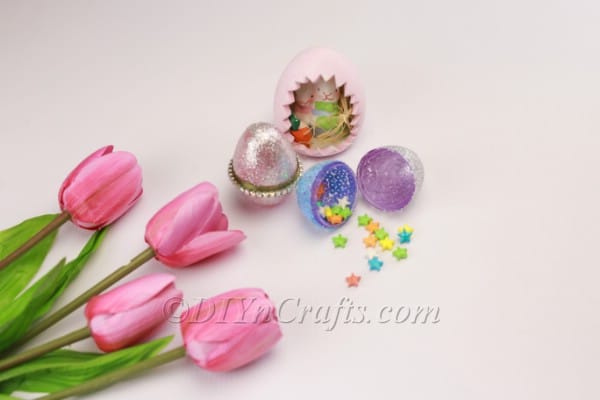
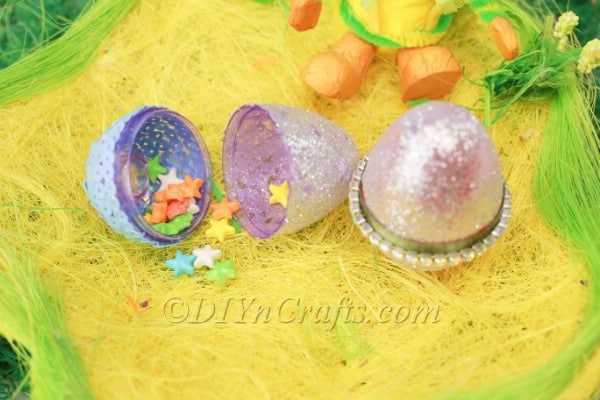
- I did the top part of my second egg the same way, covered in sparkles, but I decided to do something different for the bottom section.
- If you would like to do the same, start by covering this part of the egg with glue just as you did the others.
- But instead of covering it with sparkles, cover it with sequins instead. You will need to place them on individually. It takes some patience, but the finished results are very glamorous.

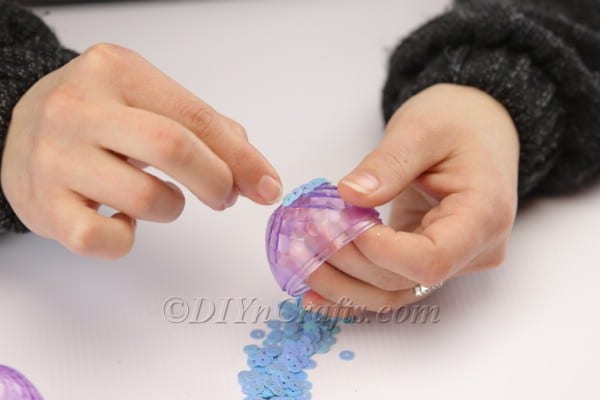
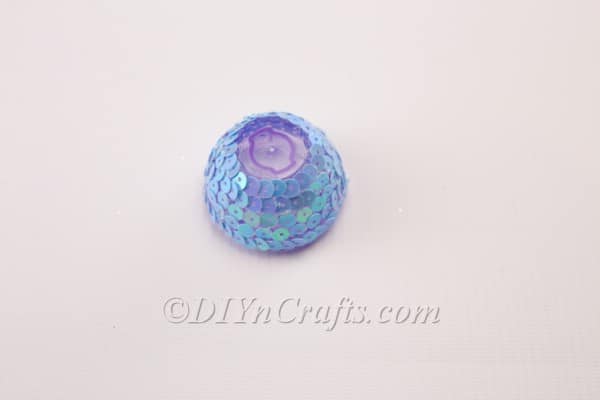
- With this egg (the one with the sequins), I simply attached the top to bottom at this point, and called it done.
- With the other egg where I covered both halves in sparkles, I wanted to do something to make it even fancier.
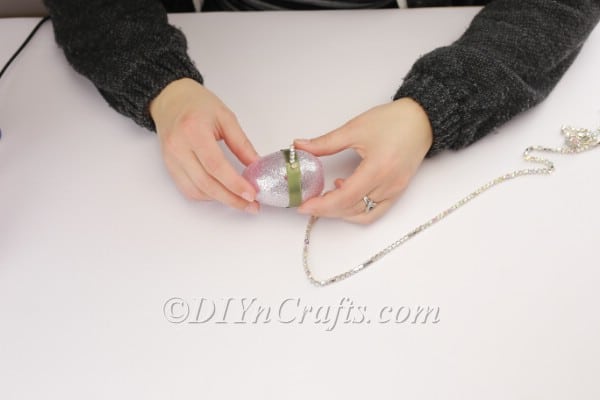
- I used hot glue to attach a ribbon around the seam between the two halves. I then glued a strand of rhinestones around the egg on top of the ribbon.
- Once you have finished following these steps, your eggs will be ready to display.
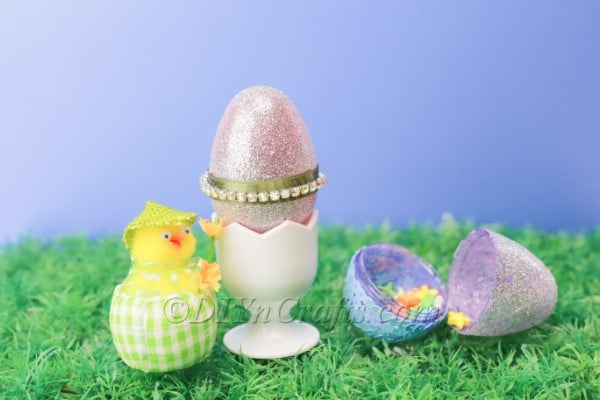
Enjoy Your Blinged-Out Easter Eggs
It is astonishing that you can do with some ordinary plastic eggs, some glitter and rhinestones, and a bit of imagination and flair. These blinged-out Easter eggs will look very posh wherever you put them.
If you are just glancing at them from across a room, they can momentarily trick you into thinking they’re really covered with silver and gemstones.
If you are looking for other unique ways to decorate Easter eggs, I have a few more video tutorials for you to check out.
If you liked creating sparkly Easter eggs, you'll definitely enjoy learning how to create whimsical unicorn Easter eggs.
You can also turn an Easter egg into a cute bunny. And don’t miss out on 5 more easy Easter egg DIY projects.
Easter Projects
Happy Easter, and keep checking back because we are always adding more easy and thrifty holiday craft tutorials for you to try.


Leave a Reply