If you want to keep crafting easy, cheap, and fun, it is hard to go wrong with construction paper crafts. In today's video tutorial, you will be making a cute Easter bunny out of construction paper and a few other simple materials.

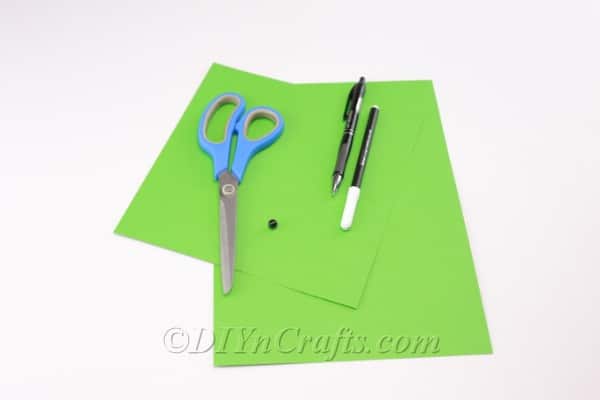
For this project, you are going to need a few different tools but only a couple of materials. You will need a couple of sheets of construction paper. I chose to go with green, but you can pick any color you want.
Your Easter bunny is going to need some eyes. I chose to use black faux pearls for mine, but you could also pick beads, buttons, or anything else that springs to mind.

Alternatively, if you do not have any of these supplies handy, you could simply draw on the eyes with a black marker.
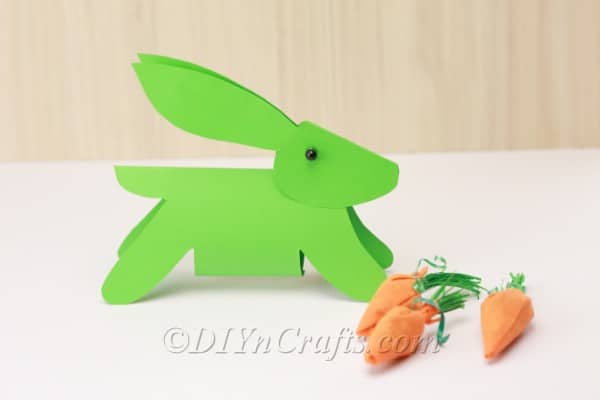
Context-wise, it is useful to know before embarking on this project that our completed bunny will be standing in profile rather than looking directly at us and will be in an upright, running position.
Find all of the materials and tools you need listed below along with written instructions to go along with the easy Easter craft video tutorial.
Step-by-Step Video and Photo Tutorial
How to Make a Simple Paper Easter Bunny
In search of a fun and easy paper craft for Easter? This video tutorial will show you how you can make a paper Easter bunny in a few easy steps with simple supplies. Watch now to make your own.
Materials
- Green construction paper
- Black faux pearls (or beads or buttons)
Tools
- Black marker
- Scissors
- Pencil
- Stapler
- Hot glue and glue gun
Instructions
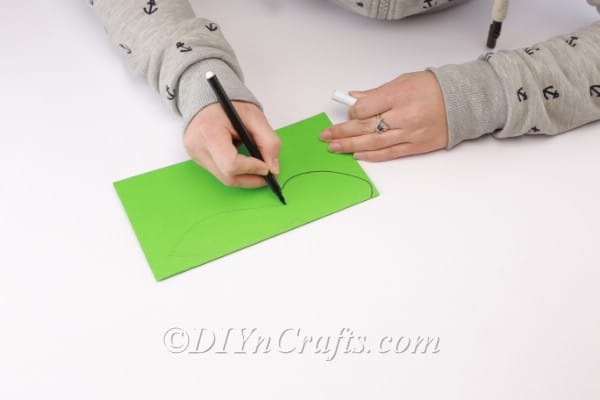
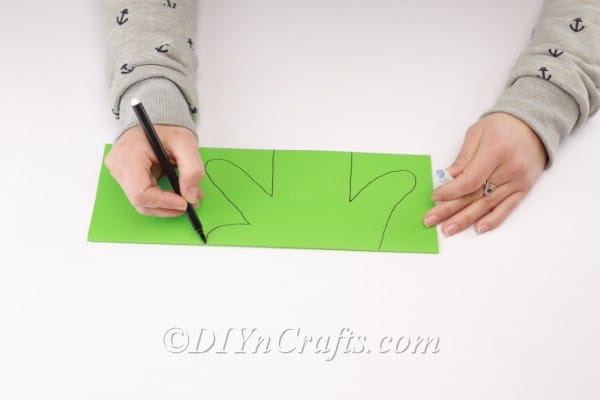
 Begin by folding one of your sheets of construction paper in half to form a rectangle. We are going to be using this piece of paper to make the bunny’s head.
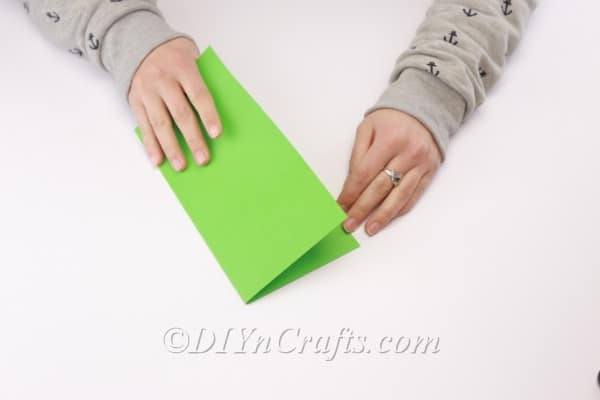
- Next, use a pen or pencil (or marker) to sketch the shape of the head and one of the bunny's ears.
- Remember, our bunny is going to be standing in profile. So you want to draw the shape of the head as it would appear from the side. This is also why you only need to draw one of the ears. As the paper is folded in half, when you cut out the shape, you will end up with two ears, one on either side.
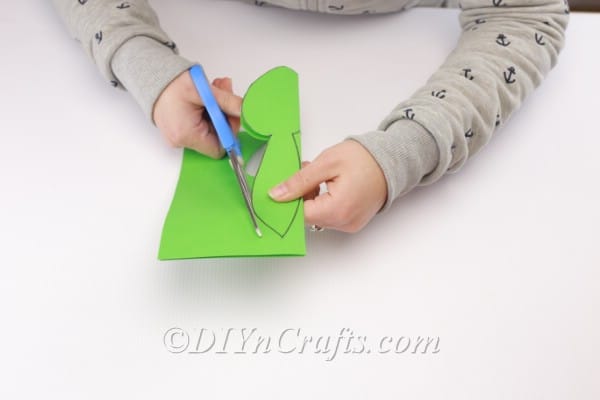
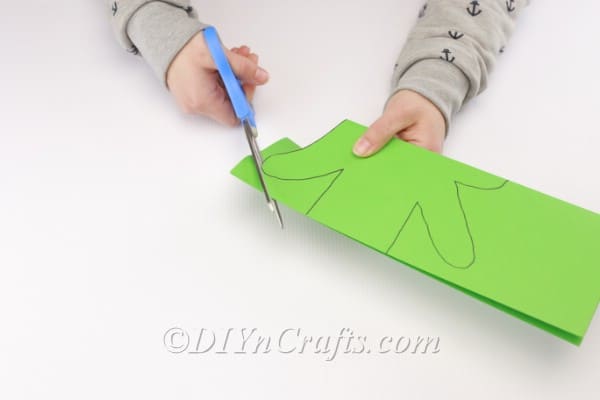
- You do not want the ears to be attached to one another, so make sure you cut that part of the fold away. Leave it intact where the bunny's head is so that the fold becomes the top of the head connecting the two symmetrical sites.While this is a bit of a challenge to describe in words alone, it is a pretty simple concept when you see it demonstrated in the video or take a look at the images.
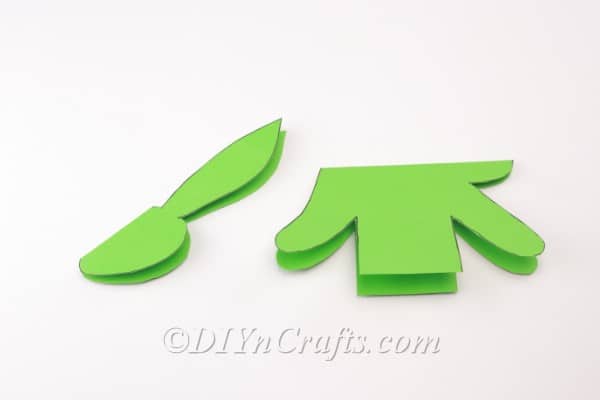
- Fold the other piece of construction paper in half. You will be using the same principles of symmetry to craft the bunny's body out of this sheet.
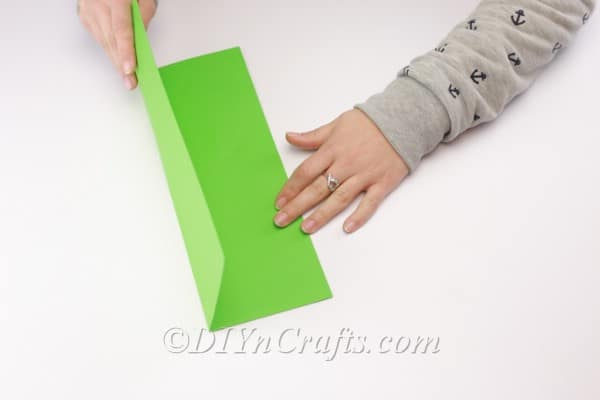
- Sketch the shape of the bunny’s body as seen from the side. Because you folded the paper in half, the symmetry means that you will have created both sides of the body simultaneously with the fold of the paper serving as the top of the body.
- It is difficult to describe in words he shape that you need to draw, so it I suggest looking at the pictures and watching the video if you can. But you should be drawing two legs and a tail. Between the legs, just draw a rectangle shape for the body. Again, the fold of the paper should be the bunny’s back.
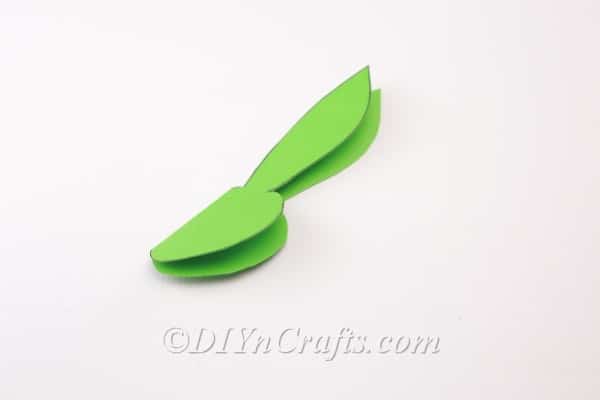
- Cut out the shape that you have drawn.
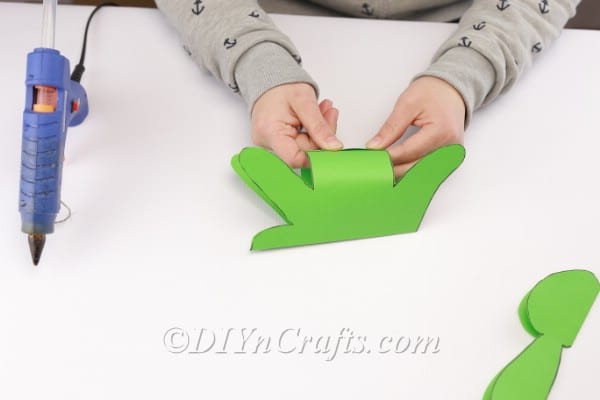
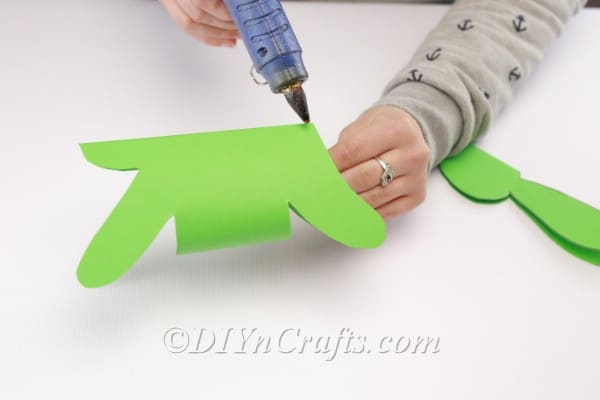
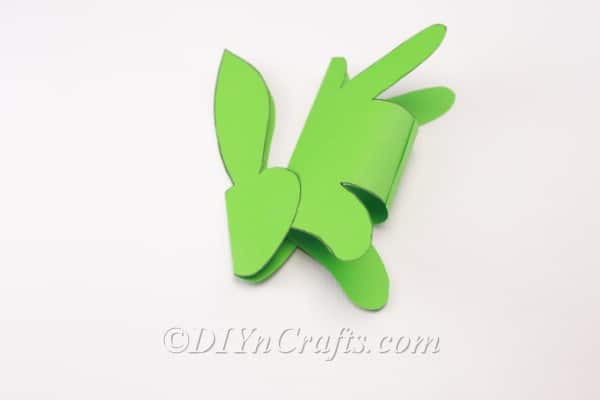
- Now you are going to attach the rectangles at the bottom together with glue. Once you have done this, the body of the paper bunny will be more cylindrical in shape and three-dimensional.
- Glue the bunny’s head to its body
- Finally, glue on the faux pearls or whatever you chose to represent the eyes. Your completed bunny will be able to stand up on four legs.
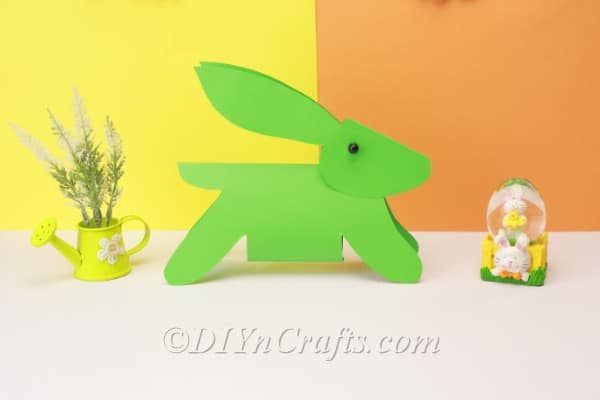
After you have finished crafting your paper Easter bunny, you can set it up anywhere as a decoration for the holiday.
I would like to note that this is a great project to do with kids. Firstly, it is relatively easy, and it is possible to substitute liquid glue or a glue stick for hot glue when working with younger children.
Secondly, it teaches important principles of symmetry, rather than making paper snowflakes for Christmas.
In fact, if you wanted to challenge your kids or yourself, once you have learned how to make a paper Easter bunny in this fashion, you could try to figure out designs for making other critters.
Easter Projects
In search of more cute, fun Easter craft projects? You will find tons of video tutorials like this one in our archive. To get you started, learn how to make an Easter chick out of DIY pom poms.
Then, discover how you can make an Easter sheep out of a paper plate. Also, try making Easter hens out of an egg carton.
I add new video tutorials regularly to the site, so you will find even more if you check back again soon. Have fun making all of these easy and thrifty Easter crafts.


Leave a Reply