If you are in search of a fun Easter project that is perfect for participants of all ages, you should enjoy the video tutorial below. As you watch it and follow along with the steps, you can transform an ordinary paper plate into a cute Easter sheep.
For this DIY Easter project, you only need several tools and a handful of materials. This is a paper plate project, so it is an ideal choice for children and makes a great home or school activity.

Jump to:
Even though I have listed hot glue, you could make this project using other types of glue as well, which may be more appropriate with younger age groups. You will probably find it easier to use a liquid form of glue than a glue stick on the cotton balls.
If you are ready to begin with the project, read the full list of materials and tools below and find the written instructions to go along with the video tutorial.
Step-by-Step Tutorial with Detailed Instructions:
How to Make a Paper Plate Easter Sheep
Looking for a fun, easy craft for Easter which is perfect for all ages? In this video tutorial, you can find out how to make an adorable Easter sheep using a paper plate and cotton balls.
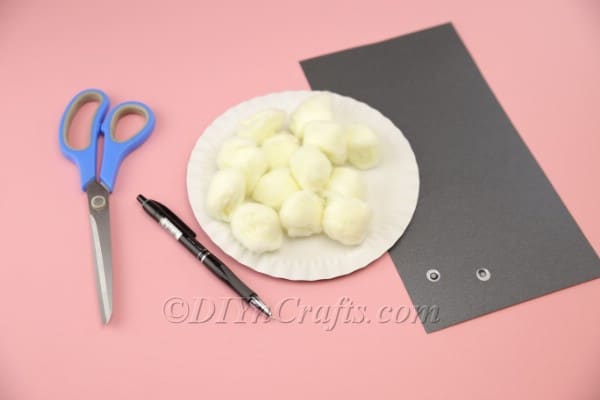
Materials
- Paper plate
- Cotton balls
- Googly eyes
- Black construction paper, cardstock or cardboard
Tools
- Pencil
- Scissors
- Hot glue and glue gun
Instructions
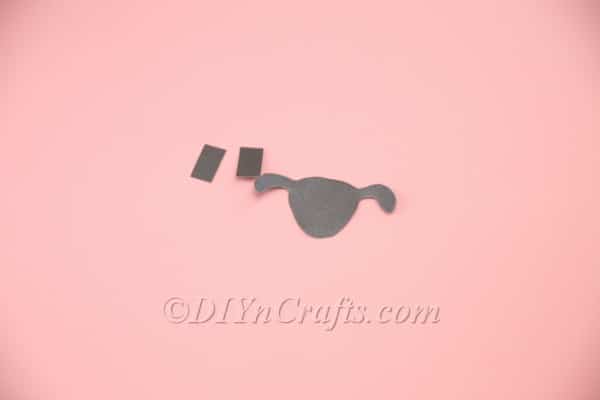
 In this project, the paper plate is going to become the body of the sheep, but you will need to cut out the legs and head of the sheep from a separate piece of black construction paper (or cardstock or cardboard).You should begin by sketching the outlines of the shapes before cutting them out so that you do not make mistakes.
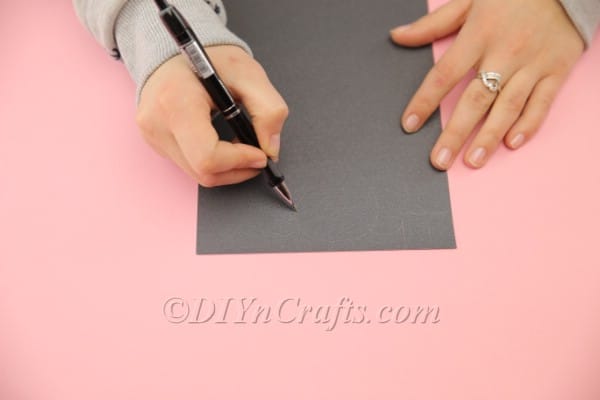
- Making the legs is very easy. You just need to cut out two small black rectangles. You can decide exactly how long or short you want to make them, keeping in mind that the paper plate is to be the body of the sheep.
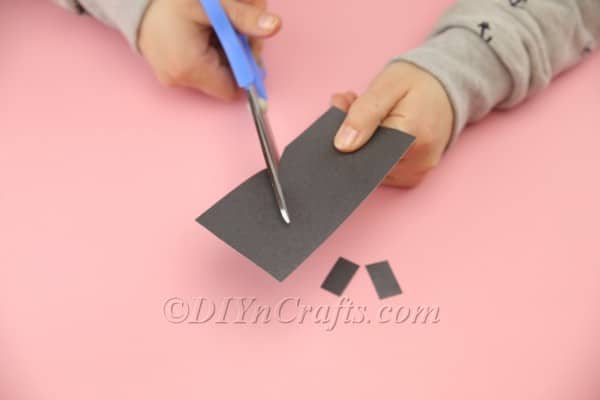
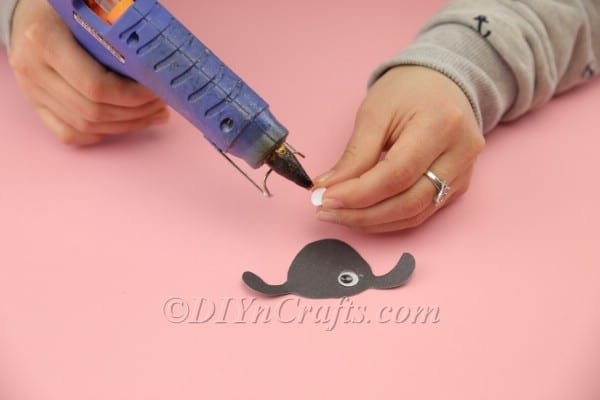
- After you cut out the sheep's legs, cut out the shape of its head and ears. Ideally, the head and ears should be one complete unit. For this project, the sheep will be facing us, so that is the orientation from which you should draw and cut out the head and ears.
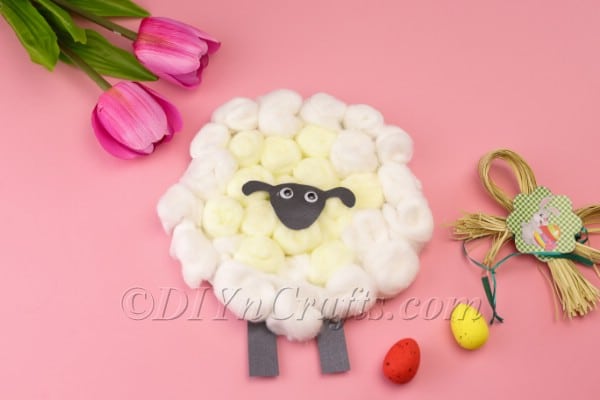
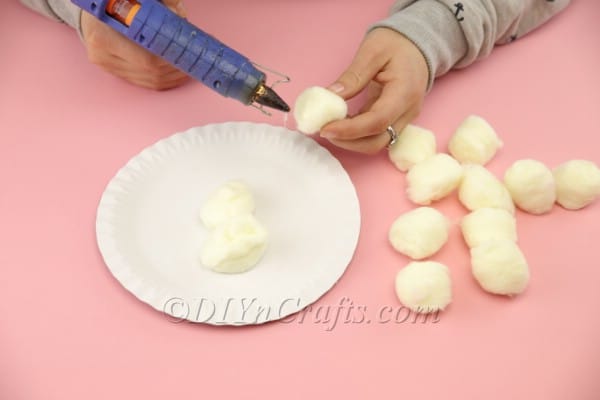
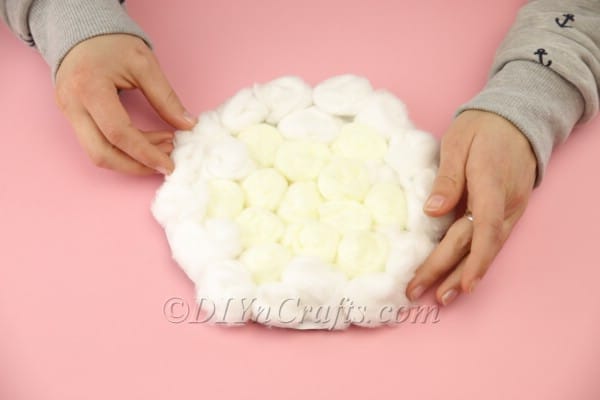
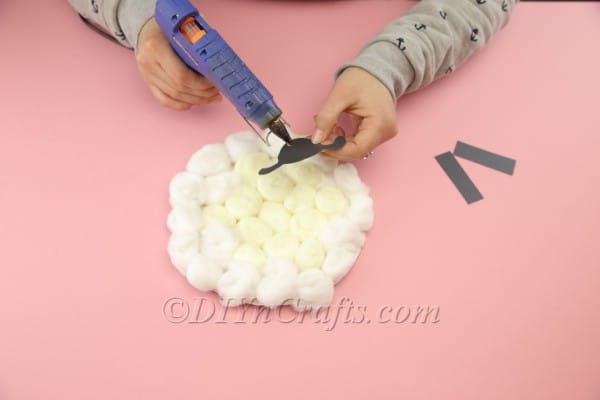
- The next step is very easy. Starting in the middle of the plate, glue the cotton balls onto it, working your way out toward the edges. Do your best to achieve the fullest possible coverage of the plate. By the time it is completed, the plate itself should no longer be visible, only the cotton balls.
- Glue the googly eyes to the sheep’s face.
- Glue the sheep's legs onto the bottom of the plate. It is easiest if you attach the legs directly to the back of the plate so that they protrude below. Then, glue the sheep’s head onto the middle of the plate on top of the cotton balls.
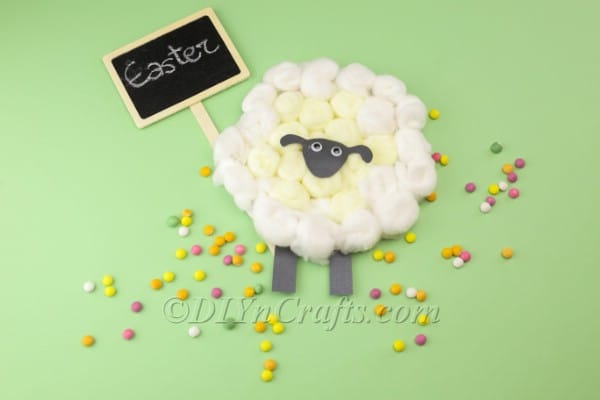
- When you sheep is completed, it should look something like this:
Recommended Products
As an Amazon Associate and member of other affiliate programs, I earn from qualifying purchases.


Celebrate Easter With Your Cute DIY Paper Plate Sheep
Now, you have discovered how easy it can be to create a cute sheep for Easter out of cotton balls and a paper plate. This is an activity that kids will have a lot of fun with, and as a grownup, it can be a blast for you, too.
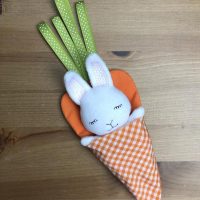
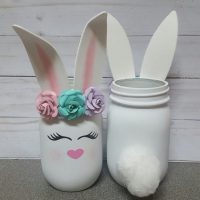
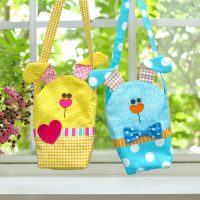
Once you’ve made your paper plate sheep, consider hanging them up on a wall to display. You can also try out some other paper plate crafts for Easter. In fact, this tutorial shows you how to make 3 Easter bunny crafts using paper plates.
Looking for more fun and creative Easter projects, crafts, and activities for kids? Download a free printable to make an Easter bingo game for children of all ages. We’ve also got 9 Easter coloring pages and activities with free printables for you.
Easter Projects
Enjoy all these Easter activities for kids, and check back again soon as we continue adding more Easter DIY tutorials to the site. We have so much fun and creativity to share with you!


Leave a Reply