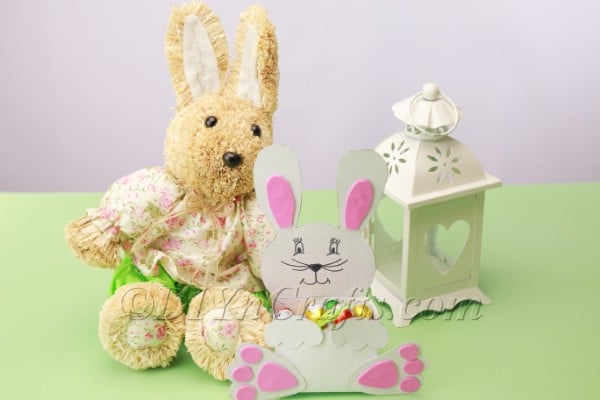
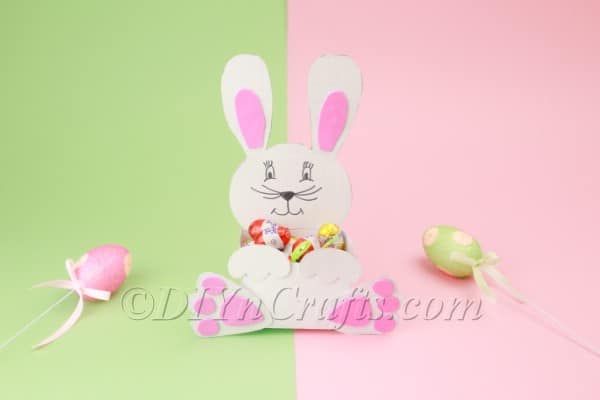
If you want to keep your craft projects simple and easy, there is nothing like a free template to help you do it. In today's video craft tutorial, you will learn how you can create a cute Easter bunny treat holder with the help of a free printable.
Because this Easter craft tutorial includes a free printable template, it is a good project for all age groups. Even small children should find most of the steps pretty easy since they already have guidelines for cutting out the necessary shapes.
I used hot glue for this project since it is versatile and, therefore, my glue of choice for most projects. But you could probably get away with using a glue stick or liquid glue with no issues.
Jump to:
Step-by-Step Photo and Video Tutorial
DIY Adorable Paper Easter Bunny Candy Holder {Free Printable}
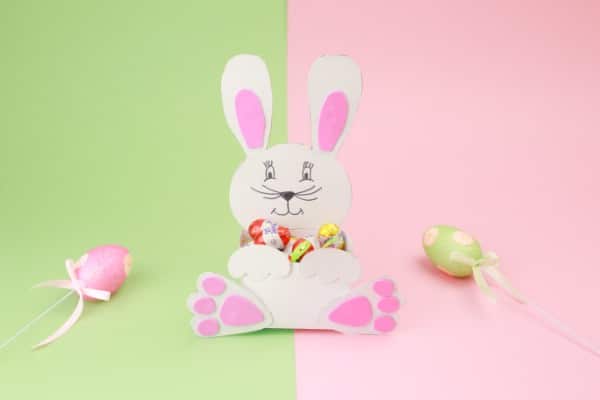
Been searching for an easy, fun Easter craft activity with free printables? Watch the video tutorial and download the free template now to create a cute Easter bunny treat holder!
Materials
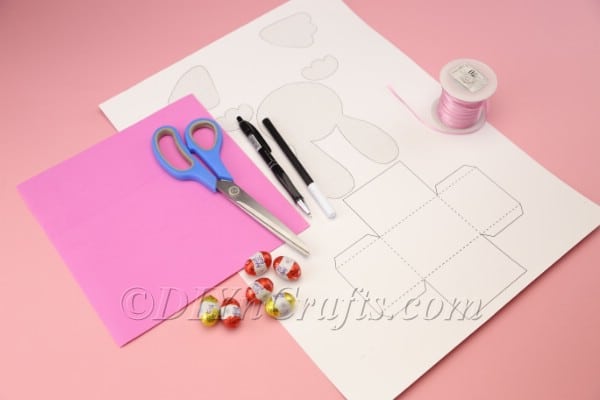
- Printable template (download it right here for free)
- Foam sheets (pink)
- Black marker
- Ribbon
- Candies
Tools
- Scissors
- Pencil
- Black marker
- Hot glue and glue gun
Instructions
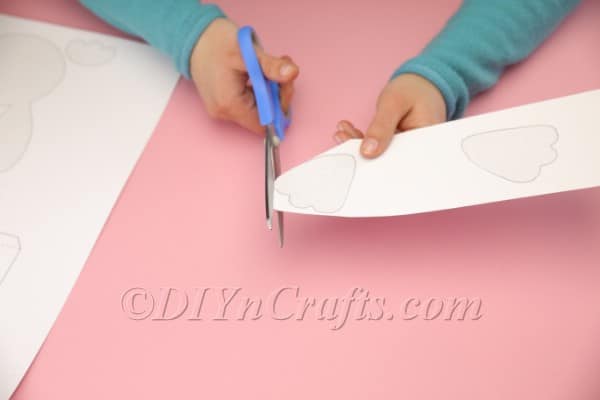
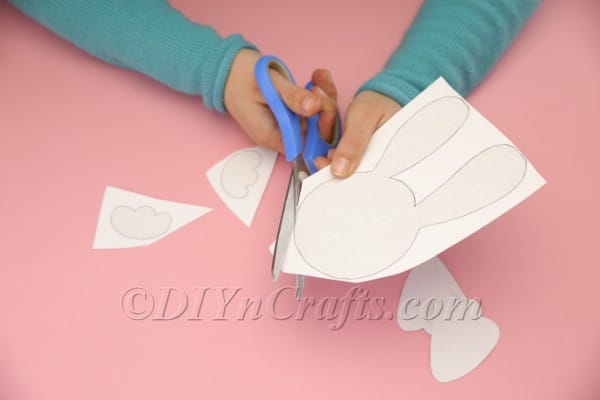
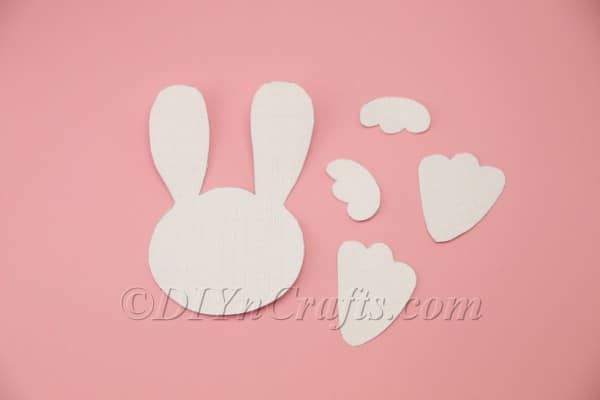
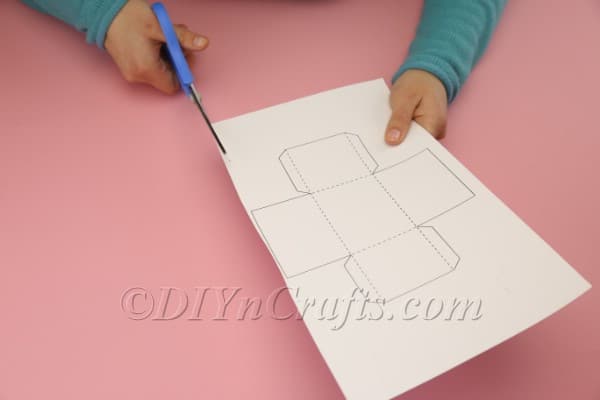
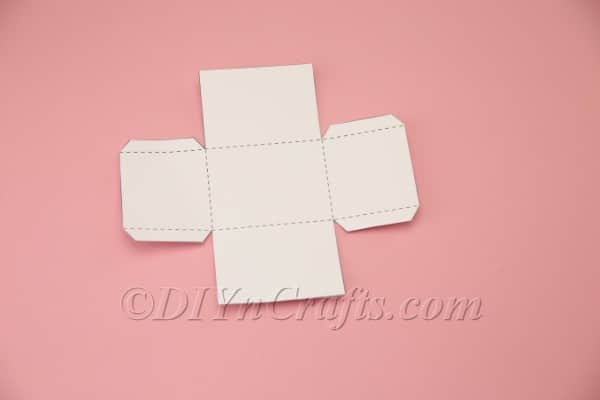
- The first step is simply to cut out all of the shapes from the template. Just follow the guidelines carefully to do so. You will cut out the shape of the box, as well as the bunny’s paws and head.
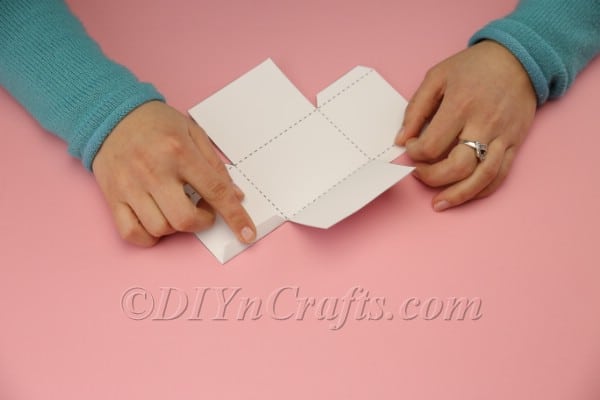
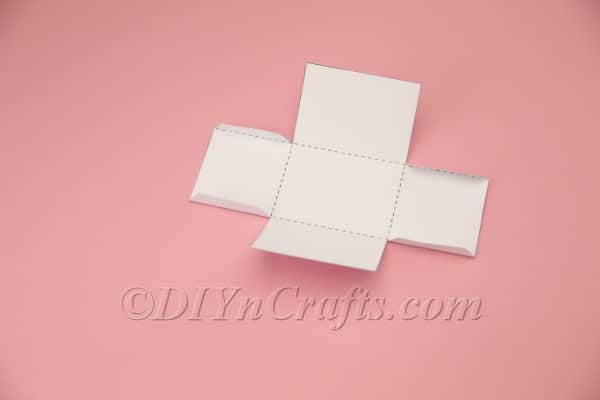
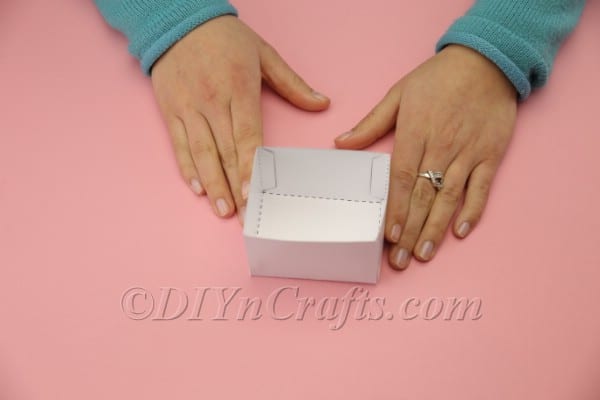
- When you have the box shape cut out, fold along the dotted lines. That means folding up the sides and folding in the tabs.
- While the free printable gave you most of the basic shapes you need to complete this project, you still have a bit of creative work to do.
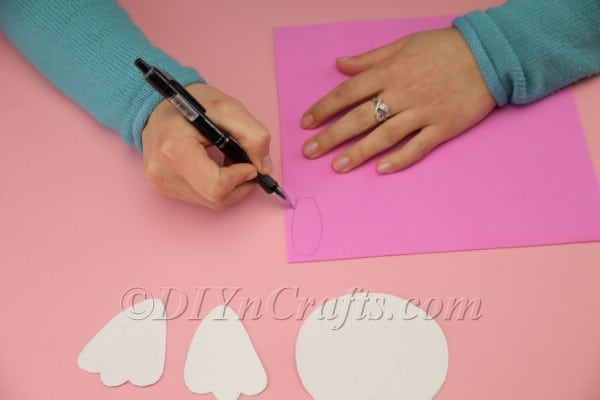
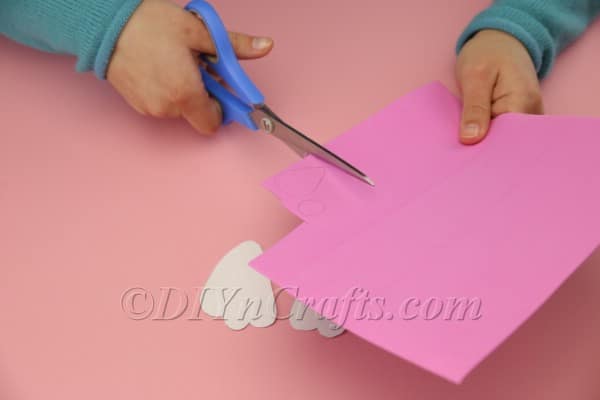
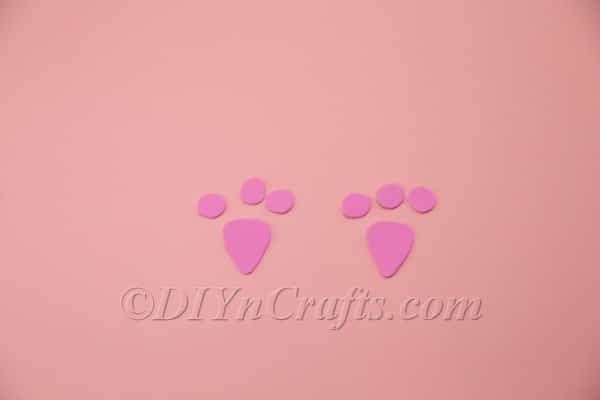
- Use a pen or pencil to carefully sketch the pads which will go on the bottom of the bunny's feet on the pink foam sheet.
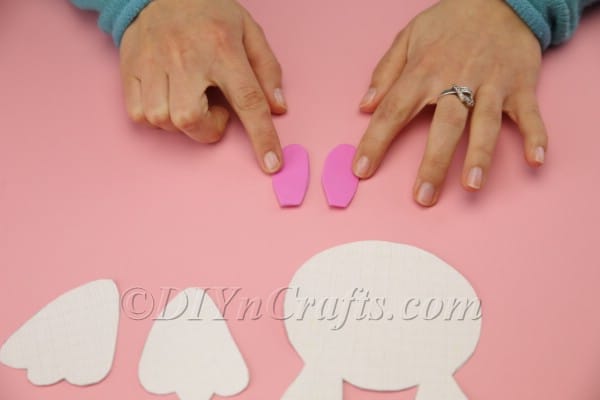
- On the same pink foam sheet, you also can draw the shapes of the bunny's inner ears.
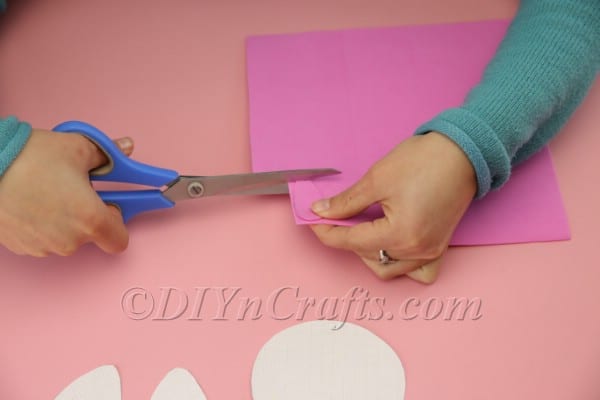
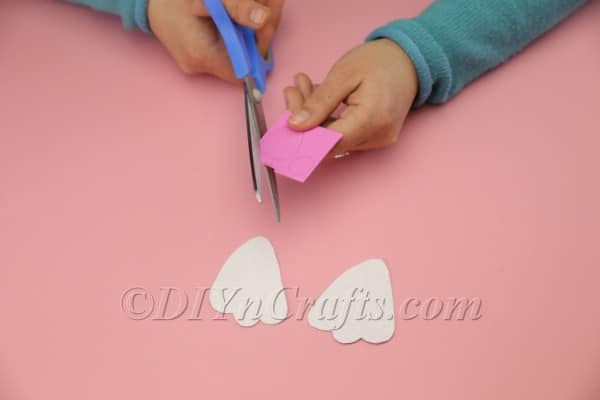
- Cut out the paw pads and the inner ears from the pink foam sheet.
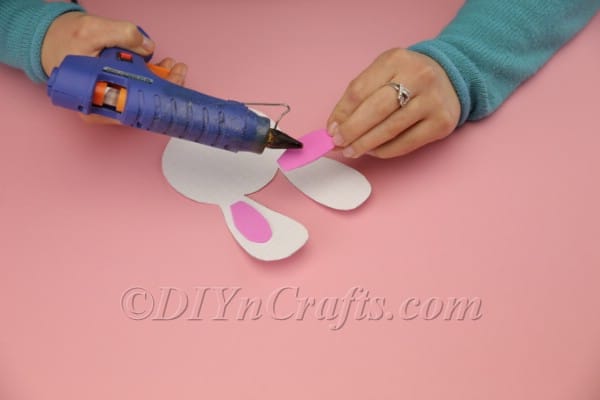
- You can now glue the inner ears to the bunny’s outer ears.
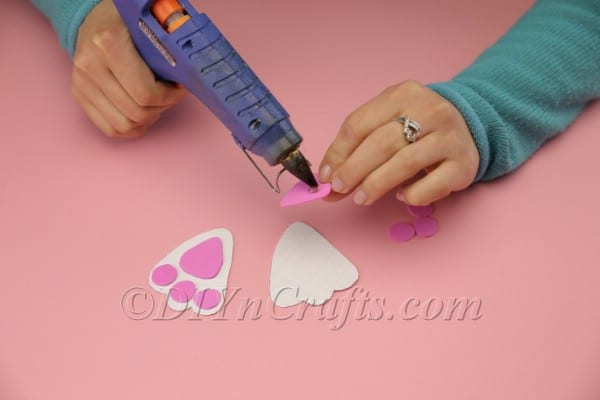
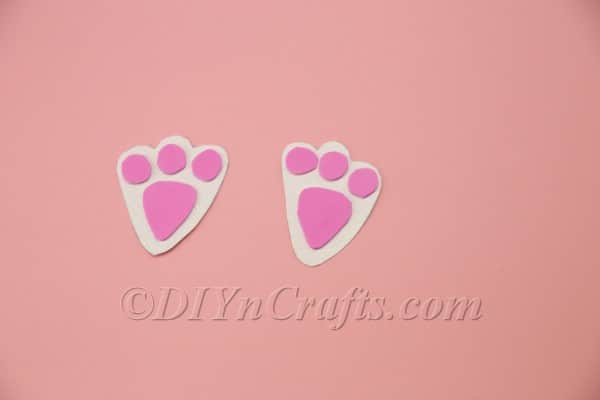
- Likewise, you can now glue the paw pads onto the feet.
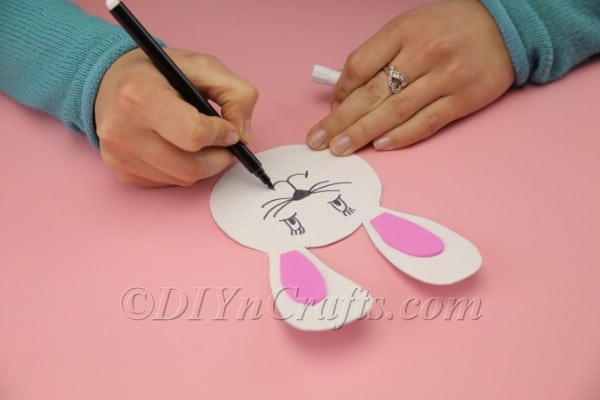
- Now that the feet are ready, return to the bunny's head. Using a black pen or marker, draw on the bunny’s face. Here you can use your creativity to decide what you want your bunny to look like.
- Now that you have each of the components of the Easter bunny treat box prepared, it is time to start assembling the whole.
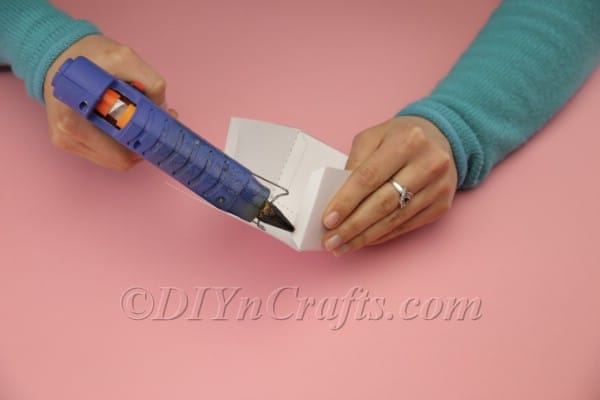
- Previously, you folded along the dotted lines on the section which is to become the box that holds the treats. Push the sides of the box upward, and use glue on the tabs to attach them to one another so that you have an open but complete container. Wait for your glue to dry.
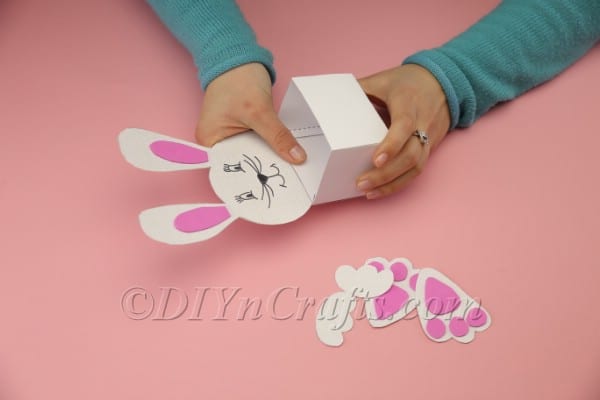
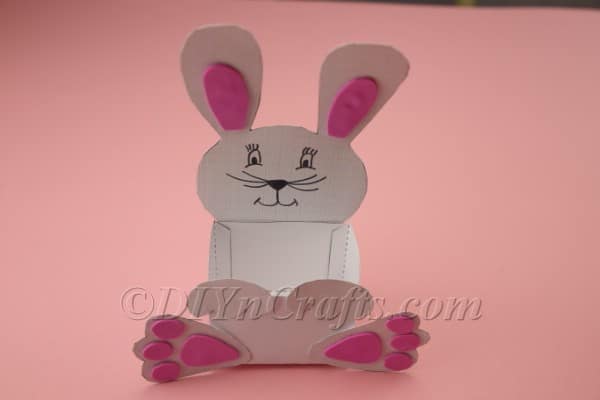
- Attach the bunny's head to the back of the box at the top so that it sticks out above the box. Then, attach the bunny's front paws and feet to the front. The front paws should go at the top, with the feet below. Once again, wait a couple minutes for all the glue to dry.
- The final step is to put some Easter grass and candies inside the box.
Recommended Products
As an Amazon Associate and member of other affiliate programs, I earn from qualifying purchases.
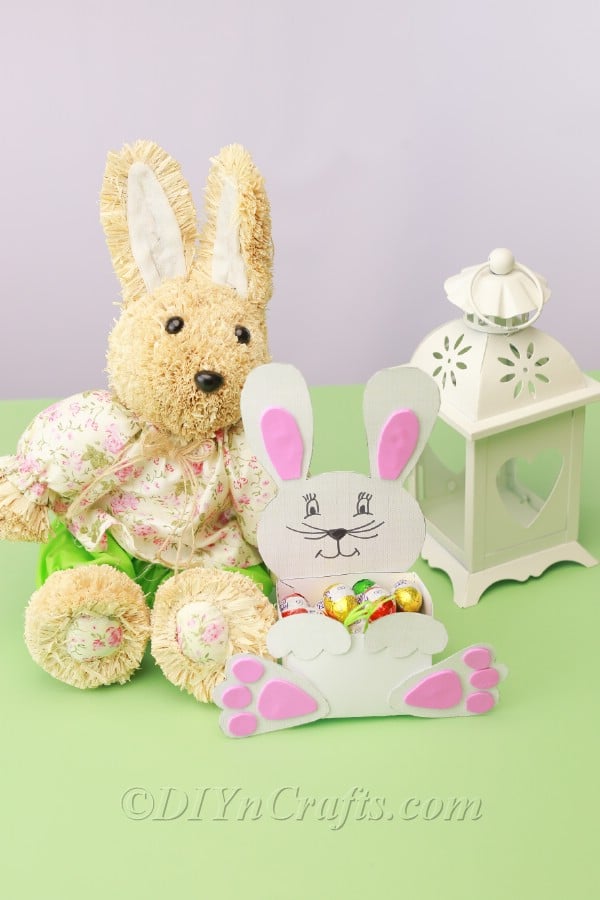
You have now finished creating an adorable Easter Bunny to hold treats for the holiday. With the help of the free printable, you probably were able to complete this project within just a short period of time and get a nice, neat result.
Once your Easter bunny treat container is finished, you can set it up on a table, cabinet, or desk in your home or at the office, where it can share Easter joy and sweets with all who drop by.
If you had fun with this project, there are some other video tutorials for Easter crafts that I think you will enjoy.
For starters, you are going to want to try transforming a Nutella jar into an Easter bunny container for treats. Next, you will want to try another creative paper-based craft to create a treat container that is shaped like a carrot.
Other Fun Easter Projects
Another project you can make for Easter using a free printable is this Easter bunny paper garland. Finally, I think you’ll also like creating an Easter bunny candy bottle.
We have a ton of other Easter craft tutorials in our archives, and we’ll be posting more soon! So swing by again soon, and have fun crafting!





Leave a Reply