If you’re in search of a more creative way to present Easter treats to your children, friends, co-workers, or other recipients, here’s a way to do it! In this video tutorial, learn how to transform an ordinary glass or plastic jar into a cute Easter bunny container for candies.

To make this Easter DIY project a reality, you are going to need to gather a few basic supplies. I have listed all of the materials and tools below for you, along with written instructions to go with the video tutorial.
Jump to:
The jar you choose to use is entirely up to you. Any size is fine; I just went with a regular Nutella jar for mine. If your jar has labels on it, take the time to remove them and clean off the sticky residue in full.
You can go with plastic or glass for this project. Just make sure that you are using a clear jar since you are going to want to see the candies inside.
What types of candies should you include? That is also completely up to you based on what you want to do. But I suggest that you pick something which is aesthetically pleasing since the candies will be clearly visible.
You want them to add to the appearance of the final bunny jar, not detract. I went with some colorful marshmallow twists in soft pastel hues.
Ready to begin crafting? Let’s jump in!
Step-by-Step Tutorial with Detailed Instructions:
Repurpose a Nutella Jar Into a Cute Easter Bunny Container for Treats
In searching of a fun DIY Easter crafting project for presenting Easter treats? In this video tutorial, discover how you can transform an ordinary plastic or glass jar into a cute Easter bunny candy container to celebrate the holiday.
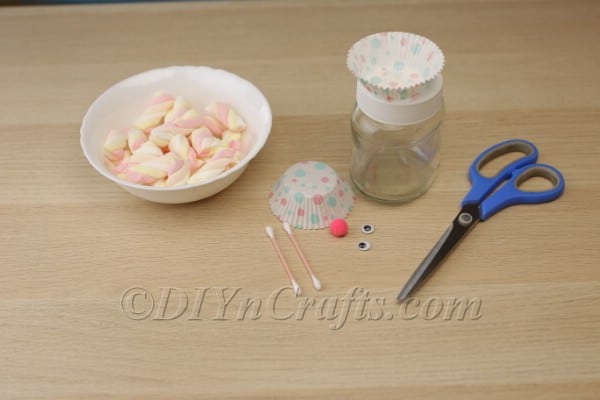
Materials
- Glass or plastic jar
- Easter candies
- Googly eyes
- Pink pom pom
- Candy cups
Tools
- Scissors
- Hot glue and glue gun
- Q-tips
Instructions
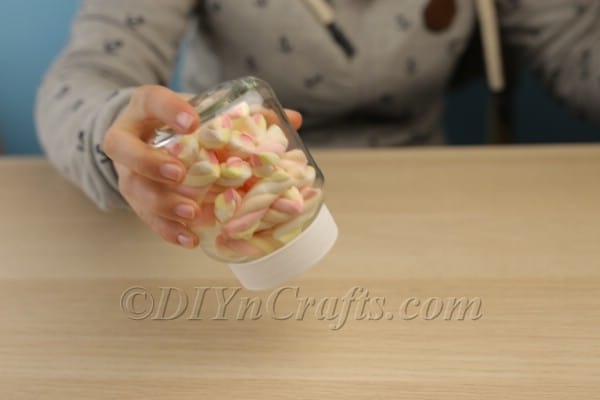
 The first step is just to fill the jar you have selected with the candy you have chosen.
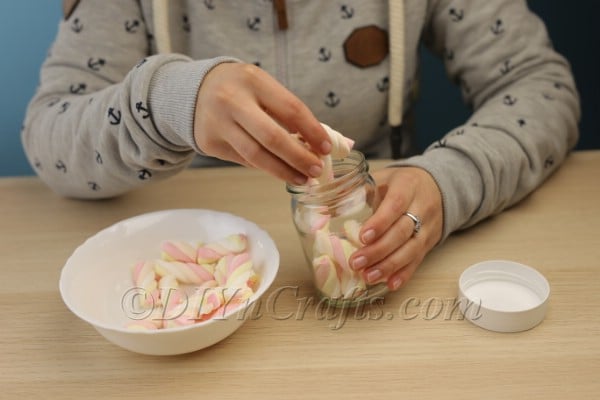
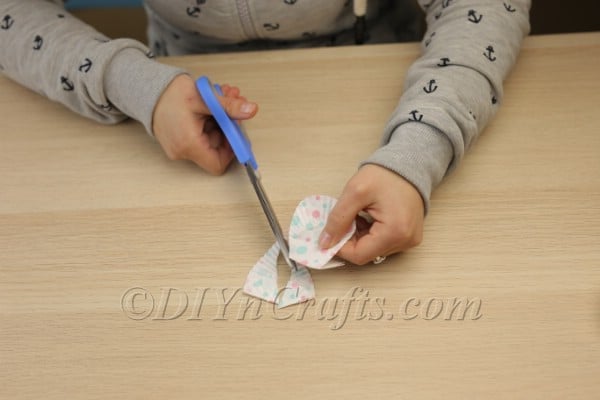
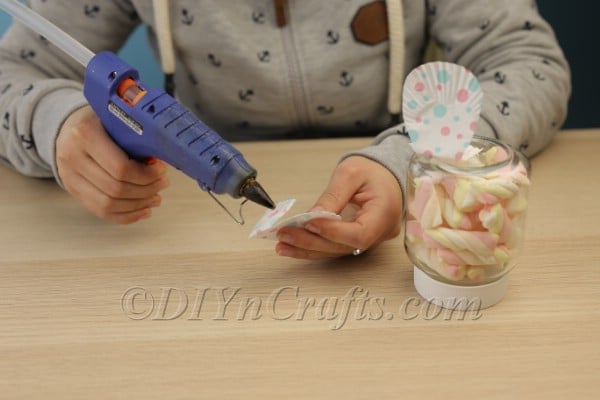
- Next, you will need some candy cups. I suggest going with some cute, colorful, decorative ones like those I used in the video. Using your scissors, you need to cut out the shapes of the bunny’s ears and feet.
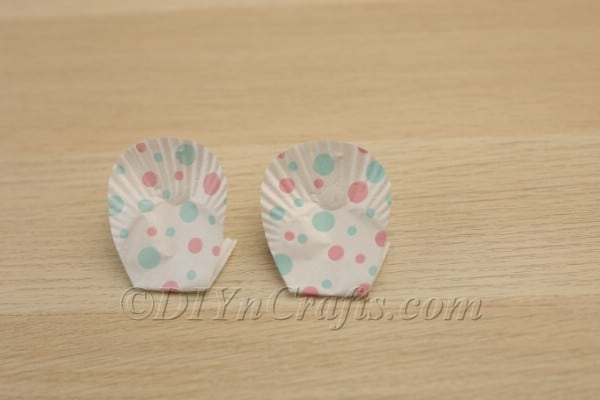
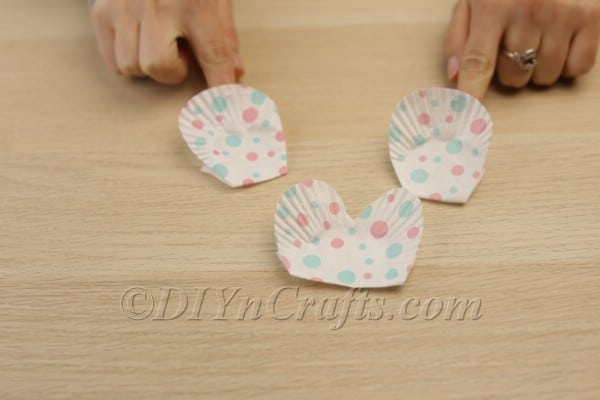
- The ears need to stand up on top of the bunny’s head. To make this happen, make sure that you have little tabs on the bottoms of the ear shapes which you can fold perpendicular to them. That way you can put glue on the bottoms of the tabs to attach the ears to the jar, and the ears will stand upright.
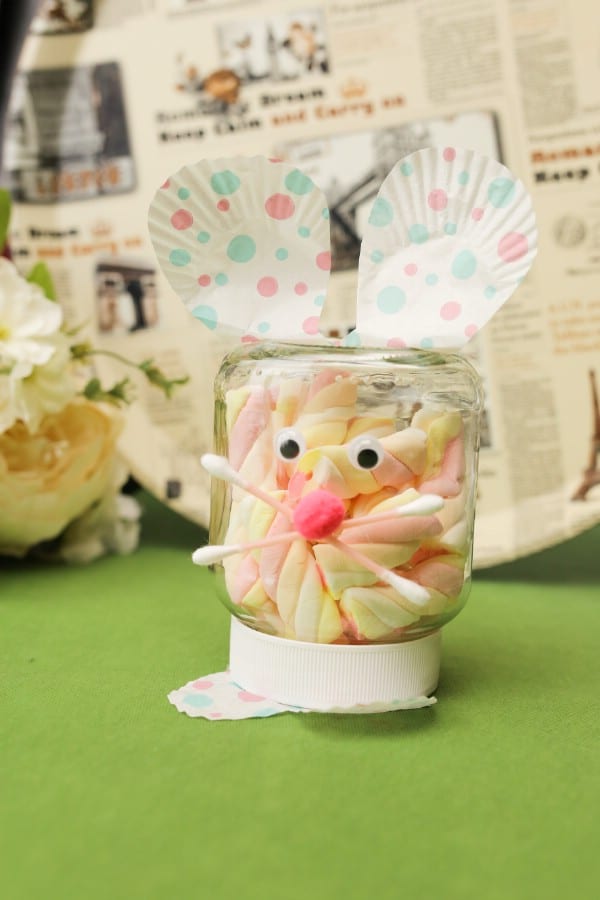
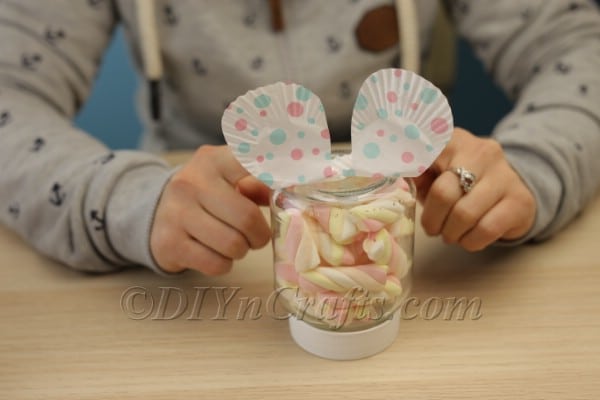
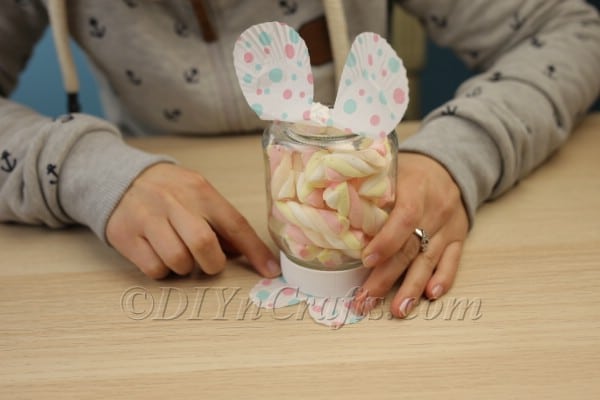
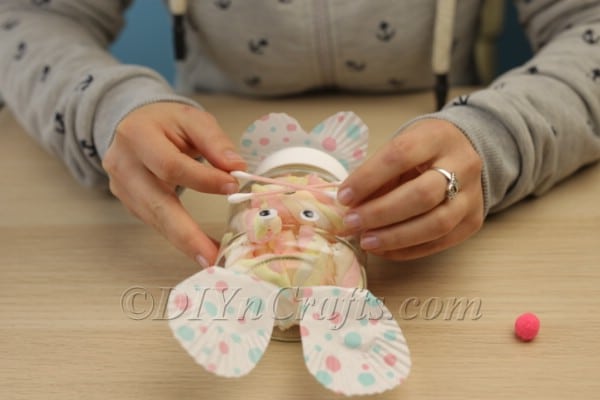
- Turn the jar upside-down so that the cap is at the bottom. Now use hot glue to attach the ears to the top as previously described. Then hot glue the feet to the bottom.
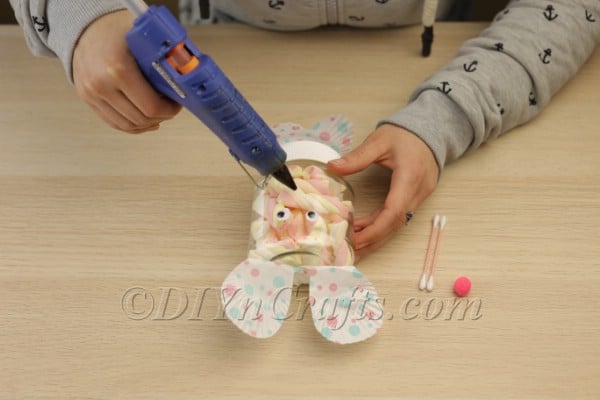
- You are now ready to make the bunny’s facial features. Using your hot glue gun, attach the googly eyes, spacing them as you see fit. Then get the two Q-tips and crisscross them before hot gluing them in place as the bunny’s whiskers. On top of them in the center, hot glue the pom pom as the bunny’s nose. Voila! You have turned a jar into a cute bunny candy container for Easter!

Notes
If your jar has a cap or a lid which isn’t a very Easter-y color, you may want to think about spray-painting it first. Go with white or a pastel color which will complement your bunny.
Recommended Products
As an Amazon Associate and member of other affiliate programs, I earn from qualifying purchases.
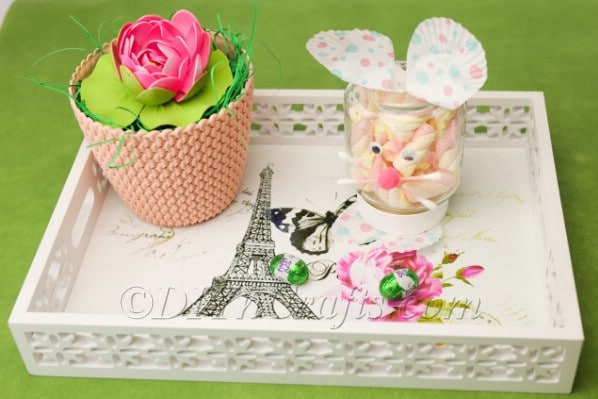
Present Your Easter Bunny Treat Jar to Someone Special
Once you have completed crafting your Easter bunny candy container, all that is left to do is to present it to your family member, friend, co-worker, classmate, or whomever else you have chosen as your recipient.
They will be delighted both by the Easter treats and by your creativity and the time you have taken.
Easter Projects
Ready for more fun and easy Easter crafts? If you enjoyed this project, I think you are also going to love making a cute Easter bunny candy container out of a bottle. The process is similar, but you can achieve a different effect with this project.
You also may want to check out some of my other Easter craft video tutorials including how to make an adorable Easter bunny out of DIY pom poms and how to make cute bunny ears out of colorful straws. Check back in soon for more Easter crafts!


Leave a Reply