With Easter coming up, it is time to make some fun Easter crafts out of simple materials. If you have been looking for a fun activity which is suitable for all ages, crafting with paper plates is the perfect choice.
They’re cheap, versatile, and probably already in your kitchen. In my newest Easter craft video tutorial, I teach you how to make three different Easter Bunny projects using ordinary paper plates.
These projects are so fast and easy that you can make them within just a few minutes. You will notice in the list of tools that I did opt to use a hot glue gun for these projects.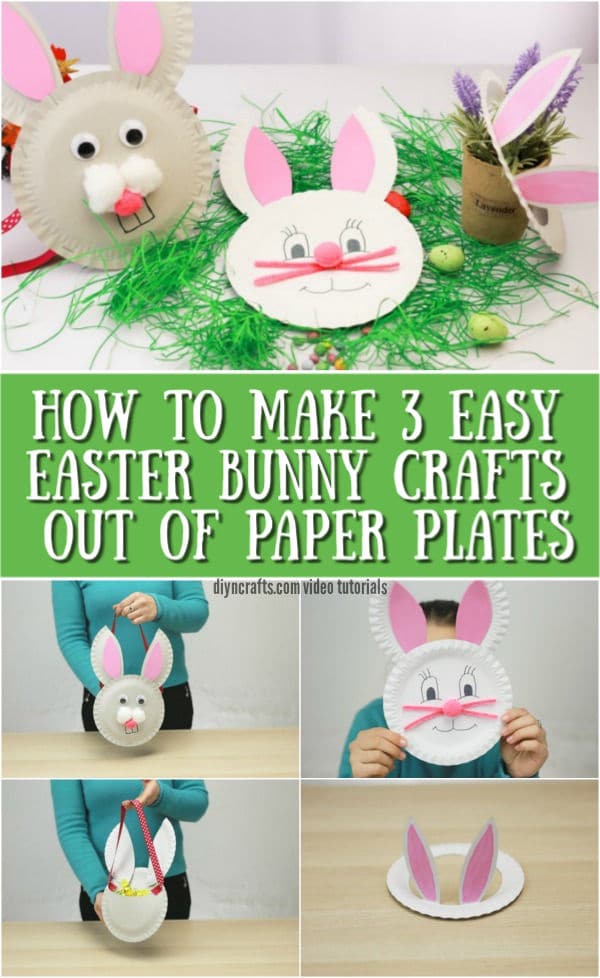
Because you are working with basic materials however, you can substitute liquid glue or a glue stick if you prefer. This is preferable if you will be working on these crafts with small children.
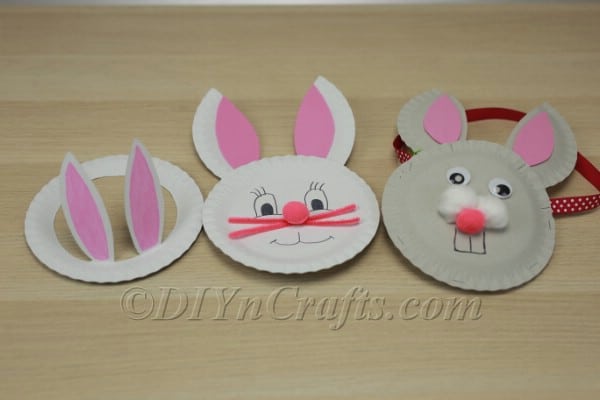
The three projects below include a hat with bunny ears, a bunny made out of a paper plate, and the bunny-themed basket. Give any one of them a try, or make all three for triple the creativity and fun.
Find all of the materials and tools you need for each project below along with accompanying instructions for the video. Let's get started!
Step by Step Tutorial with Detailed Instructions:
Paper Plate Bunny Ear Hat
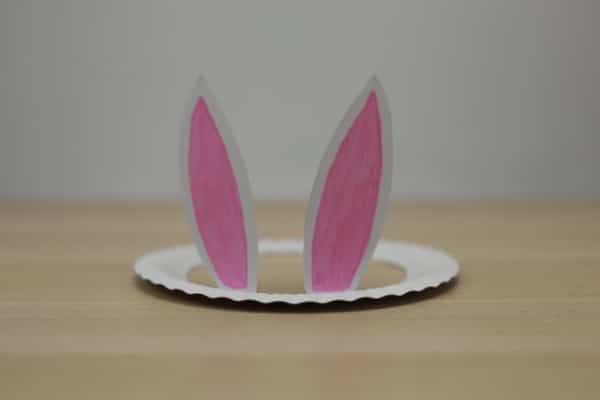
Learn how to easily create a fun DIY bunny ears hat out of paper plates. This is a fun project to do with kids after cutting the ears they can decorate the ears.
Materials
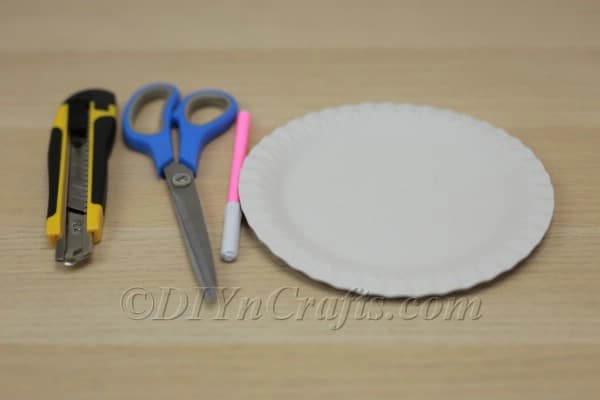
Tools
- Precision cutting tool (like an X-Acto knife)
- Pink marker
- Pencil
Instructions
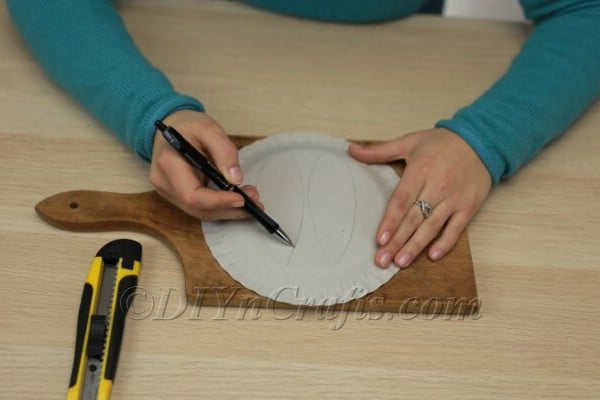
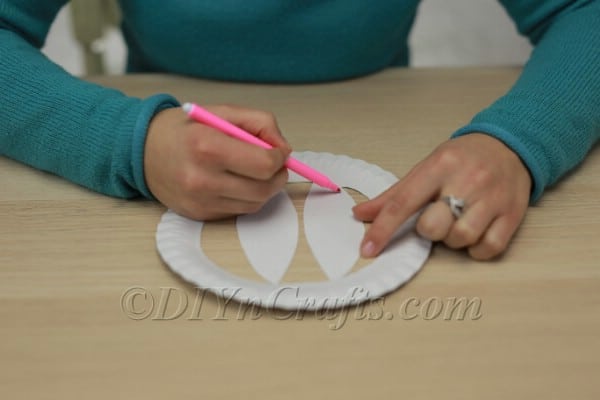
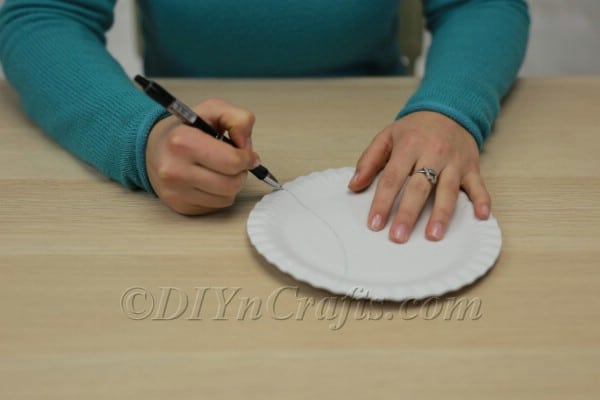
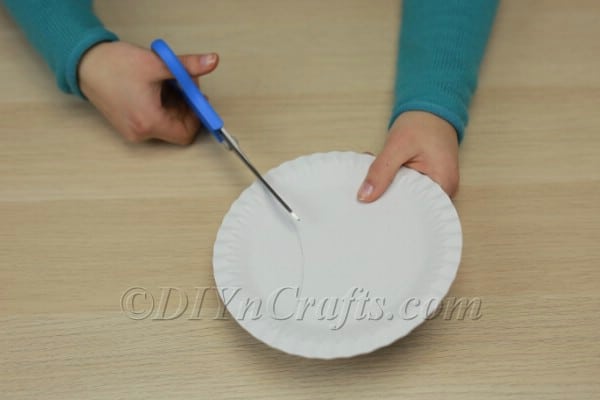
 This first project is the simplest one involving the fewest materials. You can jump straight to the cutting step (see below), but I think it is easiest to sketch the outlines of ears before you cut them.
- Set your paper plate down in front of you. Sketch the outlines of two bunny ears in the center of the plate. The ears should begin not at the very edge of the plate, but where the rim of the plate meets the bottom. The tips of the ears should extend across the plate to the opposite side, also ending where the rim of the plate meets the bottom.
- Once you have sketched the ears to your satisfaction, you can begin to cut them out. You do not want to actually remove them from the plate. Instead, you want to cut out the excess space around them on the bottom of the plate.
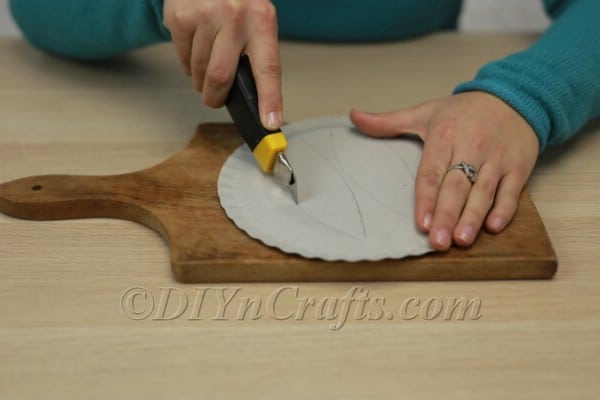
- This would be very tricky to do using a pair of scissors because the plate cannot be folded in half without creating unwanted bend lines in the finished product.
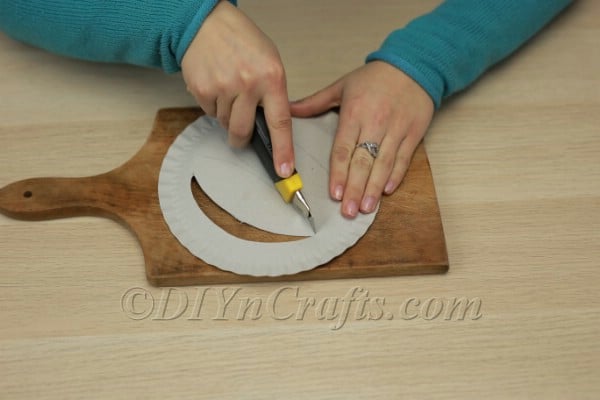
- So I recommend instead that you set the plate down on top of a cutting board, and use a precision cutting tool such as an X-Acto knife to remove the excess space around the ears.
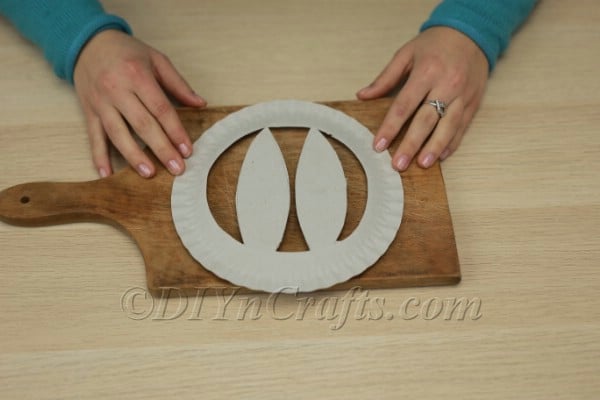
- When this step is completed, all that should remain of the plate is its rim along with the ears, which should remain attached to the rim at the bottom. Make sure that the points of the ears are detached from the rim at the top.
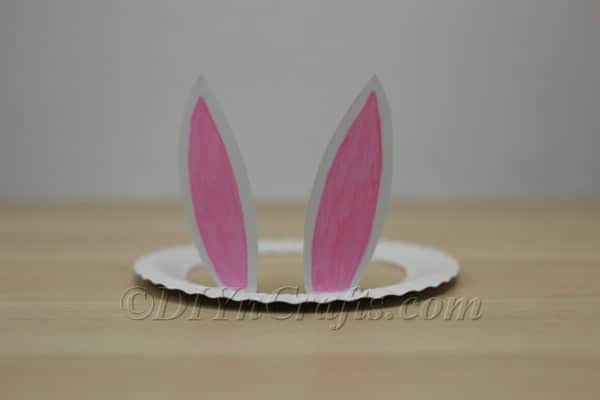
- Next, use a pink marker to fill in the inner ears.
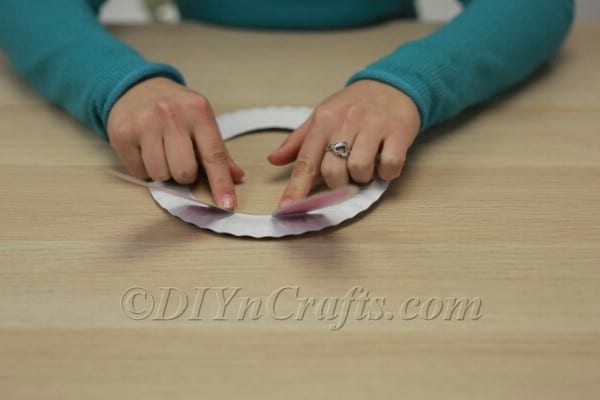
- The last step is very easy. Simply fold the ears upward from the rim so that they are standing up straight. Now the bunny hat is ready to be worn.
Recommended Products
As an Amazon Associate and member of other affiliate programs, I earn from qualifying purchases.
Paper Plate Bunny Face
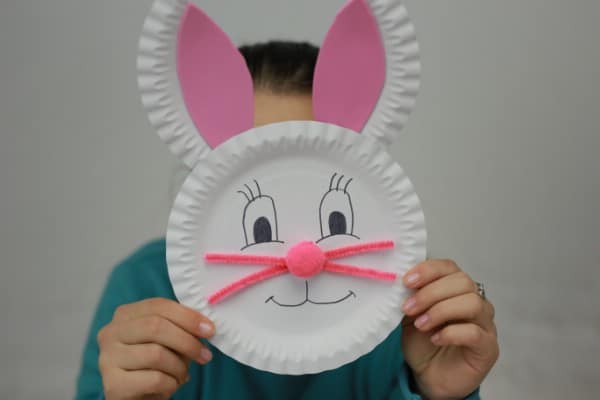
Easy project to transform a paper plate into a cute bunny face for kids! With just a few materials this is something anyone can do.
Materials
- Pink pipe cleaner
- Two paper plates
- Pink pom pom
- Pink foam sheet
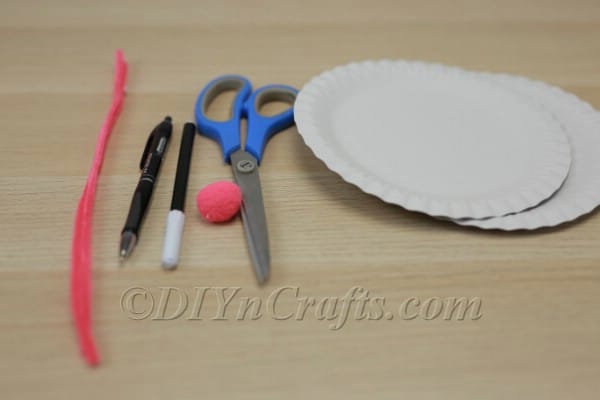
Tools
- Hot glue and glue gun
- Black and pink markers
- Scissors
Instructions
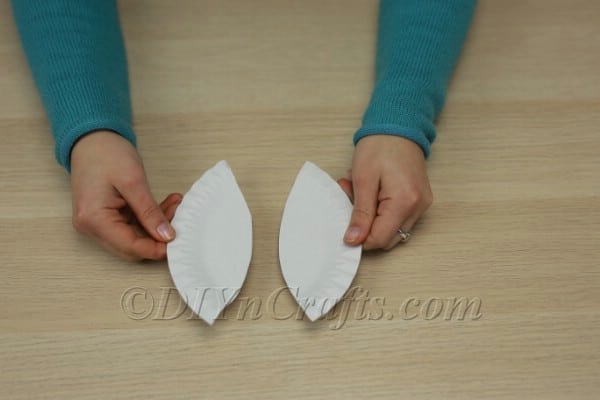
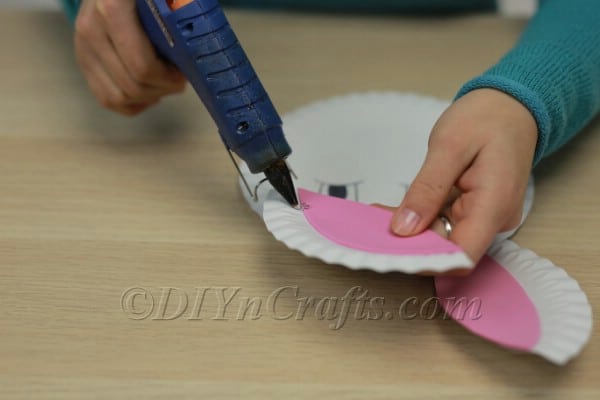
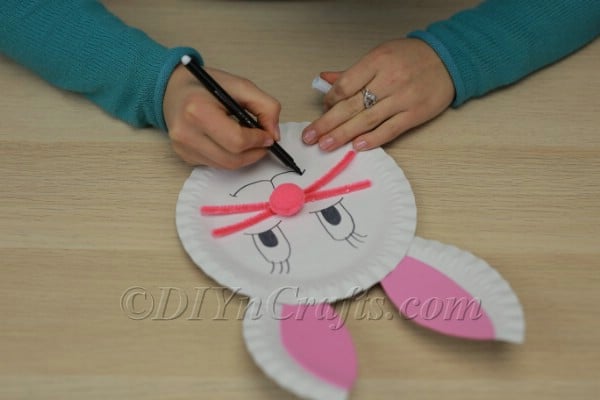
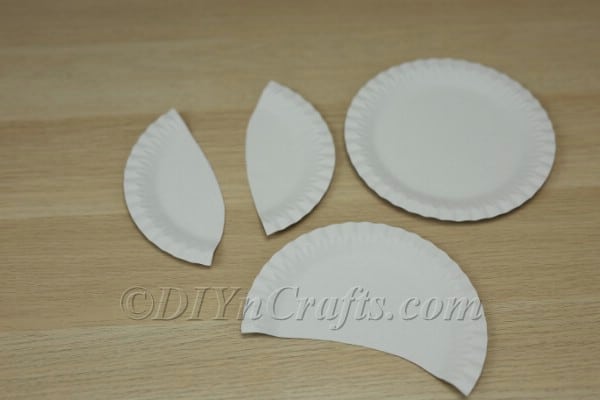
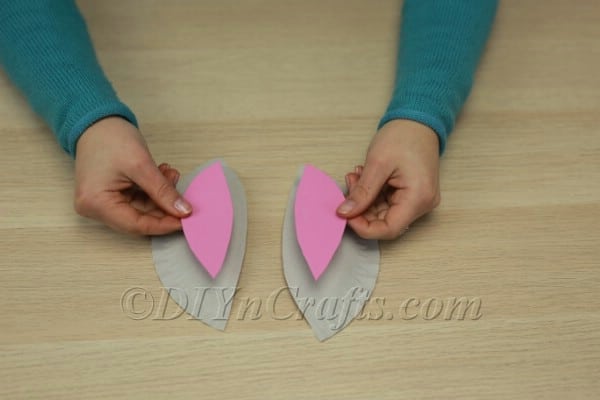
 In this project, you will be using to paper plates to create an Easter bunny face. First, use a pair of scissors to cut out an ear shape from one of the paper plates. To do this, cut an arc which matches that of the perimeter of the plate along one side. If you need to, use a pencil or pen to trace the shape of the arc before you cut it.
- Once you have that first ear cut out, set it down on top of the plate along an intact section of its edge. Use that as a guideline to cut out the second ear to match perfectly.
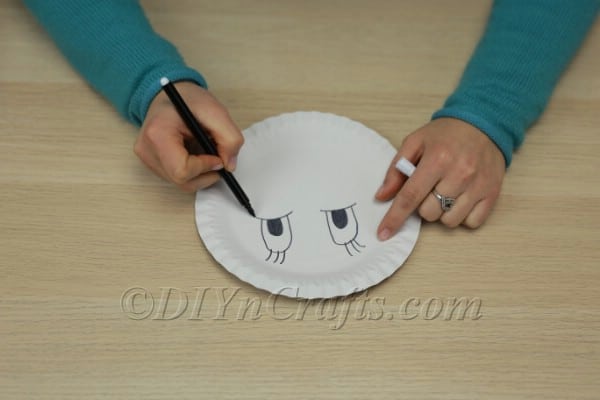
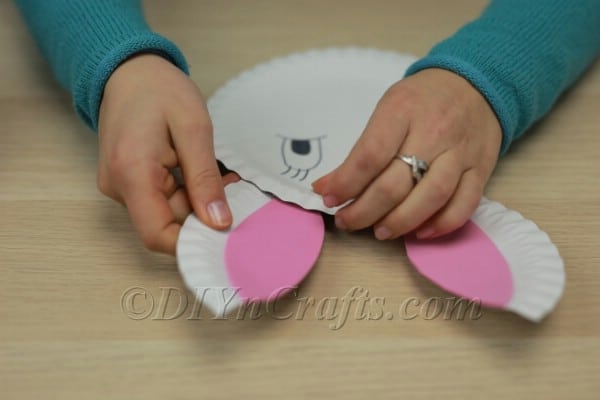
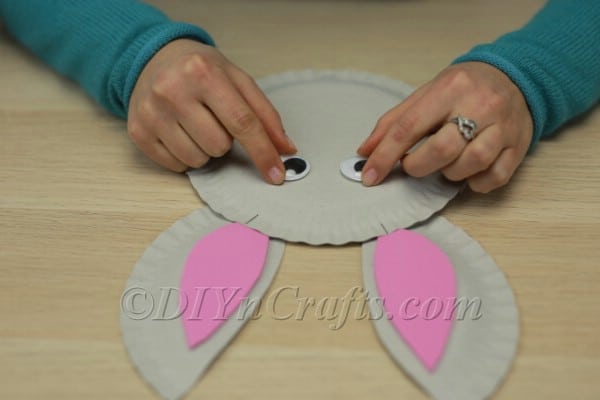
- Next, put the second plate down in front of you and get a black marker. Use this to sketch the Easter Bunny's eyes near the top of the plate. Once again, you might want to use a pencil to sketch this initially in case you make mistakes, and then trace over it with the marker once you are done.
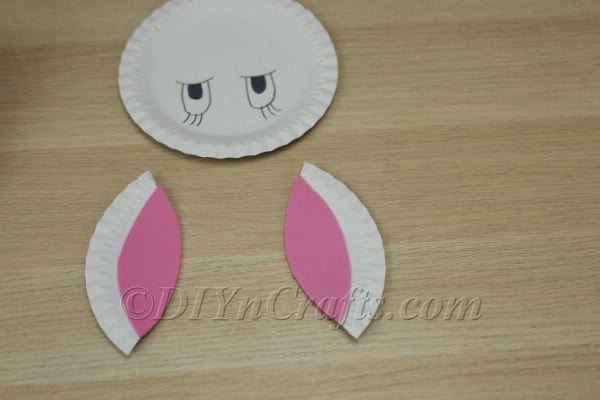
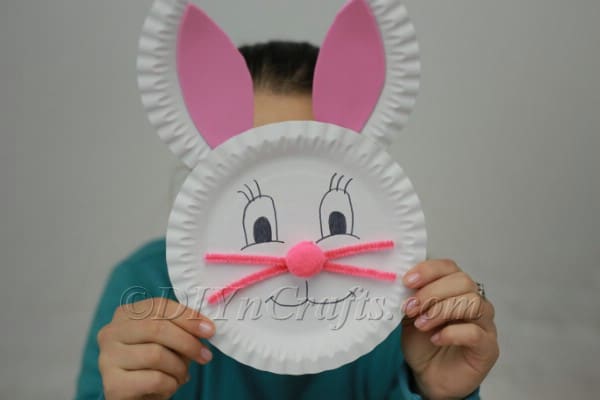
- You are going to need to cut out the shapes of the bunny’s inner ears. Use your pink foam sheet for this, or pink construction paper. These should be the same shapes as the outer ear components which you already prepared. They should simply be slightly smaller in size. Cut them so that the rim of the plate sections serving as the outer ears can stick out around the inner ears.
- It is now time to attach the bunny's ears to its head. You can use hot glue to do this, or you can go with liquid glue or a glue stick. Attach them to the back side of the plate so that they do not intrude on the bunny's face.
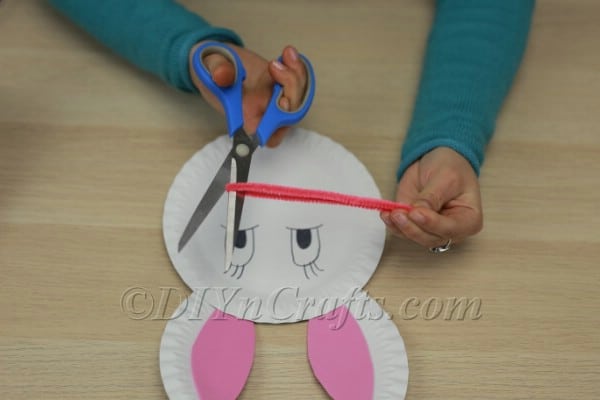
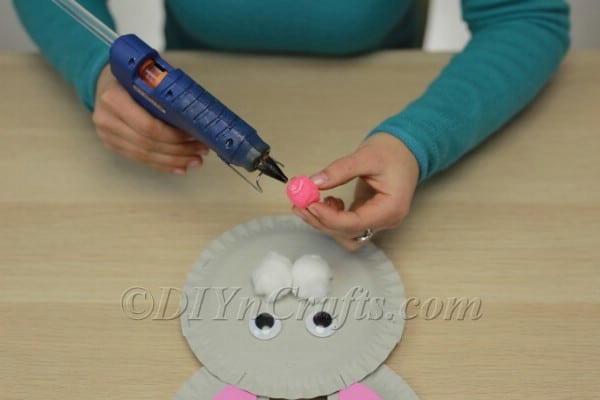
- You now need to create the bunny's whiskers. You can do this by cutting and shaping a couple of pipe cleaners to fit. I used pink pipe cleaners, but any color you want is fine.
- You now need to create the bunny's nose. Get the pink pom pom and glue it in place over the whiskers.
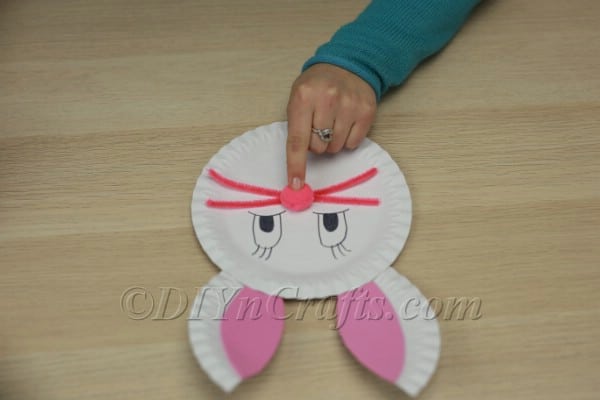
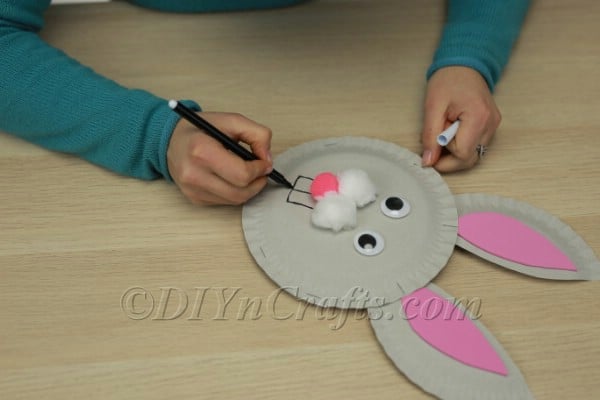
- Finally, as a last step, use a black marker to draw the bunny’s mouth underneath the nose.
Recommended Products
As an Amazon Associate and member of other affiliate programs, I earn from qualifying purchases.
Paper Plate Bunny Basket
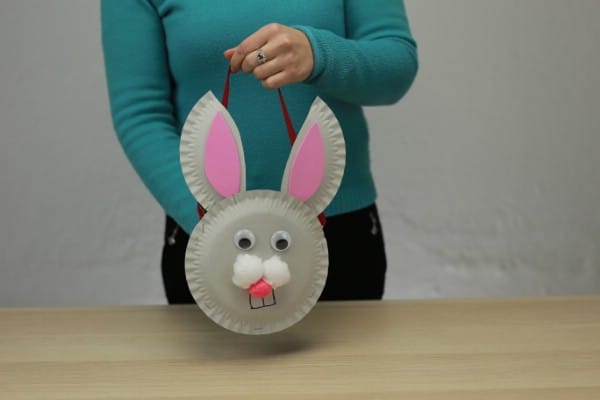
Learn how to make a cute Easter basket out of paper plates. Easy and affordable project kids will love.
Materials
- Three paper plates
- Pom poms
- Ribbon
- Pink foam sheets
- Googly eyes
- Cotton stuffing
Tools
- Scissors
- Black marker
- Stapler
- Hot glue and glue gun
Instructions
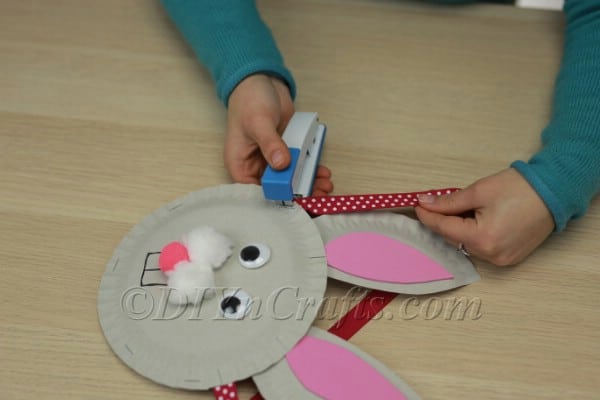
 In this project, you will be making a cute Easter Bunny face similar to the one above, only this one is also going to serve as an Easter basket. So this time, you're going to need three paper plates instead of two.
- One of the plates will be the Easter bunny’s face. Another will be its ears. The third will create the "basket" pouch in the back.
- You will create this pouch first. Pick one of the plates, and cut out a section of it comprising around a third of the plate. Create a curved line while you are doing this. If you are looking at the larger section left over when you are done, with the intact part of the rim facing down, the top edge which you created should be in a "smile" shape rather than a "frown" shape.
- Next, you are going to staple this larger section onto one of the other plates, specifically the one which will become the bunny’s face.
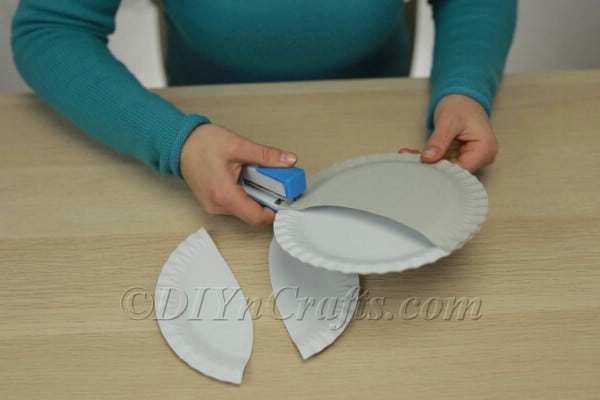
- Since your goal is to create a pouch which is hollow inside, set the two plates against each other with the convex sides facing outward. Line up the perimeter and complete your stapling. You should now have a narrow pouch attached to the plate.
- In this step, we will create the ears. For this, you will use the third plate. Just as we did in the project above, you will take advantage of the natural arc of the plate’s perimeter. Simply use a pencil to sketch the same arc in the opposite direction from the edge of the plate on both sides to create a symmetrical pair of ears. Then, cut them out. This is more easily explained through the video than through words, but it is a simple step.
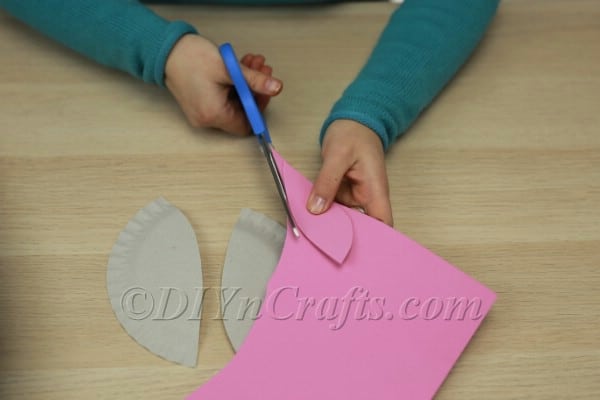
- You will now need to create the inner ears for your bunny. For this step, use pink construction paper or a pink foam sheet. Cut the same shapes you did for the ears out of this material, but in a slightly smaller size.
- Hot glue the inner ears to the outer ears.
- Once the ears are completed, hot glue them onto the bunny’s face. Remember to glue them to the back so that they do not get in the way of the bunny’s facial features. Also, remember to glance at the back of the plate so that you can remember the orientation of the pouch, and attach the ears to the correct side of the plate. Otherwise, you will create the face upside down.

- Now, glue the googly eyes to the front of the plate.
- You will now create the bunny's fluffy cheeks. Get your cotton stuffing and pull it apart to create two round balls which you can glue to the bunny’s face. These should be spaced a little bit below the eyes. If you do not have cotton stuffing handy, you can instead simply use cotton balls. These can be shredded apart and reshaped as needed.

- Between the cotton balls and just below them, glue the pom pom as the bunny’s nose.
- With a black marker, draw the bunny's teeth just under its nose.
- Staple a long ribbon to the back of the plate to serve as a carrying handle for the “basket.” You can attach this just below the ears and above the top of the pouch. After that, your basket is complete!
Recommended Products
As an Amazon Associate and member of other affiliate programs, I earn from qualifying purchases.
All three of these projects are easy, cheap, and fun. Because they use paper plates, they make for a perfect Easter activity for young children. You can make them at home with your own kids, or, if you work in a classroom, you can consider them as an Easter activity for your students.
Easter Projects
Even though the basic instructions are pretty cut and dry, there are still small ways in which the projects can be customized, which is a good way for kids to express their creativity and imagination.
Once you have had fun making these paper plate Easter crafts, make sure that you check out some of the other video tutorials I have recently added to the site. If you enjoyed this one, you will probably also want to check out how to make cute Easter bunny ears out of colorful straws and pipe cleaners.


Leave a Reply