Are you looking for an easy way to decorate around the house for the Easter holiday? In my newest video tutorial, you will find out how you can take an ordinary clothespin and turn it into an adorable bunny.
Jump to:
There are several reasons I think you're going to have a great time with this DIY Easter project. First of all, I am willing to wager that you already have most or even all of the supplies required on hand at home. Secondly, if there is anything you need to purchase, it will be really cheap.
Thirdly, this Easter craft project is incredibly versatile. It only takes a few minutes to turn a clothespin into an Easter bunny, and once you do, you can use that bunny to decorate in all sorts of creative ways.
Ready to get started on this easy Easter craft? Below, you can find all the materials and tools which you need. There are also written instructions to go along with the video tutorial. Enjoy!
Step-by-step tutorial with instructions:
How to Make a Cute Easter Bunny Out of a Clothespin
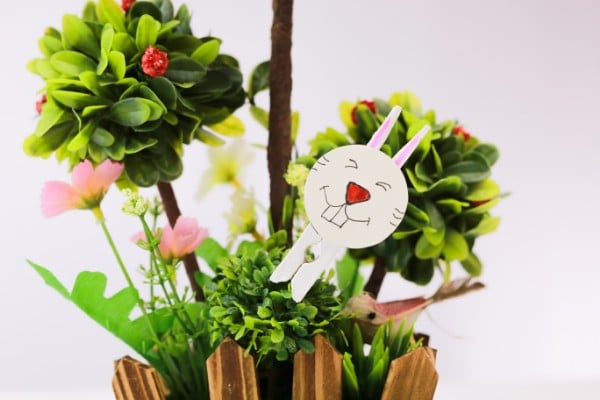
If you are in search of a fun, easy, fast Easter craft which you can do to decorate around the house or enhance other art projects, you’re going to love the latest video tutorial from DIYnCrafts. Watch now to find out how to make a cute Easter bunny out of an ordinary clothespin!
Materials
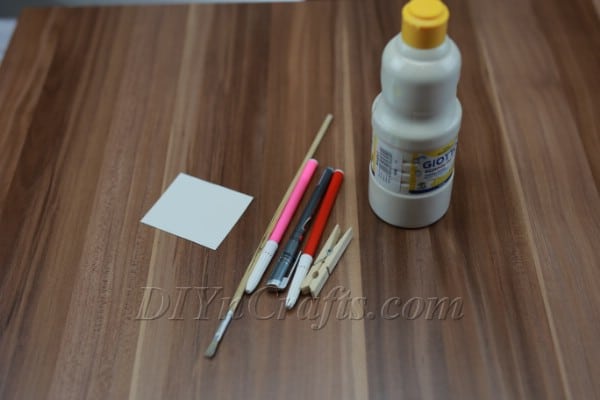
- White paint
- White cardboard or cardstock
- Clothespin
Tools
- Paintbrush
- Pink marker
- Black pen
- Scissors
- Hot glue and glue gun
Instructions
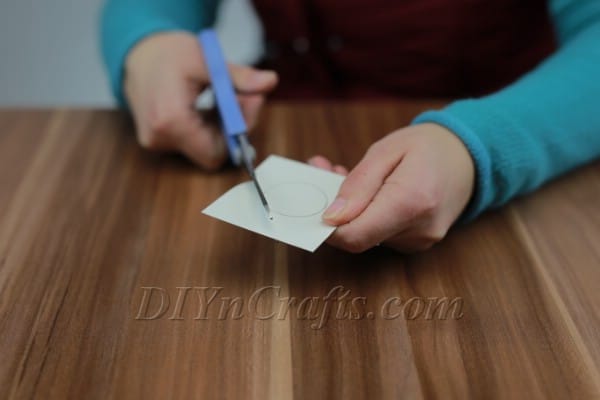
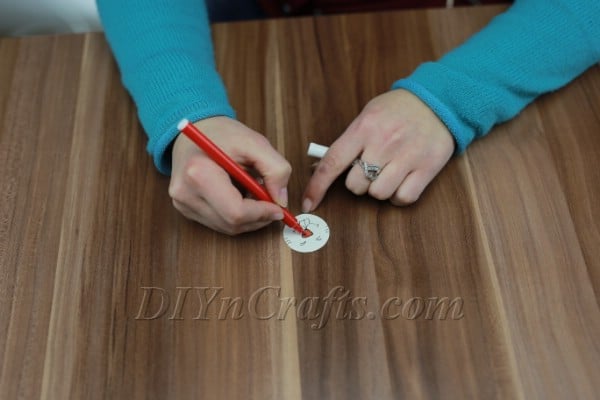
- The first step is to cut a small circle out of white cardboard, cardstock, or paper. Obviously, cardstock or cardboard will be less flimsy than paper, making it a better choice. If you need help making your circle round, trace around a round object such as the lid from a jar or bottle. This circle will become the bunny’s head, so size it accordingly.
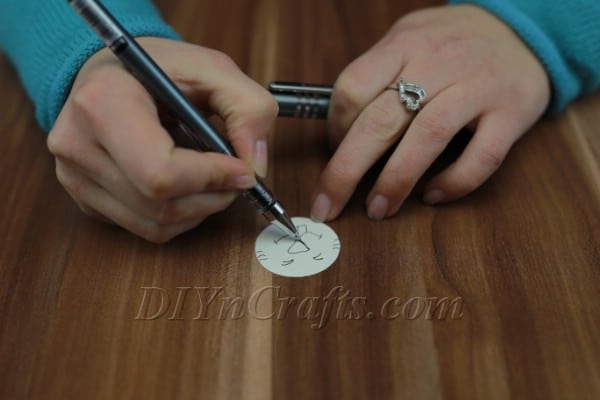
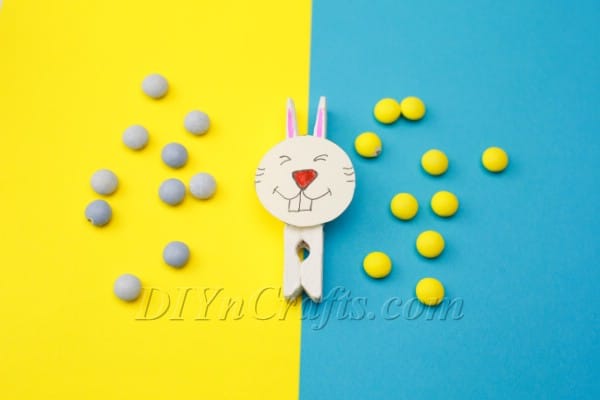
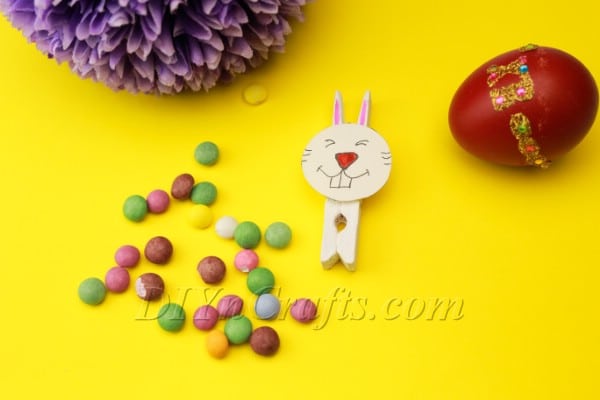
- Your next step is to draw the bunny’s face on the circle. You can use a pink marker to draw the nose and a black pen for the rest. Once you have completed this step, the bunny’s face will be ready, and you can move onto the clothespin.
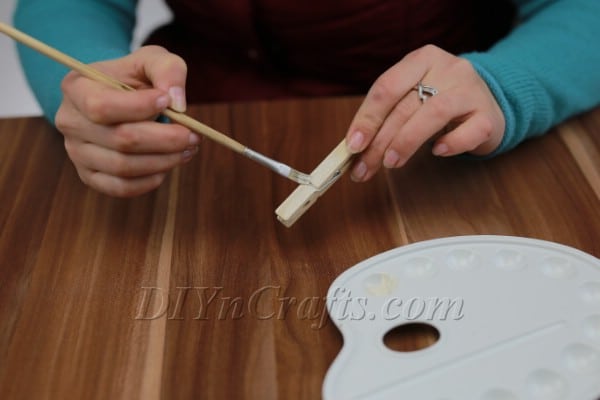
- Using a small paintbrush, cover the entirety of the clothespin in white paint. The reason you will need a small brush for this is so that you can get into all the nooks and crannies. A large brush may not be able to reach everywhere effectively.
- Wait for the paint to dry completely on the clothespin.
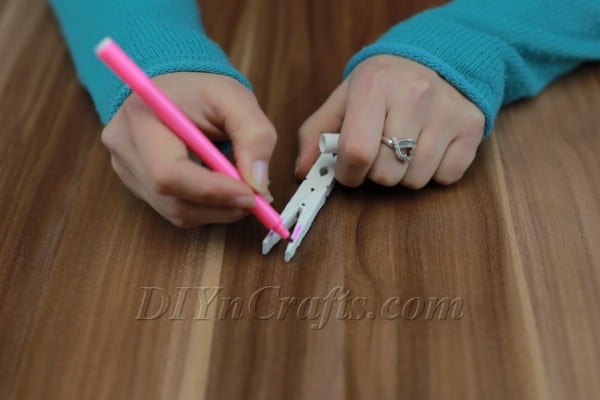
- Once the paint has dried, get the pink marker again and use it to draw little triangles on the clothespin ends. These become the bunny’s ears.
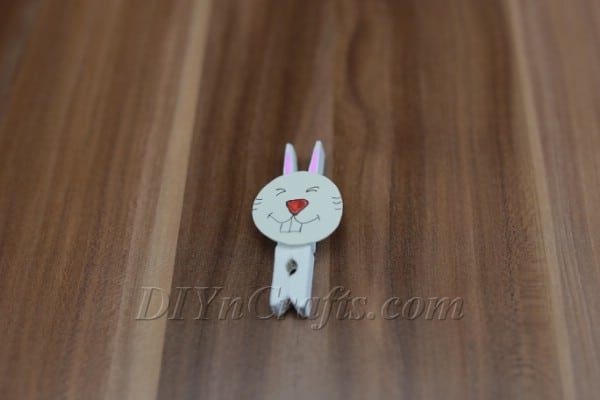
- With hot glue (or regular Elmer’s glue—that should work just fine here), attach the bunny’s face onto the clothespin. Make sure that you orient it properly so that the ears are emerging from the top of its head.
- Now that your clothespin bunny is finished, you can display it however you want. You can easily make a few of these in quick succession, especially if you handle the steps in batches (i.e. paint a bunch of clothespins white, then move on to drawing a bunch of bunny faces, then draw the pink on the ears, then glue the faces all on, etc.).
Notes
Kids can get into this easy project too, so it makes a great choice for some family fun on a weekend, or for a classroom project!
Recommended Products
As an Amazon Associate and member of other affiliate programs, I earn from qualifying purchases.
Video Tutorial:
Clip Your Easter Bunny Clothespin Anywhere!
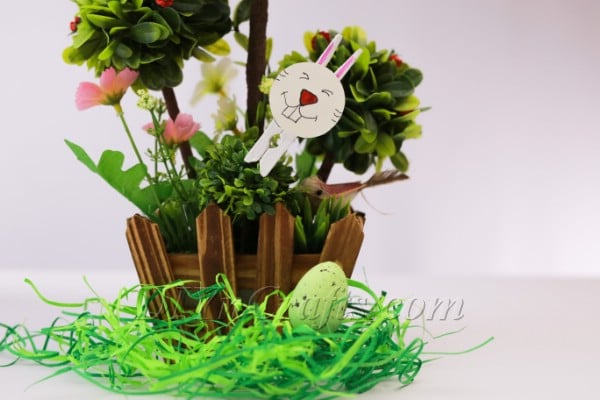
Once you have made an Easter bunny out of a clothespin, there are no limits to what you can do with it! Here, I have it displayed with a plant, but you can clip it anywhere you want.
Attach one to the side of your pencil jar at work, or clip one to your child’s Easter basket. Whatever you decide to do with them, they should bring Easter joy to all who see them.
All finished with your clothespin Easter bunny? Don’t go anywhere—we have plenty of other fun Easter crafts to keep you creative and entertained! Why not get started with 25 cute and fun handcrafted Easter basket ideas?
Easter Projects
And be sure to check back with us regularly in the coming weeks—we’ve got lots of new Easter craft video tutorials on the way soon, and you won’t want to miss out on a minute of crafting fun!






Leave a Reply