Just in time for Valentine’s Day, I have an exciting new video tutorial for you! In today’s video, you are going to take an old book you no longer read and you are going to transform it into a bouquet of gorgeous roses! These make for a perfect gift for a loved one (or yourself)!
This isn’t the first video tutorial I have featured on DIYnCrafts, which explores ways you can upcycle old books. During the holiday season, I showed you how to turn an old book into a Christmas tree or an angel.
And actually, last February I shared links to a whole bunch of craft tutorials for different techniques for making book pages roses.
While those tutorials are a lot of fun, I think I have finally managed to create some of my most realistic DIY paper roses yet. Best of all, you can watch every step in the video and follow along closely to reproduce my results.
The steps are really simple and repetitious, but the results are jaw-droppingly gorgeous.
If you are ready to dive in, gather up your materials and tools (listed below) and read the written instructions that accompany the video. Most of the supplies required are basic items you likely have in your house, but you may need to purchase artificial stems for your flowers (or come up with an alternative solution).
Jump to:
Step by Step Tutorial with Photos and Video
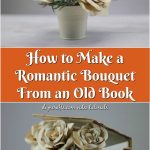
How to Make a Romantic Bouquet From an Old Book

Wouldn’t it be wonderful if you could give someone a bouquet of flowers that would never die? Now you can. Watch my new video tutorial to find out how you can turn the pages of an old book into a romantic, everlasting bouquet for someone special.
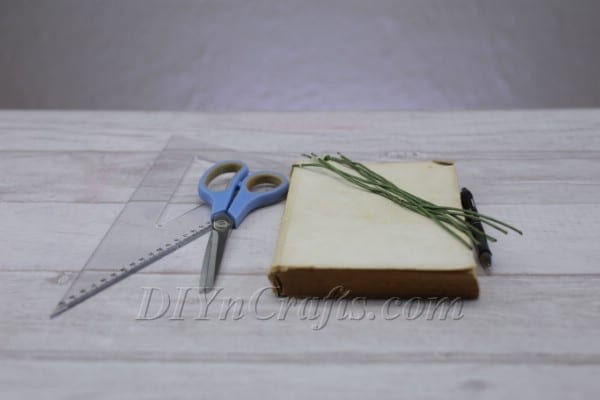
Materials
- Old, unwanted book
- Some kind of vase or pot for the flowers
- Artificial stems
Tools
- Scissors
- Ruler
- Pen
- Hot glue and glue gun
Instructions
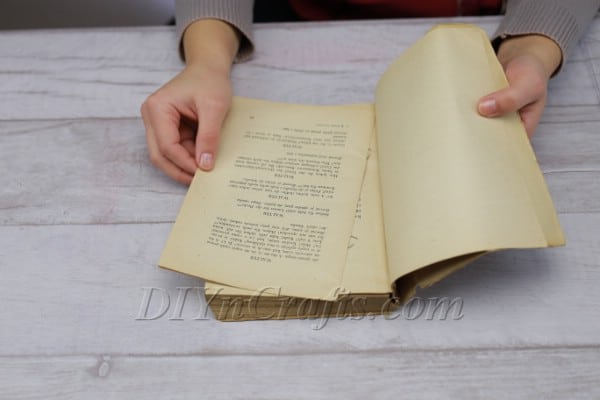
- First, tear a few pages out of your old book.
- You can either work on the pages individually, or you can stack up several to work on it once.Just make sure that you do not try to cut through too many pages at the same time (see below), or you might have a harder time getting nice clean cuts.
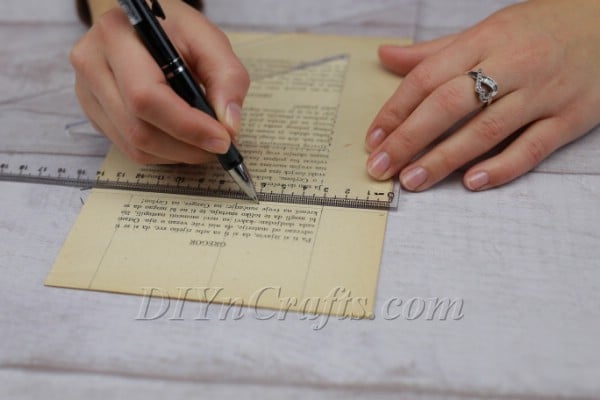
- What you need to do is cut out a number of small rectangle shapes from the pages of the book. These will become the flower petals.It would be easy to over-complicate this instruction—and watching the video, you might think that what I'm doing looks complex.In reality, it is quite simple. You can cut the rectangles in a variety of different sizes. In fact, you should do this, since rose petals are smaller toward the center and larger towards the edges of a blossom.
- For reference, I decided that all of my petals would measure 6 cm in height with widths varying between 3 and 7 cm.The other thing to note is that one side of each rectangle will need to be rounded. This will be the top edge of each petal.When you have completed this step, your petals should look something like what you see in the image below.
- The next step is also quite simple, but a little difficult to describe in words.Let’s say you pick up one of the petals to work with, and that the top edge is the curved edge.Pinch the bottom edge along the center line.Then, fold over the edges of the curved arc at the top of the petal in the opposite direction. Do not make hard folds. Instead, simply curl the petal over softly.Do this with all of your flower petals. When you are done, they should look like those in the image below:
- Now, it is time to assemble your flower. To do this, you are going to need an artificial flower stem. This can either be an item designed to serve as such, or it can be anything else which you want to work with.
- Using your hot glue gun, take one of the smaller petals which you have prepared, and attach it to the top of the stem. The bottom edge should pinch together around the stem. The top, curved, curled edge will stand up in the middle.
- Continue attaching the rest of your petals artfully around the stem in the same fashion. Remember to keep using the smaller petals first, working your way toward the largest petals around the outside of the blossom.
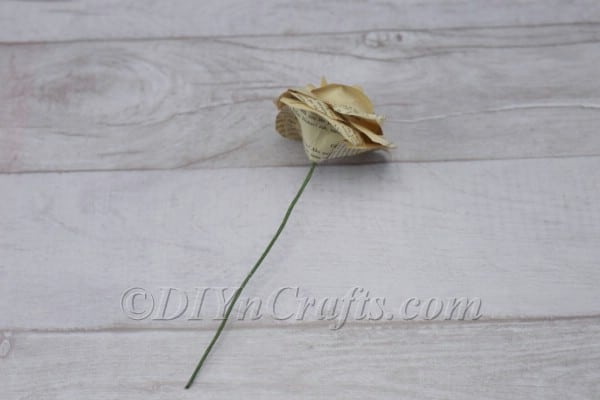
- Once you have completed your first rose, it should look like this:
- Finish creating the rest of your roses in the same way that you did the first one.
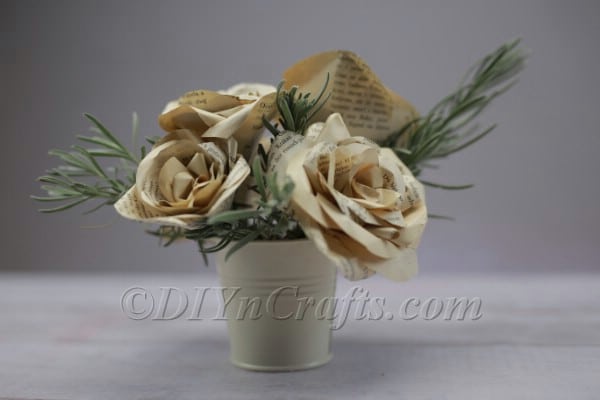
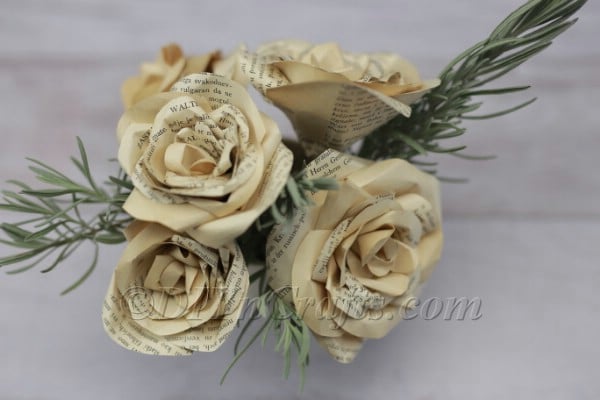
- Once you have all the roses that you want for your bouquet, you need only arrange the paper flowers in a vase, pot or other vessel.
- If you wish, you can add in some real or fake fillers around them. Your bouquet is then complete.
Recommended Products
My Favorite Etsy Paper Flowers (Affiliate links)
Video Tutorial:
Display Your Book Bouquet Proudly or Give it as a Gift to Someone Special
Once you have finished making your bouquet, you can do anything you like with it. Displayed on a shelf, table, or dresser, it can beautify a room, adding a touch of elegance and timelessness.
A paper flower bouquet like this one also makes for a special gift for a friend or loved one. With a bouquet that will never die, you are providing a gift that lasts, and you are expressing the undying nature of your love or affection.
I hope that you enjoyed this tutorial and that you will check out some of the other paper craft tutorials using old book pages that I linked you to before. And with Valentine's Day coming up, you may also want to check out some of my latest Valentine's Day craft video tutorials.
Pin this project:








Jennifer
Love it...I'm fixing to try this now!
Angie StAndrews
Awesome will do ?
Maria Isabel
Me encantó!!!!
Sonya Sosa
This is one of the most simplified explanation I've seen.... i love it