It’s almost February, and love is in the air! That means it is time to pull out your crafting supplies and get busy making DIY Valentine's Day projects. In my newest video tutorial, I will show you how you can make a beautiful, easy wall decor craft using little more than construction paper and thread.
I always like to work on craft projects for the holidays with my kids, and I was trying to think of a project that would be fun and easy for everyone to contribute to for Valentine's Day.
I came up with the idea of making DIY wall decor out of string and construction paper. The steps are really easy and repetitive since the project involves making a lot of little construction paper hearts to hang against the wall.
While you can certainly work on this project by yourself, this does make it a great option for working with a group since everybody can work on cutting out the heart shapes together.
I think this would not only make it a fun project to work on as a family but also a good project to do as a classroom activity to celebrate Valentine's Day.
Below, you can view the full list of materials and tools that you need to make this project happen. Watch the video and read the accompanying written instructions to get started with your Valentine's Day DIY wall décor craft.
DIY Paper Heart Garland
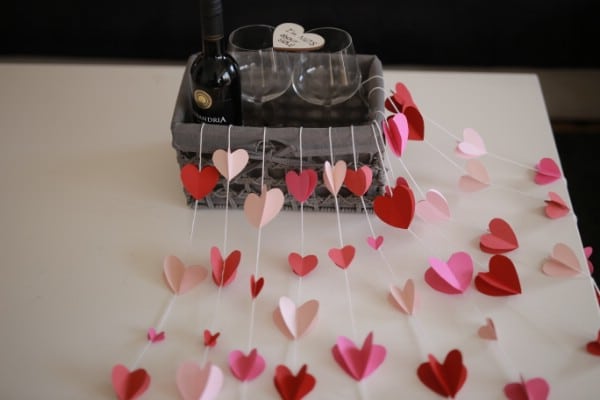
Searching for the perfect way to transform any room for Valentine’s Day? In this video tutorial, you can learn how to make romantic wall décor using construction paper and thread. It’s an easy craft made out of simple supplies, but the results are gorgeous! Watch now.
Materials
- Thread
- Pink and red construction paper
- Pen
Tools
- Hot glue and glue gun
- Ruler
- Scissors
Instructions
- To begin with, you will need to gather your supplies. You're going to need a lot of small square pieces of construction paper in shades of red and pink and white.Can use origami paper instead? Technically, the answer is "yes," but I would advise sticking with construction paper if you do not have a lot of spare origami paper laying around. Origami paper is often comparatively more expensive. Plus, if you start with large sheets of construction paper, it will be easier for you to cut them to different custom sizes. You can make all the squares the same size if you want, aiming to do the same with the hearts, but personally, I think the most beautiful effect is achieved with different sizes. You do not need to be particularly precise when cutting the squares since they are not going to end up as square shapes anyway.
- After you have your small squares of paper, you will next need to fold each of them in half, and then cut them into heart shapes. The reason you need to fold them in half is so that you can achieve symmetry, which is easier to do this way than by attempting to eyeball it. This folding line is also important for another reason, which you will discover later in step 4. Additionally, you will want to layer two pieces of paper on top of one another each time you cut out a heart shape. This way, you will have two heart shapes which match perfectly. You will see why this is important in a little bit.
- The next thing you need to do is prepare the strings which the hearts are going to hang from. To do this, simply cut a number of strings to matching lengths. How many hearts you make and how many strings you use is entirely up to you. Decide on how you want to space out the hearts, and figure out how many strings to cut. You can also simply do this as you go along.
- Once you have your strings prepared, you will need to use hot glue to attach the hearts to the strings. Remember when I mentioned previously that the folding line you used to create symmetrical heart shapes would come into play again in this step? Now we can get back to that. When you hot glue the hearts to the strings, you are going to put the glue along the convex side of the folding line, and you are going to attach each of the matching hearts you made in pairs together.
- So, as an example, start by selecting a matching pair of hearts. Put hot glue along the convex side of the folding line of one of the hearts, and attach it to the string.
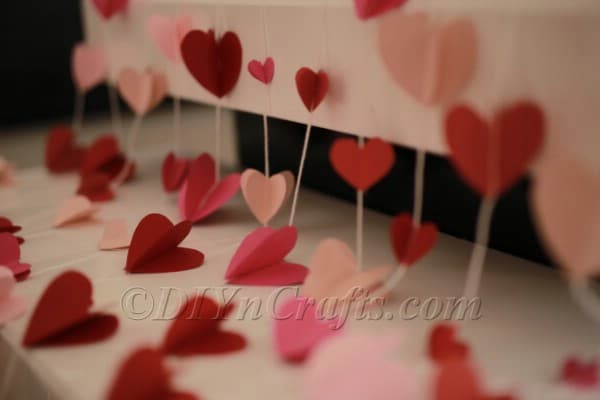
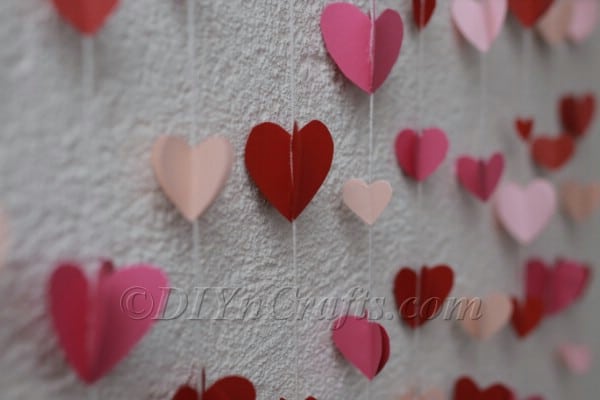
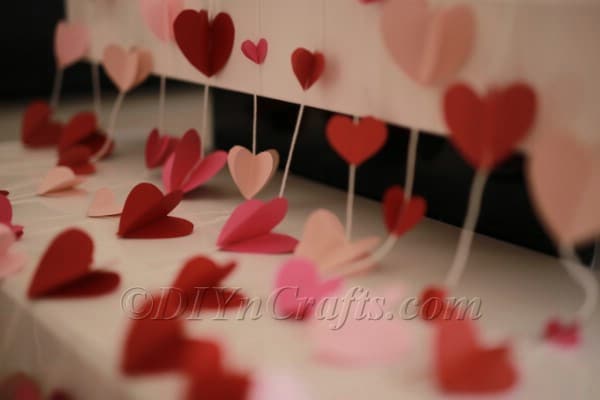
- Then, put hot glue along the convex side of the folding line of the other heart, and attach it to the opposite side of the string, pressed against the other heart. What you will end up with is a 3D effect where each heart is comprised of two put together.
- Continue to add more hearts along the strings until you have created as many strings of hearts as you wish at whatever lengths you prefer.
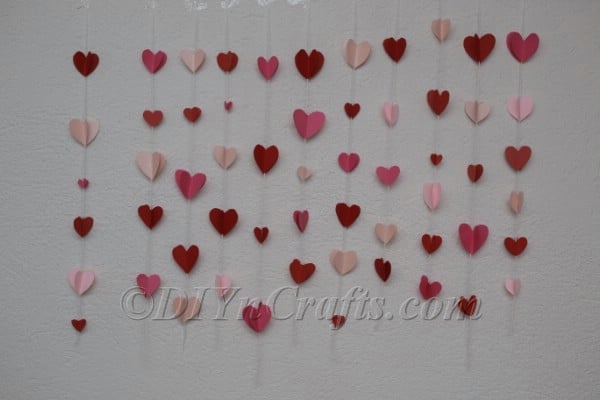
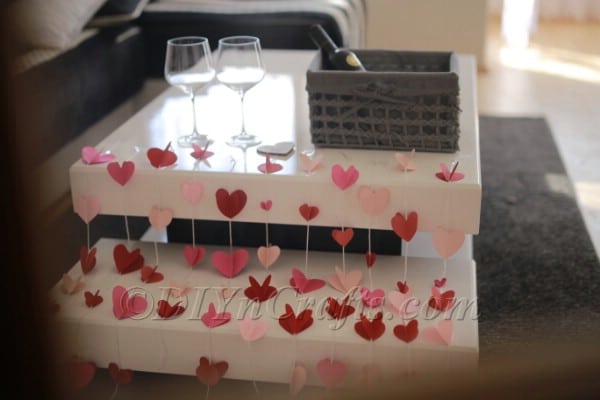
- Now, you can use the strings of hearts in any way you wish. They make for stunning wall decor:
- There is also no reason you cannot simply hang them in the middle of the room from the ceiling. You can also use them as a decoration for a romantic dinner or drink, etc.
Notes
Remember, hot glue guns are not appropriate for all children. Many kids can safely use hot glue guns, but may require supervision. In some cases, only the adult should use hot glue.
Recommended Products
As an Amazon Associate and member of other affiliate programs, I earn from qualifying purchases.
Video Tutorial:
Fill Any Space With Creativity and Love With This Easy Valentine’s Day Wall Decor
Even though this project is extremely simple and straightforward, the end result is elegant and sophisticated, but with a dimension of playfulness as well.
You can put this craft in any room of your house to get in the spirit of Valentine's Day.
As I mentioned earlier, this could also make for a good class project because it is simple but time-consuming for one person to do.
But with everybody contributing, it would not take long to complete (obviously, a teacher should handle the hot glue part, or another type of glue should be used).
With the whole class working on this project, it would easily be possible to hang up enough hearts to cover a large section of the wall or hallway.
Whether you are a teacher or parent or are simply looking for a fun Valentine’s Day craft project to do on your own, I hope that you will enjoy making this one and will also check out some of our other recent Valentine's Day video craft tutorials.








Jicah Eddi
Thankyou.com