
Valentine’s Day is a wonderful opportunity to break out your crafting supplies and get super creative. In my newest video tutorial, I am going to show you how you can make a cool “LOVE” lantern using four tea lights and some ordinary cardstock or cardboard.

This Valentine’s Day DIY project is not all that challenging, but it does require a slow, precise hand. So, make sure you set aside enough time to work on it without rushing yourself.
In the list below, I share the materials and tools you are going to need to turn this project into a reality. I want to draw your attention to the tea lights which I mentioned. These can be electric or traditional tea lights. You will need a total of four of them.
The most important thing is that they are going to need to be in little containers if they will actually be traditional candles. You want some kind of barrier between the candle flames and the cardstock or construction paper you are using so that there will not be any risk of a fire. You can get around this completely by using LED tea lights since they should not generate heat.
Read on for the full list of materials and tools as well as the written instructions to accompany the video tutorial.
Video Tutorial:
How to Make Beautiful LOVE Lights for Valentine’s Day

If you are looking for a romantic craft to make for Valentine’s Day, you can make a beautiful light reading “LOVE” using nothing more than a few simple tea lights and some construction paper or cardstock. To learn how to do it, check out my newest video tutorial.
Materials
- Cardstock or construction paper in red or pink
- 4 candle tea lights or LED tea lights (these need to be in containers)
Tools
- Ruler
- Precision knife (like an X-Acto knife)
- Glue
- Pen
Instructions
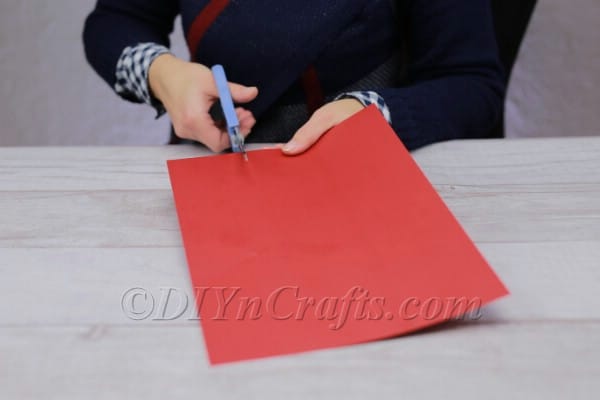
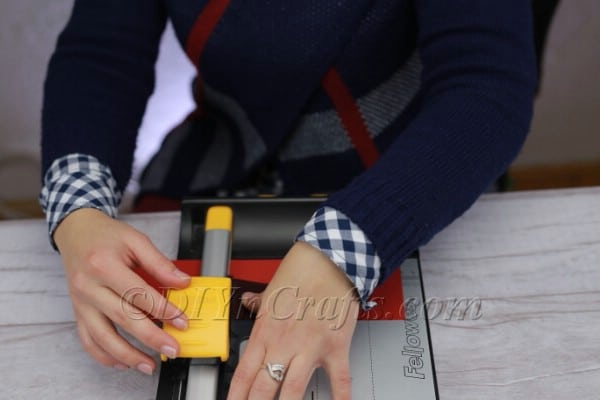
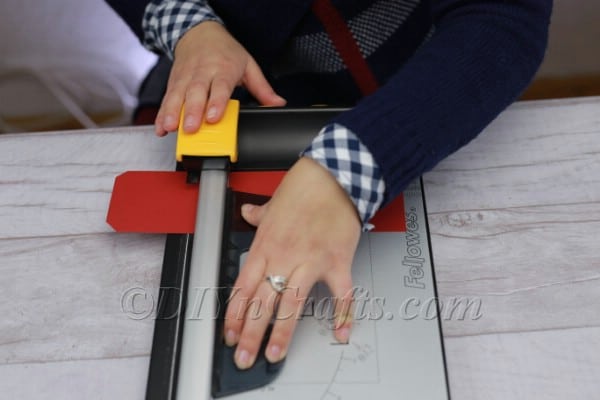
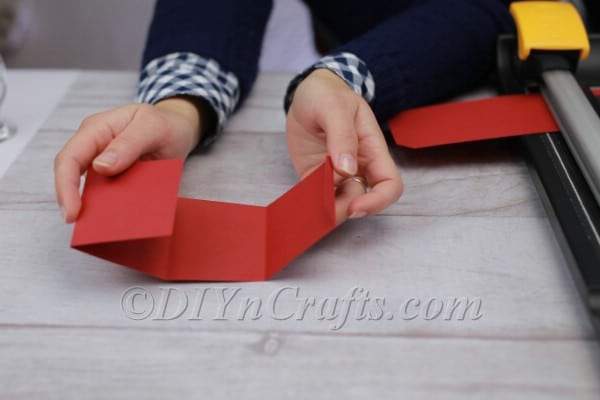
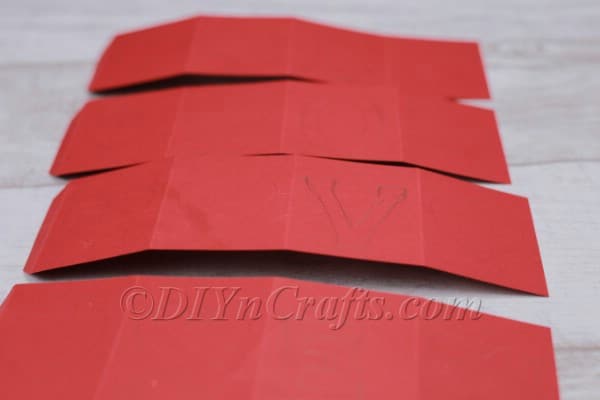
- First, you are going to need to cut four strips out of construction paper or card stock in red or pink. These strips need to be long enough that they can each be folded in a cube shape around a tea light. They also should be tall enough once they are folded around the tea lights to clear the tops of them.
- When you are cutting each of these strips, make sure that each can be folded so that there are four equal-sized panels to surround the tea light plus a little tab sticking out. You will use the tab to join the ends together.
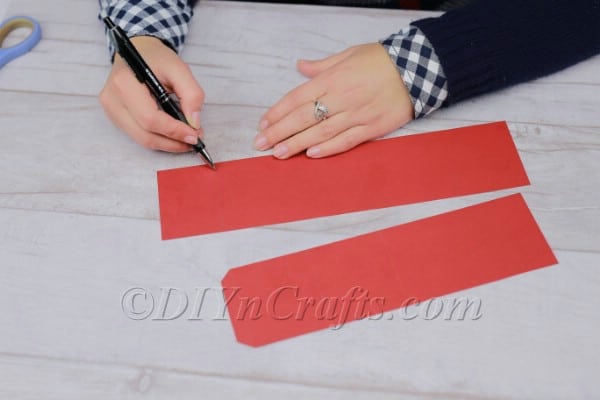
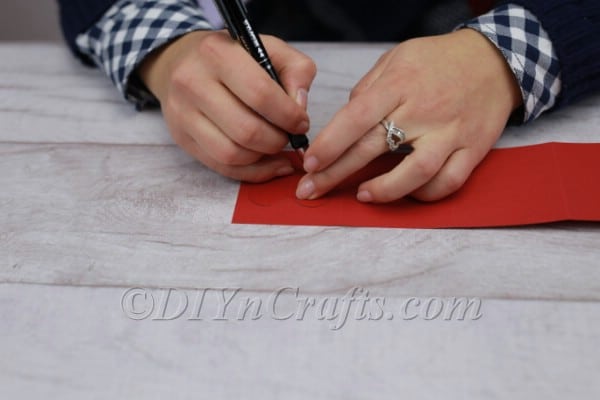
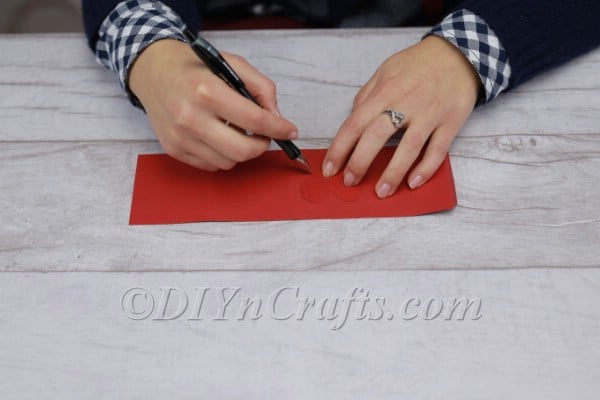
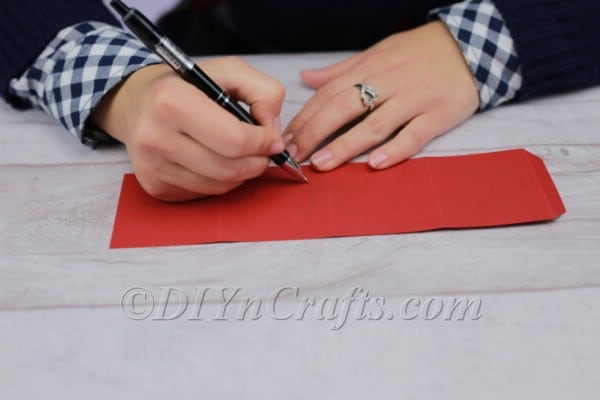
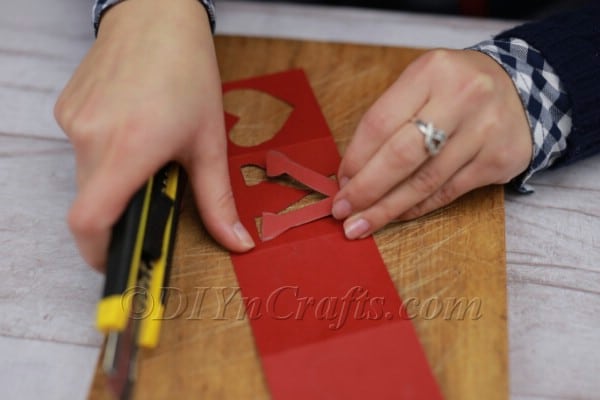
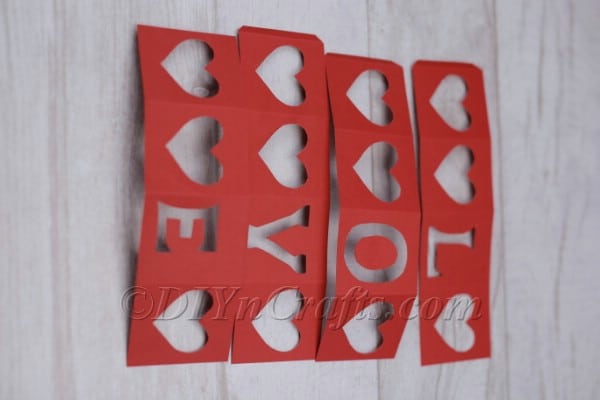
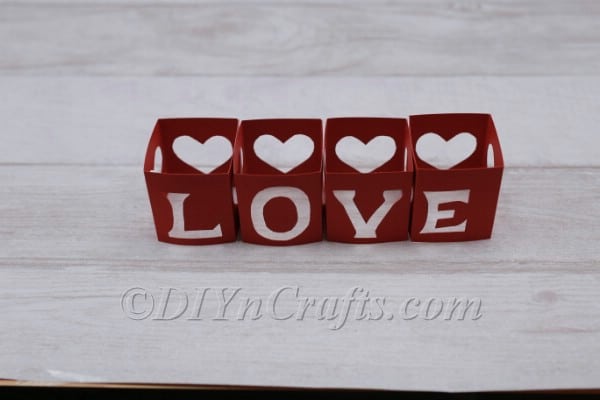
- Once you have the four strips of paper and the lines for folding them, it is time to draw your designs. I wanted my finished set of four tea lights to spell out “LOVE,” so I drew the letters “L,” “O,” “V,” and “E.” I put one letter on a single panel on each of the four strips. I wanted the light to shine through the other facets as well, so I filled all the remaining panels on all four strips with hearts.
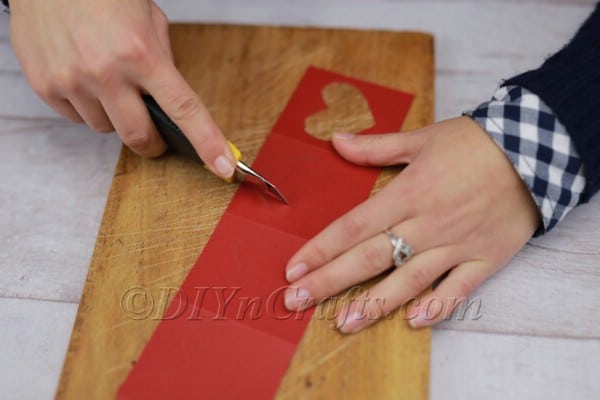
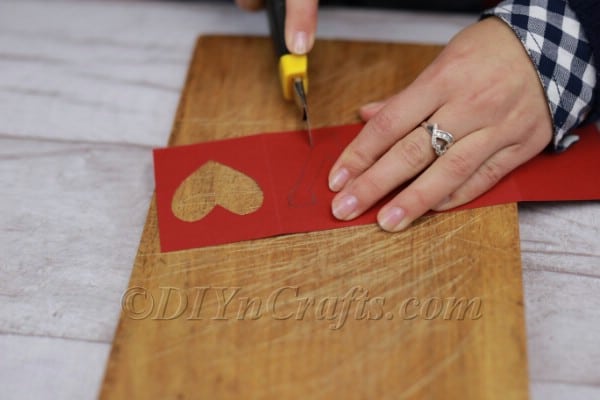
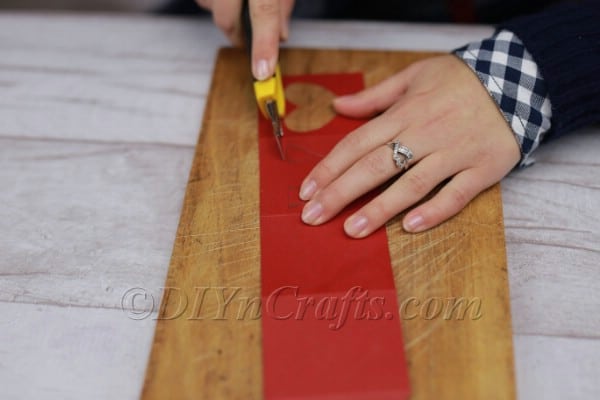
- Next, you will need to cut out the shapes you have drawn on the panels. To do this, use a precision cutting tool such as an X-Acto knife or generic scalpel. While you could hypothetically get away with a small pair of scissors, it would be very challenging without bending the paper or getting inaccurate cuts.

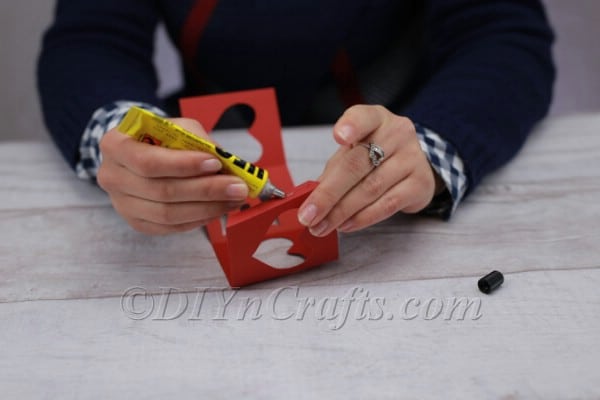
- Once you have completed all of the cutting necessary, you can fold each of the strips of paper around and glue them using the tabs that you created. You should end up with even-sized panels all around.
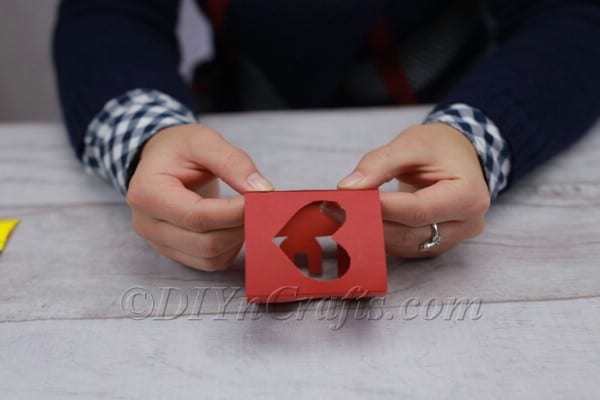
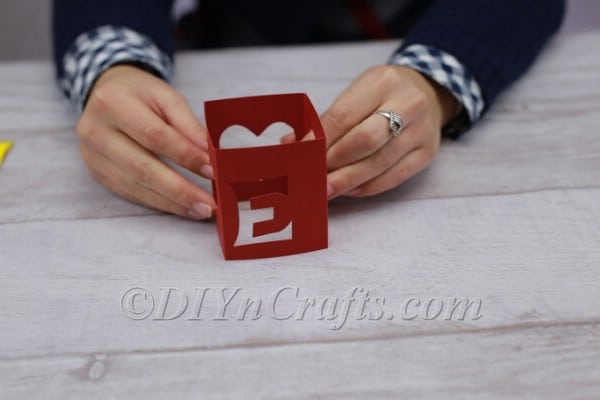
- Now all you need to do is line up all four of the finished “cubes” so that they spell “LOVE” from left to right. You then just need to deposit your tea lights inside, and your Valentine’s Day light will be complete.


Recommended Products
As an Amazon Associate and member of other affiliate programs, I earn from qualifying purchases.


Enjoy the Romantic Glow from Your Lights
You now know how you can create a beautiful arrangement of tea lights that is perfect for Valentine’s Day. You can see why I suggested you set aside some extra time so that you can get the result you are aiming for. Drawing the letters and cutting them out neatly takes focus and attention to detail.
Once you have your lights ready, you can set them out on a table for a romantic dinner with some rose petals scattered around to create a lovely ambiance (don’t miss out on our Valentine’s Day recipe ideas). But these lights also would look nice sitting on a table, dresser, or so forth. Anywhere you are trying to create a romantic setting, they can add to the atmosphere.
While you are getting ready for Valentine’s Day, you’ll also need to think about a gift to get your loved one. That’s a great chance to get busy with more DIY projects, so check out these handcrafted Valentine’s Day gift ideas. With your DIY Valentine’s Day lights shedding a romantic glow, you’ll have the ideal setting for giving your loved one the perfect handmade romantic gift!


Leave a Reply