
With New Year’s behind us, we are coming up soon on Valentine’s Day! Okay, so it may not seem all that close now, but the next few weeks will race by for most of us in a blur as we are taking care of start-of-the-year chores. Before you know it, it’ll be here.

That means it is never too soon to jump into Valentine’s Day crafts! In this video tutorial, I will show you how you can make a beautiful, romantic lantern to celebrate this special day. Believe it or not, all you need to create this project is a plain old glass jar and a few other basic supplies!
There is a lot you can do with a Valentine’s Day lantern, but I would say that this project is especially ideal if you are trying to put together a special romantic dinner. The lantern can shed a lovely soft glow over the table. Sprinkle some flower petals nearby, and you will have achieved a stunning effect.
Below, I share the materials and tools you need for this project, followed by written instructions and the video. I want to make a quick note regarding one of the materials, specifically the adhesive paper.
Adhesive paper is definitely easiest to use, but if you don’t have any, don’t despair. If you have some double-stick tape to use instead, you can just attach that to the back of some regular paper and go with that as an alternative. You’ll just need to be extra mindful of the edges (I’ll explain that later on in the steps).
Ready to get started? Let’s jump in!
Video Tutorial:
How to Make a Romantic Heart Lantern for Valentine’s Day
Planning a special romantic evening for Valentine’s Day, and looking for something you can make to spruce up the table? In my newest video, I show you how you can turn an ordinary glass jar into a stunning lamp for Valentine’s Day. It’s a fast and easy craft, but the results are magical!
Materials
- Clear glass jar (you can choose the size and shape)
- Red spray paint
- Adhesive paper
- Twine
- Adhesive paper
- Candle or LED light
Tools
- Scissors
- Pen
Instructions
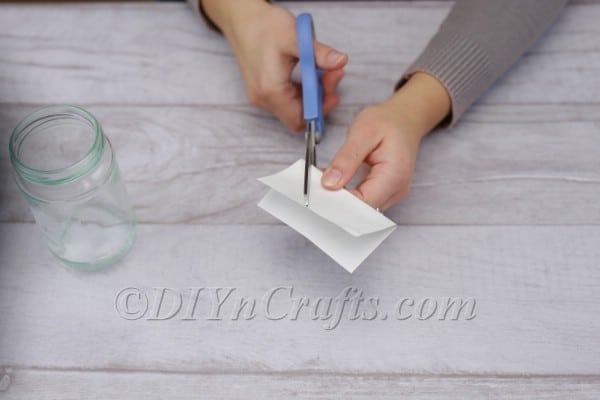
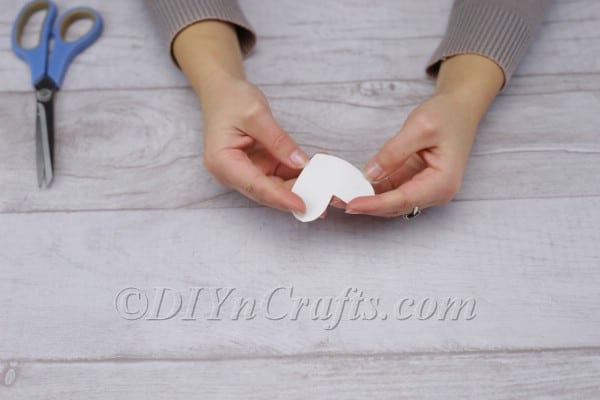
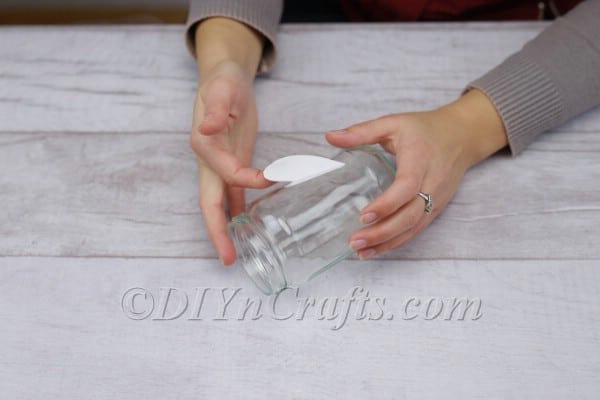
- Begin by cutting out a heart shape from your adhesive paper. Make it the right size to fit on your jar and be clearly visible.
- Peel back the protective paper from the adhesive side of the heart to expose the sticky part.
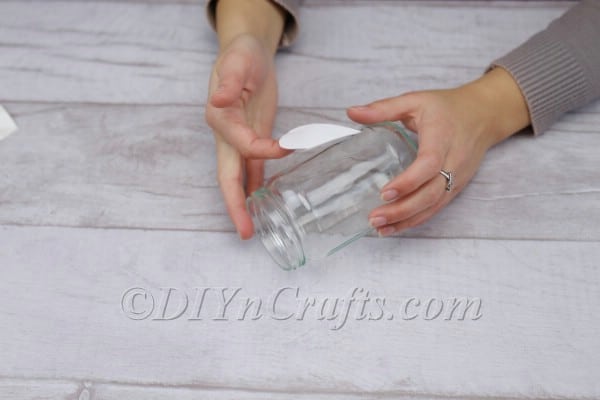
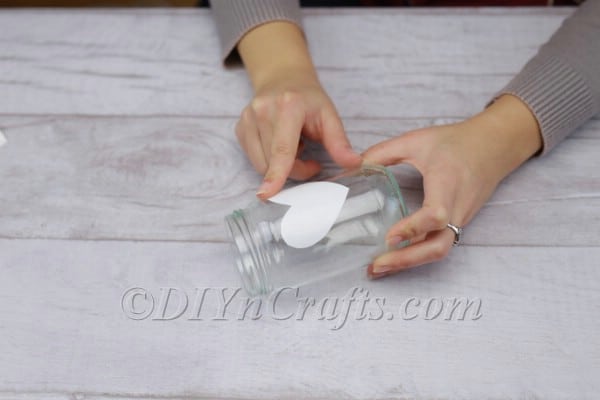
- Carefully adhere the heart to the side of the jar. Take your time with this step so that you can press it down carefully, preventing air bubbles or wrinkles from forming. It should rest flush against the surface.
- Note: If you use double-stick tape and regular paper instead of adhesive paper, try and make sure that the edges are resting as flat as possible. This is important for the next step.
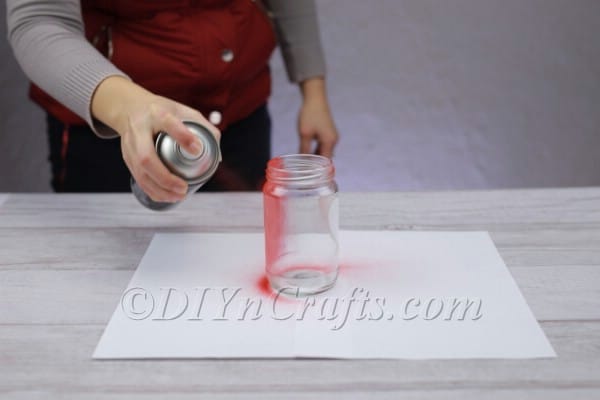
- Apply red spray paint liberally to the entire jar, covering it completely. You should be covering the adhesive heart as well.
- Can you use regular paint for this task? Well, if you want to (or do not have spray paint), sure. But the brush strokes will be pretty obvious when the light is shining through, so you will get a far cleaner and more even look if you stick with the spray paint. It is up to you though what kind of effect you want to achieve with your work.
- The other benefit of using spray paint is that it goes on super fast! You’ll be done covering the jar before you know it. This can be very helpful if you are making last-minute preparations for a romantic evening.
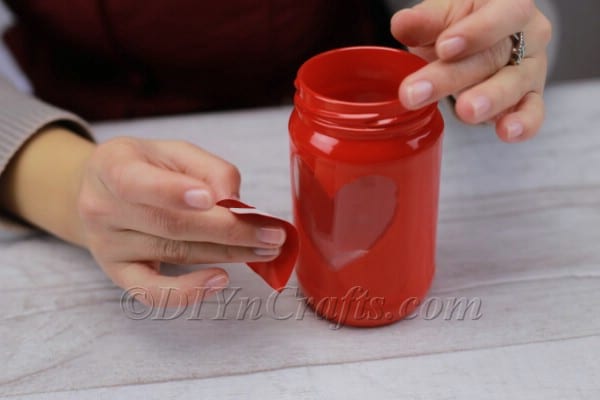
- Wait for the spray paint to dry.
- Carefully peel off the adhesive paper. This should leave behind a clear section in the shape of a heart. The reason I say that you need to take care with this step is because your nails could end up chipping or scratching the paint if you are in a hurry. This could make your edges look rough, and generally make the texture of the jar less appealing.
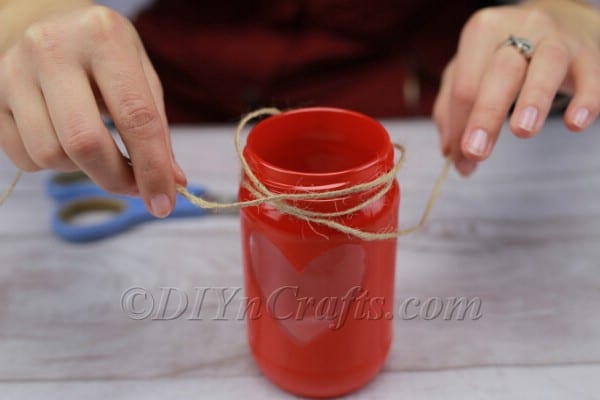
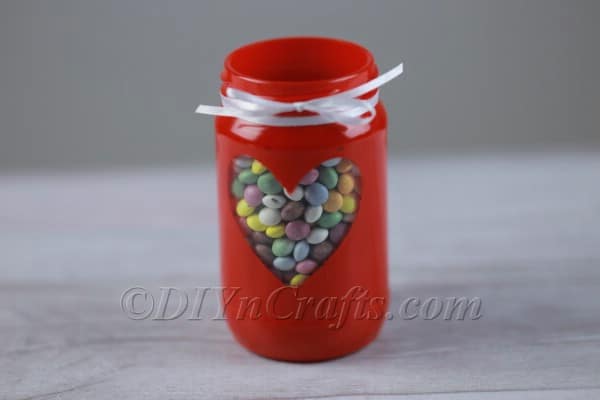
- Get some twine and tie it around the top of the jar as decoration. If you want to add any additional embellishments at this stage, you can. You can also use a ribbon in place of the twine if you prefer. The twine can give the jar a more rustic look, which is popular in crafting and décor right now. I chose to go with this because I am really big into all things rustic, and a lot of my existing décor has that homespun vibe. But the ribbon may appear more traditionally romantic.
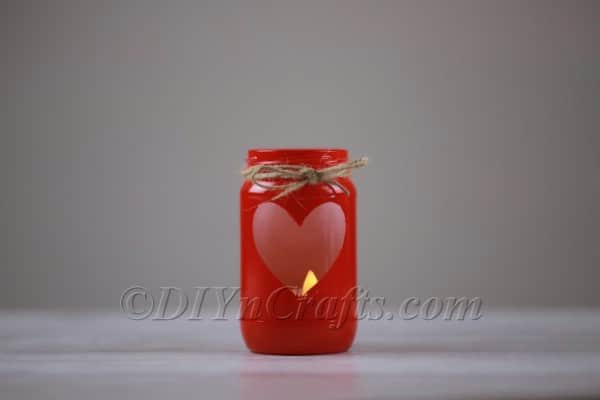
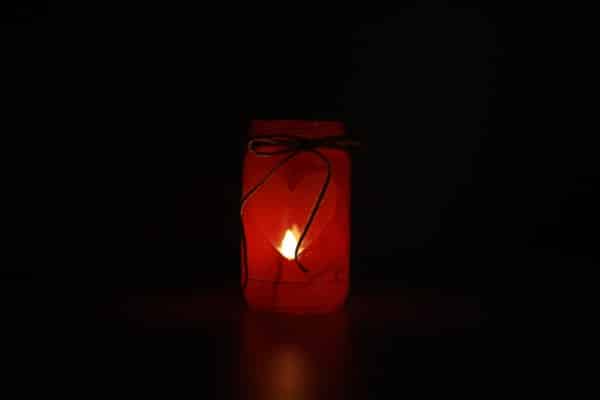
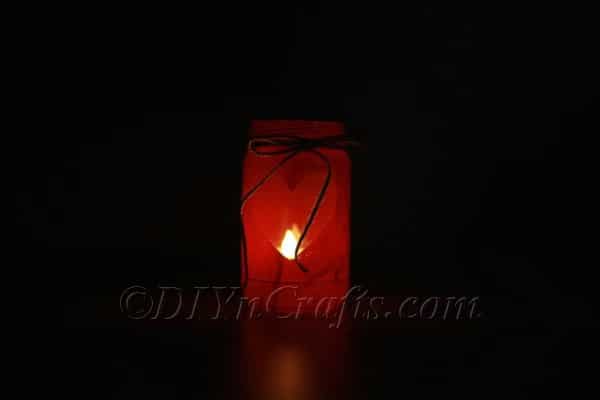
- The last step is simply to put a candle or LED tea light inside the jar. It will now have a beautiful glow. With the candle flame burning, the shape of the heart will stand out even more.
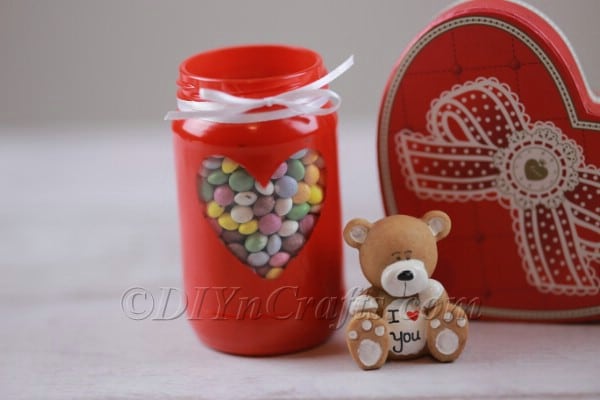
- Bonus idea: fill your jar with you loved one's favorite candies.
Recommended Products
My favorite Etsy items related to Valentines day! (Affiliate links)


Bask in the Glow of Romance This Year
Now, you have created your own romantic lantern for Valentine’s Day! Surprised how fast and easy it is? It really is incredible what you can create in just a few minutes with supplies you likely already have on hand.
There are a lot of simple ways you can vary this project once you understand it. For example, you can exchange the red spray paint for pink. You could even try combining a few different shades of red, pink, and white for an interesting effect.
Another idea would be to take the adhesive cut-out idea and run with it. Instead of just one big heart, you could, for example, create a lot of little adhesive hearts. You might be able to think up other ideas as well.
Whatever you decide to do, a presentation can go a long way toward turning an ordinary dinner into a romantic evening with someone special. This lantern will help to create the atmosphere you are looking for, which should make for a wonderful Valentine’s Day.
Looking for more fun Valentine’s Day DIY projects? Be sure to take a look through our archives. We have a lot of fun projects you can try—everything from DIY Valentine’s Day Gifts to Valentine’s Day nail art ideas.
And if you are getting ready for a romantic dinner, you should definitely check out our scrumptious Valentine’s Day recipes for two as well. Have fun with all of these projects, and enjoy a romantic holiday.


anton du plessis
beautiful please sent more!!!
Bernice Bayless
Love Looking forward to more,