When I was younger, I lived in a tiny apartment with just one door. When I moved into a large house, I didn't really think about having a number of doors leading outside as any sort of major benefit.
But now that I am into crafting, I've realized that each door represents an opportunity for a holiday wreath project!

In this video tutorial, I will be showing you how to make a beautiful DIY Christmas wreath using the most ordinary of supplies. You will be using cardboard for the backing, along with yarn and some other simple materials to decorate it.
There are a few things that I love about this project. The first is that it is amazingly simple, and you do not need anything in the way of fancy or expensive supplies to make it.
The second thing that I enjoy about the result is that with the particular materials I have chosen, you can achieve a homespun look.
I have made a number of other rustic Christmas crafts this year, and it makes a nice complement to some of those other projects.
Finally, the third benefit of this project (and to me, it is the best one) is that you can customize it to your heart’s content. The sky really is the limit here once you understand the basics.
Once you know how to create a wreath frame out of cardboard and disguise that cardboard, you can decorate it any way you want.
That means that if you want, you can use these directions to help you create unique Christmas wreaths for each of your doors.
But you also can use this as a basis to create other types of DIY holiday wreaths for other occasions throughout the year.
Materials:

Let's go ahead and jump into the tutorial now. Below, you can read the list of materials and tools you will need. You can also find written instructions to go with the video.
Video Tutorial:
How to Make a Rustic Christmas Wreath Out of Cardboard and Yarn

If you are in search of a way to spruce up your door or wall for the holiday season, I have the perfect video for you! In my latest tutorial, you will find out how to make a breathtaking Christmas wreath out of nothing more than cardboard and a few other simple supplies.
Materials
- Cardboard
- Round object like a plate or bowl
- Wool
- Pen
- Ruler or drafting triangle
- Ribbon
- Pine sprigs
- Fabric
- Ball ornaments
- Yarn
Tools
- Knife or other tool for cutting
- Pen
- Hot glue and glue gun
Instructions
- To start with, you need a piece of cardboard which is large enough to create the frame for your wreath. You can decide how large you want to make it. You do not need anything fancy; regular cardboard will do just fine.
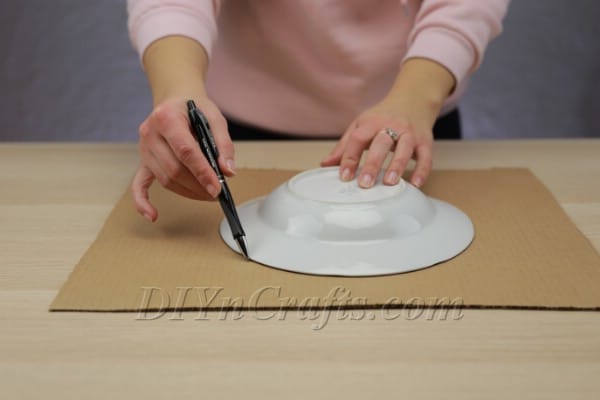
- Next, you will need a bowl or plate or another round object. Set this down on top of the cardboard and use a pen or pencil to trace around it. This will be the interior edge of your wreath.
- Next, you need to define the outer perimeter of the wreath. To do this, get a ruler or drafting triangle and simply work your way around the interior perimeter that you have already drawn on the cardboard, making marks at an equal distance. Make the wreath as wide or narrow as you want. Carefully connect them when you are done so that you have drawn a larger circle around the smaller one.
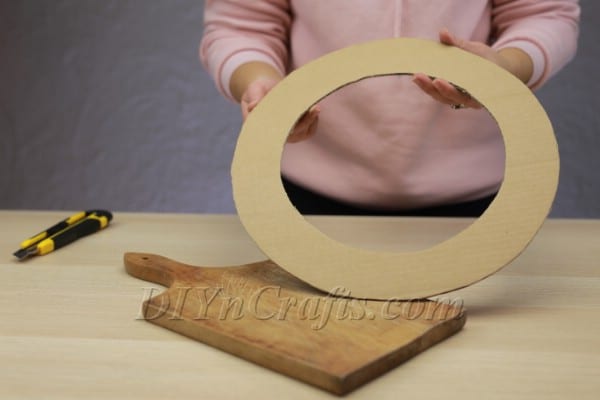
- You can now cut out the cardboard wreath backing. You can do this using a knife or a pair of scissors. A knife or similar instrument is easiest for cutting out the middle.
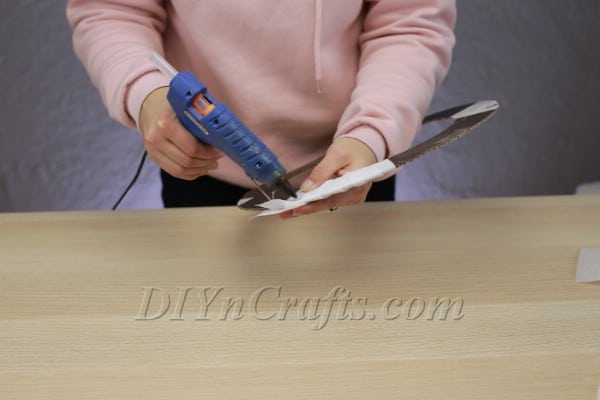
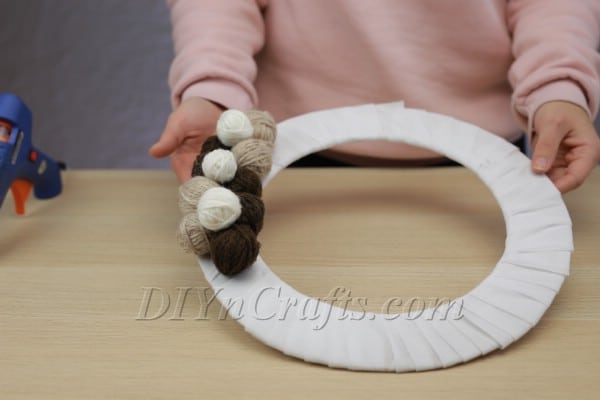
- Get some fabric and cut out some long strips. I went with white fabric to help the decorations on my wreath stand out. But this is not a requirement. You can choose any color that you want.
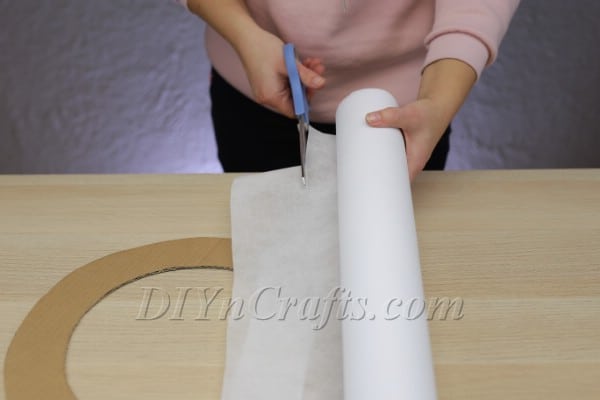
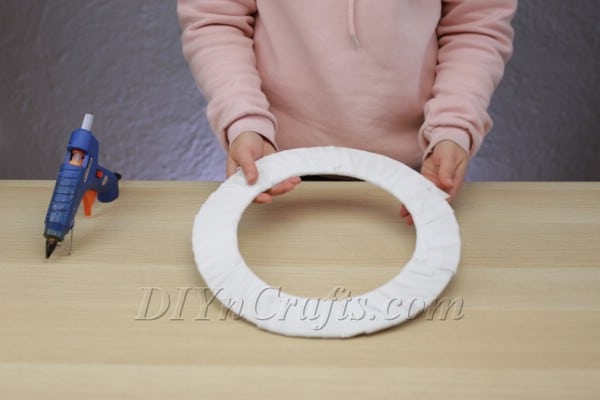
- Wrap these long strips of fabric around and around the wreath to fully conceal the cardboard. Use hot glue when necessary to hold the fabric in place.
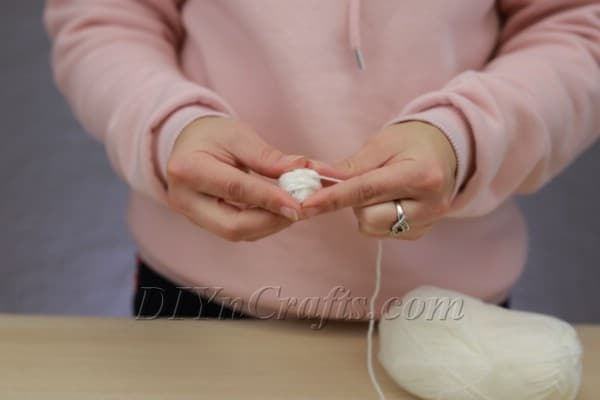
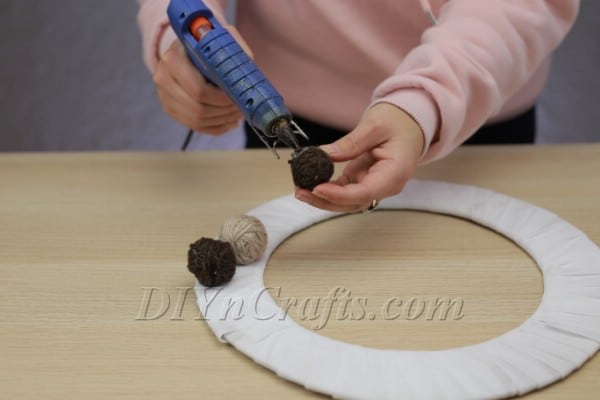
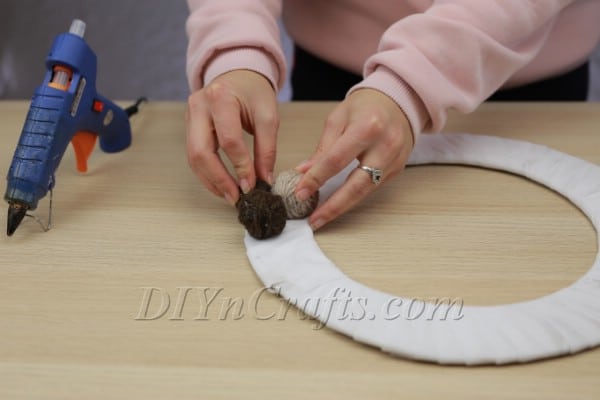
- Next, it is time to start on the decorations for your wreath. Get some yarn in any color that you want to create a bunch of little yarn balls. You can secure each one when it is finished using a dab of hot glue. I chose white, light brown, and dark brown in order to create a rustic effect. But once again, you should feel free to use your imagination and experiment.
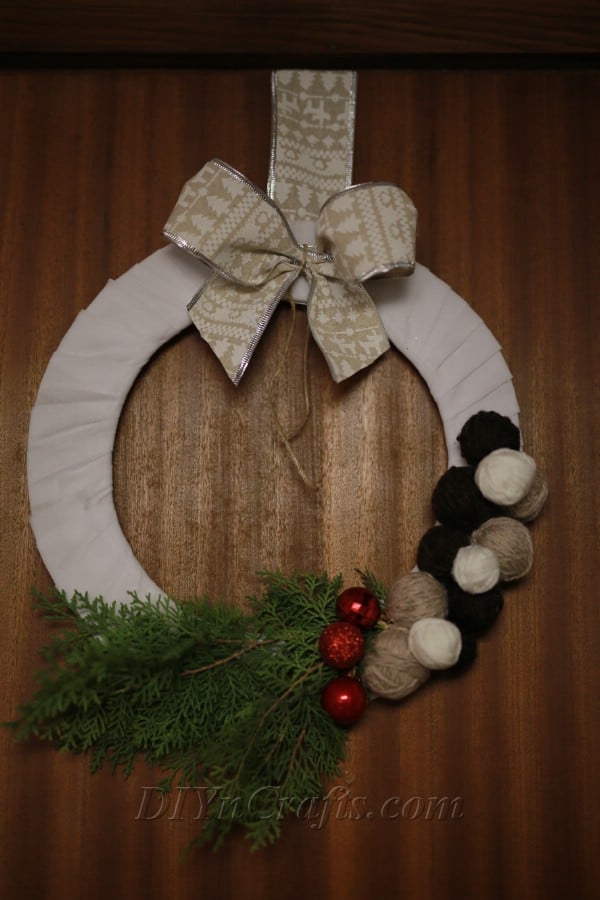
- Once you have created the yarn balls, use hot glue to attach them to the wreath. I put all of mine in the lower right quadrant of the wreath.
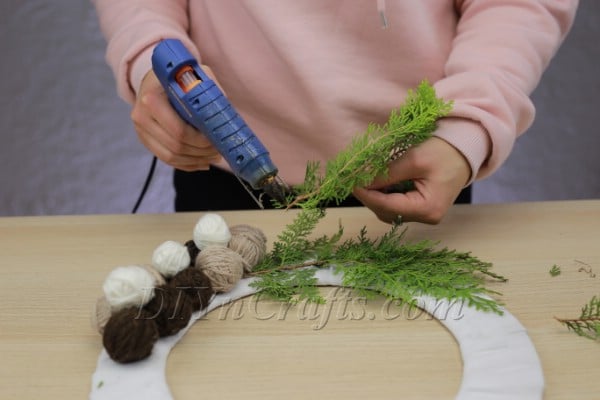
- Get a few pine sprigs and attach them with hot glue to your wreath. I put these on the bottom of the wreath next to the balls of yarn to balance them out. Use natural pine if you want an aromatic wreath or artificial pine if you want to display the same wreath next year without any modifications.
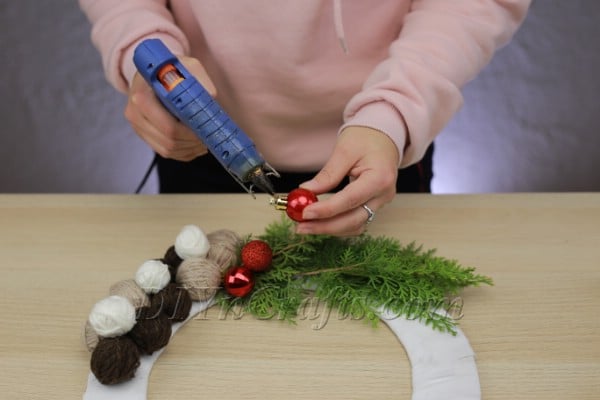
- One of my last steps was to attach a few red ball ornaments between the pine sprigs and the balls of yarn. I went with this color and size because they look a bit like berries.
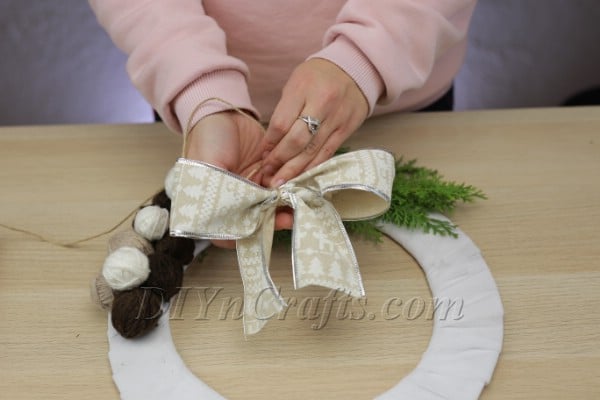
- Finally, attach a bow to the top of the wreath. My recommendation is that you make it yourself out of ribbon so that you can give yourself an extra loop by which to hang the wreath.


Notes
For the step where I used strips of fabric to cover the cardboard ring, you could optionally instead use yarn. This can create a different effect, but it does take more time and patience than the strips of fabric.
Recommended Products
As an Amazon Associate and member of other affiliate programs, I earn from qualifying purchases.


Enjoy the Holiday Merriment Your Christmas Wreath Brings
As I mentioned earlier, you can personalize this project easily. You can make a wreath that is as large or small as you need to fit any door in your house. You can experiment with distributing the decorations in a different way or using different decorations altogether.
I hope that you had a fun time following my tutorial and making your very own Christmas wreath out of cardboard and yarn. By the way, if you loved the creative way we used yarn in this project, check out how to make a beautiful rug out of yarn pom poms.
Make sure you drop by again soon for more easy Christmas craft video tutorials.


Leave a Reply