Pom poms are, without a doubt, one of the most versatile crafting supplies around. You can buy them from the store ready-made, but you can also make them yourself out of yarn.

I was low on crafting supplies this weekend, but I wanted to make some gifts for the holidays. That was when I remembered that making pom poms is extremely easy, and they are perfect for a whole bunch of different projects.
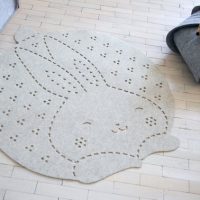
I happened to have some unused rug pads lying around from another project which I abandoned. That was how I came up with the idea of making pom pom rugs! In today's video, I am going to show you how to do it.
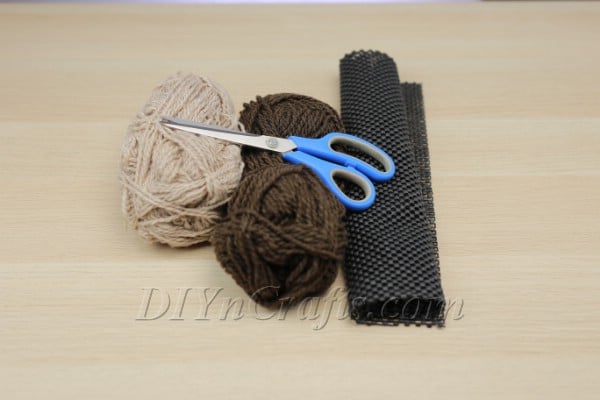
For this easy pom pom project, you literally need just three materials. If you have some yarn, a pair of scissors, and a rug pad, you are good to go.
Again, you can actually skip the initial steps if you want to purchase the pom poms from a craft store. Personally, I think it's more fun to make them from scratch.
Plus, this gives you the chance to further personalize your project. You can choose whatever colors of yarn you want to get a more unique look.
Now that you know a bit about what you can expect, let’s jump in. The materials and tools are listed below along with the written instructions to accompany the video tutorial.
How to Make a Beautiful Rug Out of DIY Pom Poms

If you love working with pom poms, you will have a blast making this fluffy pom pom rug. It’s a super easy project which requires literally just three supplies. Check out the video tutorial, and you will be on your way to making your own gorgeous pom pom rug in no time.
Materials
- Yarn
- Rug pad
Tools
- Scissors
Instructions
 We begin by making the pom poms. Take the yarn you have selected and spool it around and around your hand. Exactly how large or small you decide to make your pom poms is up to you.
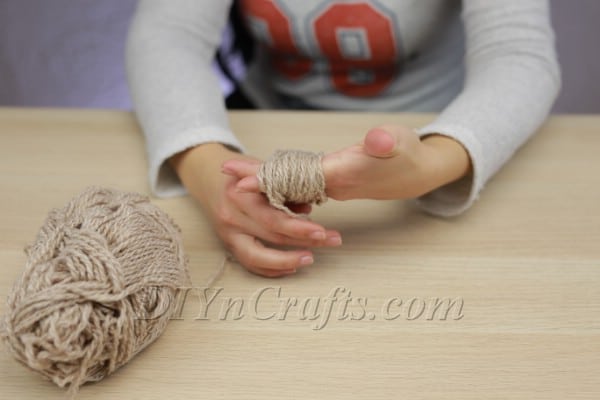
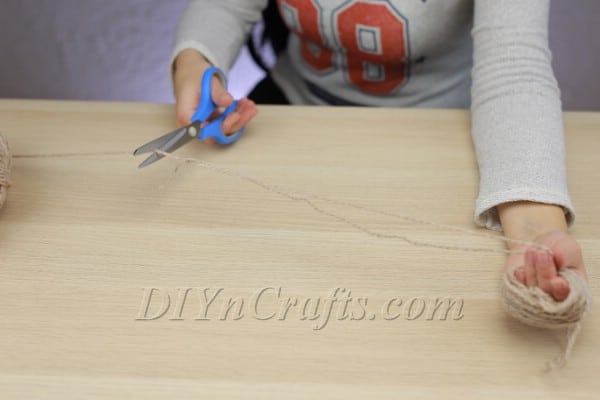
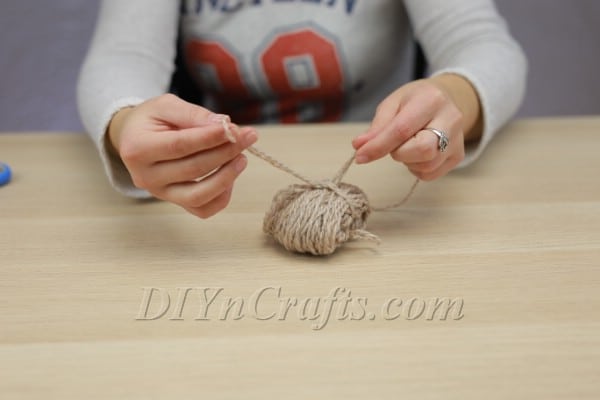
- Set that carefully aside when it reaches the correct bulk, and separately cut a long piece of yarn.
- Now, you are going to take that solitary piece of yarn which you cut, and you are going to carefully tie it around the spool you bundled up before. Try and get it right around the center. Tie it securely. I recommend using a square knot so that it does not slip.
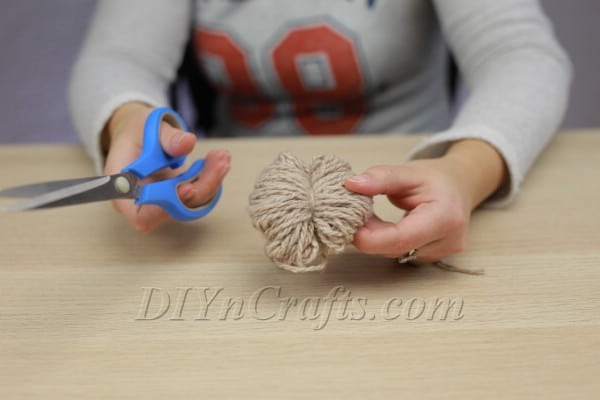
- The next step is to cut through all the little loops of yarn in your bundle.
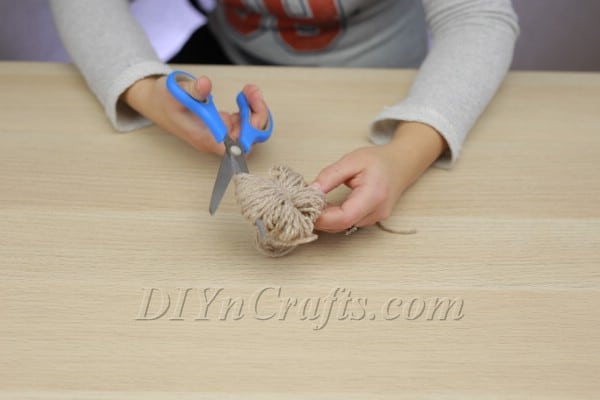
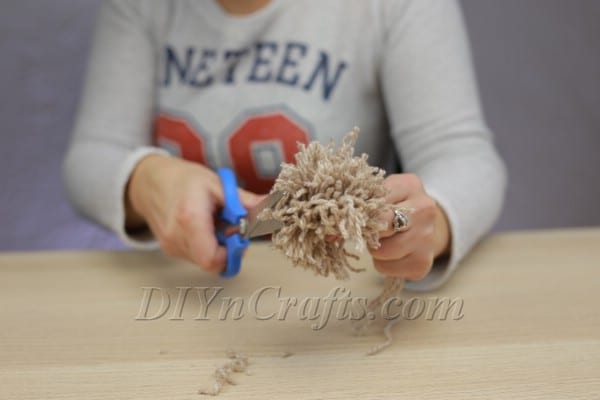
- You now have created a pom pom. To give it a neater appearance, take your scissors and carefully trim around the entire thing to make it as even as possible.

- At this point, you should check the dimensions of the rug pad you are using. Figure out how many pom poms you need to create in order to cover the entire surface without any gaps. You will get the best look if you pack the pom poms pretty densely together. This will make for a fuller appearance.
- Next, repeat steps 1-5 as many times as necessary in order to create all of the pom poms you need. While making the pom poms is quite easy, it can be time-consuming if you have a large area to cover. But I recommend taking your time so that you can achieve full coverage without any gaps.
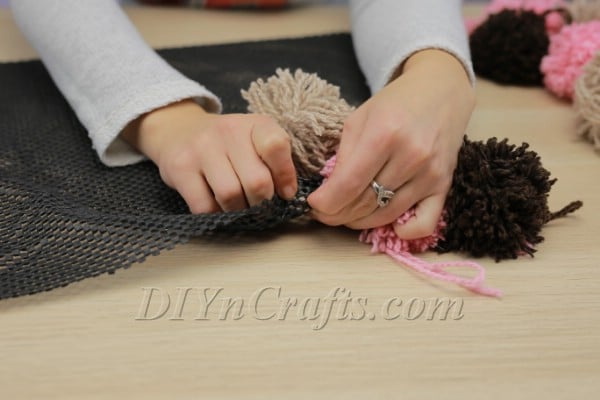
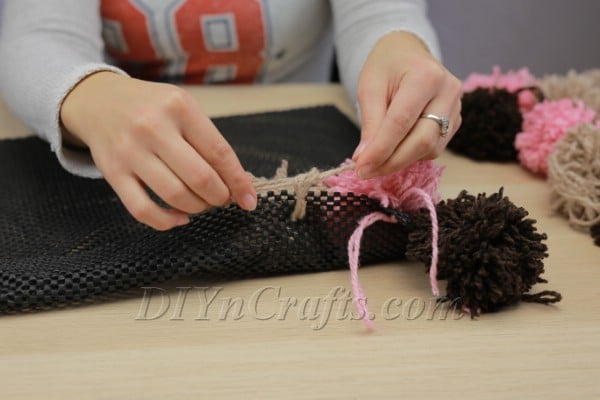
- After you have created the pom poms, it is time to attach them to the rug pad. Starting with the first one in the corner of the rug, take the long ends of the yarn that you used to tie off the pom pom and push them through the mesh of the rug pad. Keep them relatively close together as you do this. Once you have done this, it is simply a matter of tying the two ends together underneath the rug pad. Once again, I recommend using a square knot as this is not likely to slip. You may want to tie a double knot just to be extra sure that it will hold.
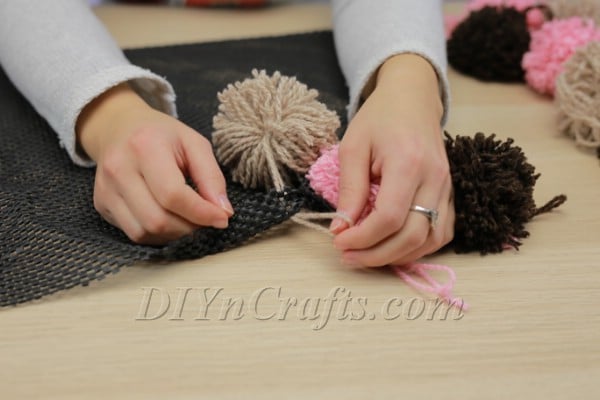
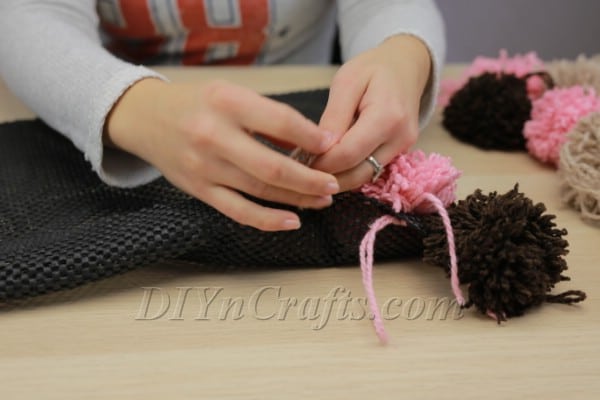
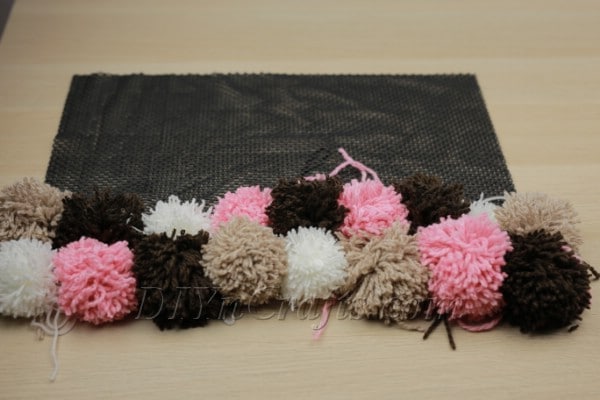
- Once you have attached the first pom pom, is simply a matter of attaching the rest one after the next in the same fashion. Work your way across the top row until you get to the opposite corner. Then proceed to the next row, and so on.
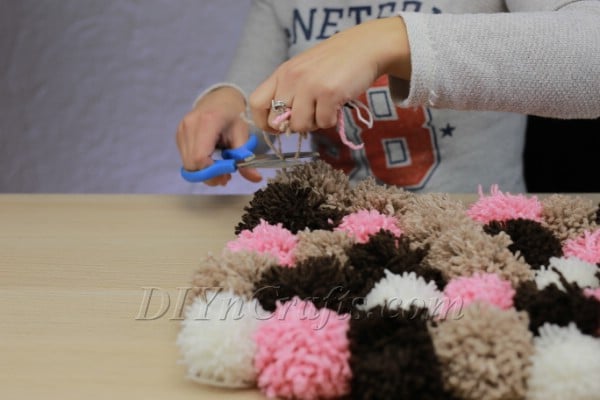
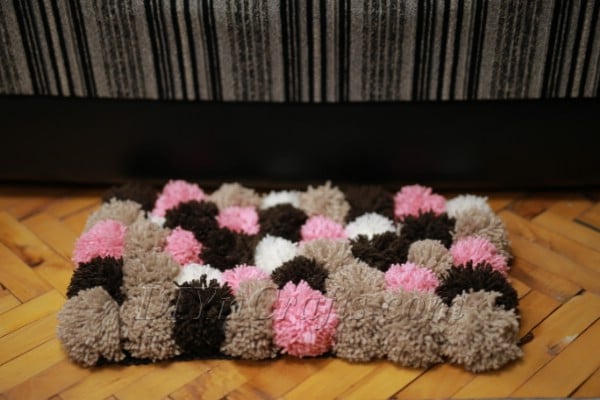
- Once you have fully covered the rug pad, simply turn it upside down. Use your scissors to cut the dangling ends of thread. This will prevent them from snagging on anything underneath them. That's it! Just like that, you have created a stunning rug which looks and feels ridiculously comfy and luxurious. A small rug like this can fit in an entryway, a bathroom, or another small area. A larger one can grace the center of a room.
Notes
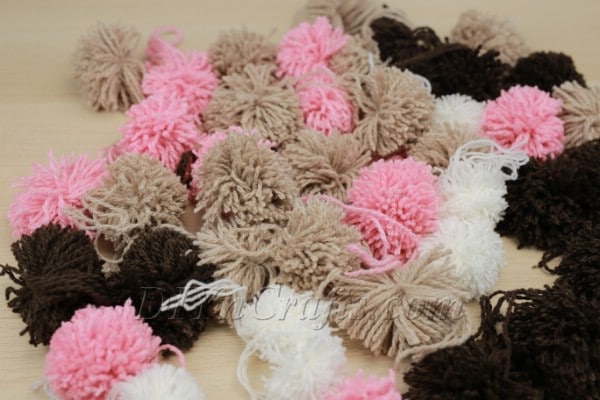
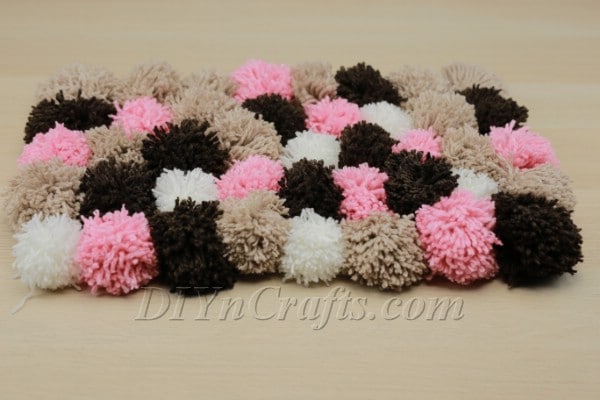
For my rug, I used four different colors of yarn: pink, tan, black, and white. I love effects that these colors have together. They contrast yet complement one another. But you can use any colors you want. You can even use just one color.
You can also experiment with different patterns and designs using the colors of yarn you have selected. If you are making a very large rug, you might even be able to get quite intricate with what you do.
Recommended Products
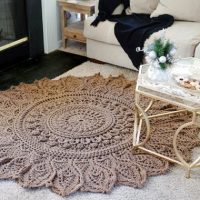
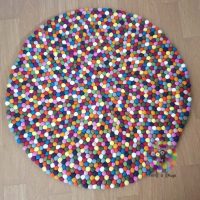
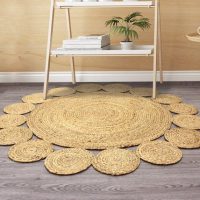
My favorite Etsy rugs and rug patterns (Affiliate links)
Enjoy Your Soft, Colorful, Beautiful Rug
I hope you had fun making this simple DIY rug project. Pom pom rugs can add some color and softness to any room in your house. They can be personalized to match your decor.
Since it is the holiday season, consider making some of these pom pom rugs not just for yourself, but for family and friends as well. They are beautiful to behold and offer practical value as well. Pretty much anyone can find a use for a lovely rug.
Looking for more yarn projects to do? Check out these easy yarn crafts for the holidays. While you're at it, do not miss out on any of the simple Christmas DIY projects I have been sharing.


Missy
Hi, thank you for sharing with us how to do this simple and cute project!
I was just wondering where we can buy rug pads from?
Thank you!
Susan Livermore
Google anti-slip mesh and order whatever amount you think you need.