The other day, it was snowing so hard that I didn't feel like climbing into my car to drive to the craft store for more supplies for some of the projects that I was working on.
But I still wanted to make something for the holidays. So I asked myself, “What can I make with just the few things I have lying around?"
It took me a while to come up with something inventive, but eventually, I figured out how to make a beautiful DIY Christmas decoration out of just several supplies. It is an easy holiday crafting project with gorgeous results. In this video, I will teach you how to do it.
Video Tutorial - Sticky to the bottom of the page or on the right side on desktop browsers.
I want to talk about the supplies that you need for a moment before jumping into the video. If you look at the materials list, you will see that almost nothing is required for this project. But you do need something to make your star out of.
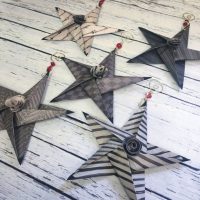
You can feel free to go in pretty much any direction here. You can use cardboard, cardstock, or even paper. The paper obviously does not hold its shape as well, so I would reserve that only for making small stars (like little origami stars).
As for cardboard, make sure that it bends easily and you get a nic,e clean edge. While you do not need anything fancy, I would suggest using colorful paper or cardboard with beautiful patterns on it.
If you go with Christmassy colors and patterns, the result will be perfect for the holiday season. But you could also go with a variety of other colors and patterns and get a beautiful effect that is suitable for any time of the year.
Let's go ahead and get started with the video. Find the materials and tools you need below, along with a set of written instructions.
How to Make a Festive 3D Star Out of Paper or Cardboard
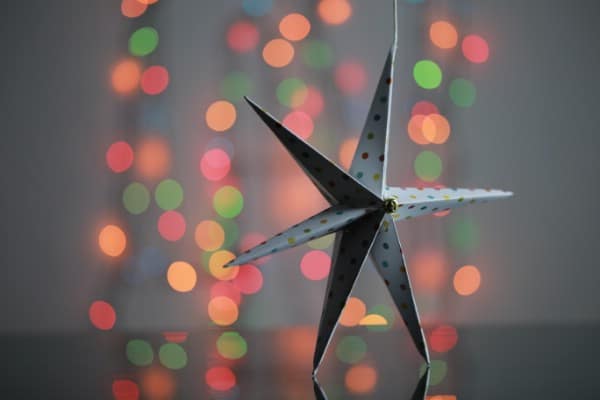
In search of a fun and easy crafting project for the holidays that uses just a few basic supplies and that has a stunning result? In my latest exclusive crafting video, I teach you how you can turn ordinary paper or cardboard into a lovely Christmas Star.
Materials
- Cardboard or cardstock (or paper)
- Double-sided tape
Tools
- Scissors
Instructions
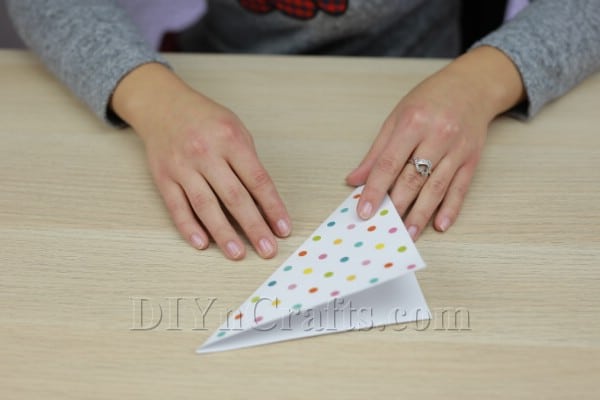
- Begin by taking a piece of cardboard, cardstock, or paper and folding it in half from corner to corner to get a triangle shape.
- After folding the triangle, unfolded it again.
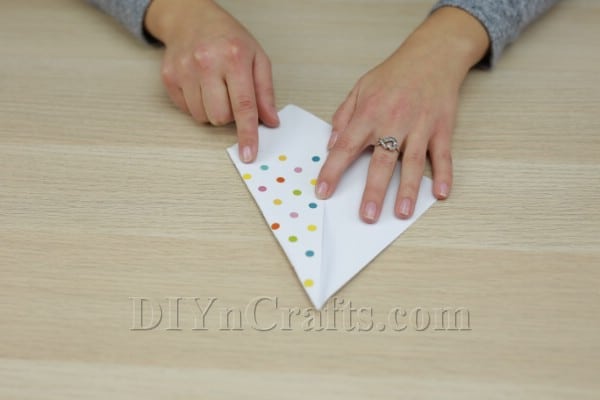
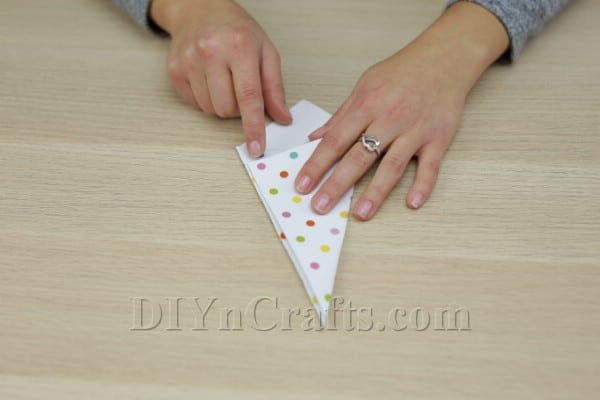
- Next, fold in one of the edges just across the middle line, and then do the exact same thing from the opposite edge. This will create a narrow triangle shape. It is easiest to see in the video and pictures.
- Use double-stick tape to secure the have just created.
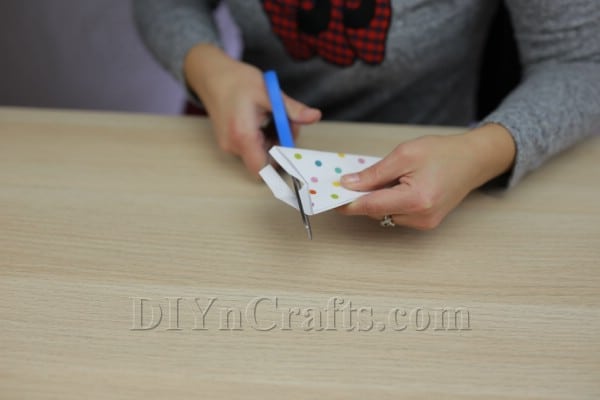
- Cut straight across the bottom to remove the excess, creating a perfect triangle.
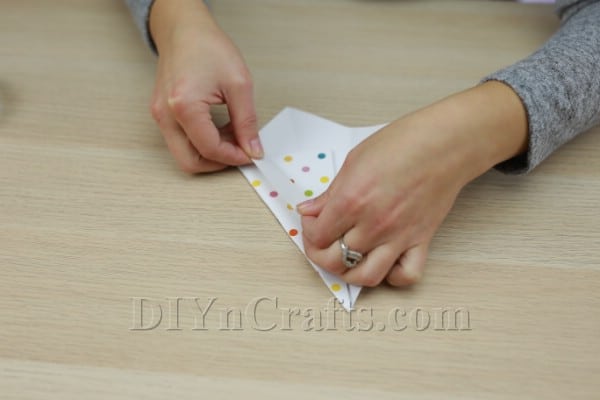
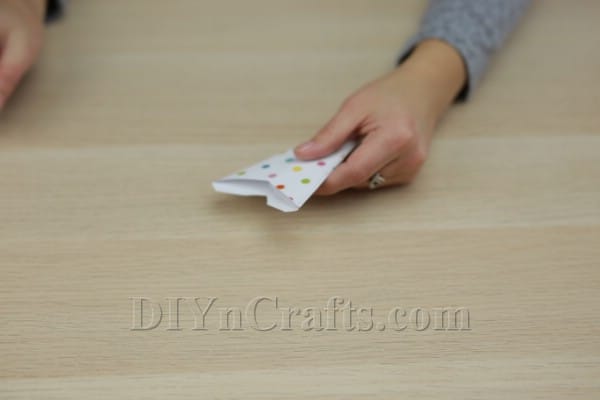
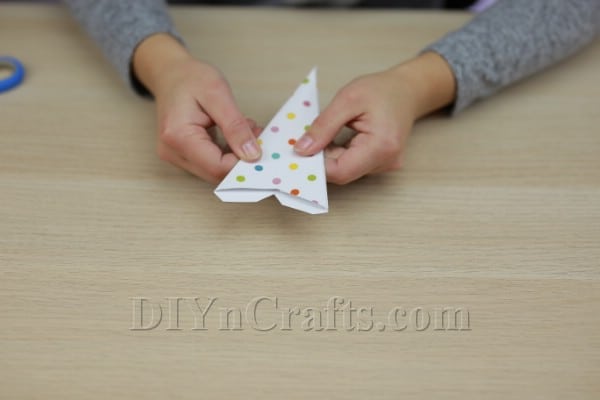
- Puff out the middle of the triangle in order to create a three-dimensional shape. Then, compress it so that the previous edges become the center, and the previous center becomes the edges (this is much easier to show than to describe). You will again find yourself with a little flap of paper sticking out of the bottom.
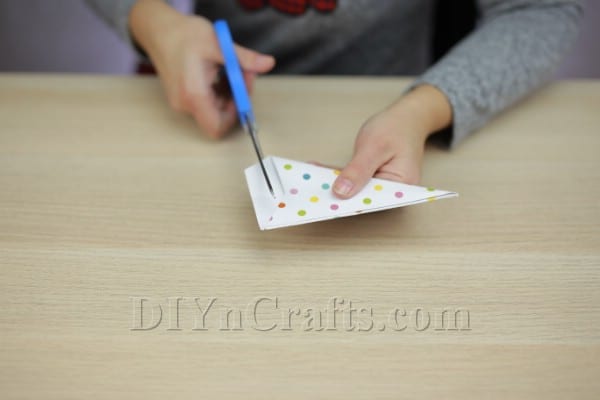
- Cut diagonally down along one edge across the flap. Do not remove the entire flap—just cut away a section of it.
- Puff out the shape again and compress it back along its previous lines.
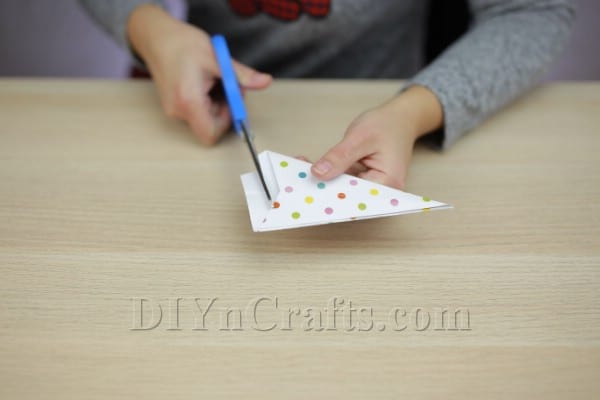
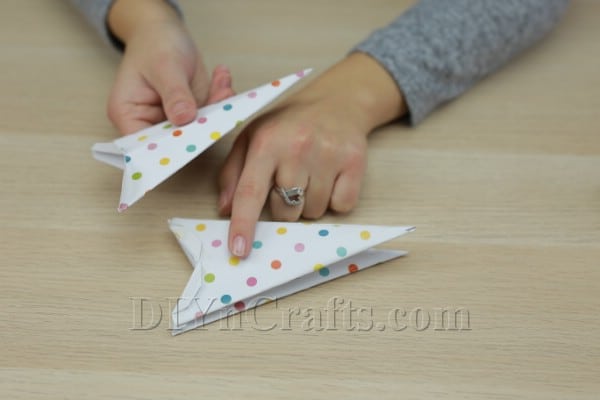
- Cut the new flap so that it takes the form of two little “tabs” sticking out below the edge on top of it.
- Flip the triangle over.
- Fold the little tabs up.
- Repeat the steps above to create six of these objects in total.
- Attach double-stick tape to the bottom of each of the tabs.
- As you do this with each triangle, start stacking them up one on top of the next so that they are attached by their tabs.
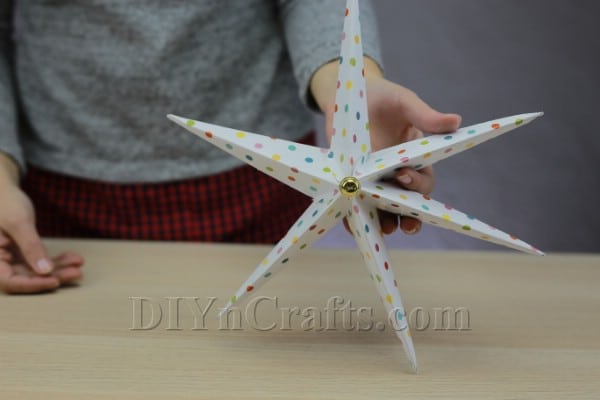
- Now comes the magical part. Pull carefully at the triangles on the ends. The object you've been creating will accordion outwards. Pull the two ends toward each other and then tape them together. You now have a star shape.
- If you want, you can glue on a little bell or some other embellishment in the center.
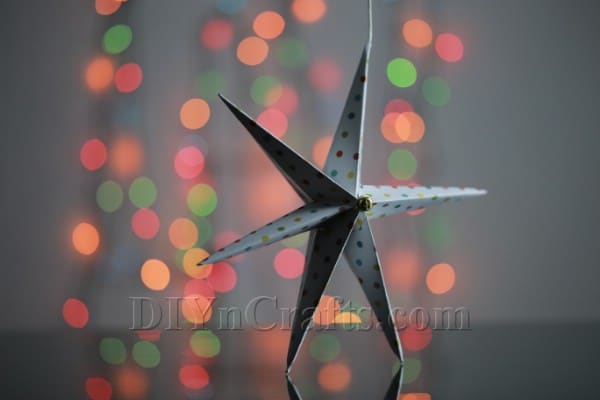
- You now have a breathtaking star shape! It would look great as a DIY tree topper.
Notes
I have done my best to convey the instructions for this project in words. But I will emphasize that it is pretty hard to explain something so geometric in such a fashion.
For that reason, I highly recommend that you watch the video and slow it down so you can see everything carefully. This should help you to understand what you are doing.
Recommended Products
My favorite Etsy paper star items. (Affiliate links)
As far as DIY paper crafts go, this one might be challenging to describe at times. But it is not very challenging to do.
Once you have figured out how to make just one of the points of the star, replicating those steps for the others is a breeze.
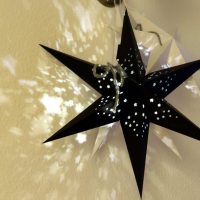
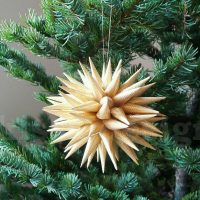
Try making the stars in different sizes or with different materials. They can look gorgeous hanging from a Christmas tree (or topping it), or you can hang them from your ceiling.
Although they are a fittingly festive craft for the holidays, they also can make for beautiful year-round decor.
There are some other modifications you can make to this project as well. For example, if you have beautiful origami paper but want a sturdier star, you could use some cardstock to create the star and then use double-stick tape to carefully cover it in the decorative paper.
Another idea would be to use plain cardstock or cardboard to create the star and then hand-paint patterns or designs on it when you're done. This would be a wonderful way to completely personalize each of the stars and make them unique.
I hope that you enjoy making this fun and easy Christmas paper craft. After you have completed it, make sure that you check out some of the other holiday craft videos that I have recently posted for more festive DIY ideas!










Juana
Fabuloso