It’s been snowing outside lately, which, for me, means two things. First, I'm totally obsessed with snow, and second, as much as I like being out in it, I also want to take plenty of time to enjoy being cozy and warm indoors.

You know what, that leads me—straight to my crafting room. Here, I can combine my desire to be warm indoors with my obsession with the snow. Some easy DIY winter decorations with a snowy theme I've shared with you thus far include a snowman you can make out of a flower pot and an easy snowflake craft made out of pasta. Today, I'm going to teach you how you can make a stunning snowflake out of an old book.
Video Tutorial:
DIY old book crafts are very popular right now, and it is easy to understand why. Not only are they fun to make (and surprisingly simple), but they have exquisite results.
The other week, I discovered how to turn an old book into a beautiful Christmas angel. I had so much fun with that craft that I followed it up by upcycling another old book into a cute miniature Christmas tree.
Those two crafts are actually surprisingly similar. Even though they have different results, the initial steps that go into making them are identical.
This craft uses some of the same basic supplies, but the steps are a bit different. So, if you enjoyed those crafts but want to try to stretch your creativity and crafting skills in a new direction, I think that you will very much enjoy this video tutorial.
Below, you can find a list of all the materials and tools you need to turn an old book into a snowflake. You can also view written instructions to accompany my video.

How to Make Snowflake Ornaments Out of an Old Book
I hope that you enjoy making beautiful snowflakes out of an old book as much as I enjoyed making this video for you. After you have created your own snowflakes, be sure to check out some of the other videos which I have posted featuring easy DIY Christmas crafts. I will be posting a lot more in the coming days as well, so check back again soon. Happy holidays!
Materials
- An old book you no longer want
- Twine
- Glitter
- Glue
- Spray adhesive
Tools
- A drafting triangle
- Scissors
- Pen
Instructions
- First, remove the covers of the old book entirely.
- Next, flip the book open to around halfway. Separated it into two halves.
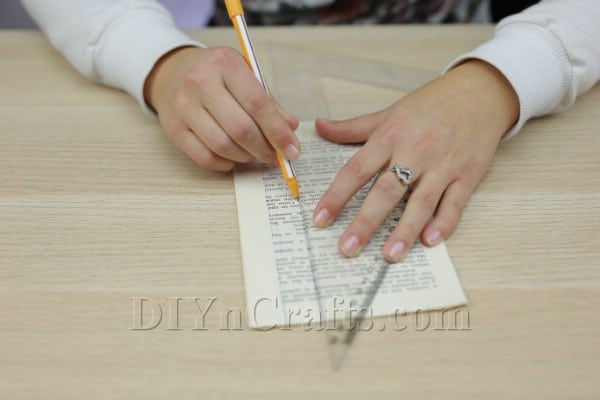
- Use a ruler or drafting triangle (I tend to use the latter for my crafting projects because it has more functionality) to draw marks every 2 cm across the top of the page. Do the same thing at the bottom of the page.
- Draw a line vertically from the top of the page to the bottom of the page from mark to mark. Do this five times across the page so that you have five equal-sized sections.
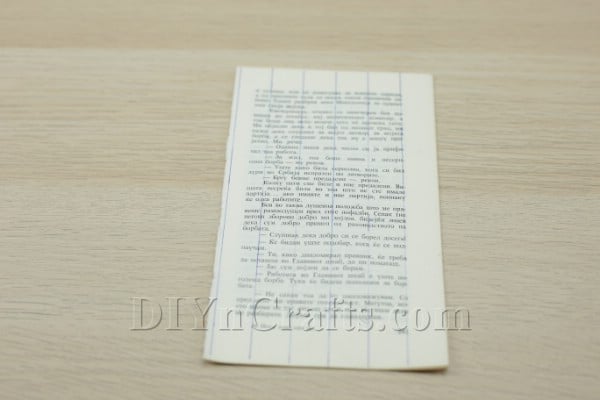
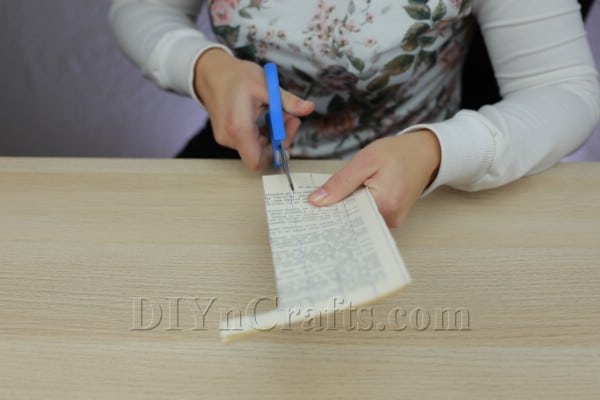
- You will need to cut out the strips of paper. One strip should be full length. Two of them should be 2 centimeters shorter. The remaining two should be 4 centimeters shorter. Go a few pages deep with each of your cuts. This will create little stacks of strips.
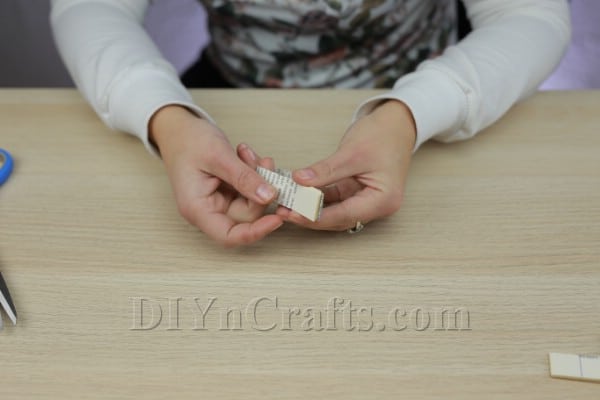
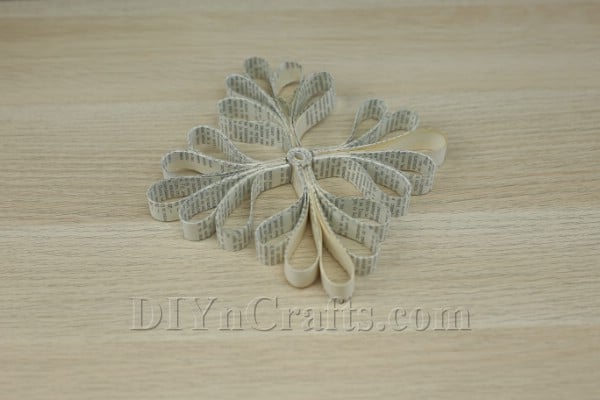
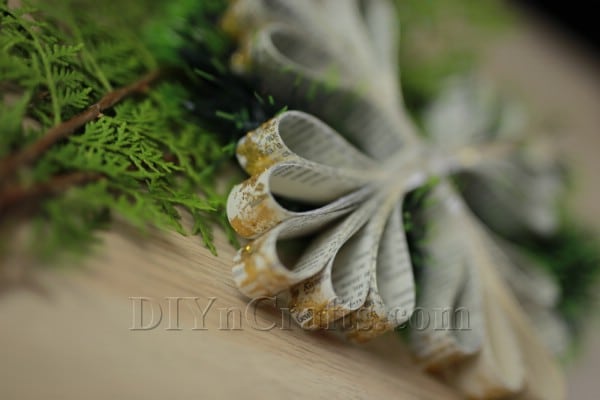
- Take each stack of strips and wrap it around so that the ends connect. Do not fully flatten it to fold it—you want to create curved shapes. Use glue to connect the ends. This will create five little “loops” of pages. I highly recommend that you watch the video and look at the pictures carefully in order to achieve this.
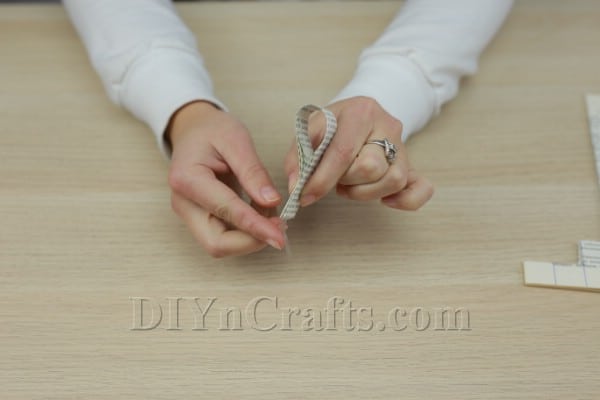
- When you have the five “loops” of pages, glue the ends together.

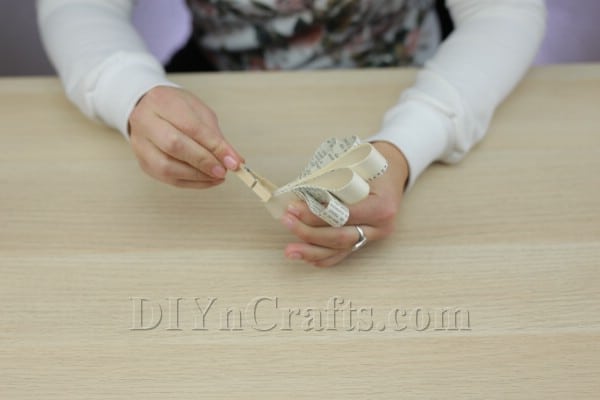
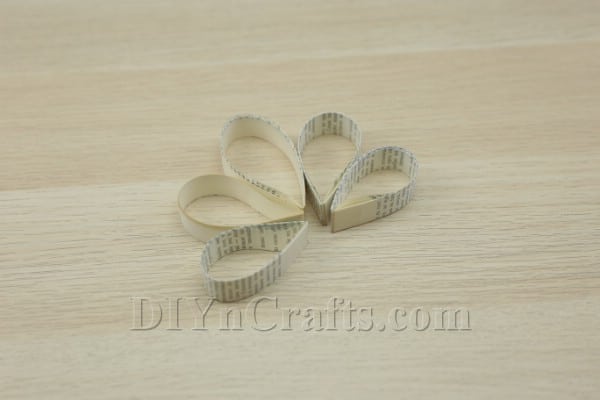
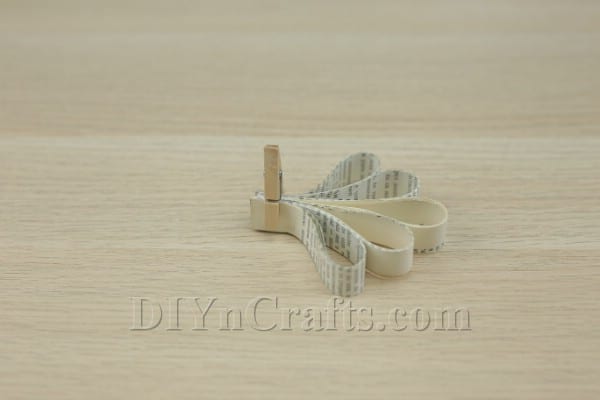
- Use a clothespin to hold the ends together while the glue is drying. The shape you will end up with looks a bit like a fan.
- Repeat steps 3-8 in order to create at least three more “fans.”
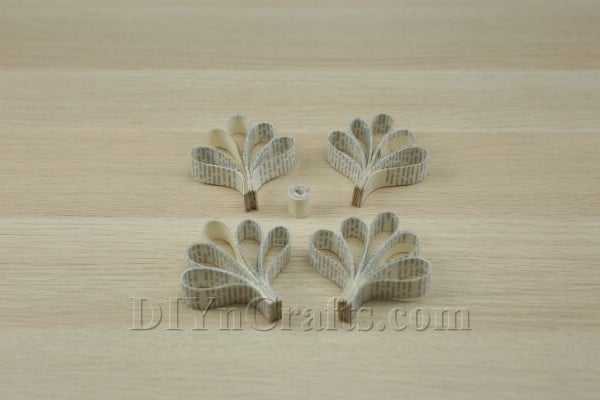
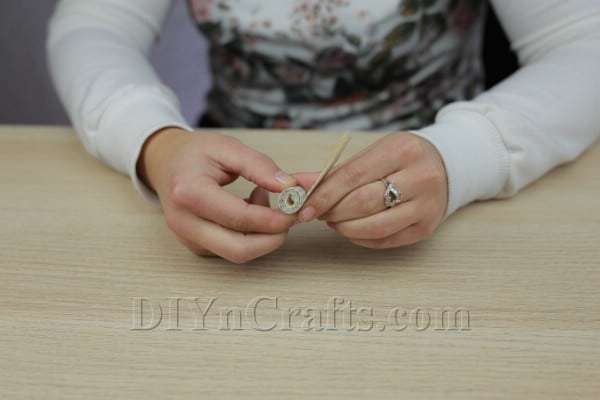
- Cut another set of strips and curl them up to create the center of the snowflake.
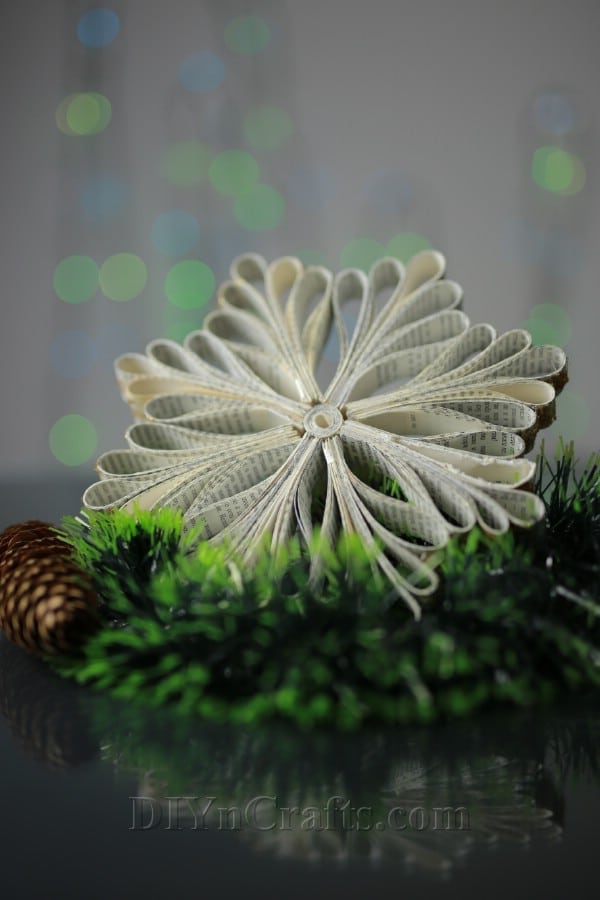
- Use glue to attach the four “fans” around the center.
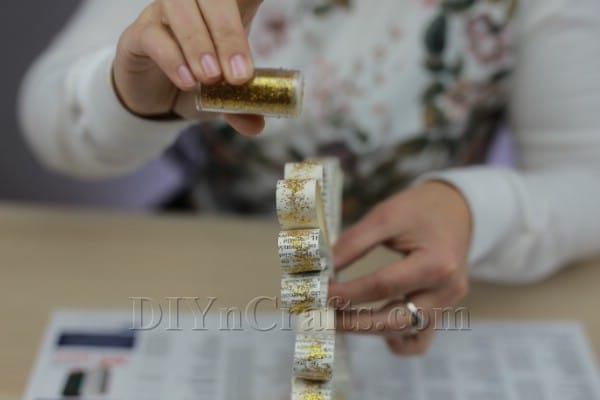
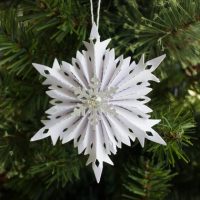
- If you wish, you can now sprinkle on some glitter to decorate the snowflake. You can use regular glue to apply the putter, but it is easier with a spray adhesive.
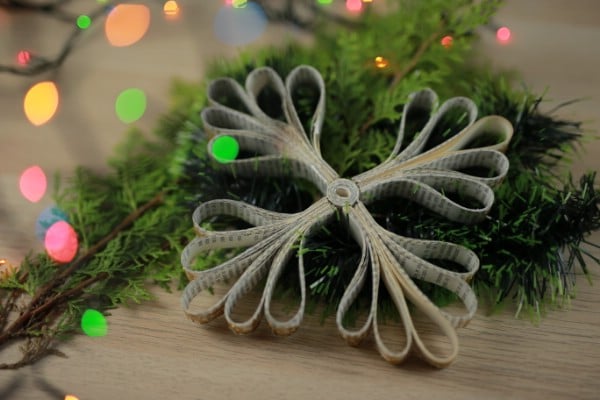
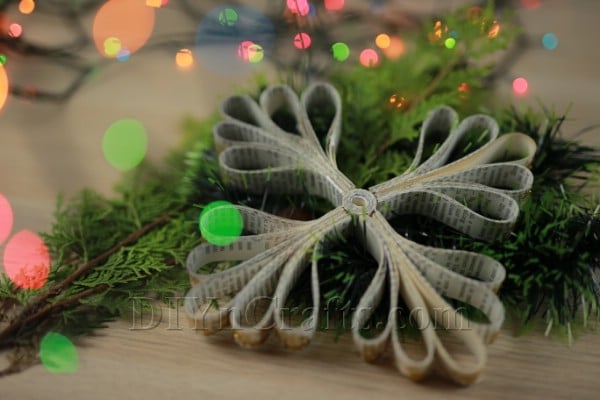
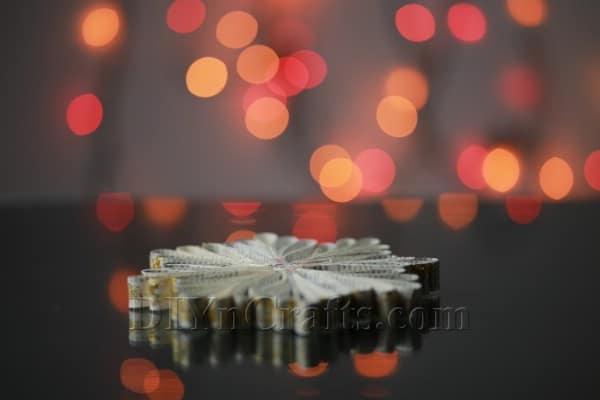
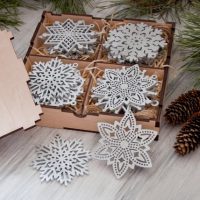
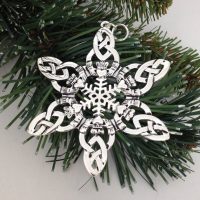
- You now have a stunning snowflake made out of the pages of an old book.
Notes
I have showed you how you can make a four-sided snowflake for the sake of brevity in case you are pressed for time or concentration.
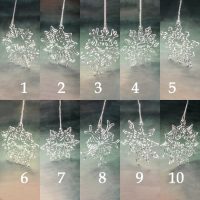
But it is up to you how many sides you want to give your snowflake. For example, you could include up to eight “fans” for an even more gorgeous effect.
If you are aiming for scientific accuracy, your snowflake should have six of these “fans.”
I have noticed that a lot of snowflake crafts include any number of sides. Since you are the one making them, you should go with whatever aesthetic effect you like best.
If you have children working with you on the craft though, you might want to look at it as an opportunity to teach them about how snowflakes occur in nature (with six sides).
Recommended Products
As an Amazon Associate and member of other affiliate programs, I earn from qualifying purchases.
Compared to a number of the other crafts I have shared with you for the holidays, I would say that this one has a bit more of a learning curve. Nonetheless, once you get the hang of it, you should find it pretty easy.
At that point, you can start to experiment with varying the number of pages you include in each strip. You could also make some snowflakes larger or smaller than others, use different colors of glitter, and so on in order to make your snowflakes unique.
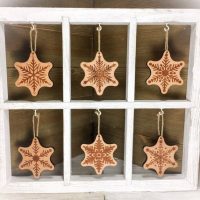
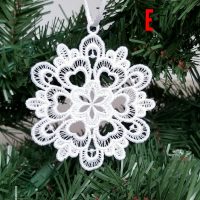
One thing that is great about this project is that after you complete it, it is easy to display your snowflake anywhere. All you need to do is attach a loop of twine through one of the points. You can then hang the snowflake from your tree or from the ceiling. You could also display it in your window.
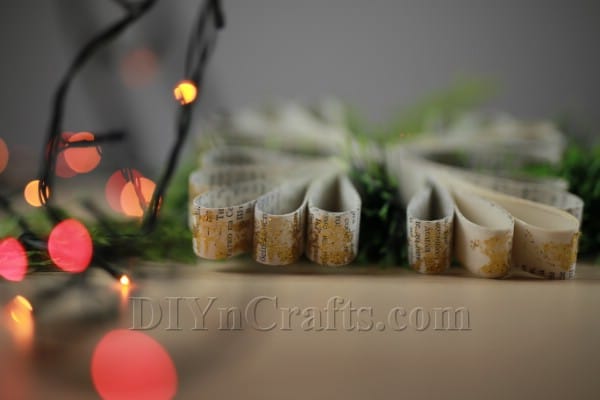
Many people have energy-efficient lights on their trees. LED bulbs produce negligible heat. If, however, you have old-fashioned Christmas lights that burn hot, make sure that they are kept well away from any paper snowflakes that you hang on your tree.
I hope that you enjoy making beautiful snowflakes out of an old book as much as I enjoyed making this video for you. After you have created your own snowflakes, be sure to check out some of the other videos that I have posted featuring easy DIY Christmas crafts. I will be posting a lot more in the coming days as well, so check back again soon. Happy holidays!


Leave a Reply