Wow, can you believe how time has flown by since last year? Thanksgiving is upon us as I am writing this, and that means it is officially the holiday season. While I got an early start on DIY Christmas crafts this year, there are so many more exciting handcrafted holiday projects I want to tackle before the year is up!

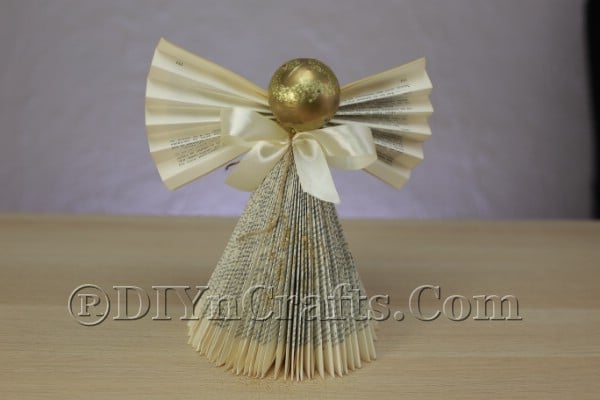
For my latest project, I turned an old paperback book into a Christmas angel. I know—it sounds pretty crazy, right? How can you turn a book into an angel? Well, it is surprisingly easy, and I just know you are going to love the results as much as I do. In this video tutorial, I am going to walk you through it step-by-step.
How did I come up with the idea of turning a book into an angel? Well, my oldest daughter left a lot of stuff from childhood behind when she went off to college. Recently she told me I could go ahead and thrift her old books and that she’d taken all the ones she wanted with her.
I was getting the books together to do just that when I stumbled across one I remembered her reading a lot when she was young. I knew she didn’t want it anymore, but it had sentimental value to me.
My first thought was just to stick it in storage in the attic, but I try not to let things just gather dust. So I got to wondering if there were some way that it could be repurposed into something else.
My daughter called me to make travel arrangements to come home from school for the holidays, and that was when it clicked. She loves angels, so I decided to see if there was a way to turn her old book into one as a Christmas gift. It took a lot of trial and error, but I eventually came up with a way to do it. That is what I am going to share with you now.

Below, you can find the materials, tools, and instructions for this project. I highly recommend that you watch the video and read along so you can understand every step. Let’s get started!
How to Turn an Old Book Into a Beautiful Christmas Angel
Looking for rustic DIY Christmas project ideas? In my latest exclusive video, I teach you how you can create a Christmas angel to watch over you this holiday season out of the pages of an old book. It’s surprisingly easy to make, and the results are breathtaking. Check it out!
Materials
- Old unwanted book
- Satin ribbon
- Christmas ball ornament
- Glitter
- Twine
Tools
- Scissors
- Hot glue and glue gun
- Glue or adhesive spray
Instructions
- First, you will need an old book. Go with a paperback so that you have an easier job dispensing with the front and back cover. This also gives you a flexible binding to work with, which is necessary to complete this project. A book with an old, damaged binding is best since the binding will bend easily.
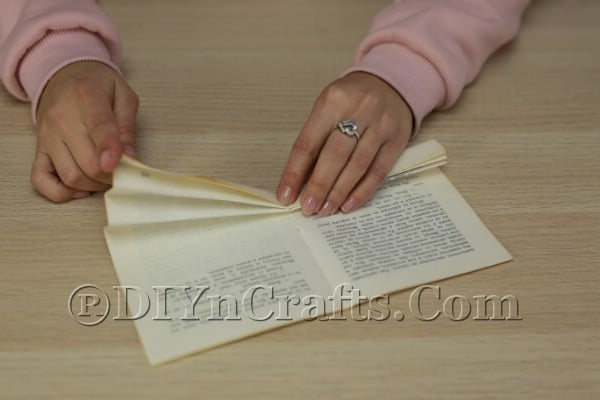
- Before you get started with this project in earnest, you will need to make sure that you remove two pages from the book. Try and make sure that they are still attached to one another when you do this. Otherwise, you will need to tape them back together. Set these aside. You will be using them for a later step.
- Once you have gotten rid of the covers and removed and set aside the extra pages, you are ready to begin. Set the book on your work surface in front of you. Take the first page, and fold the top corner down and over toward the binding. Press it flat.
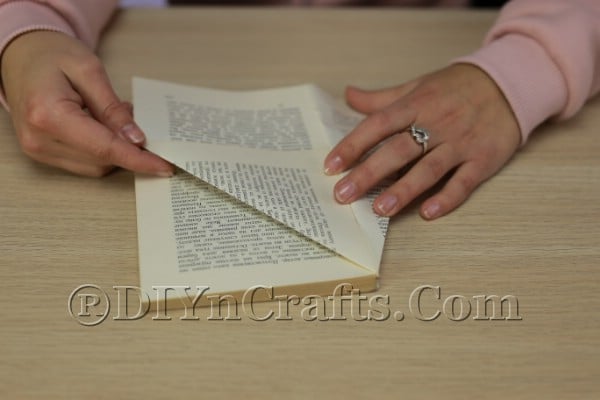
- Next, fold over the same page again toward the binding to create a more acute angle.

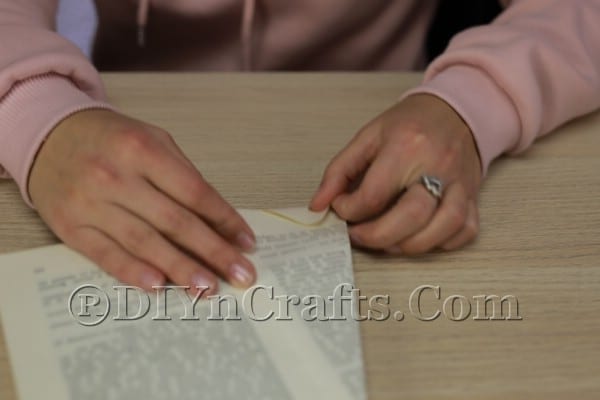
- Now, turn the page.
- You will have a little triangle of paper sticking out at the bottom. Fold this up so that you again have a flat edge at the bottom.
- Now, proceed to the next page. Repeat steps 2-5 with that page as well.
- Continue to the next page, again repeating the same steps. Do this with all of the pages in the book, one after the next.
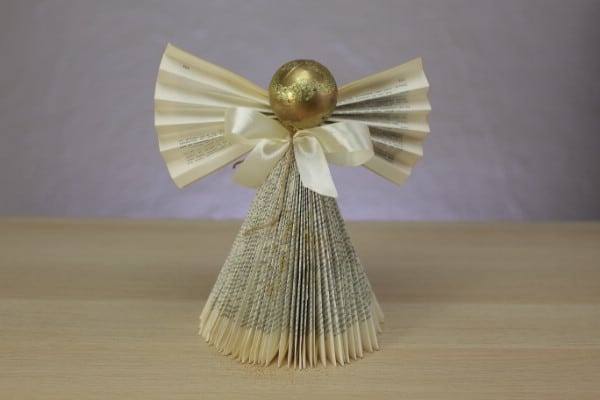
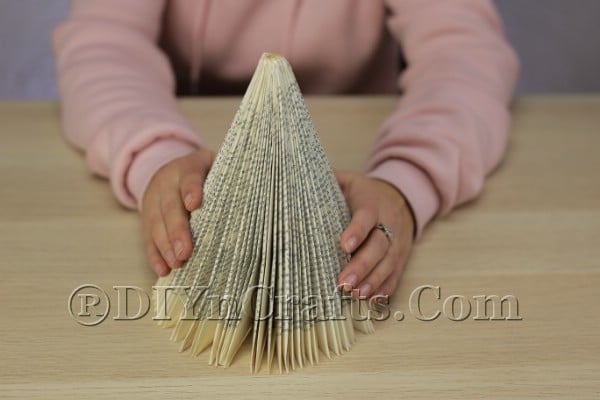
- Once you have folded all of the pages, you should be able to wrap the book around end-to-end to create a cone shape like this. This will be the angel’s body/dress.
- Remember the pair of pages which you removed and set aside at the beginning of the project? It is time to make use of them now.
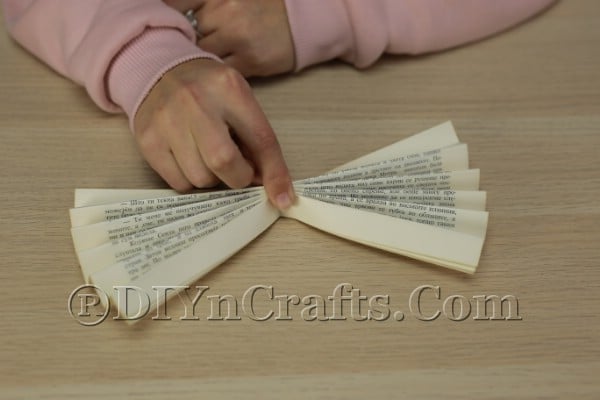
- Take the pages and fold back and forth like you would if you were creating a paper fan. Make sure that you do this from the top of the pages to the bottom (not from left to right across the pages). It is easier to see what I mean by this in the video. The reason you need to do it this way is because each of the pages will become one of the angel's wings.
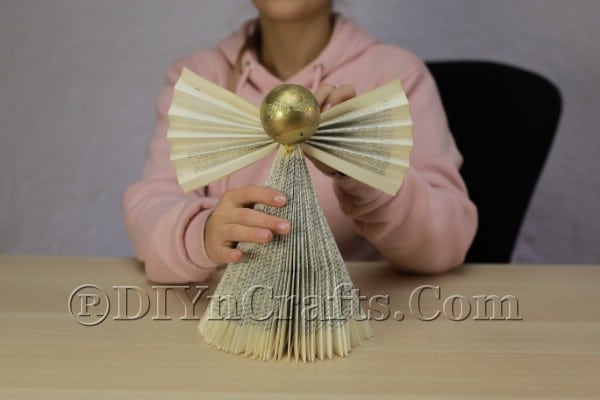
- After you have finished folding, pinch the pages together at the center so that you have one "wing" fanning out to either side.
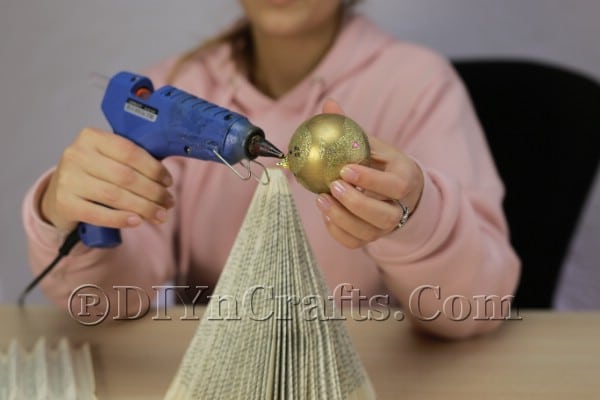
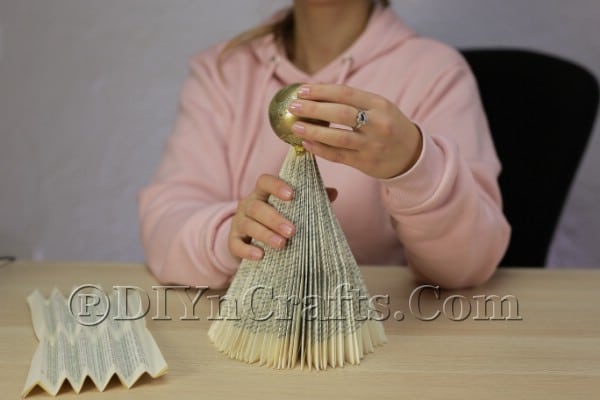
- Next, you will need a Christmas ball ornament to serve as the head of the angel. I chose to go with a gold ornament in order to create a nice, neutral color scheme, but you can choose any color you want.
- Use hot glue to attach the ornament to the top of the cone of pages. You have now connected the angel’s head to its body.
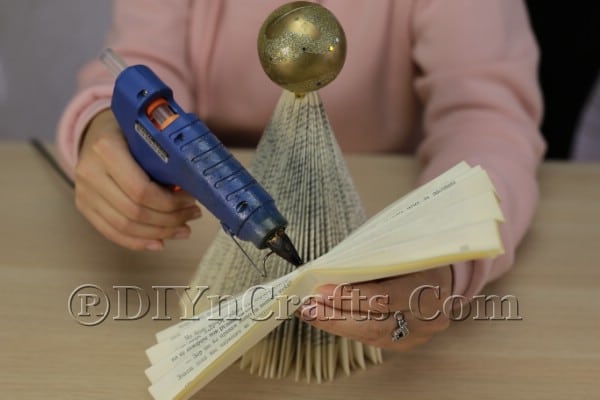
- Hot glue the angel’s wings to the body. Connect them right at the top of the cone below the head.
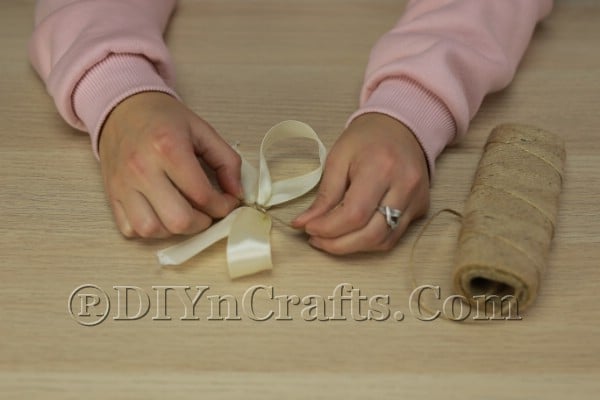
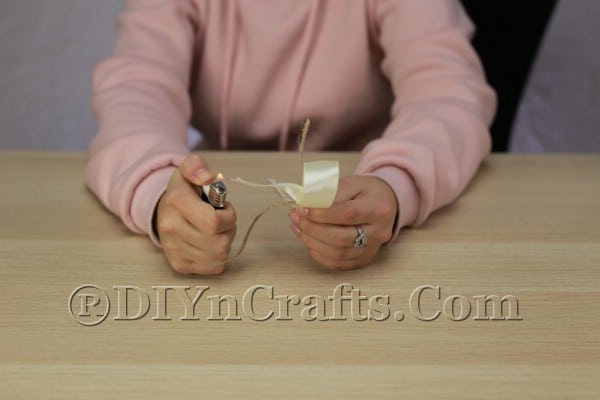
- Now, we will be making a bow. Get some satin ribbon and cut it to the appropriate size. Then, tie it in a bow and secure it using some twine. Is the twine really necessary? Maybe not, but I found it very helpful in ensuring that the bow would not come undone. Once again, you can use any color you want for the bow, but I stuck with a neutral ivory color. I felt like the neutral color scheme made for a more elegant decoration. It also ensured that the decoration would not look out-of-place outside the holiday season. That way it can be displayed all year.
- This step is optional to prevent fraying. If you have a lighter handy, hold it up close to the edges of your bow. Make sure that the flame is not actually in contact with the polyester. You do not want to burn it. You simply want it to melt at the edges. That way, the fabric will not be able to fray. This ensures that the bow stays in good condition.
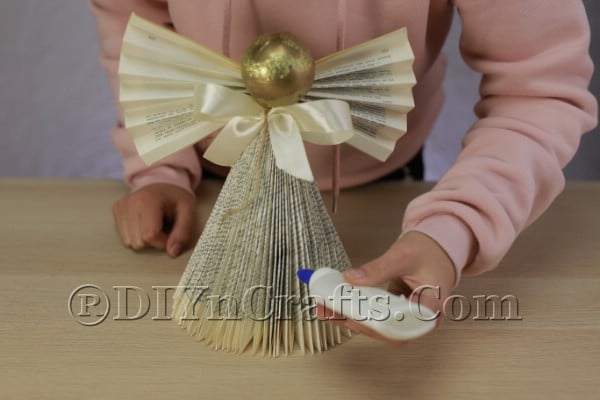
- Hot glue the bow to the front of the angel at the “neck.” At this point, you're almost done. But there is one final step to really add some sparkle to this project.
- Apply some glue to the edges of the pages which are serving as the angel’s dress. While I used a regular container of glue to do this, it occurred to me later that adhesive spray would probably work just as well, if not better.
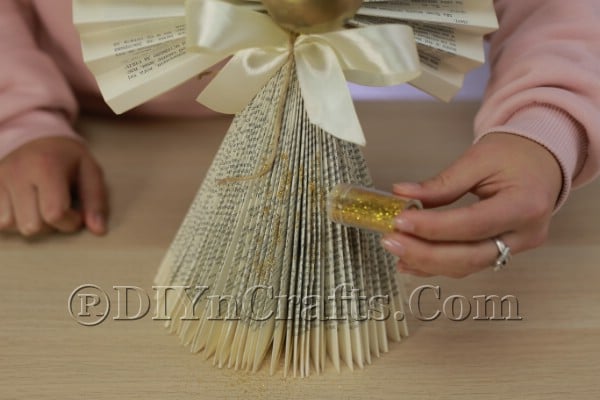
- Sprinkle on some glitter. Pick a color which matches the ball ornament and ribbon that you have chosen. Since I used a gold ornament, I chose to use gold glitter as well. You have now finished turning an old book into a beautiful angel!
Recommended Products
As an Amazon Associate and member of other affiliate programs, I earn from qualifying purchases.


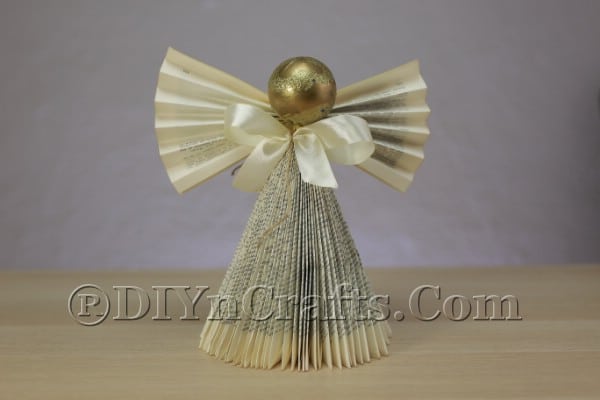
Let Your Handcrafted Book Angel Watch Over You This Holiday Season
You now have a stunning Christmas angel crafted out of an old book! Who would have thought it was possible to transform an ordinary book into something so beautiful?
This Christmas angel craft will look amazing wherever you decide to set it. Let it watch over you and your loved ones throughout the holidays.
When the holiday season is at its end, you probably will pack your angel away with your other handcrafted Christmas decorations. If that is the case, make sure that you are extra careful. Your angel is fragile and can easily be damaged if the pages of the book get bent or torn.
The other option is simply to leave your angel on display year-round. Yes, it may sound a bit odd to have a Christmas decoration out all year, but angels aren’t just for the holidays.
I hope that you enjoyed making this holiday angel. Be sure to check out some other crafts with old books on our site as well as other easy holiday projects.


MARY BETH MABE
My mom is 93 and is constantly reading a variety of 4 books which are dogearedd and lost pages from her over 5+ years with dementia. I may rescue these ad make angels for my siblings. Great idea thanks.
Anonymous
We used to make Christmas trees doing the same folds. That was back in the 70's.
Gretchen
Absolutely gorgeous! I made it for my elderly neighbor. I made a stand for it with sticks. Thank you for sharing your skillful talent!