
Looking for holiday craft DIY ideas? You've come to the right place. One of my favorite things to do during this season is to pull out my crafting supplies, grab a hot mug of cocoa, and get busy with some DIY projects that celebrate the holidays. I love to watch the snow falling outside while I stay warm and comfortable working on my crafts.

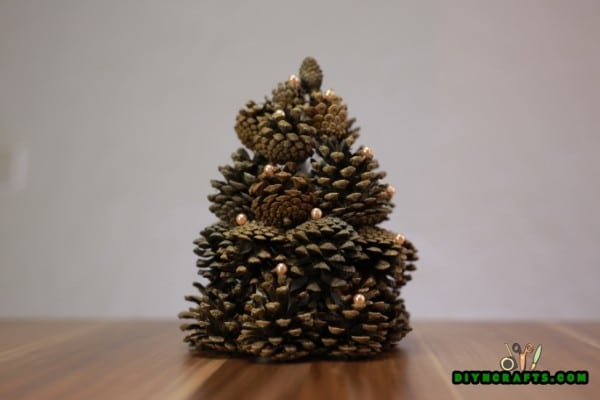
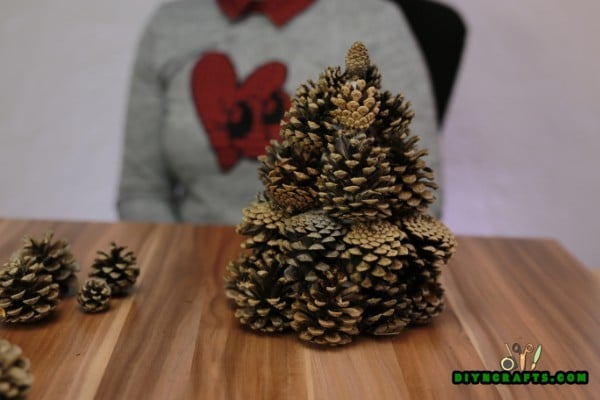
In this video tutorial, I am going to show you how you can make a miniature Christmas tree using something that comes from real-life Christmas trees. You're going to learn how to craft a tree out of pinecones!
You should find this upcycling Christmas craft project pretty easy. You will need to gather a few supplies which I have listed for you below. I have also included written instructions to go along with the video.
Regarding the pinecones, it is important to make sure that you get them in large, medium, and small sizes. It is helpful to know in advance that the biggest pinecones go around the base of the tree, and the smallest ones will go around the top. That should help guide your choices when you're selecting them.

Another supply worth mentioning briefly on the list below is the cardstock. You could possibly get away with regular paper, but it would be quite flimsy and probably would not support the project very well. You would more likely get away with actual cardboard, but unless it is the very thin kind, you will have a hard time bending it into a cone shape as required. The cardstock is the best of both worlds. Let’s go ahead and begin.
How to Make a Gorgeous Christmas Tree Out of Pinecones
Ready to make some rustic crafts to bring in the holiday season? This tutorial teaches you how you can make a miniature Christmas tree using some pinecones from a real tree. Check out our video and written step-by-step instructions to get started making this project now.
Materials
- Pine cones in different shapes and sizes
- Piece of cardstock
- Old magazine
- Tape
- Faux pearls
Tools
- Pencil
- Scissors
- Drafting triangle
- Hot glue and glue gun
Instructions
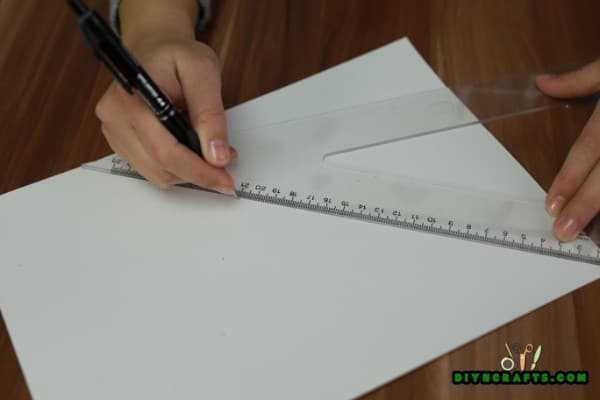
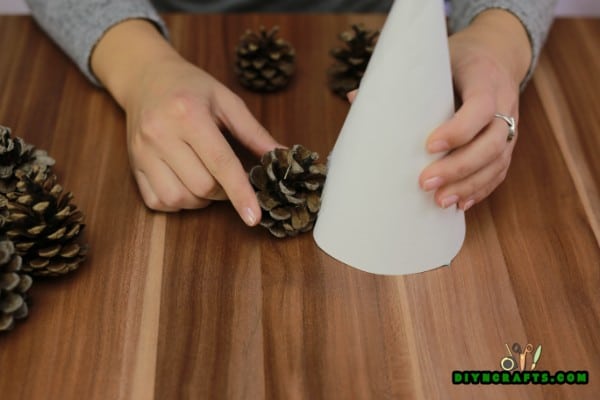
- First, you will need to cut a piece of paper and make a cone out of it. You may find that the drafting triangle is helpful in producing the proper curve before you cut. If you do not have the drafting triangle, however, you should be able to simply eyeball it and clean up the edges when you are done.
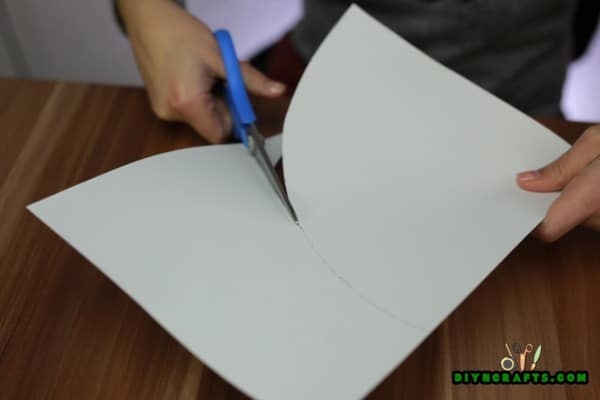

- Use some tape along the side of the cone to secure it.

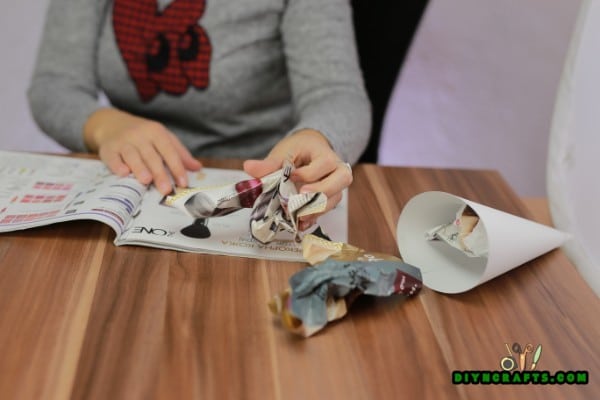
- Next, crinkle up some pages from an old magazine and stuff them inside the cone. The purpose of this stuffing is to help the cone to bear the weight of the pinecones and maintain its shape. Don’t have an old magazine? You can alternately use newspaper or even regular paper. Even tissue paper may work if you pack it densely enough.
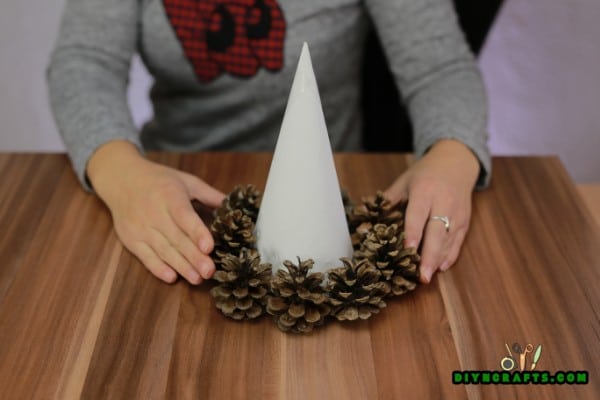
- Start gluing the pinecones to the cone. Begin by attaching the largest pinecones to the base of the cone. Try not to leave any gaps between them.
- Next, glue another layer of pinecones above the ones you used for the base. Try and stagger them between the other pinecones so that gaps are kept to a minimum (see the video or photos to get a better idea for what I mean). You should either use the same size of pinecones as you did for the base, or you should go with pinecones which are just slightly smaller.
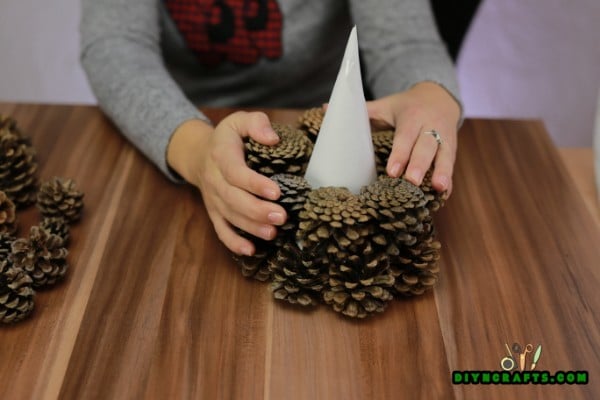
- Next, add an additional layer of pinecones on top of those. These should again be the same size or slightly smaller. Once more, do your best to prevent gaps. Ideally, you want to see as little as possible of the cone underneath.
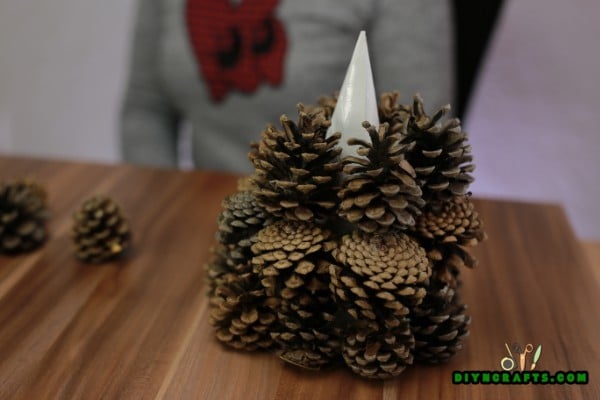
- Continue adding layers of pinecones around the cone until you have reached the very top. Finish by placing your smallest pinecone at the very top to fully enclose the underlying cone.
- At this point, if you want to call the project complete, you can. But you can take a last step and decorate your pinecone Christmas tree. I used faux pearls for this since they resemble tiny ball ornaments. I went with a neutral color because that keeps the entire decoration neutral. This means that it can flexibly integrate with a lot of different décor. But you can choose any colors of pearls that you want.
Recommended Products
My Favorite Miniature Christmas Trees from Etsy.com (Affiliate links)


Once you have finished crafting your pinecone tree, you will have a beautiful handmade rustic Christmas decoration that can look great just about anywhere. You can make these trees as large or small as you want. You can also adjust the angle of the cone to fit your preferences. A pinecone tree can go on a shelf, or you can set it on the floor. It may also look nice sitting next to or above your fireplace.
As one last note, you should make sure that you're extra careful when you store away your pinecone Christmas tree for the year. The pinecones can be quite fragile, and it does not take a lot of pressure for them to break apart. For this reason, you should probably pack some padding around the tree when you place it in a box after the season is over.
If you had fun making this craft, be sure to check out some of the others which I have posted recently. You can learn how to make rustic Santa decorations, rustic snowman decorations, and DIY wooden Christmas signs. Many of the other projects on our site also have a homespun style. Combined, they can do a lot to help you cultivate that old-fashioned ambiance that you're going for this holiday season. They also can provide you with many great handmade Christmas gift ideas.


diana j blaine
How do I subscribe to your email?
Vanessa Beaty
There should be a subscription box in the sidebar.