This year our family decided to really go all-out with Easter crafting projects. Yes, we painted the eggs like we do every year, but we also did a bunch of other cool crafts. For example, we made paper carrot boxes (here’s a video tutorial), and we even made old socks into Easter bunnies (video here)!
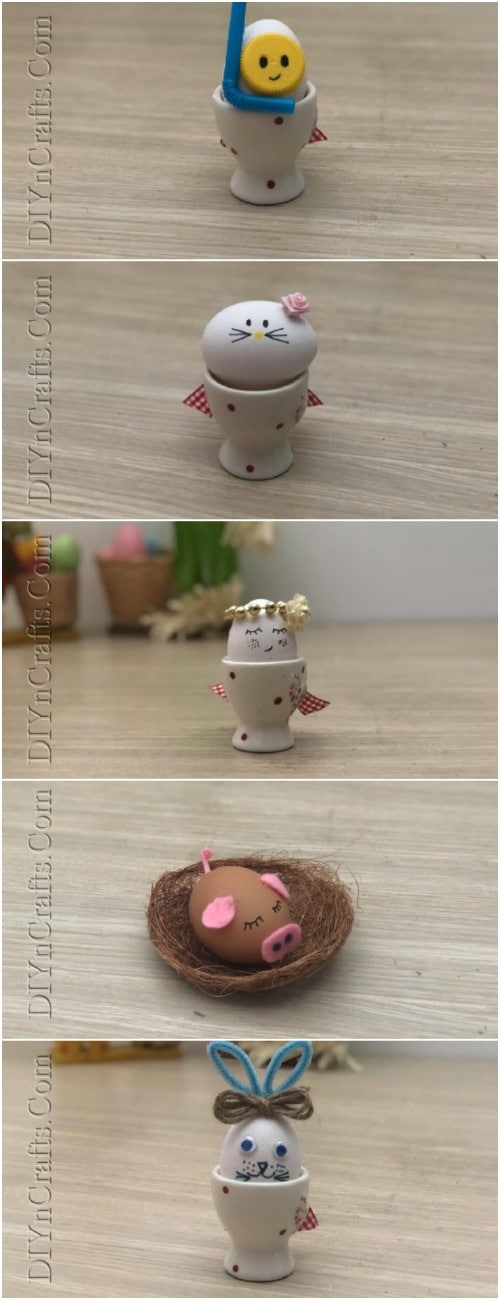
We also did some new Easter egg decorating projects! You don’t actually need anything in the way of fancy supplies to make some really adorable eggs, as you’ll find out in my quick video tutorial below. Check it out to discover 5 DIY Easter egg decorating ideas in under 2 and a half minutes!
Pretty Egg
Materials:
Egg
Pen
Cup
String of beads
Hot glue and glue gun
Steps:
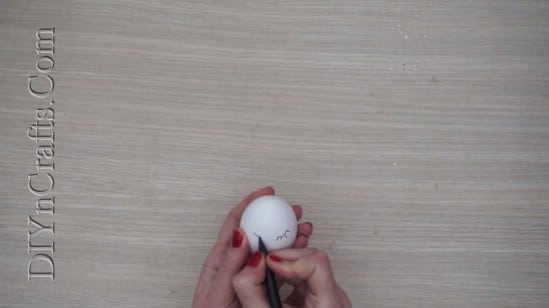
1. Using a pen, draw eyes, freckles and a mouth onto an egg.
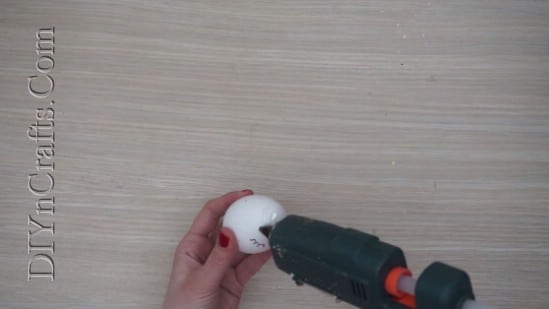
2. Hot glue a small string of beads to the top of the egg as a “crown.”
3. Set your finished egg in an egg cup and display it for all the world to see.
Kitty Egg
Materials
Egg
Pens
Small fabric flower
Egg cup
Hot glue and glue gun
Steps:
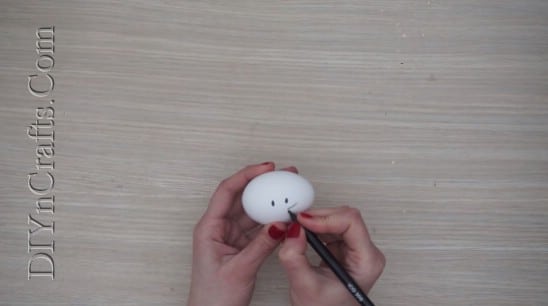
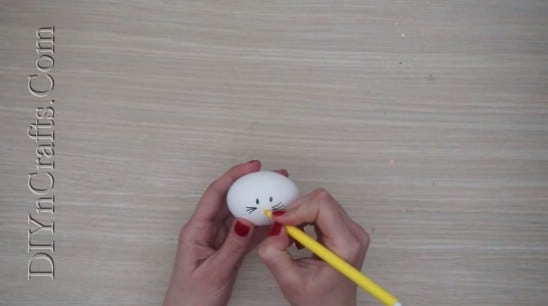
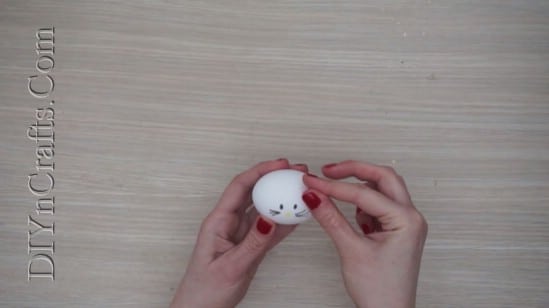
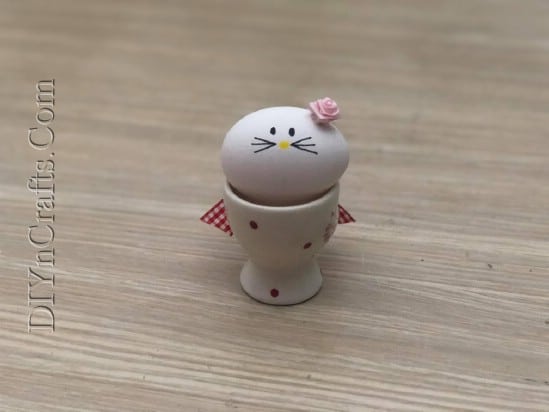
1. Use your pens to draw a kitty face on the egg. Consider using a different color for the nose (I went with yellow for the nose and black for everything else). Note that you can orient the egg any way you want, but you will get the most cat-like look if you orient the egg sideways.
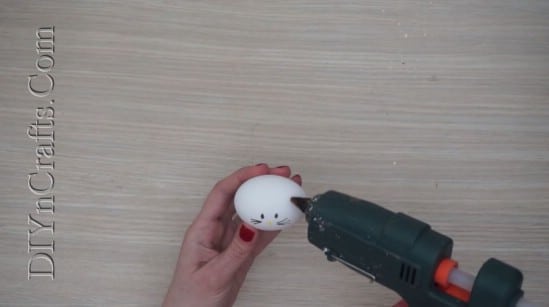
2. With your hot glue gun, attach a little fabric flower above and to one side of the kitty’s face.
3. Set the egg in an egg cup and show it off.
Pig Egg
Materials
Egg
Marker
Pen
Hot glue and glue gun
Felt
Small craft “nest”
Steps:
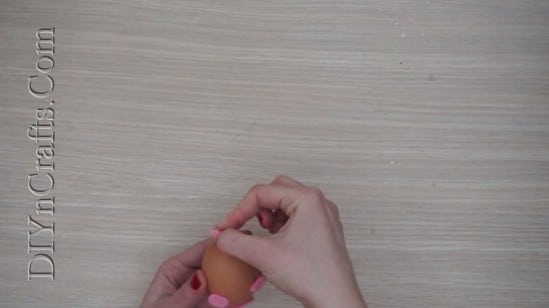
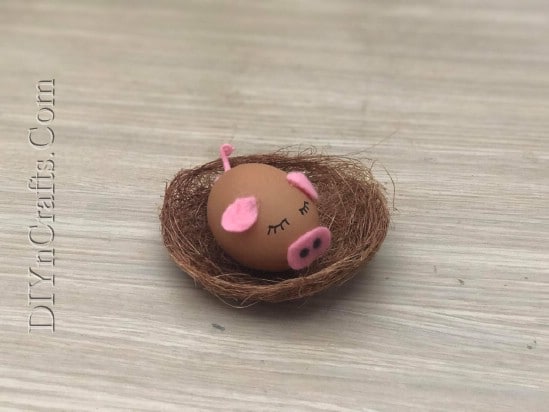
1. Begin by cutting pink felt into the shape of a tail, a snout, and a couple of ears. Use a marker to put nostrils in the snout.
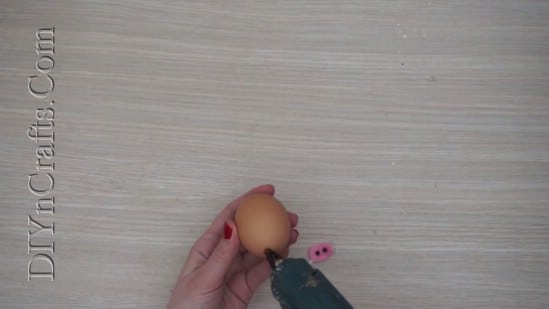
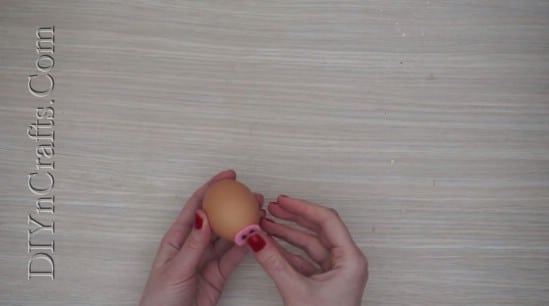
2. Hot glue all of these felt piece onto an egg.
3. Draw eyes on the pig with a pen. I drew mine to look like it is sleeping.
4. Get a small crafted “bird’s nest” and set the pig inside.
Bunny Egg
Materials
Egg
Pipe cleaners
Googly eyes
Twine
Pen or marker
Egg cup
Hot glue and glue gun
Steps:
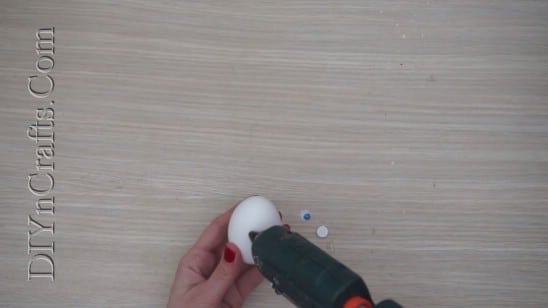
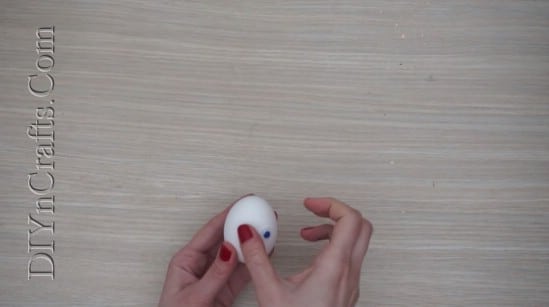
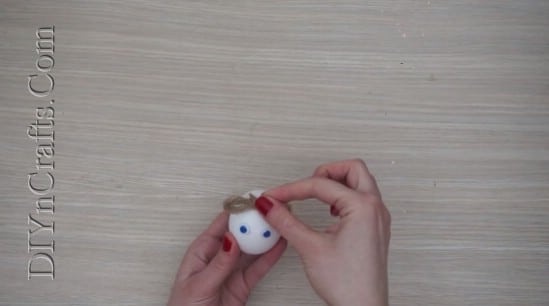
1. Use hot glue to attach the googly eyes to the egg.
2. Tie the twine into a bow shape and glue it to the top of the egg.
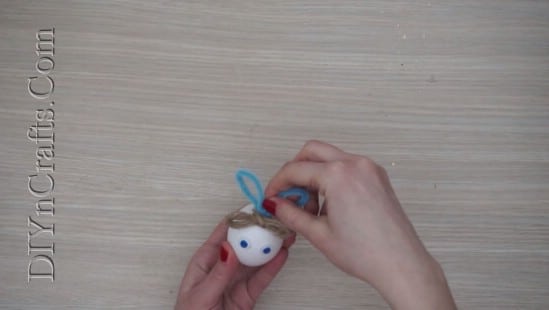
3. Bend the pipe cleaners into “bunny ears,” and glue those to the top of the egg as well.
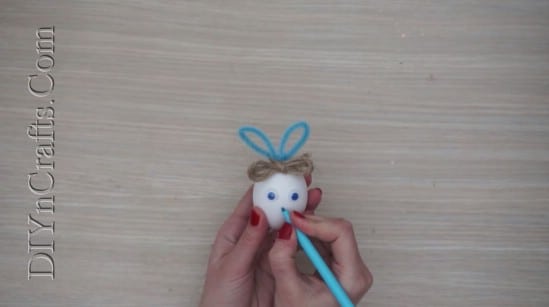
4. With a pen or marker, draw on bunny features.
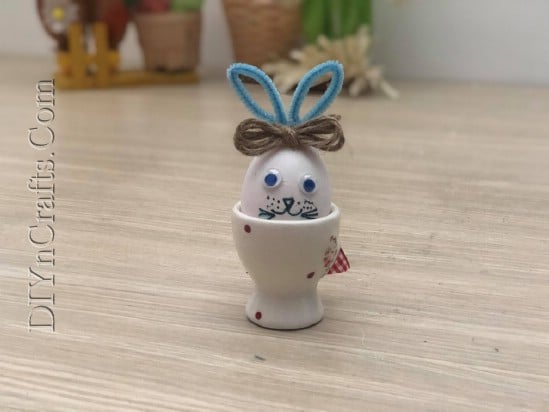
5. Set the finished bunny egg in an egg cup.
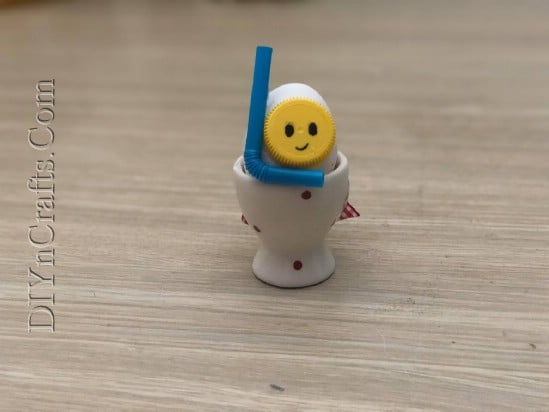
Snorkeling Egg
Materials:
Egg
Plastic bottle cap
Hot glue and glue gun
Marker
Bendy straw
Egg cup
Steps:
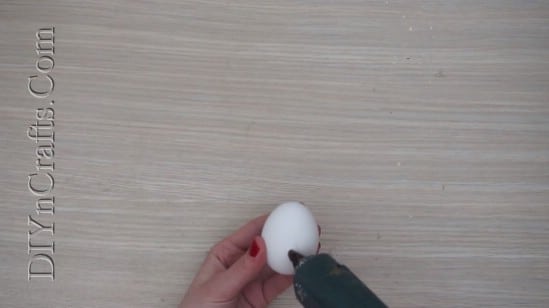
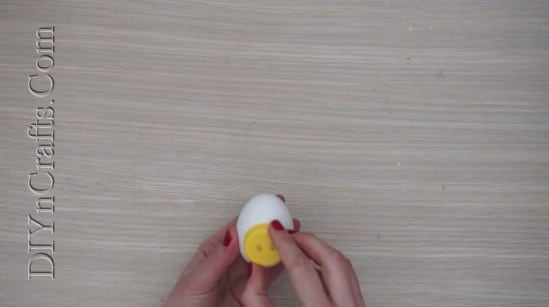
1. Begin by using hot glue to attach a bottle cap to an egg. You need to go with a plastic cap for this. I recommend one in a cheerful color. Make sure it has no writing or images on top.
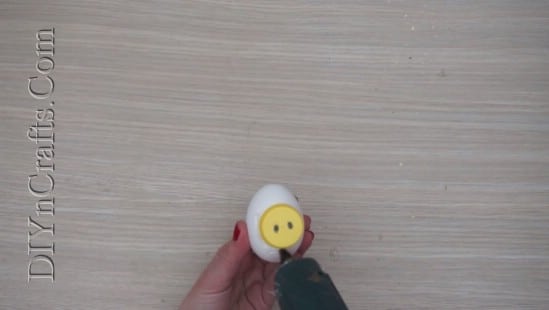
2. Use a marker to draw eyes and a mouth on the bottle cap.
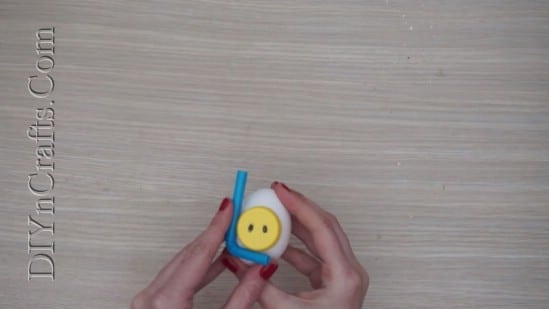
3. Cut a piece of bendy straw to make a “snorkel.”
4. Set the egg inside a cup.
Excited to try these Easter egg crafts? We had a lot of fun with them, and I know you will too! Enjoy!





Pamela Smith
Love the eggs.cute idea, to do
with my Grands.