Getting ready for this year’s Christmas parties? Welcome to holiday DIY central. Here at DIYnCrafts, we’re making it easy for you to deck your halls and get everything ready for the festive season.
In fact, you can literally deck your halls using these 25 DIY garland ideas. Need help coming up with recipes for your holiday parties? Here are 25 scrumptious Christmas side dishes, perfect for parties you are hosting or attending.Still need some more Christmas decorations around the house? That’s where the video below comes in. Below, I share 5 Christmas crafting projects which are easy to make and for which you need only the most basic supplies.
These fun crafts are perfect to do with kids, or you can make them on your own. Use them to decorate your home for the holidays, or give them as presents to family, friends and neighbors.
Video Tutorials:
Materials:
Styrofoam cup
Ribbons and bows
String of faux pearls
Hot glue and glue gun
Styrofoam craft ball
Cupcake wrapper
Marker
Green round ornament
Blue ribbon
Googly eyes
Other embellishments as desired
Paper roll
Construction paper
Craft sticks
Candy
Pipe cleaners
Steps:
Angel
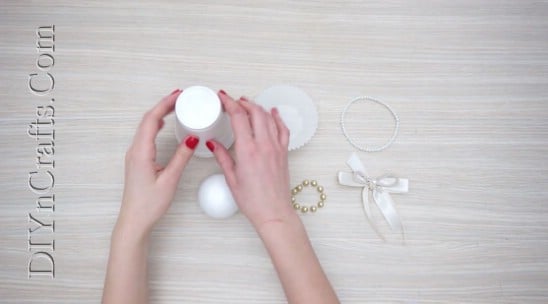
1. Start by gathering your supplies. You wouldn’t think these cheap, basic items could turn into something really beautiful, but they will!
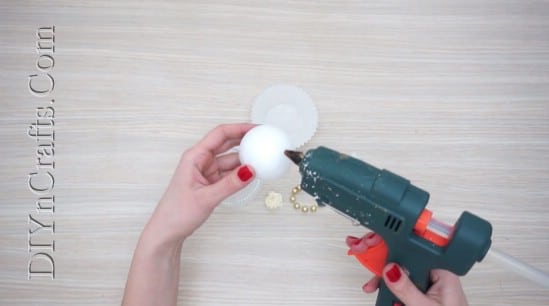
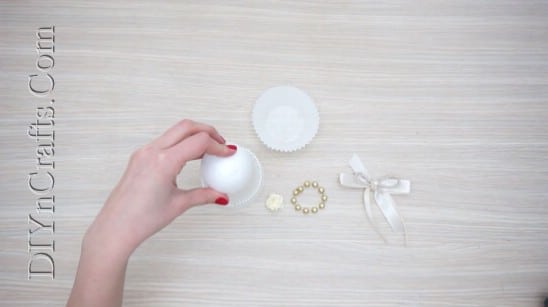
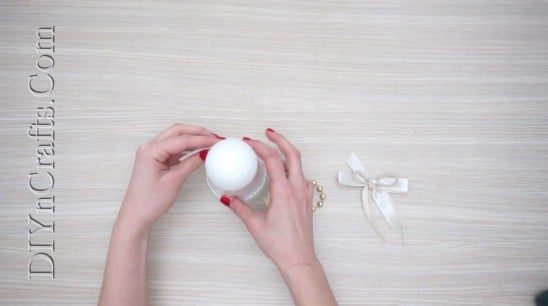
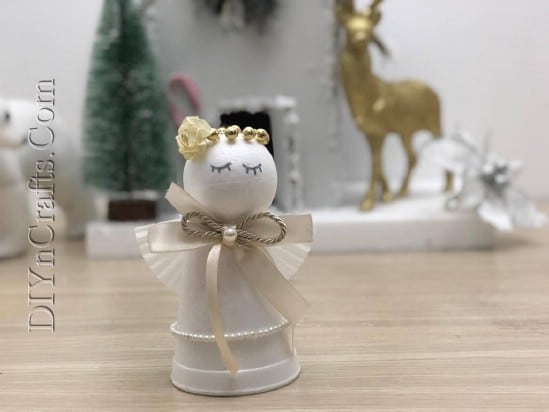
2. Set the Styrofoam cup upside-down. Place a string of beads around it to ornament it (faux pearls work well). Then hot glue the Styrofoam ball to the top of it. This is the angel’s body and head.
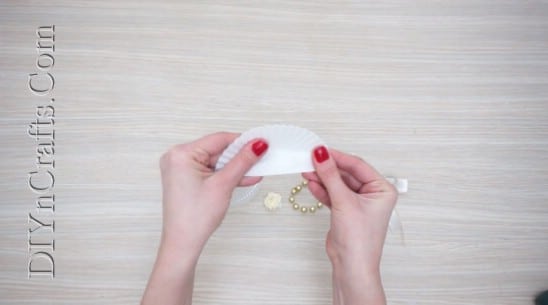
3. Fold the cupcake wrapper in half and glue it to the back of the cup. This becomes the angel’s wings.
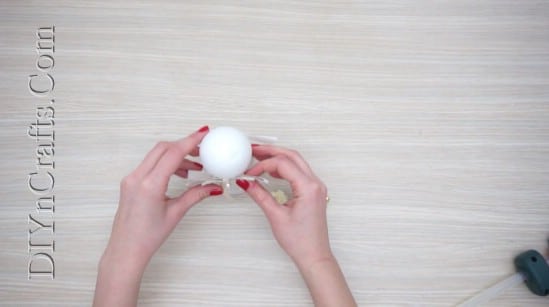
4. Glue a bow to the front.
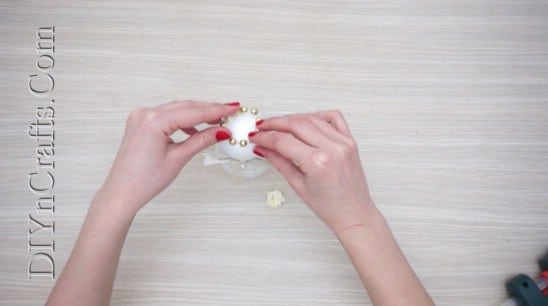
5. Place a small circle of beads on top to serve as the halo, and add other embellishments as desired.
6. Use a marker to carefully sketch eyes on the angel’s face.
As you can see, this is a surprisingly elegant Christmas decoration, considering it started out as a Styrofoam cup!
Ninja Turtle Ornament
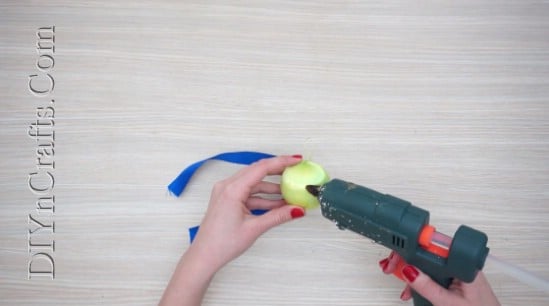
1. Start out with a green ball ornament. You want one which is plain—no patterns or anything.
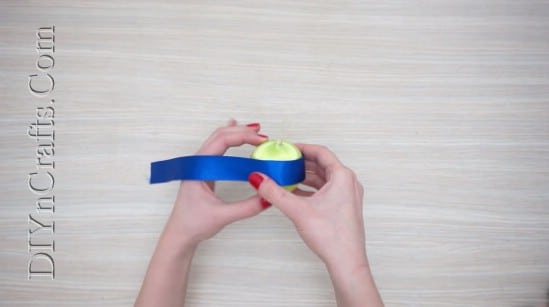
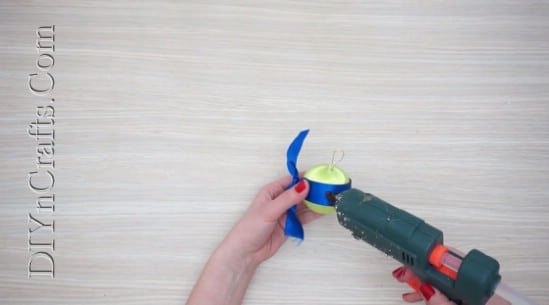
2. Use hot glue to attach a blue ribbon around the center of the ornament.
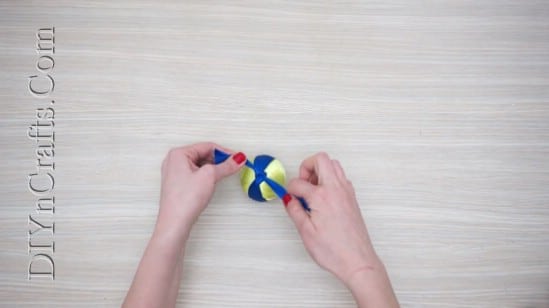
3. Tie it at the back.
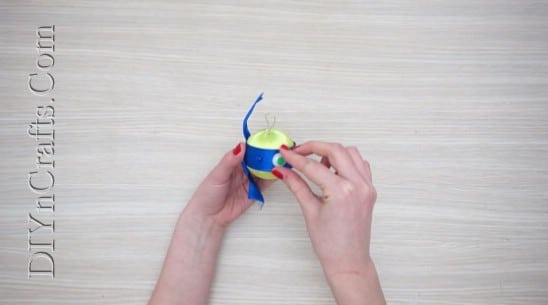
4. Use hot glue to attach a couple of googly eyes to the front.
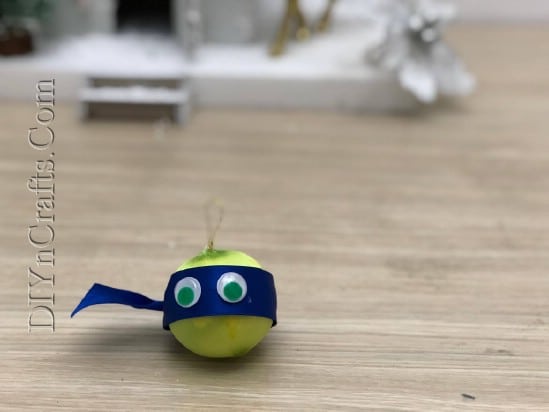
All done! You have an adorable Ninja Turtle.
Santa Down the Chimney
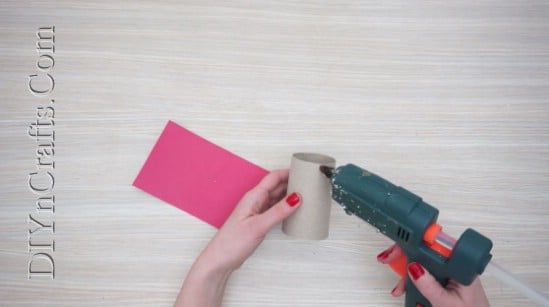
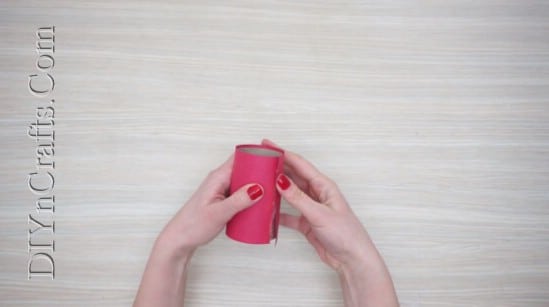
1. Start out by gluing red construction paper to the outside of a paper roll.
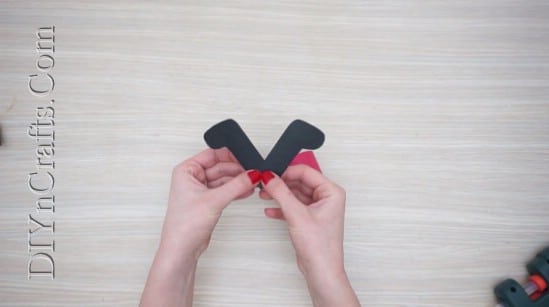
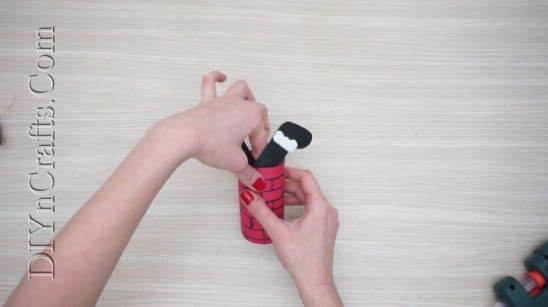
2. Next, cut construction paper in black into the shapes of two legs. Glue those together in a V-shape so that the feet are sticking up and out.
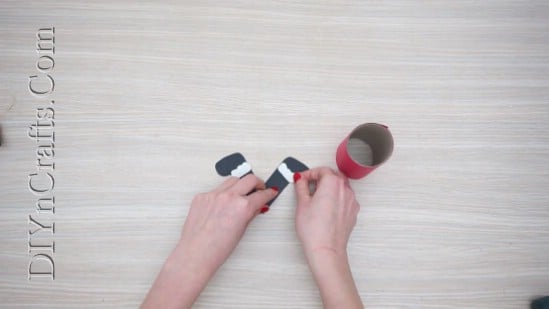
3. Add a little white construction paper around the ankles to resemble fur lining.
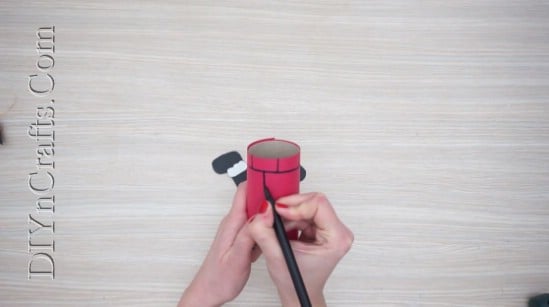
4. Get a pen and draw a pattern of bricks around the outside of the paper roll. Note that this step may actually be easier if you do it while the construction paper is flat—before you glue it around the paper roll in the initial step (I just didn’t think about it until after I made the video).
5. Insert the two legs into the top of the tube and glue them in place.
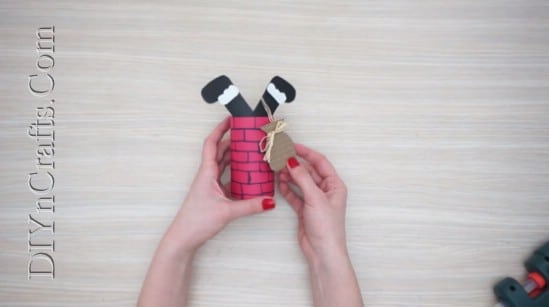
6. Using construction paper or cardboard, cut out a shape like Santa’s bag, and attach a bow to it. Hang this off of one of Santa’s legs so that it drapes outside the chimney.
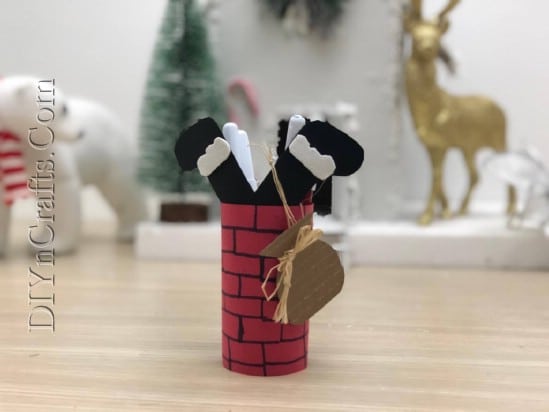
All done! You could put some pens inside if you wanted, and use Santa’s bag as a gift tag. This would be perfect for an office gift. Just set it up on your coworker’s desk in the morning.
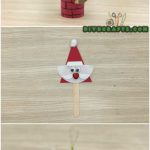
Santa Craft Stick
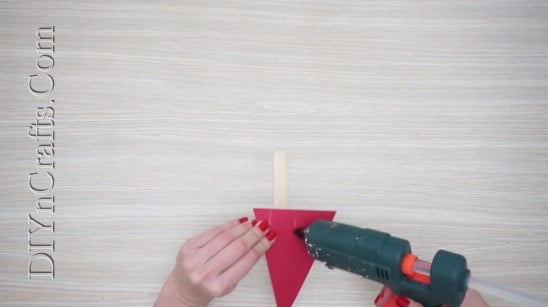
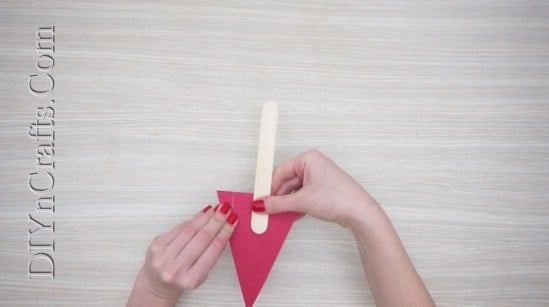
1. Use hot glue to attach a triangle of red construction paper to the top of a craft stick.
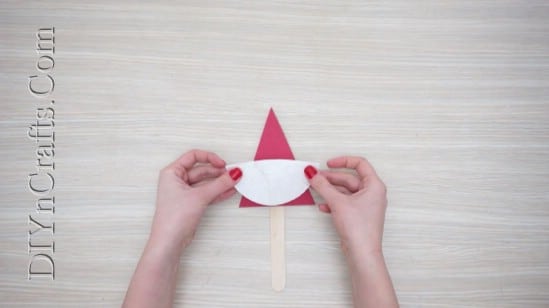
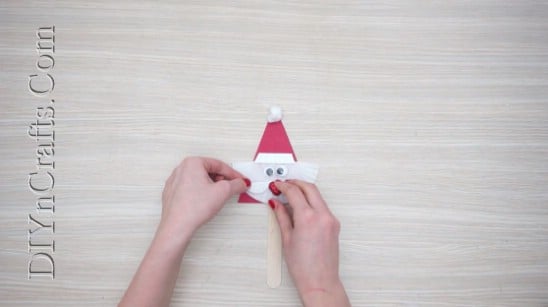
2. Fold a cupcake wrapper in half and adhere it to the front. You also need to glue a little piece of white paper right above it. The white piece of paper is the fur lining on the hat. The cupcake wrapper is both the face and the beard.
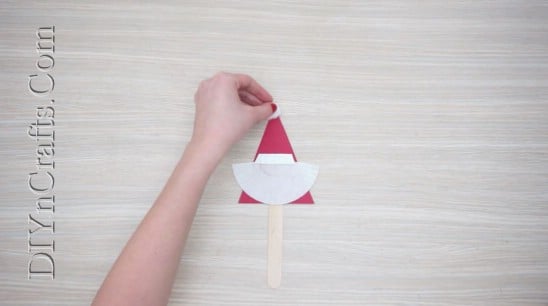
3. Next, glue a cotton ball to the top of the triangle.
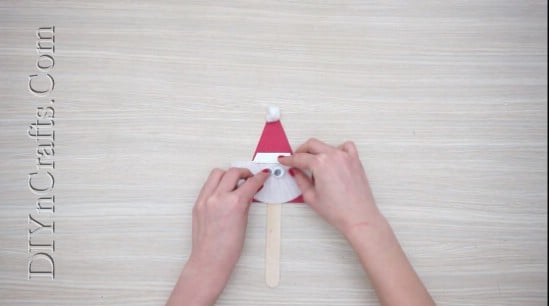
4. Add a pair of googly eyes to the top part of the cupcake wrapper.
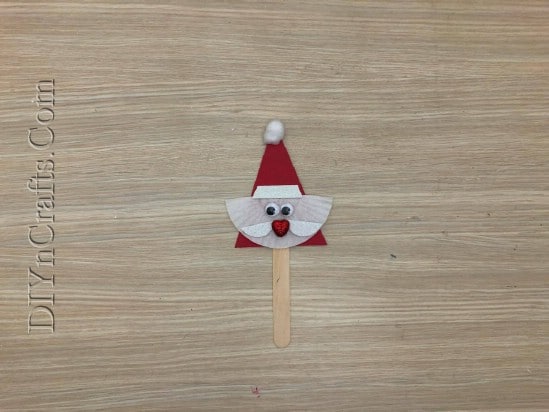
5. Put a small wrapped candy in the middle to act as the nose, and a small white piece of paper to either side to look like a moustache.
All done!
Craft Stick Tree
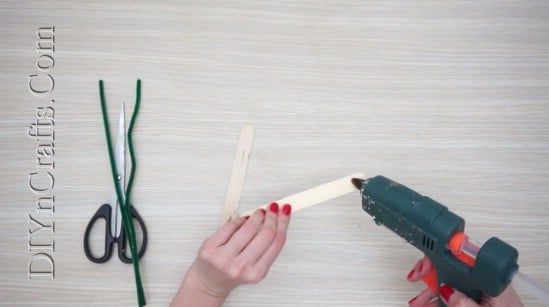
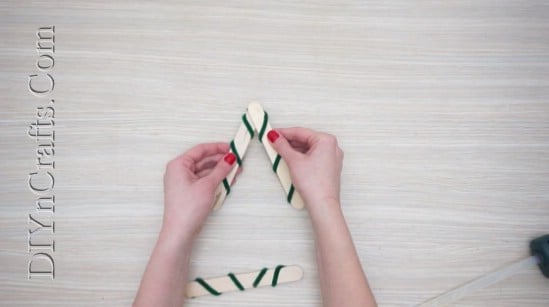
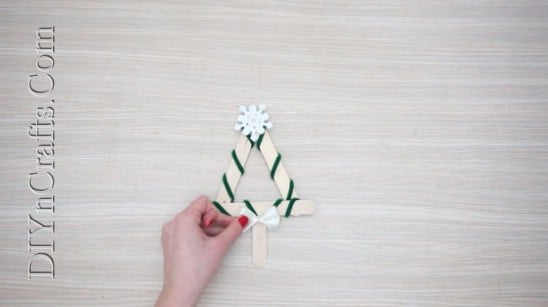
1. Use hot glue to attach two craft sticks together at the ends in a v-configuration.
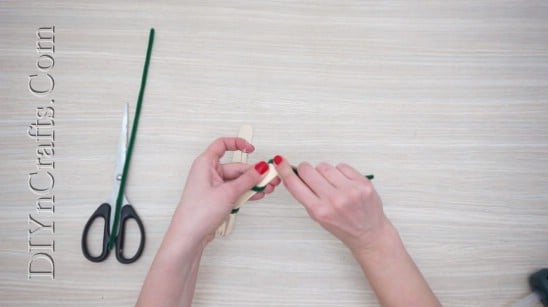
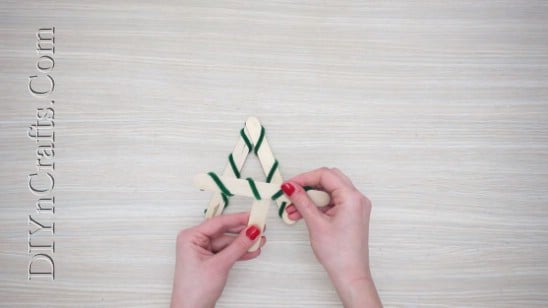
2. Wrap green pipe cleaner around them to decorate them.
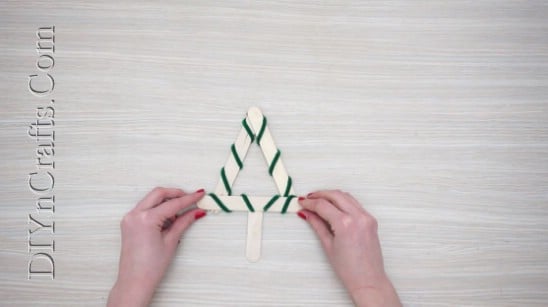
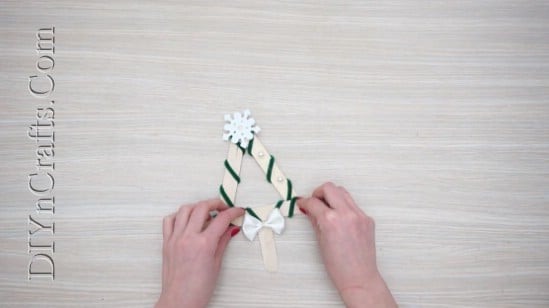
3. Get a third craft stick and wrap pipe cleaner around that as well. Attach that to the bottom to complete the triangle. Then get a fourth craft stick and cut it in half. Attach the half craft stick to the bottom of the triangle to serve as the tree trunk.
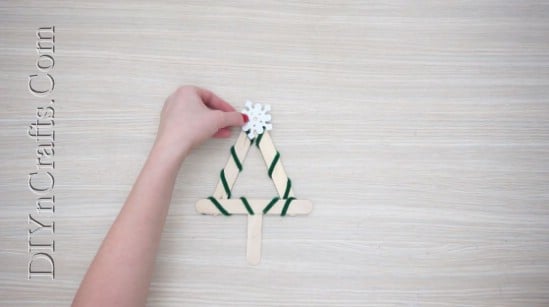
4. Attach a snowflake or star to the top.
5. Attach a bow to the bottom where the trunk meets the rest of the tree.
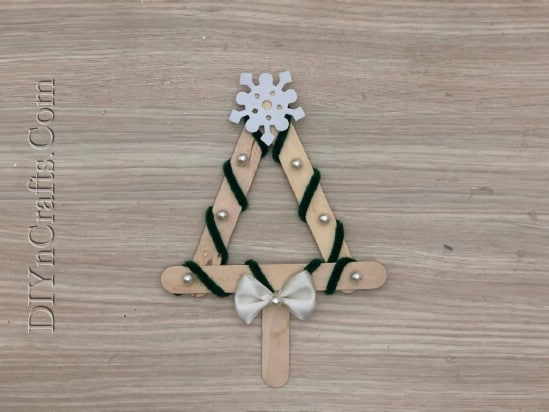
6. Glue some faux pearls around the sides of the tree.
All done! A pretty rustic Christmas tree made out of simple supplies. This project could easily be customized with different embellishments if needed.
Enjoy these fast, fun and easy Christmas crafts! Happy Holidays!




Leave a Reply