Getting ready for Christmas parties means a ton of planning and preparation. You have to figure out dinner and desserts, decorations, gifts, and so on.
At DIYnCrafts, we’re here to help! We’ve got evergreen decorating ideas for you, and even festive reclaimed wood projects.When it comes to Christmas dinner parties, you can’t just serve dinner like it’s any old meal … you need to spruce up the table to really get everyone into the holiday spirit! And that means folding decorative Christmas napkins for your place settings. I actually shared 5 of these projects with you in a previous video. Now I want to share a few more.
Video Tutorial:

Materials:
Colorful napkins
Candies, sprigs of pine, fake berries, bows, and other embellishments
Candy cane
Hot glue and glue gun
Steps:
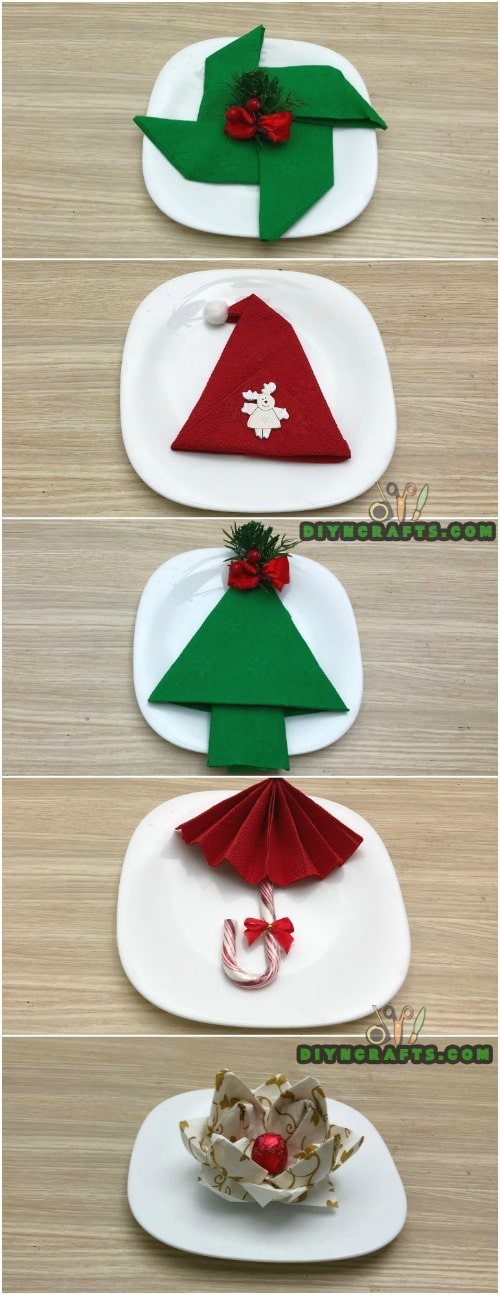
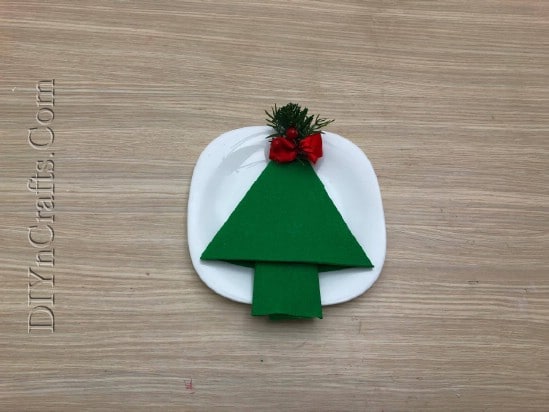
Christmas Tree
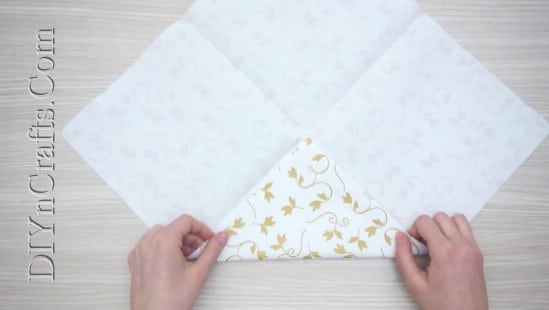
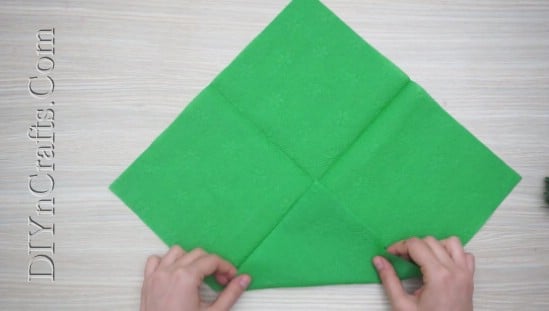
1. Fold a green napkin in half twice to form a smaller square. Then unfold it once so that it is simply folded in half.
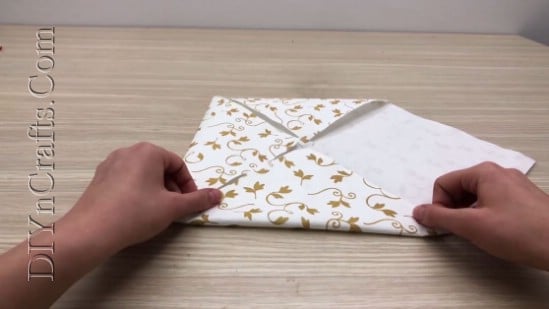
2. Grab the top corner on the left and fold it down and to the right at an angle.
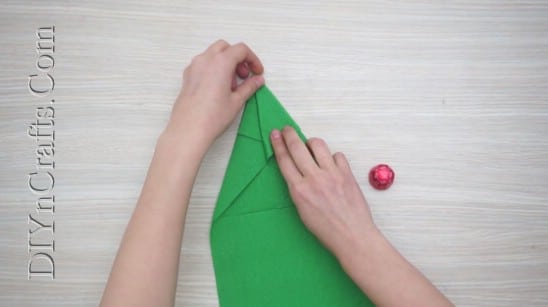
3. Now take the top of that flap and fold it over the other way along the left-hand edge (this is easier to show than to explain with words, so please watch the video).
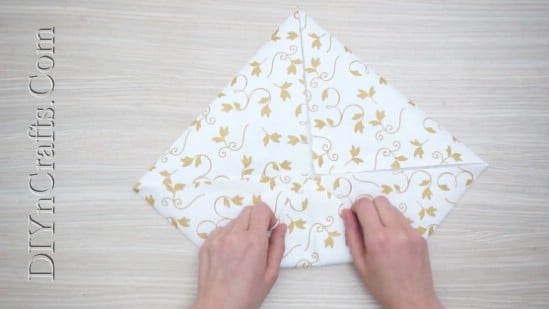
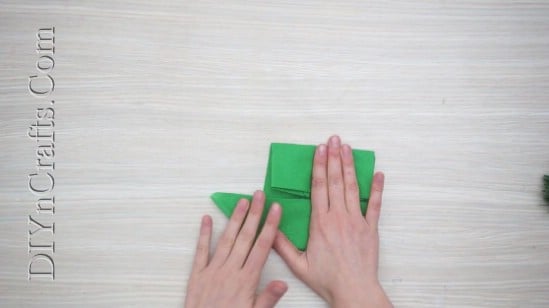
4. Repeat steps 2 and 3 on the other side so that you have a symmetrical shape. You have now created the top of the tree.
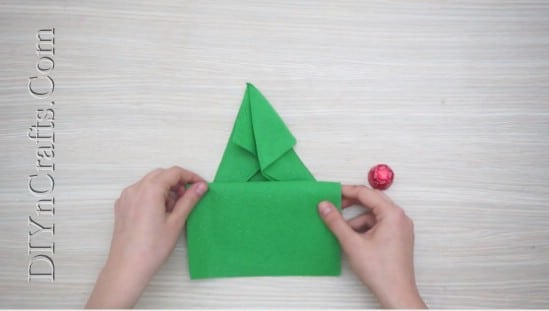
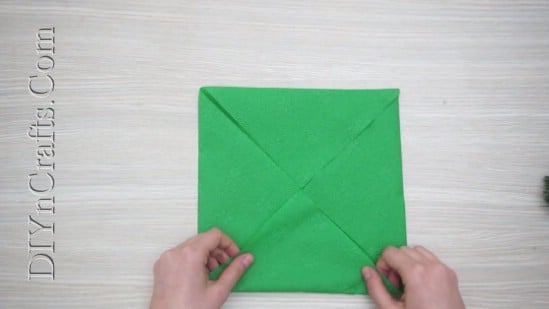
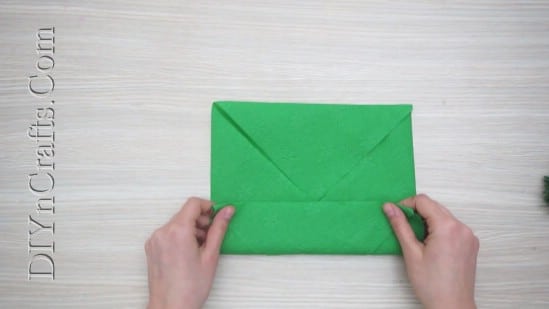
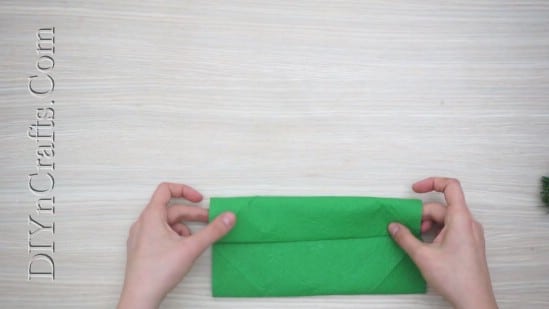
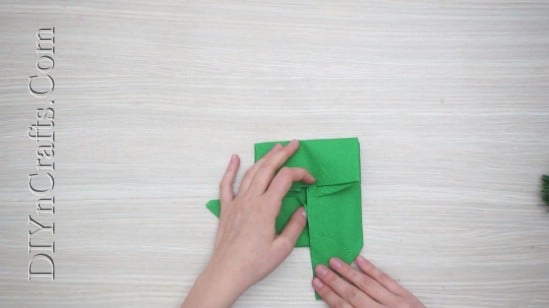
5. Fold the bottom part of the napkin up over the fold you originally made back in step 1. Then fold it back over and down on top of that.
6. Flatten it out.
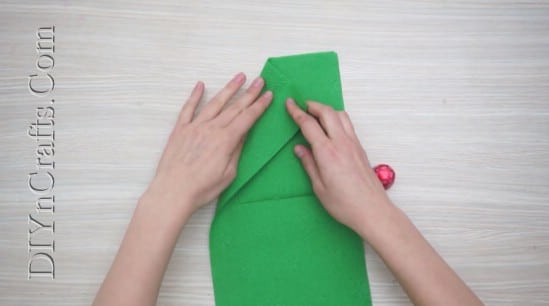
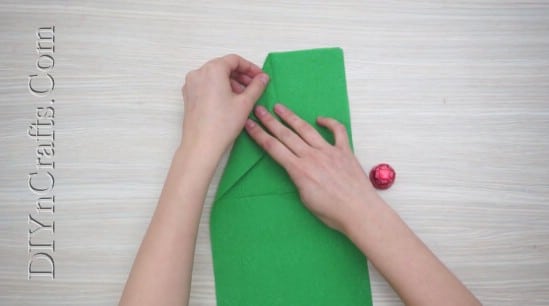
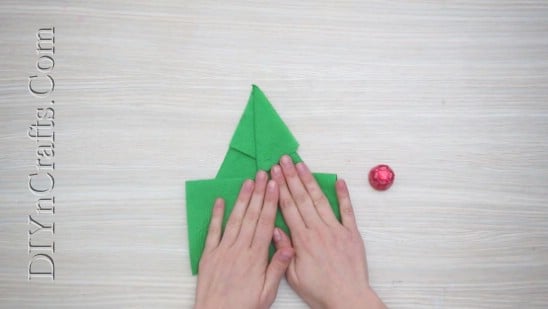
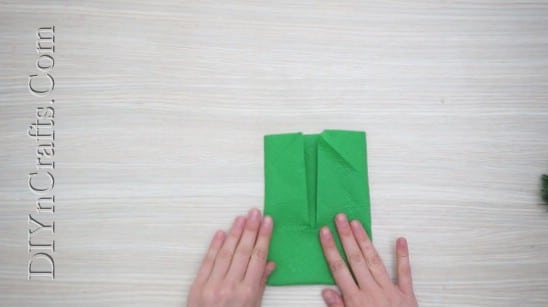
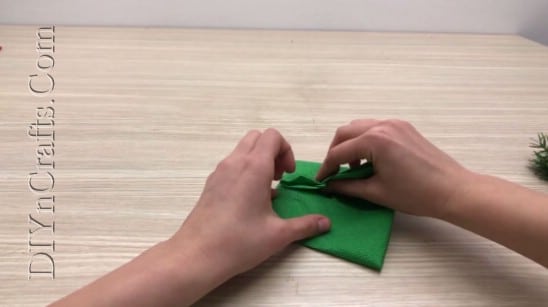
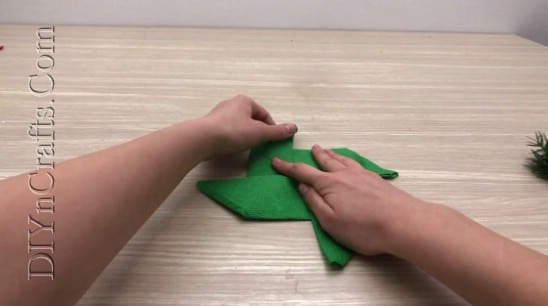
7. This next step is almost impossible to describe in words. Push your finger into the “pocket” formed by the last step on the right-hand side, and pull that forward and toward the center.
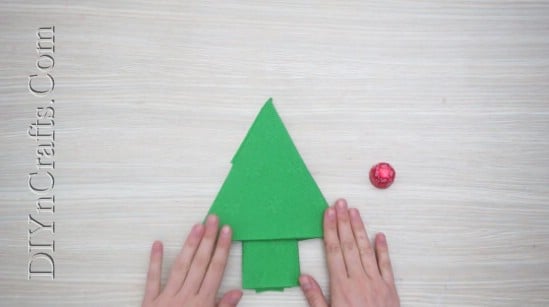
8. Do the exact same thing on the other side so that you have created a symmetrical shape. You now have the trunk of the tree completed.
9. Flip the napkin over.
10. Add a sprig of pine to the top with some fake berries and a bow.
You now have a Christmas tree napkin!
Ornamental Flower
1. Start with a pretty festive napkin and fold it in half twice. Then unfold it. Fold one of the corners inward.
2. Fold the other corners inward.
3. After all four corners have been folded inward, take one of the new corners and fold that inward.
4. Do that with the other three corners.
5. Repeat this yet again, once more folding all four corners toward the center.
6. Flip it over.
7. Fold all four corners toward the center again.
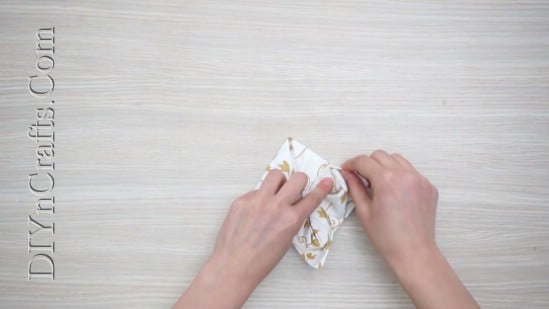
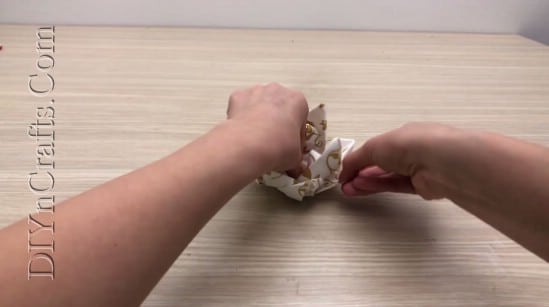
8. The next step is virtually impossible to describe with words. You need to pull the “petals” up and around from underneath. Please watch the video to get how to do this.
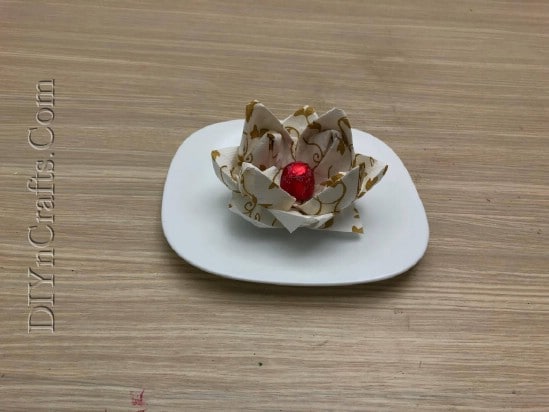
9. Put a piece of candy in the center and display your Christmas flower napkin.
Christmas Cheer
1. Fold a napkin in half twice and then unfold it. Fold one of the corners toward the center.
2. Fold the other corners in toward the center as well.
3. Fold up the bottom toward the center.
4. Fold down the top toward the center.
5. Fold in the other two sides as shown.
6. The next step is hard to describe in words. You need to pull out each corner to make a point. The video shows this best.
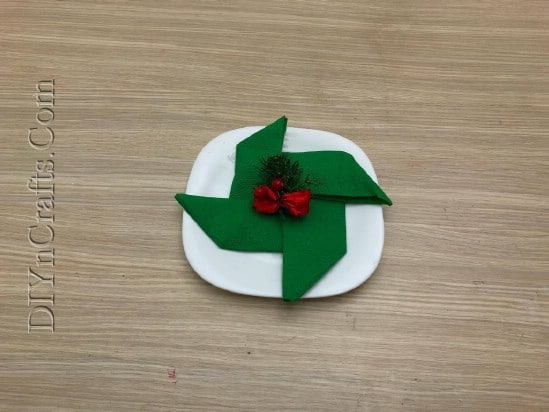
Embellish it with a sprig of pine and you’re finished. Very pretty!
Candy Cane Umbrella
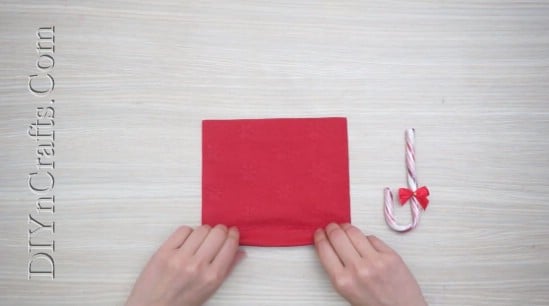
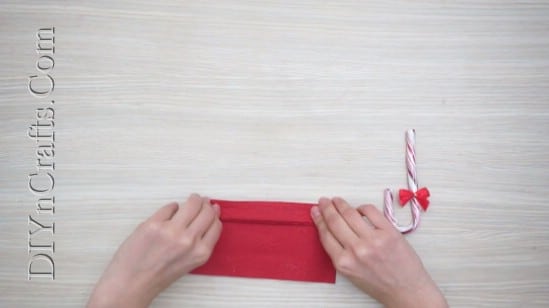
1. Fold a red napkin in half twice (it doesn’t have to be red, but that matches most candy canes). Alternately, just start with a smaller napkin to begin with.
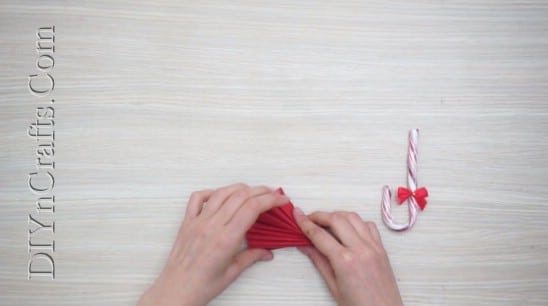
2. Now start folding back and forth the way you do when you make a paper fan.
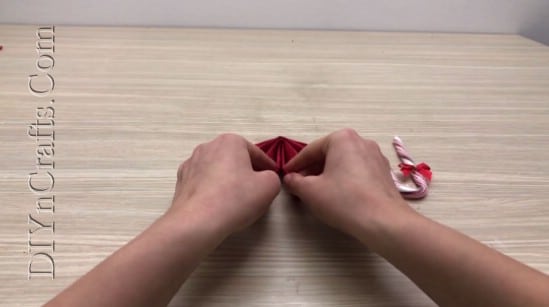
3. Fold that in half in the middle.
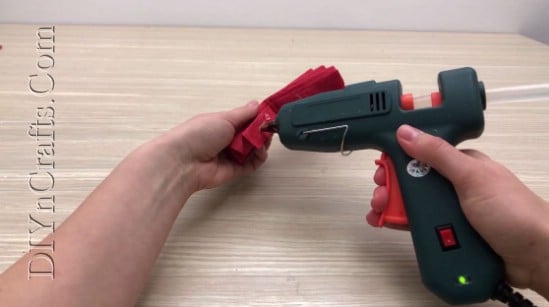
4. Apply some hot glue to attach the two ends together to create the umbrella shape.
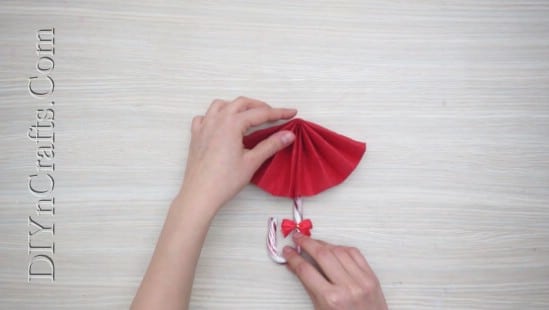
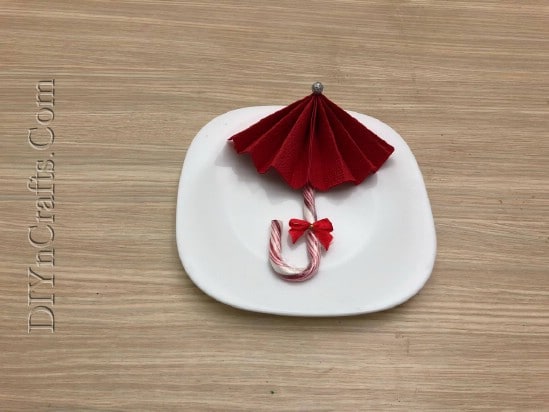
5. Set this on top of a candy cane, and you have a cute Christmas umbrella.
Santa Hat
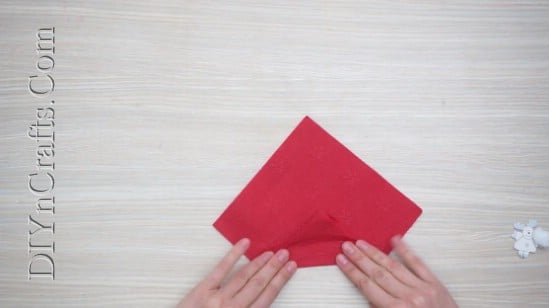
1. Fold one corner of a napkin in toward the center.
2. Flip it over.
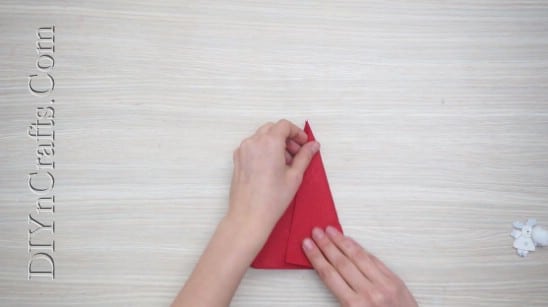
3. Fold in both sides to form a hat shape.
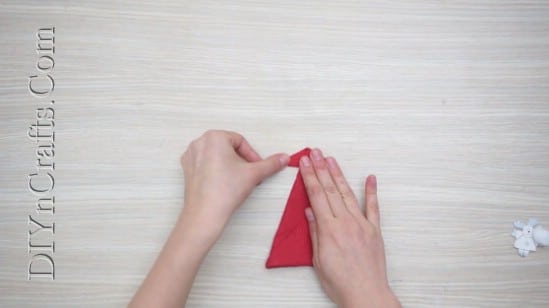
4. Turn it back over again.
5. Fold the top corner down and to the side.
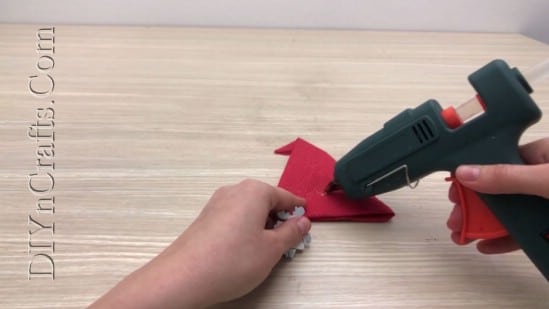
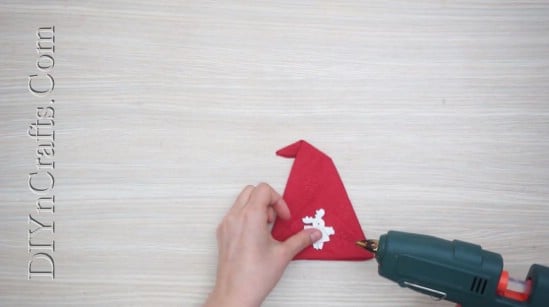
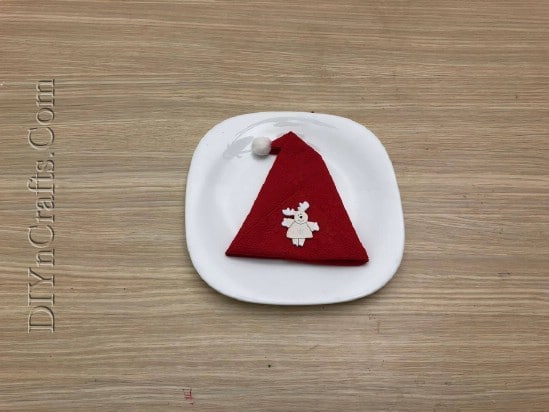
6. Use some hot glue to attach a cute embellishment to the center. I used a reindeer.
That’s all there is to it! This one is incredibly fast and easy!
I hope you enjoy folding these festive Christmas napkins for your next holiday party!




Leave a Reply