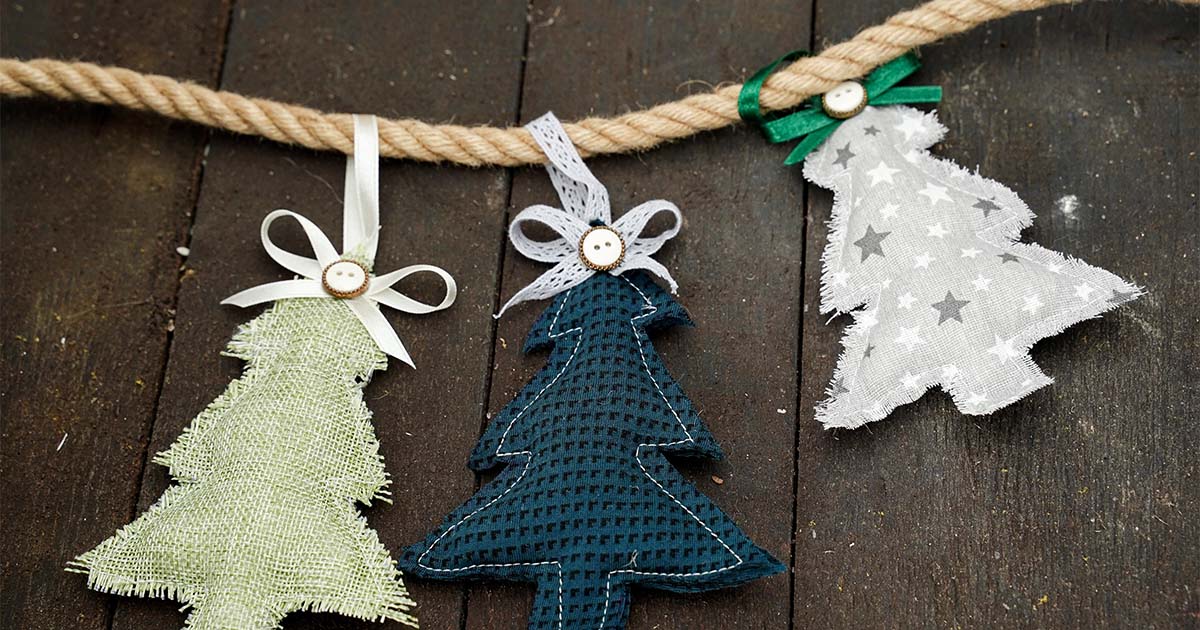
If you’re looking for a fun and creative way to spruce up your Christmas tree this year, then these Easy DIY Fabric Christmas Tree Ornaments may just be what you need.
So grab your fabric, scissors, and glue, and let’s get started on making some beautiful fabric Christmas tree ornaments!
Jump to:
Easy DIY Fabric Christmas Tree Ornaments
Need more fun gift ideas for the holiday season? Check out this huge list of Gifts from Leftover Yarn that People Love.
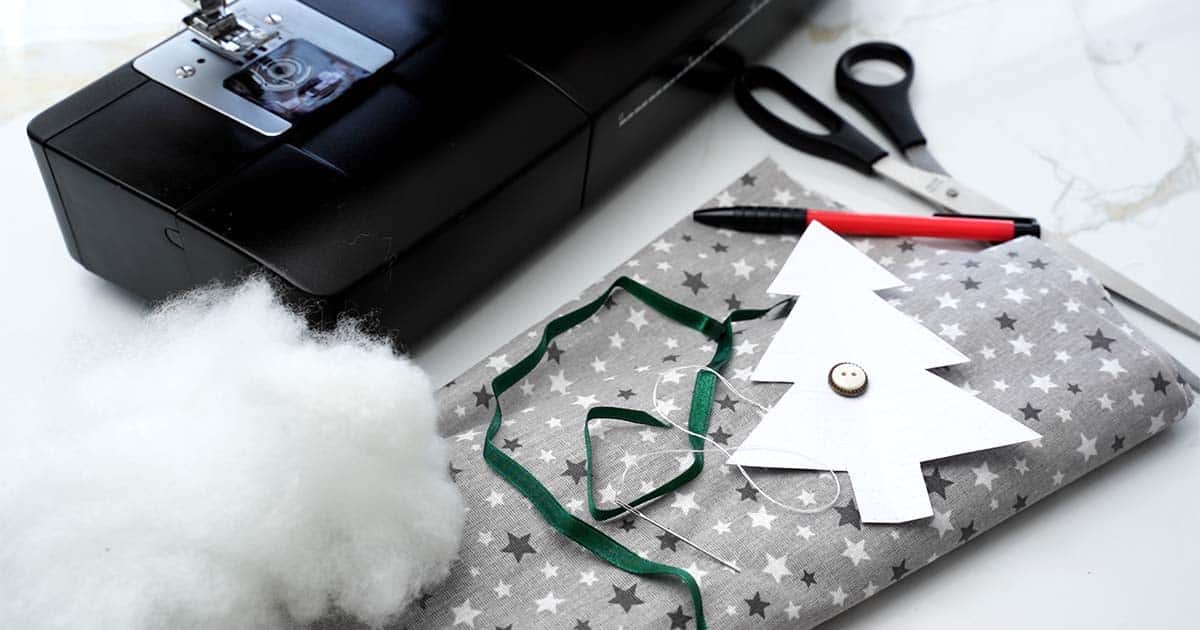
Supplies Needed
- Sewing machine
- Christmas tree template from cardboard
- Fabric (patterned or one color)
- Scissors
- Satin ribbon
- Needle and thread
- Pillow filling
- Pen or pencil
- button
How to Make Easy DIY Fabric Christmas Tree Ornaments
Fold the fabric in half, place the template you will be using and draw the Christmas tree shape on the fabric using a pen or pencil.
Cut the fabric using good scissors.
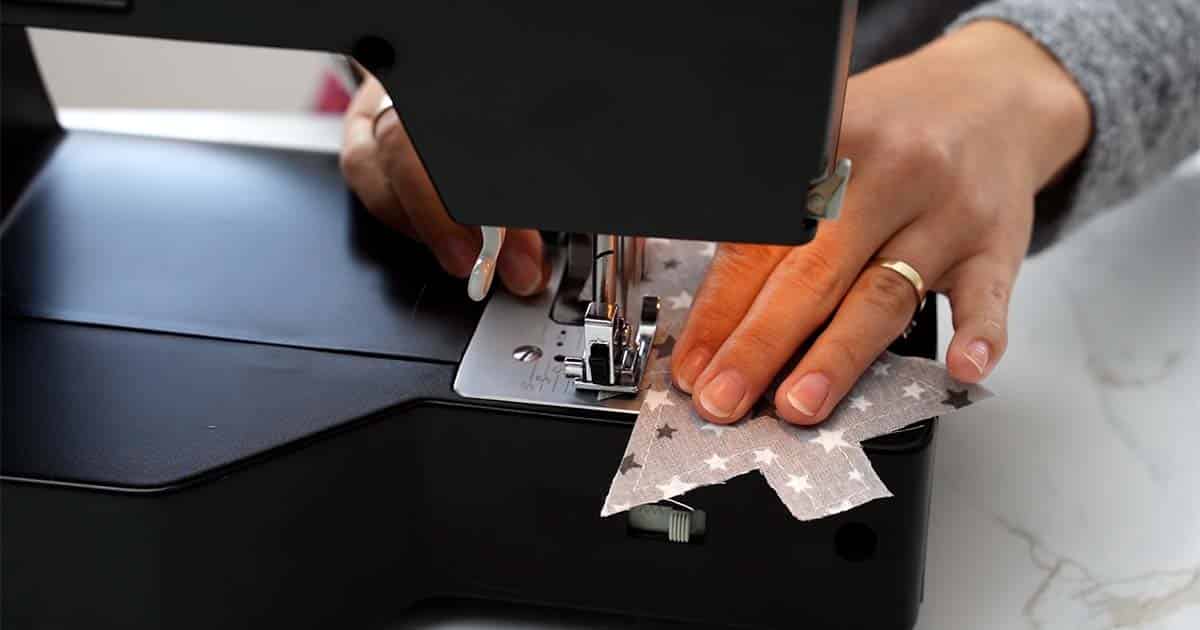
When you have the two Christmas trees start attaching them together on the machine leaving some space from the edge.
Stop before you reach the end and fill the Christmas tree with a small amount of pillow filling. Continue sewing to close the tree.
Go around the edges of the Christmas tree and loosen the ends of the fabric to make it look fluffy and cottage. If there are any longer ends, cut them using scissors.
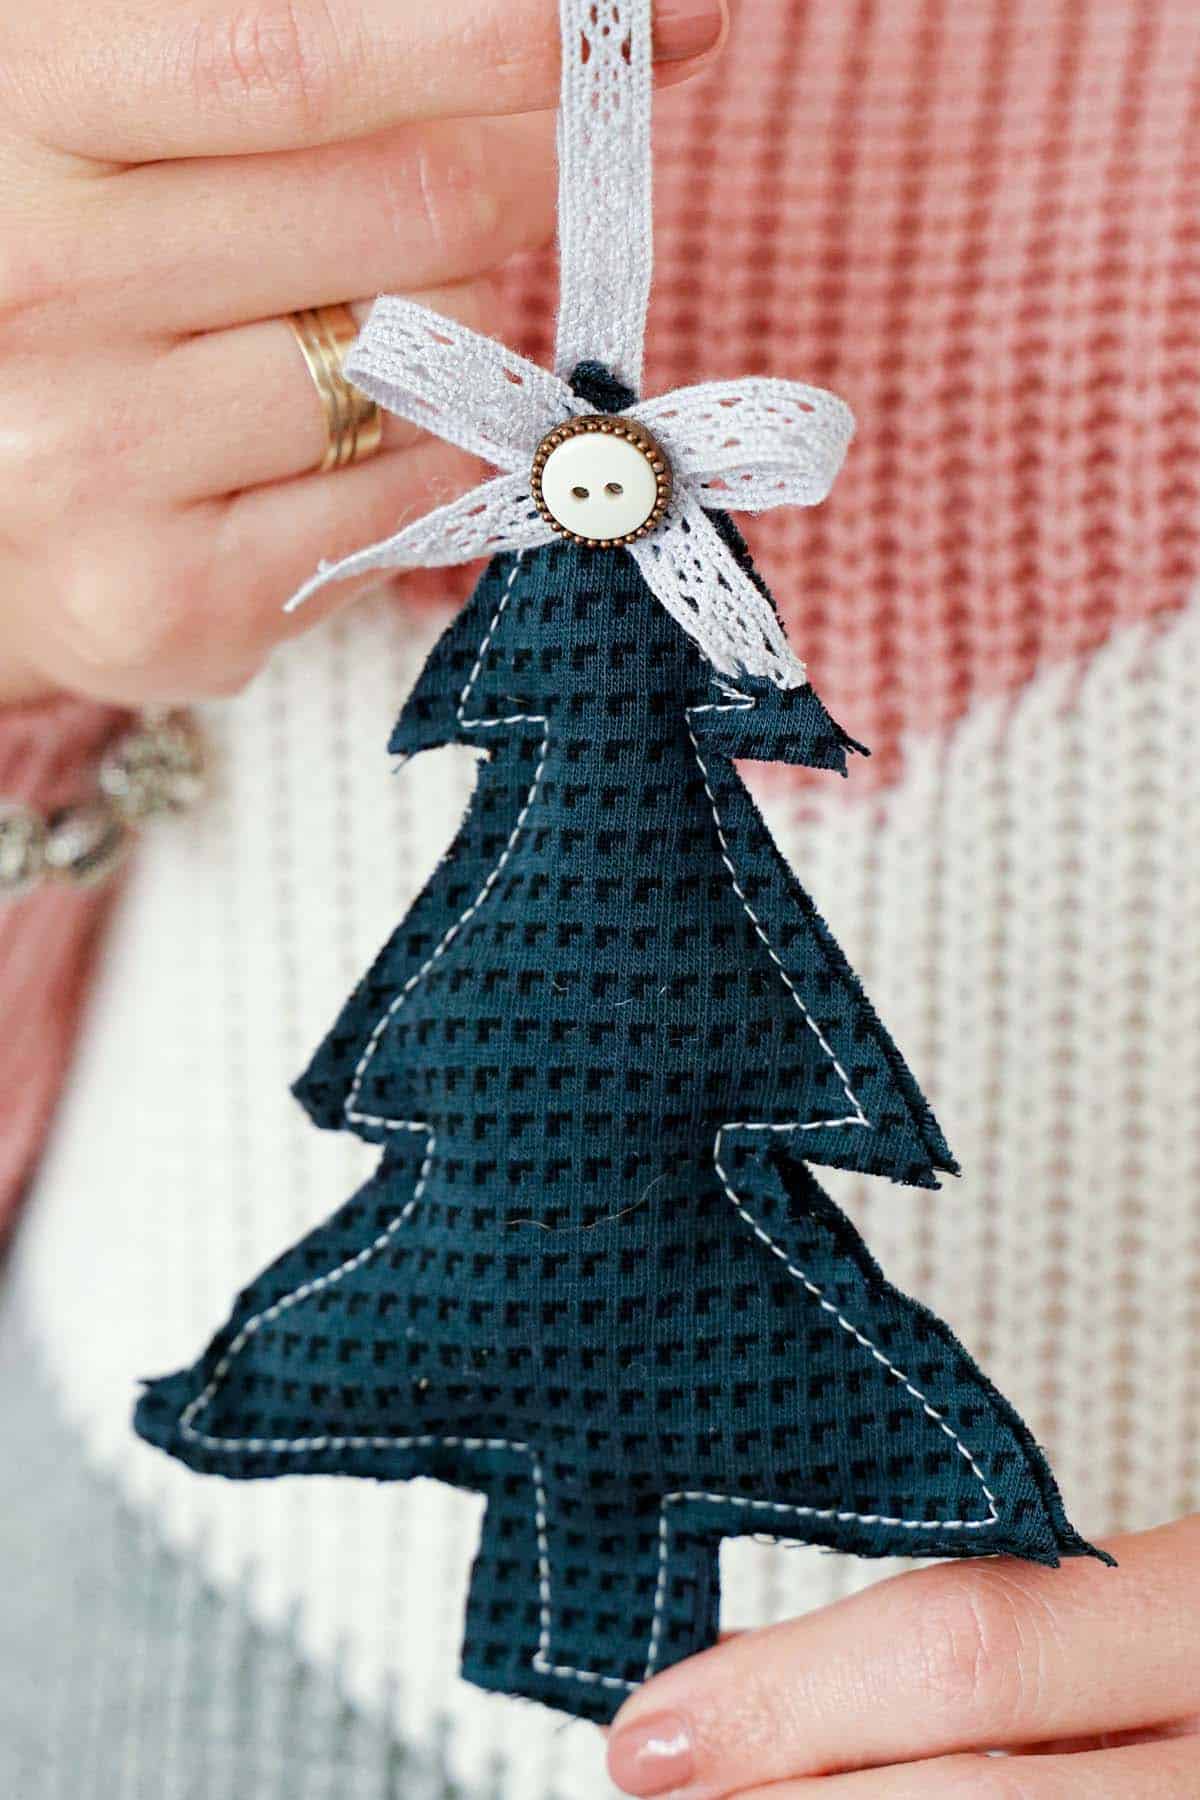
Cut a small piece of satin ribbon, fold it in half and sew it on the back side of the Christmas tree so you can hang it. Make a small bow from the same satin ribbon and sew it on the front of the Christmas tree. Glue or sew small decorative button in the middle of the bow.
Repeat the procedure to make as many Christmas trees as you want and hang them on the Christmas tree or make a garland.
More DIY Holiday Gift Ideas and Tutorials
Below are more adorable and fun ideas to make and gift this holiday season. Pick your favorites and bookmark them to make soon!
- 20 Easy Jams and Jellies that Make Great Gifts
- 100 DIY Holiday Gifts that People Actually Want
- 25 DIY Hostess Gifts That Will Definitely Get You Invited Back
- 30 Festive Gifts in a Jar to Make the Perfect Holiday Gift
- 30 Unique DIY Gifts for Men for Any Occassion
Easy DIY Fabric Christmas Tree Ornaments
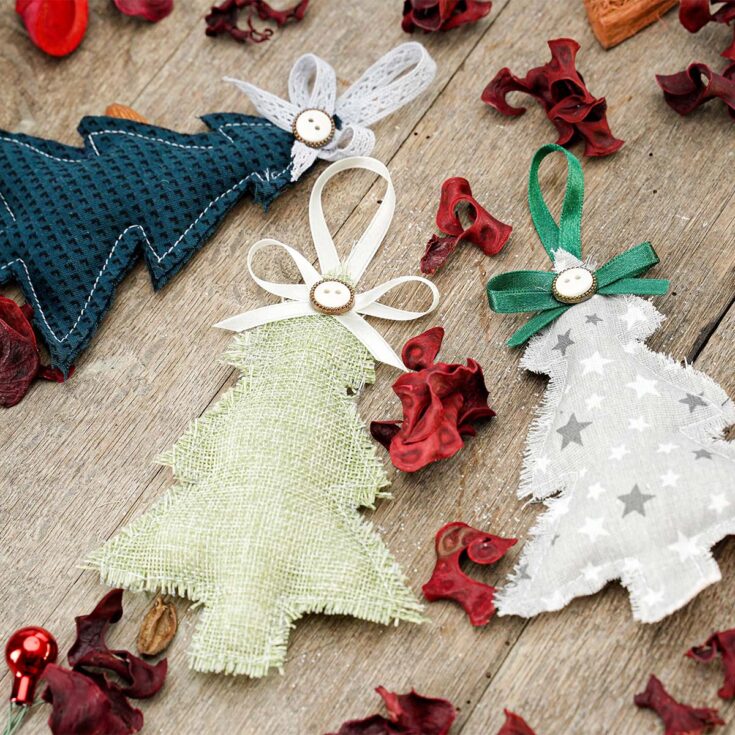
With the right supplies, you can create a beautiful set of easy DIY fabric Christmas tree ornaments that will make a cheerful addition to your holiday decorations.
Materials
- Fabric (patterned or one color)
- Satin ribbon
- Pillow filling
- button
Tools
- Sewing machine
- Christmas tree template from cardboard
- Scissors
- Needle and thread
- Pen or pencil
Instructions
- Fold the fabric in half, place the template you will be using and draw the Christmas tree shape on the fabric using a pen or pencil.
- Cut the fabric using good scissors.
- When you have the two Christmas trees start attaching them together on the machine leaving some space from the edge.
- Stop before you reach the end and fill the Christmas tree with a small amount of pillow filling. Continue sewing to close the tree.
- Go around the edges of the Christmas tree and loosen the ends of the fabric to make it look fluffy and cottage. If there are any longer ends, cut them using scissors.
- Cut a small piece of satin ribbon, fold it in half and sew it on the back side of the Christmas tree so you can hang it. Make a small bow from the same satin ribbon and sew it on the front of the Christmas tree. Glue or sew small decorative button in the middle of the bow.
- Repeat the procedure to make as many Christmas trees as you want and hang them on the Christmas tree or make a garland.
Recommended Products
As an Amazon Associate and member of other affiliate programs, I earn from qualifying purchases.












Leave a Reply