This holiday season, why not add a little extra sparkle to your home with a festive and easy Christmas cloche centerpiece
Jump to:
- Easy Christmas Cloche Centerpiece
- Supplies Needed
- How to Make an Easy Christmas Cloche Centerpiece
- Variations of Christmas Cloche Centerpieces
- Choosing the Right Decorations for Your Holiday Cloche Centerpiece
- Tips for Storing Your Holiday Cloche
- More DIY Holiday Gift Ideas and Tutorials
- Materials
- Instructions
- Recommended Products
Easy Christmas Cloche Centerpiece
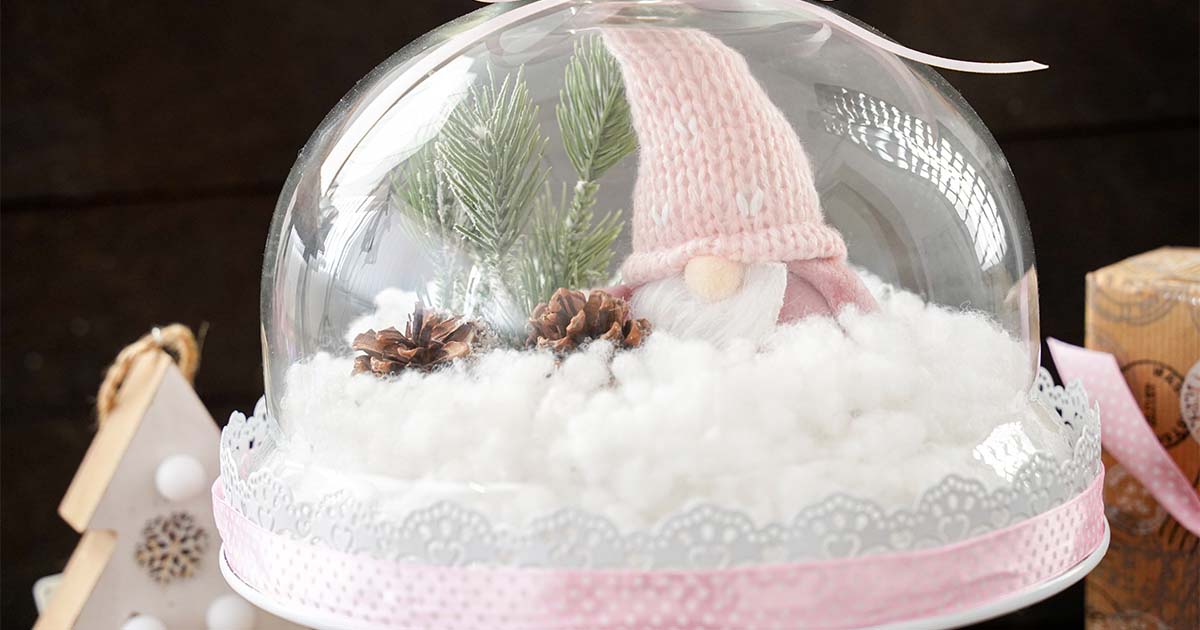
A Christmas Cloche Centerpiece is a festive way to add a touch of holiday cheer to your home. It's a simple yet elegant way to decorate your table or mantel for the holidays. A Christmas Cloche is a glass dome that is placed over a holiday-themed centerpiece. It can be filled with decorations such as pine cones, holly, ornaments, and even a gnome or two. The cloche creates a magical atmosphere and is sure to be a conversation starter.
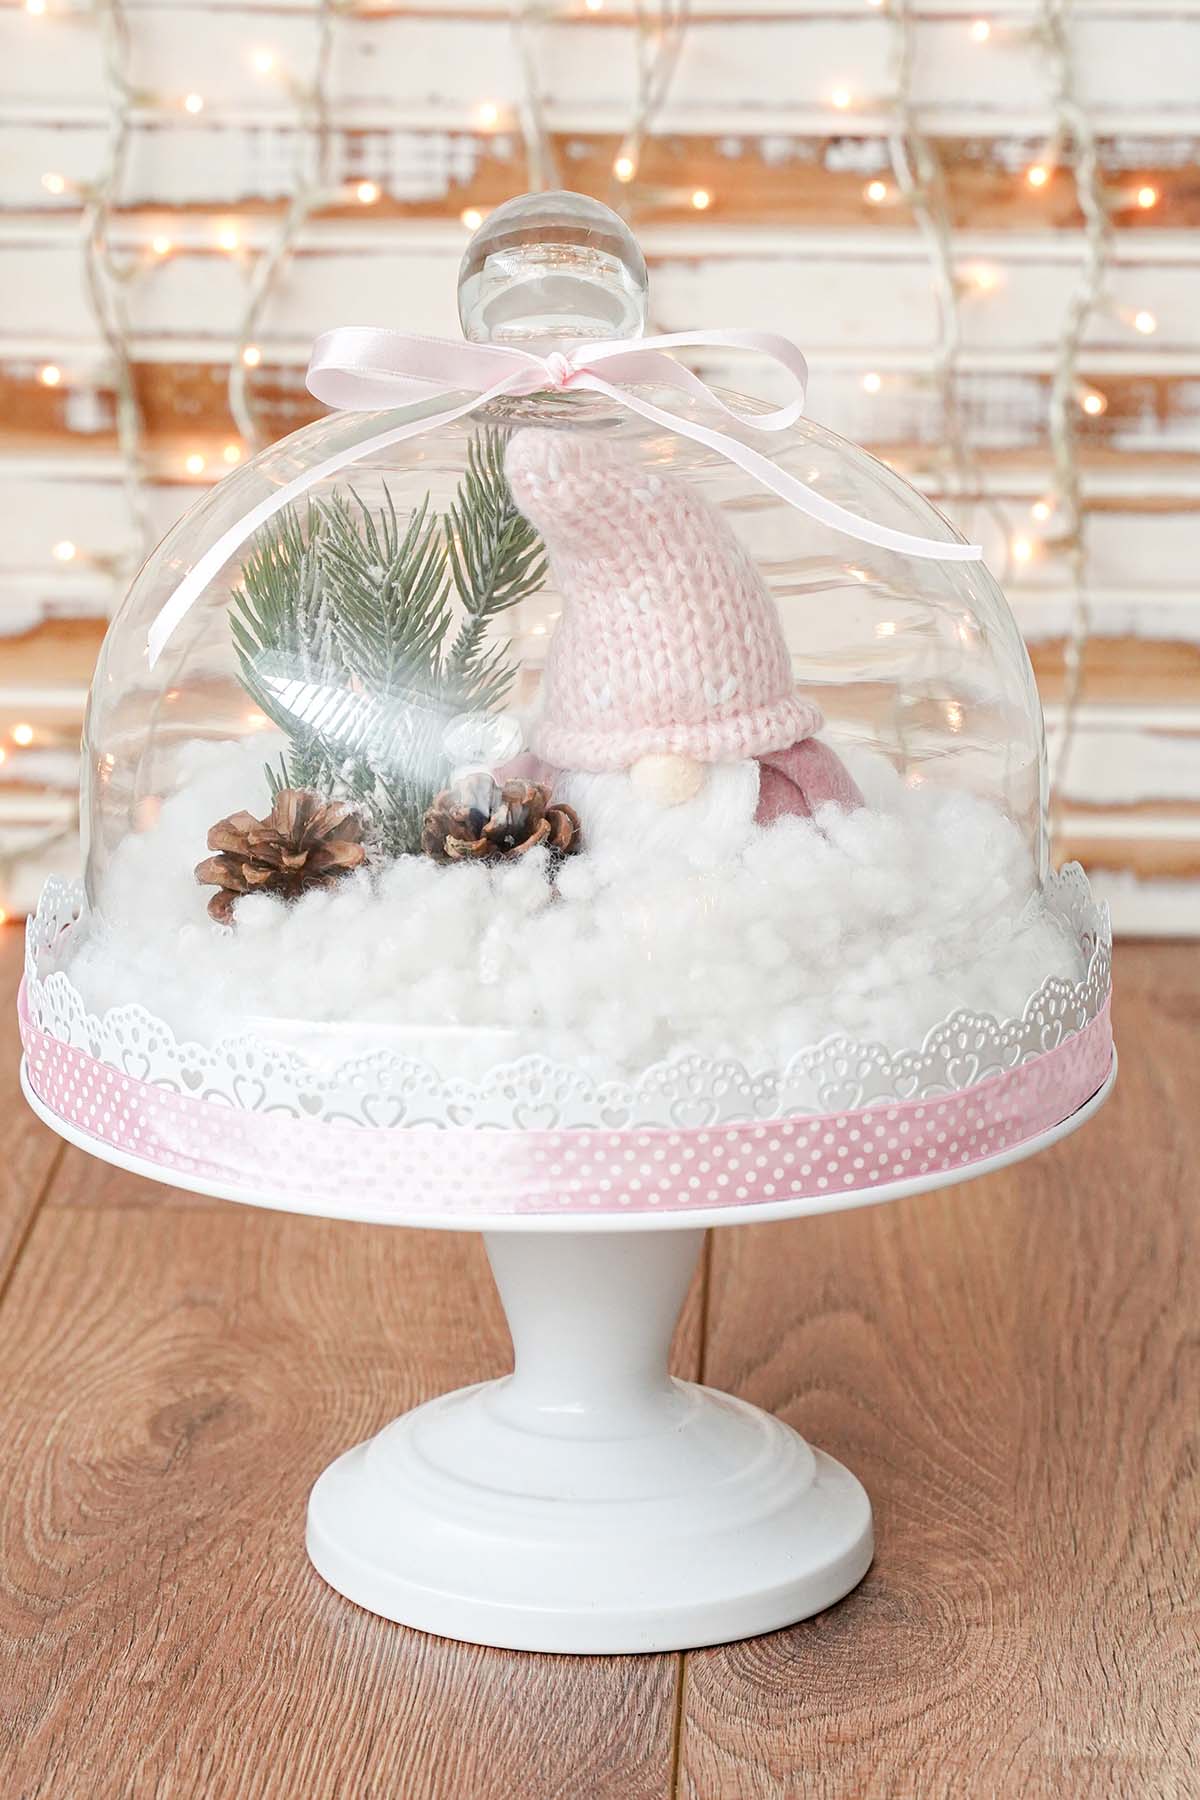
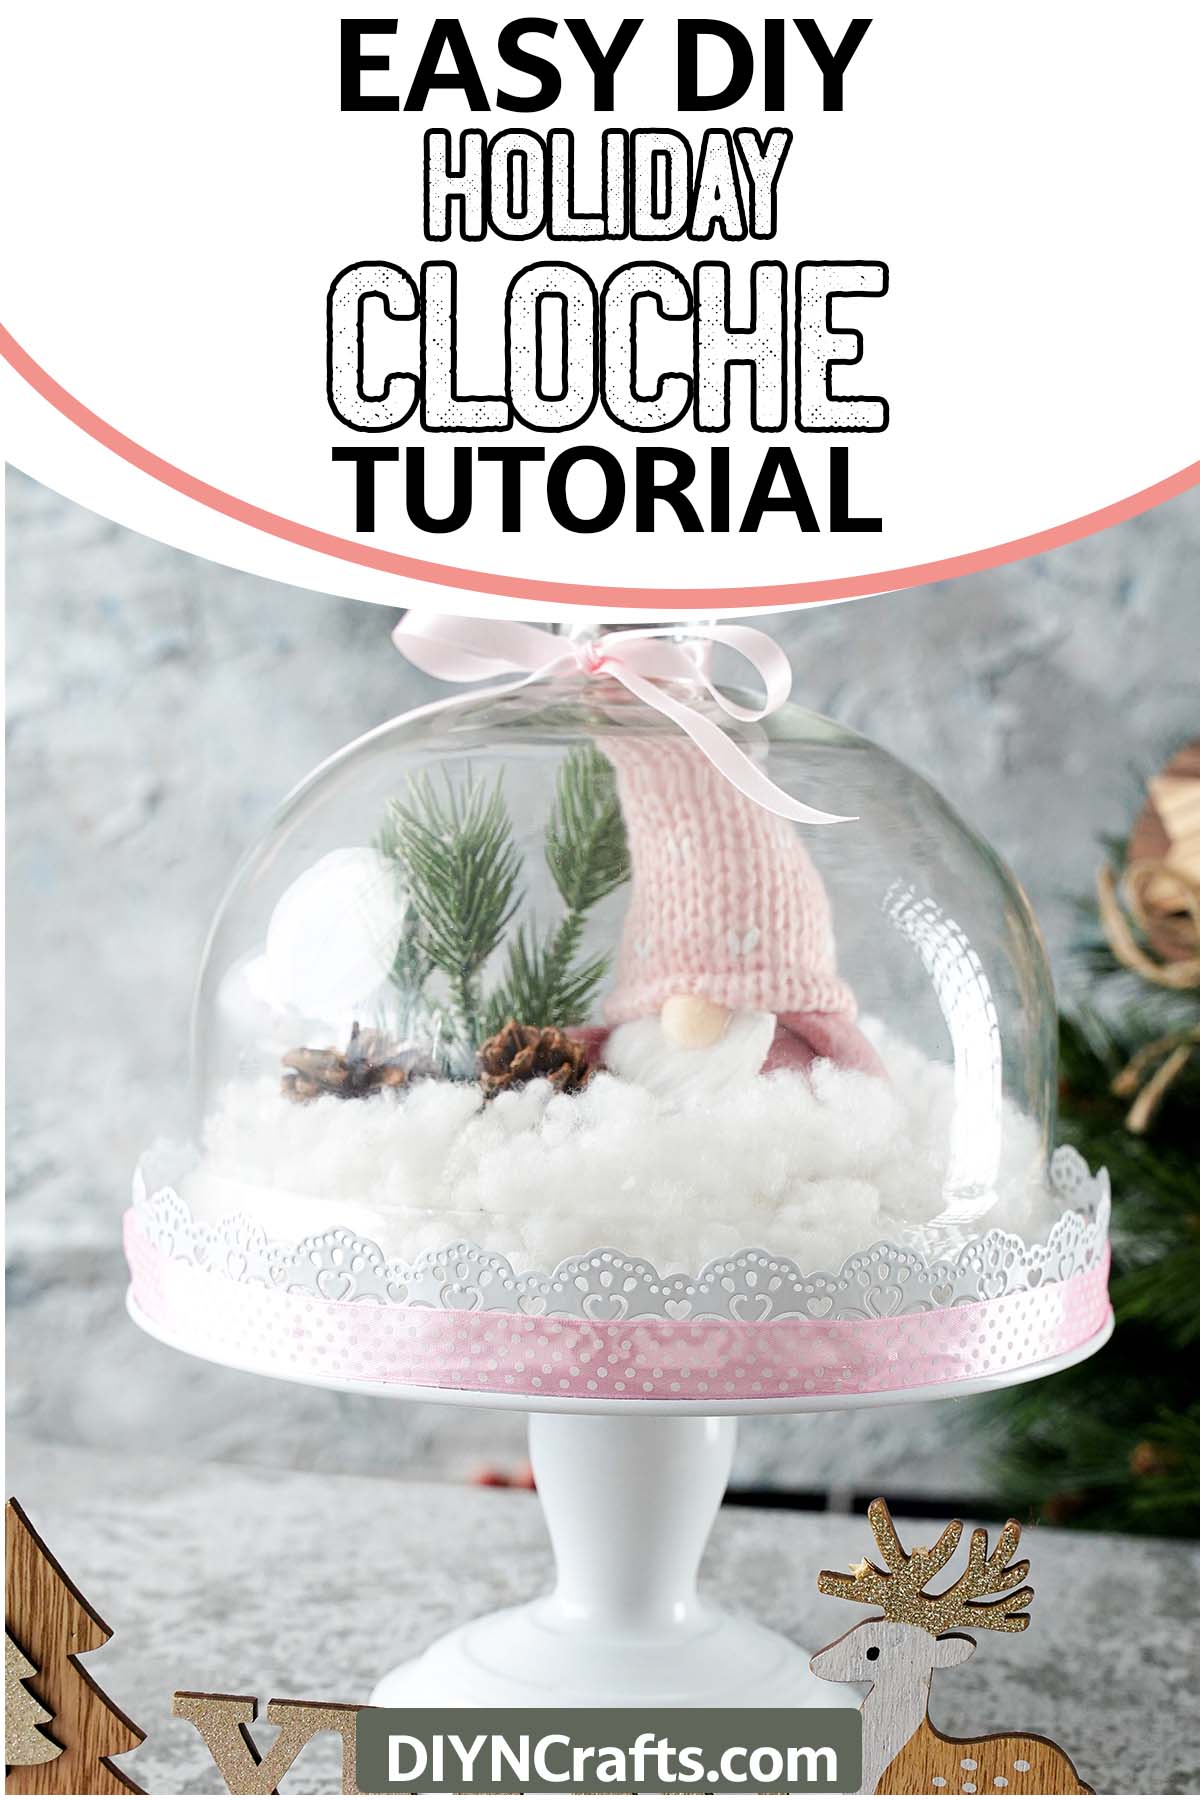
For a truly unique holiday centerpiece, try a gnome cloche like the one I've made here. Place a gnome inside the cloche and add some festive decorations around him.
This is sure to be a hit with your guests and will be a memorable centerpiece for years to come.
Need more fun gift ideas for the holiday season? Check out this huge list of Gifts from Leftover Yarn that People Love.
Supplies Needed
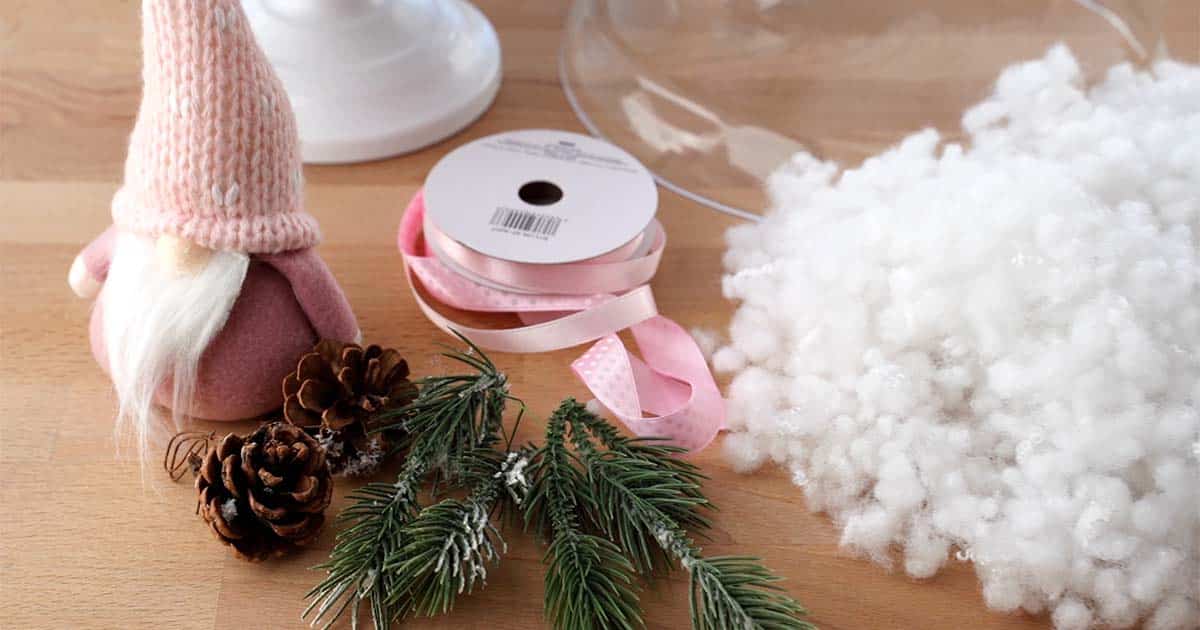
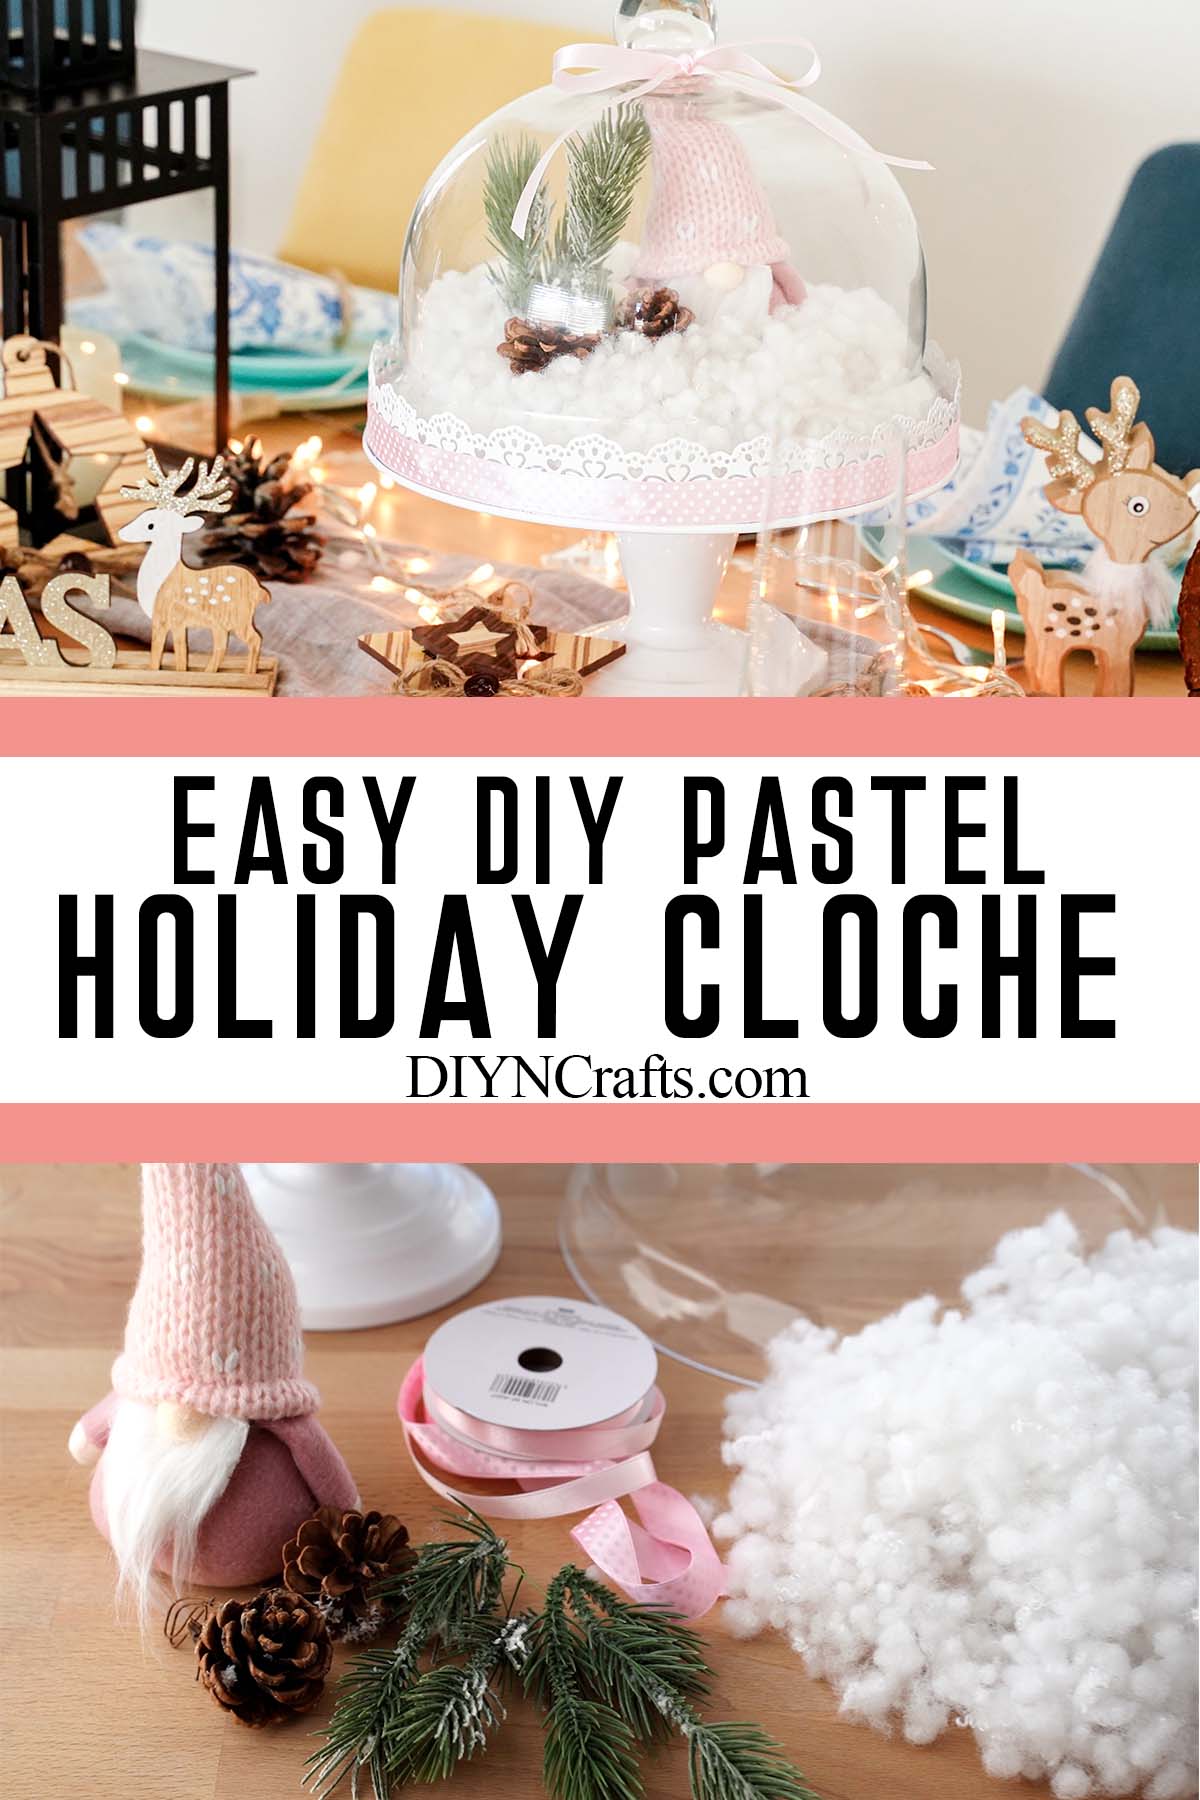
To get started, you'll need to gather the supplies for your cloche:
- Decorative glass
- Small gnome (or any other small Christmas figures)
- Small christmas tree or branches
- Artificial snow
- Small pinecones
- Decorative ribbon
How to Make an Easy Christmas Cloche Centerpiece
Video Tutorial:
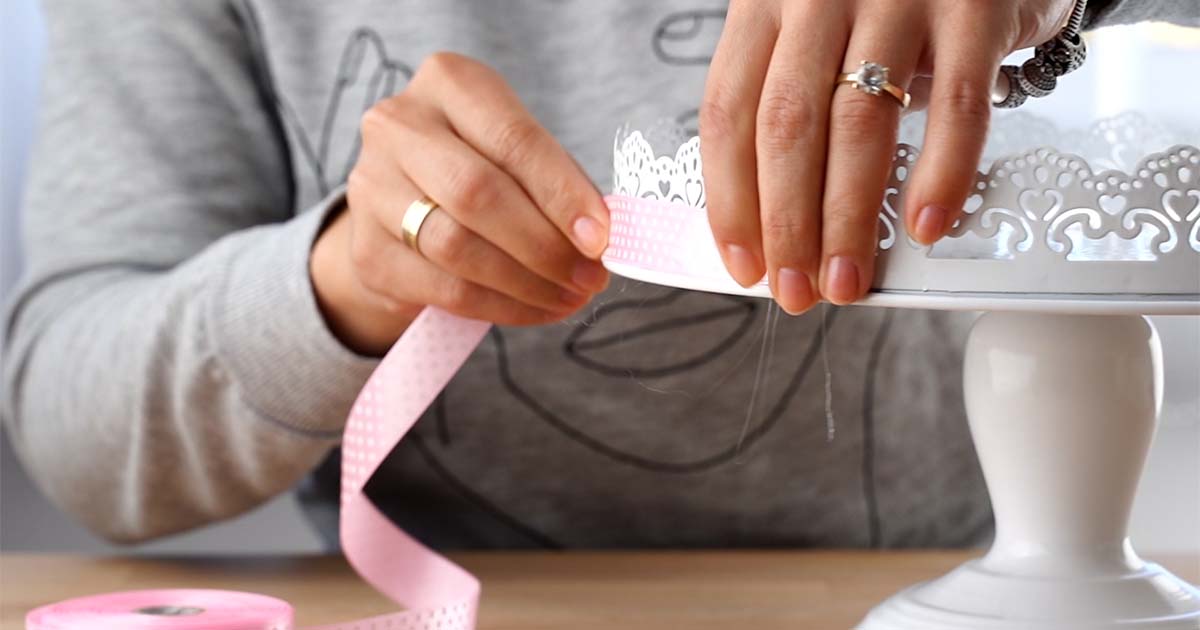
First glue the ribbon around the base. Make sure the colors you are going to choose will match with the complete decoration at the end.
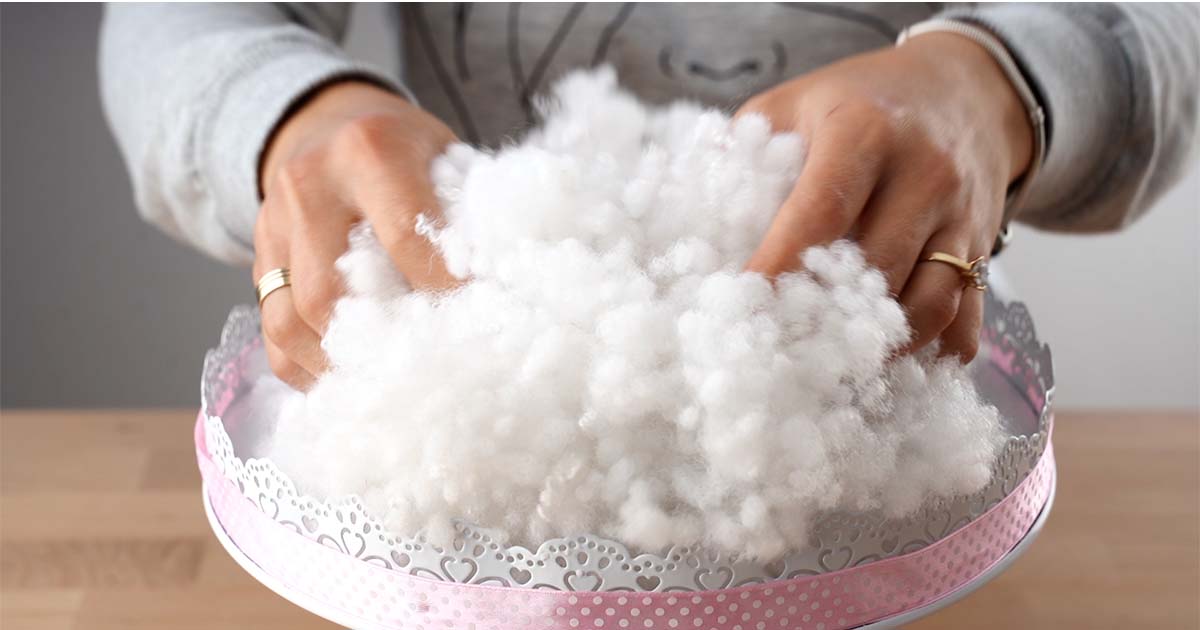
Fill the base with the artificial snow.
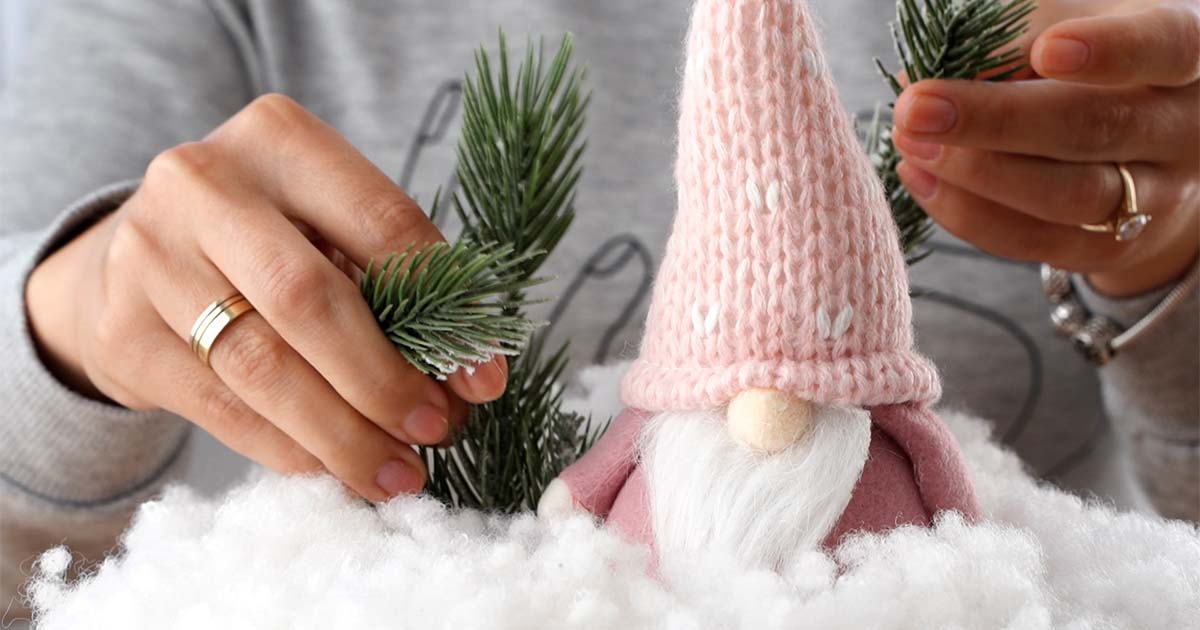
Place the small figures in the middle of the snow in this case the gnome, pinecones and small Christmas branches.
Place the glass on top of the dish to cover the decoration.
You can tie a small bow on the handle of the glass with satin ribbon.
Variations of Christmas Cloche Centerpieces
There are so many fantastic ways to make your Christmas cloche match your holiday decor. Here are some I've considered making:
- Snowy Wonderland Cloche: This centerpiece involves a miniature frosted tree, a tiny reindeer figurine, and faux snow. Arrange the tree and reindeer inside the cloche and sprinkle the faux snow to create a winter wonderland scene.
- Vintage Ornament Cloche: Fill your cloche with a collection of vintage Christmas ornaments. The glass cloche will protect these delicate treasures while showcasing their beauty.
- Christmas Candle Cloche: Place a festive, holiday-scented candle inside the cloche. Surround the base with holly berries, pine twigs, or miniature Christmas balls for a simple and elegant centerpiece.
- Christmas Village Cloche: Create a miniature Christmas village scene inside your cloche. Use tiny houses, people, trees, and even a small train to build your village.
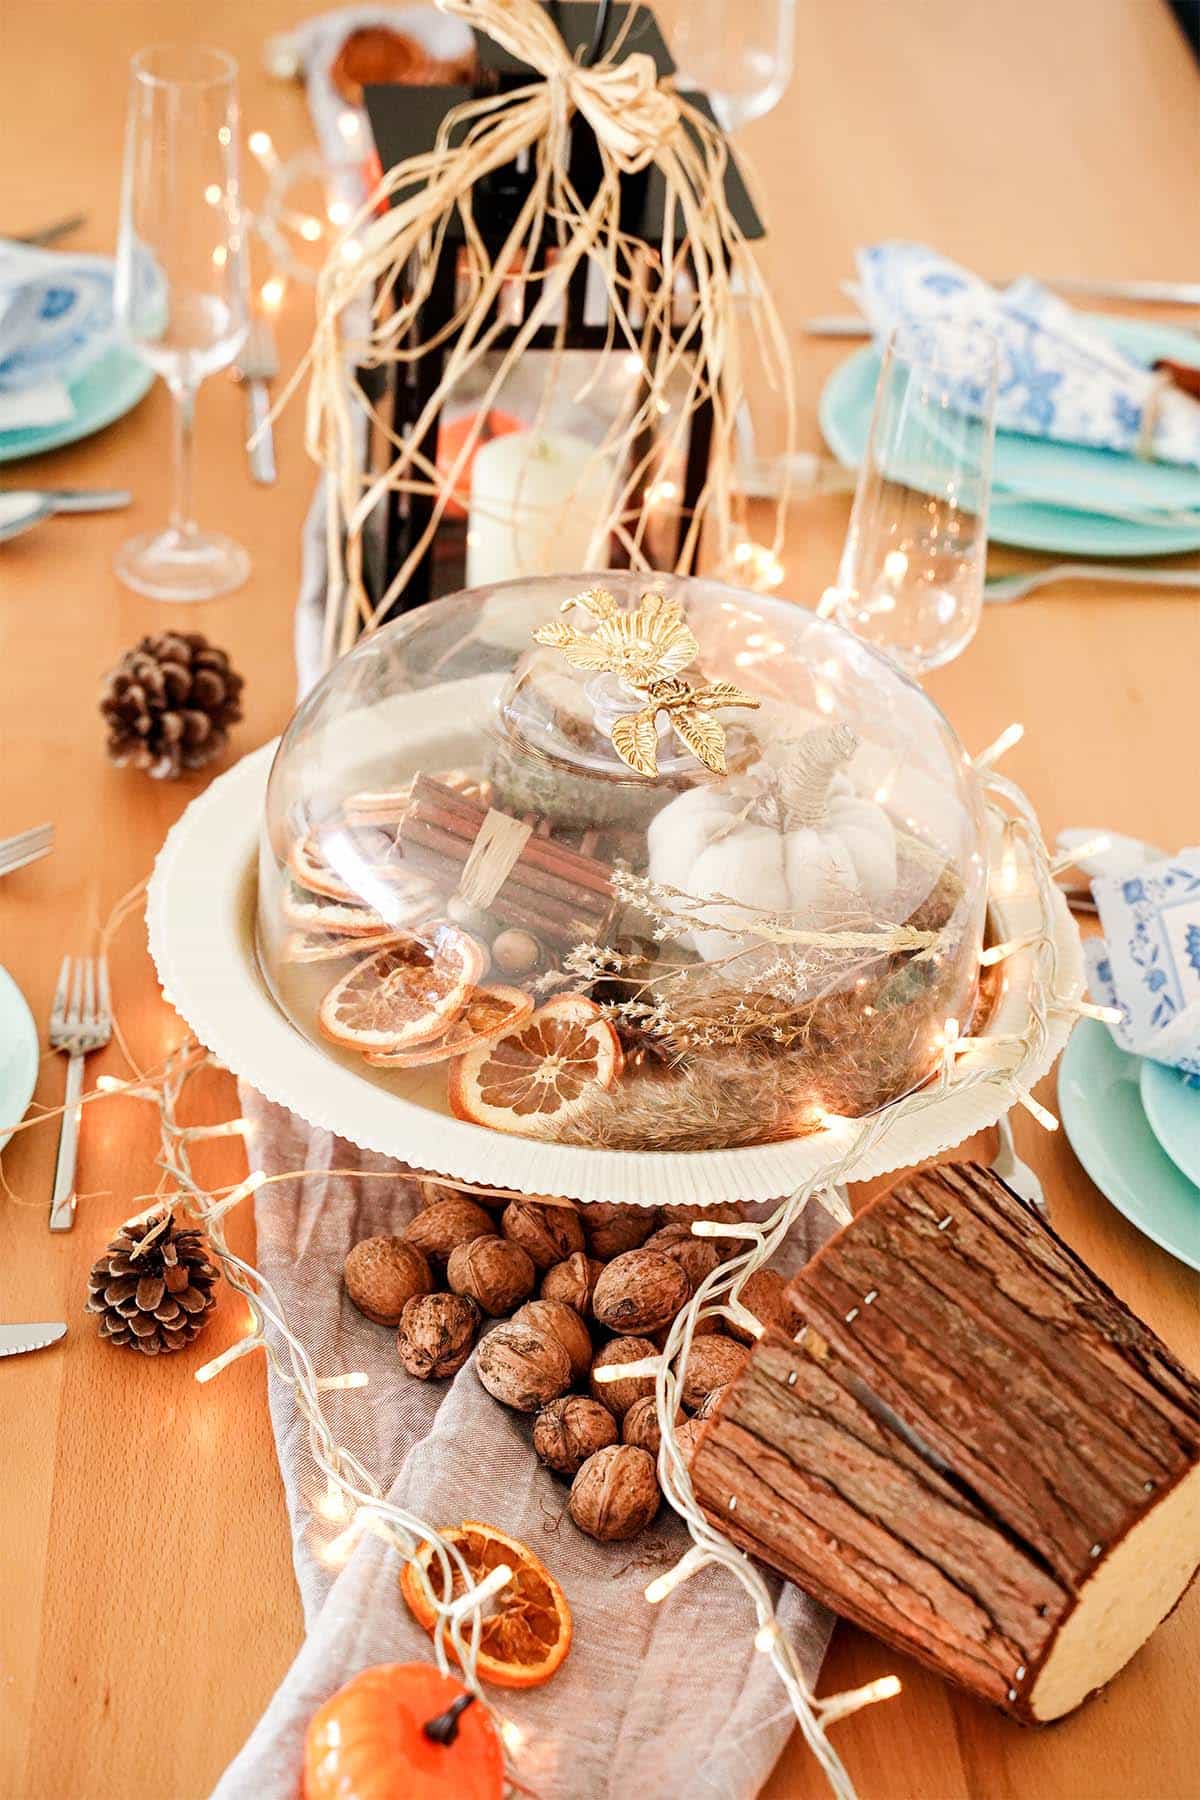
- Rustic Christmas Cloche: This can include pinecones, burlap, small wooden Christmas figures, and distressed mini lanterns. The rustic look will lend a cozy and warm feel to your holiday decor.
- Edible Christmas Cloche: For a unique spin, fill your cloche with edible treats. This can include decorated Christmas cookies, festive candies, or even miniature gingerbread houses.
The magic of a Christmas cloche centerpiece lies in its versatility. Feel free to mix, match, and modify any of these ideas to suit your personal style and home decor.
Choosing the Right Decorations for Your Holiday Cloche Centerpiece
Selecting decorations for your holiday cloche centerpiece can be an exciting process. Here are some tips to help you choose the right items:
- Consider the Theme: The type of decorations you choose should complement the overall theme of your holiday decor. If your home has a traditional Christmas theme, consider classic decorations like miniature Christmas trees, snowmen, or Santa Claus figurines. If you're going for a more modern and minimalistic look, choose sleek, geometric ornaments or monochromatic pieces.
- Size Matters: Ensure the items you choose can comfortably fit inside your cloche. Remember, a cloche centerpiece should highlight the beauty of each individual piece, so avoid overcrowding and ensure there's enough space between items.
- Color Coordination: To create a harmonious look, select decorations that match or complement the color scheme of your holiday decor.
- Group Similar Items: Grouping similar items together, like three miniature Christmas trees or a collection of vintage ornaments, can create a visually pleasing effect.
- Create Depth and Height: Use decorations of varying sizes to create depth and height. This can add visual interest and make your centerpiece more dynamic.
- Add Light: Consider adding a string of miniature LED lights inside your cloche to illuminate your decorations and create a magical holiday feel.
The most important thing is that your Christmas Cloche Centerpiece reflects your personal taste and style. Happy decorating!
Tips for Storing Your Holiday Cloche
Storing your holiday cloche properly is just as important as creating it. Here are a few tips to ensure your holiday cloche stays safe and beautiful for years to come:
- Clean Before Storing: Before packing away your cloche, give it a gentle clean to remove any dust or debris that may have accumulated. Use a soft cloth and gentle cleaning solution to avoid damaging the cloche or decorations.
- Individual Wrapping: Wrap each piece of decoration separately in tissue paper or bubble wrap to prevent scratches or damage.
- Box it Up: If possible, store the cloche in its original box as it often provides the best fit and protection. If the original box isn't available, find a sturdy box that can comfortably accommodate the cloche.
- Fill in the Gaps: To prevent movement that can cause damage, fill in any gaps in the box with extra packing material like crumpled paper or foam peanuts.
- Climate Control: Store the box in a cool, dry place away from direct sunlight. Extreme temperatures and humidity can cause damage to the cloche and the decorations inside.
- Label the Box: Clearly label the box so you can easily locate it for next year’s holiday season.
By following these tips, you can ensure that your holiday cloche centerpiece remains as dazzling as the day you created it.
More DIY Holiday Gift Ideas and Tutorials
Below are more adorable and fun ideas to make and gift this holiday season. Pick your favorites and bookmark them to make soon!
- 20 Easy Jams and Jellies that Make Great Gifts
- 100 DIY Holiday Gifts that People Actually Want
- 25 DIY Hostess Gifts That Will Definitely Get You Invited Back
- 30 Festive Gifts in a Jar to Make the Perfect Holiday Gift
- 30 Unique DIY Gifts for Men for Any Occassion
Easy Christmas Cloche Centerpiece
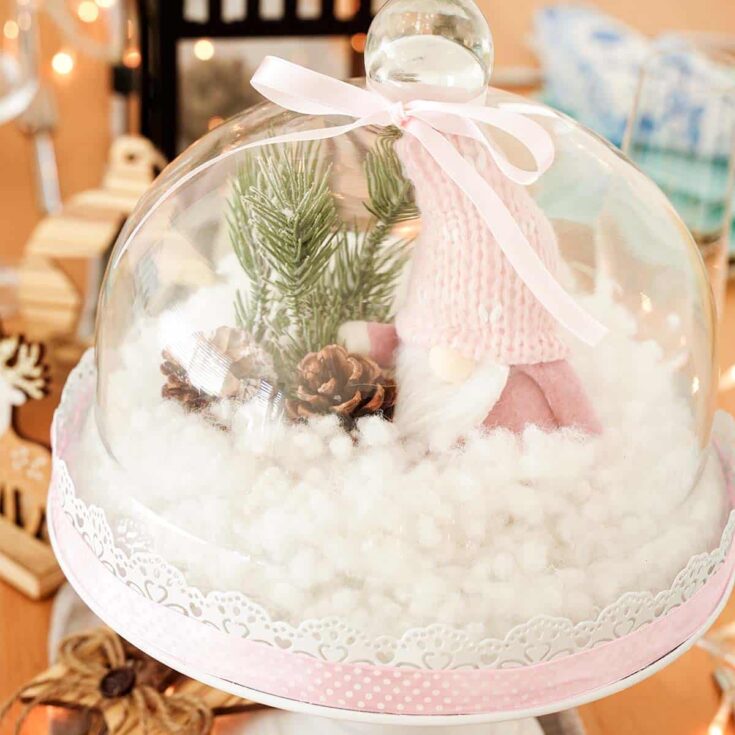
This easy Christmas cloche centerpiece is sure to bring a smile to your face every time you see it and a touch of holiday cheer to your home.
Materials
- Decorative glass
- Small gnome (or any other small Christmas figures)
- Small Christmas tree or branches
- Artificial snow
- Small pinecones
- Decorative ribbon
Instructions
- First glue the ribbon around the base. Make sure the colors you are going to choose will match with the complete decoration at the end.
- Fill the base with the artificial snow.
- Place the small figures in the middle of the snow in this case the gnome, pinecones and small Christmas branches.
- Place the glass on top of the dish to cover the decoration.
- You can tie a small bow on the handle of the glass with satin ribbon.
Recommended Products
As an Amazon Associate and member of other affiliate programs, I earn from qualifying purchases.










Annie
I love the pastel holiday cloche! The traditional red and green colors of Christmas have never appealed to me, I've always decorated our Christmas home in shades of green, white, and natural with a few accents of gold. The soft pink of this cloche instantly caught my eye! I wish I'd have seen it before today, December 17th. I feel like it's a little late in the season to embark on making a new piece of holiday decor.