Get crafty this holiday season with our easy-to-follow Fabric Ball Ornament tutorial! Discover step-by-step instructions to create stunning handmade ornaments using colorful fabrics. Perfect for adding a personal touch to your Christmas tree or gifting to loved ones.
Jump to:
- Fabric Ball Ornament Tutorial
- Supplies Needed
- How to Make a Fabric Ball Ornament
- What Should I Use as the Base of the Ornament?
- What is Best for Securing the Fabric to the Ornament?
- Can Kids Make This Fabric Ball Ornament?
- Ways to Customize DIY Christmas Ornaments
- More Christmas Craft Tutorials
- Materials
- Tools
- Instructions
- Notes
- Recommended Products
Fabric Ball Ornament Tutorial
Making homemade ornaments is an incredibly fun and rewarding activity that brings joy and creativity to the holiday season. There's something magical about crafting your own decorations, and it's an experience that can be enjoyed by people of all ages.
If you like this idea, then you will love this cute checkered fabric Christmas ornament too! Such an easy idea that kids will love helping you make it.
Supplies Needed
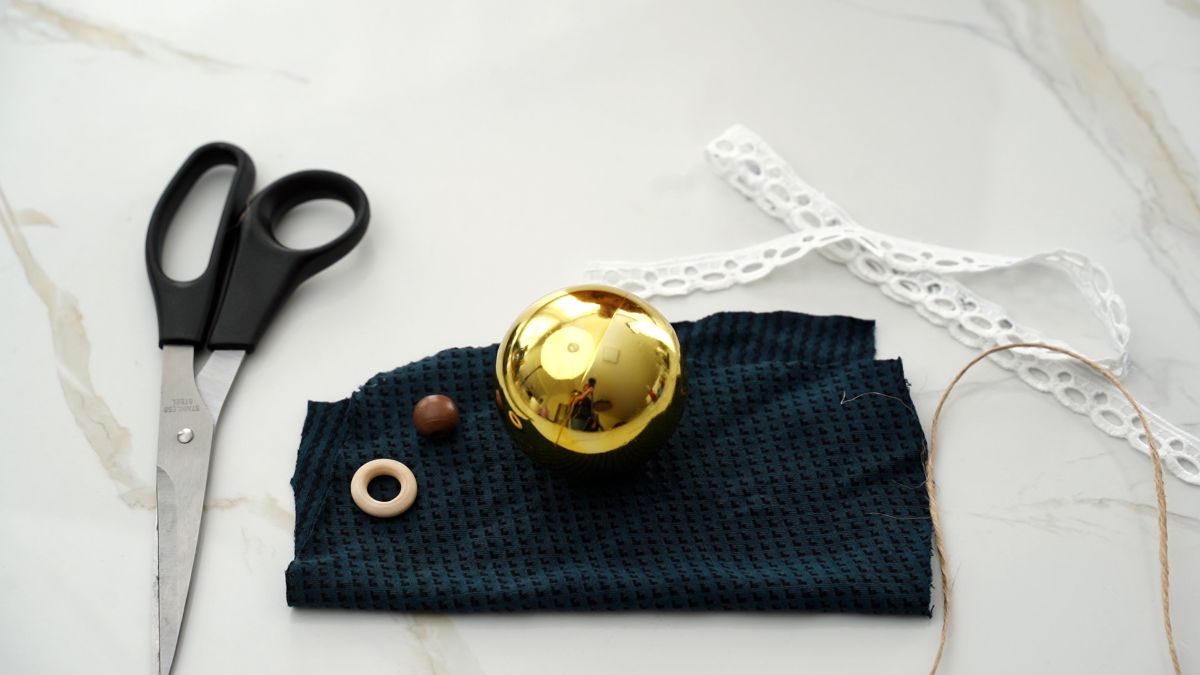
This project just needs a few items you likely already have on hand. The beauty of this is that you can so easily customize everything to use what you already have, or can create a whole new project with fresh supplies.
- Christmas ball
- Soft green fabric
- Wooden ring
- Wooden bead
- Lace
- Twine
- Rustic button
- Scissors
- Hot glue gun and glue
How to Make a Fabric Ball Ornament
Video Tutorial
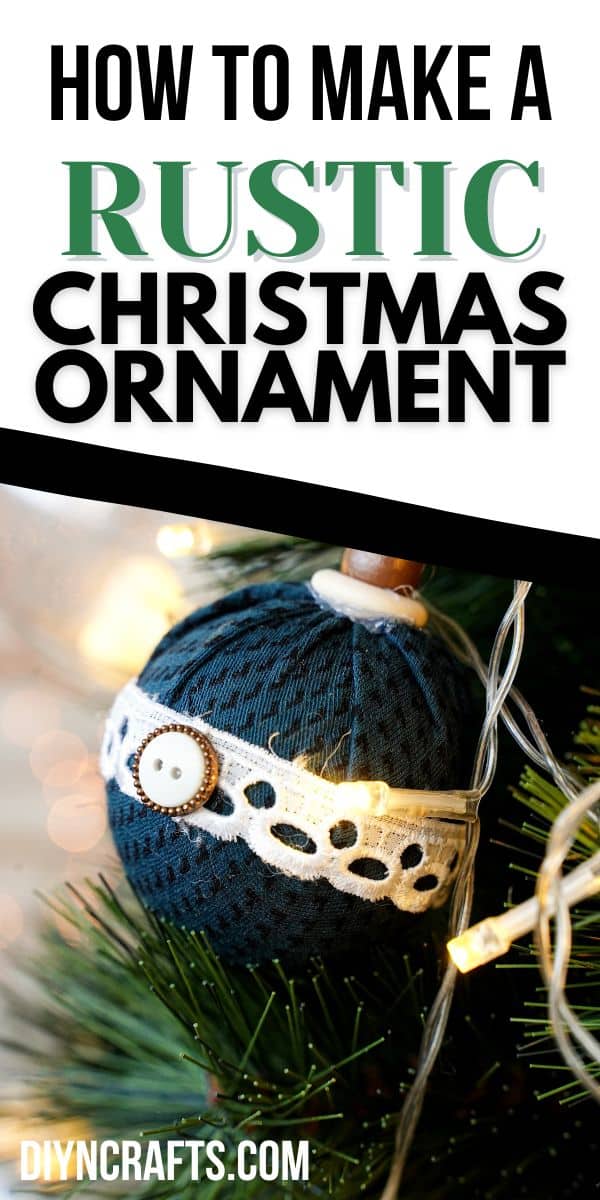
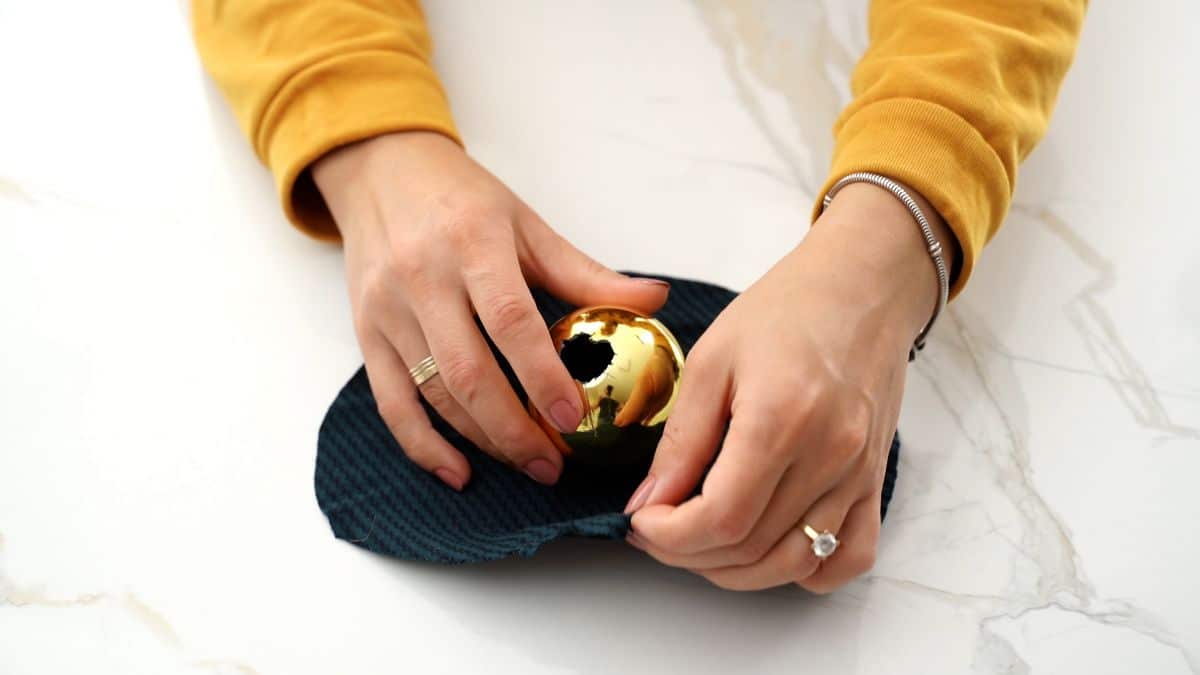
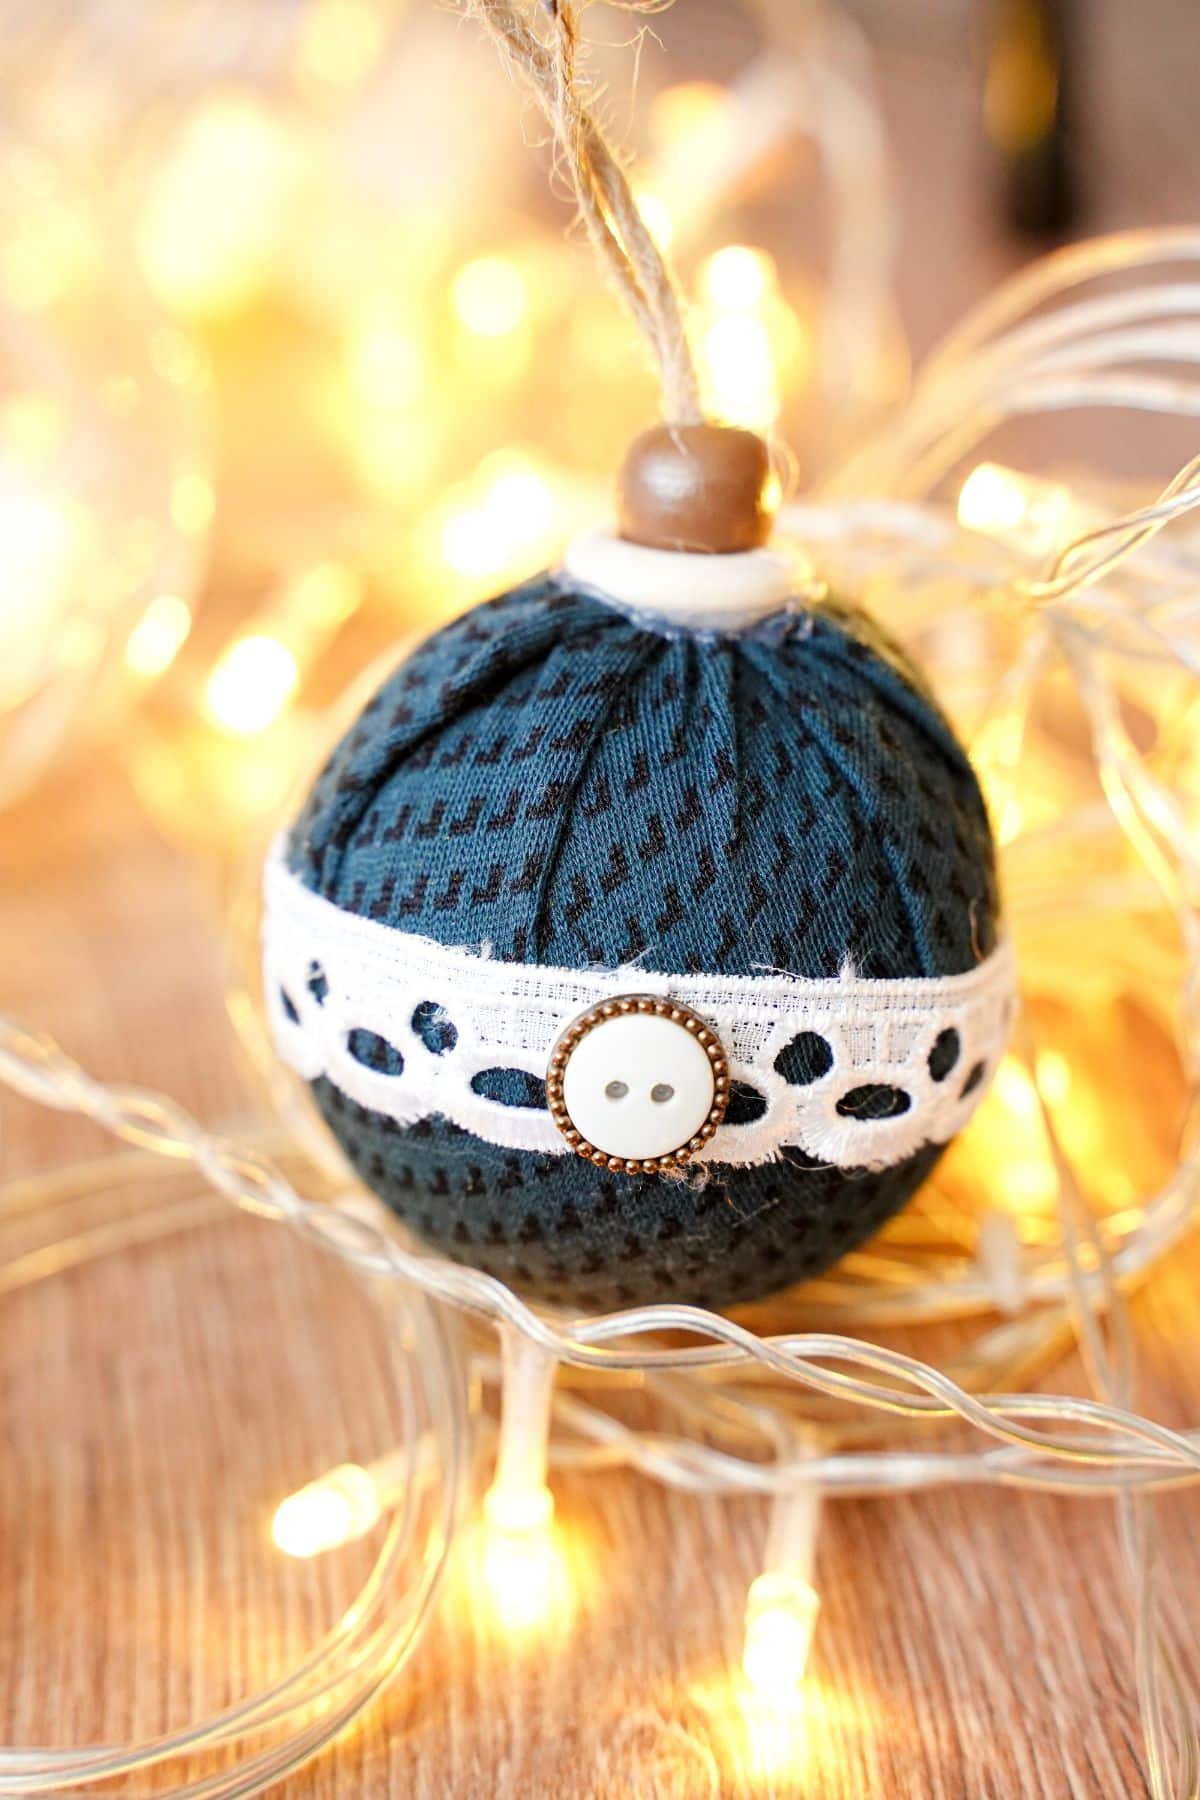
Remove the top part of the ornament and set it aside. Now, you will measure and cut a piece of fabric that is large enough to cover the ball completely, with a bit of extra space to tuck into the top to secure it.
Place that ball in the center of the fabric, then pull the sides up and carefully tuck them into the inside opening of the ornament. Be careful if the edge is sharp. You can add some glue on the inside to secure it if desired.
Now, put a length of twine through the center of the wooden bead. This should be cut to around 8" since it will fold over and be used for hanging. Tie the twine ends together and add a dab of glue to secure.
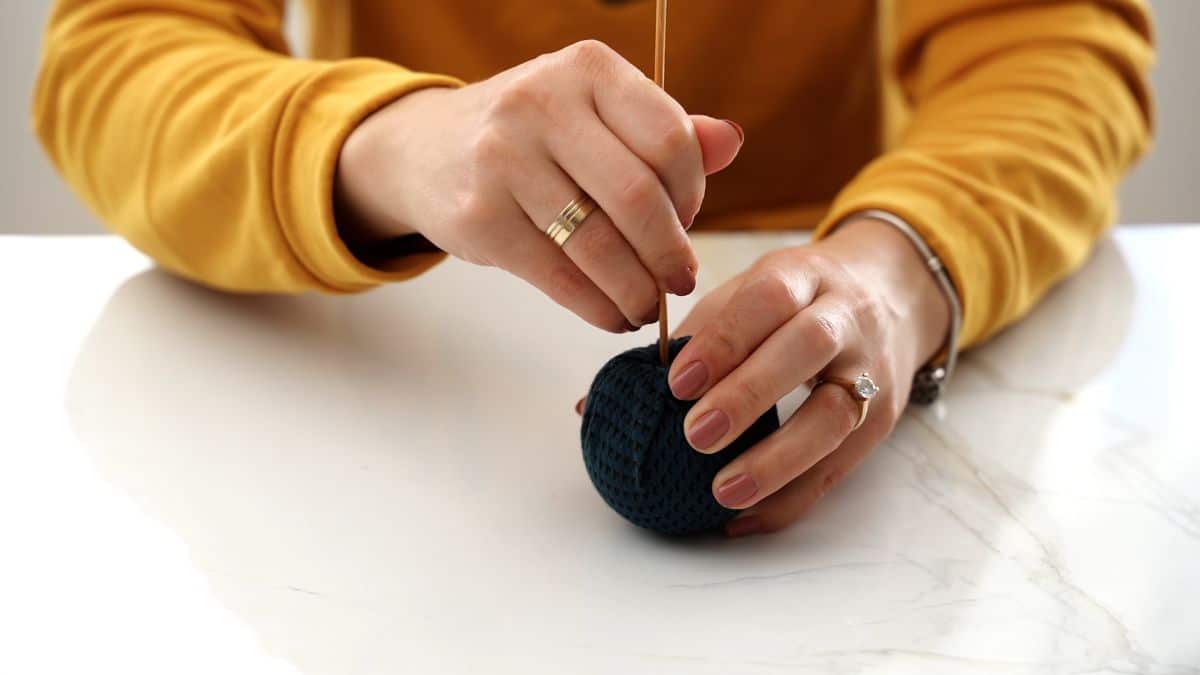
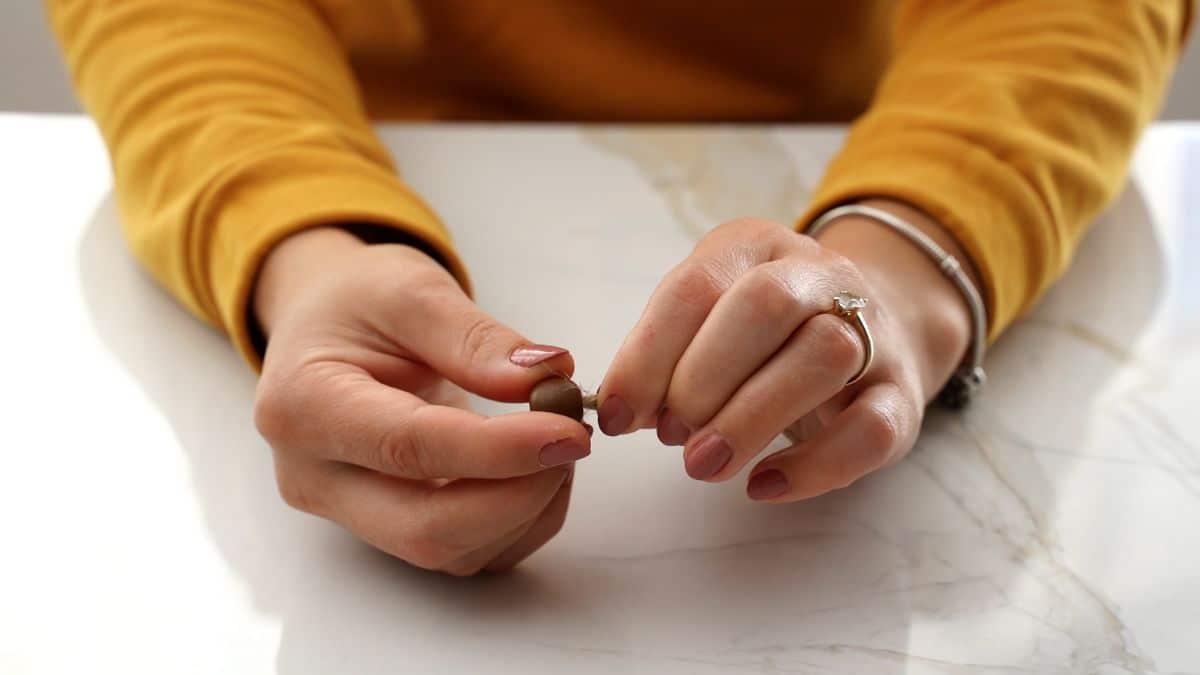
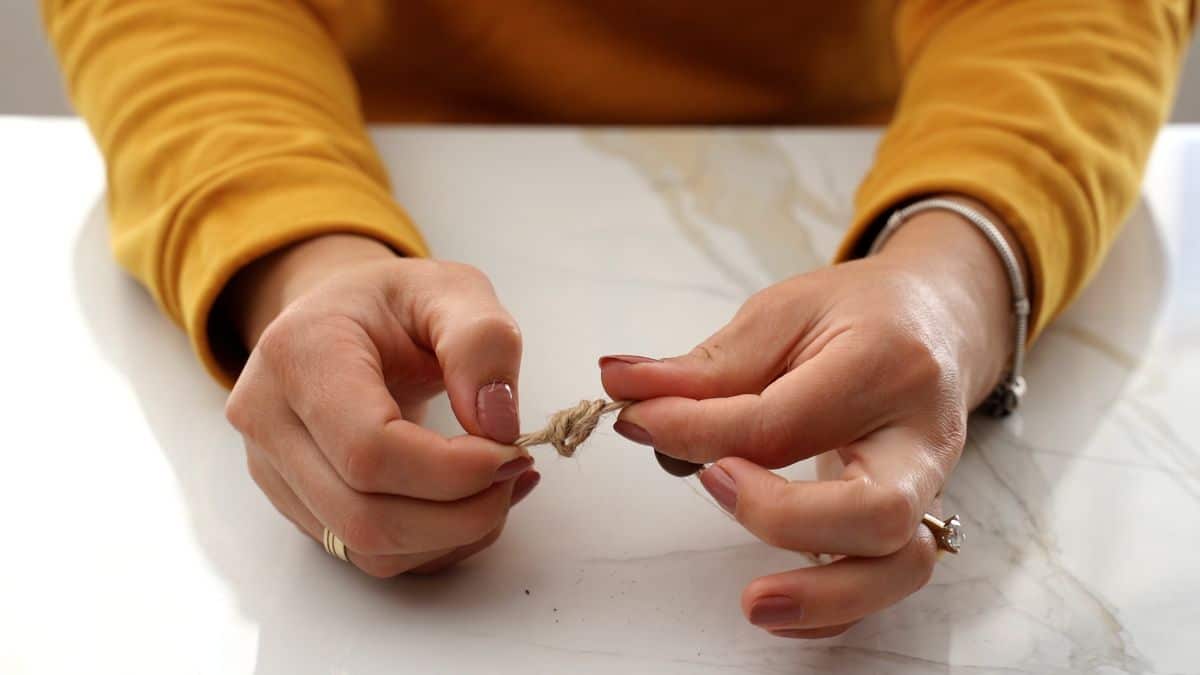
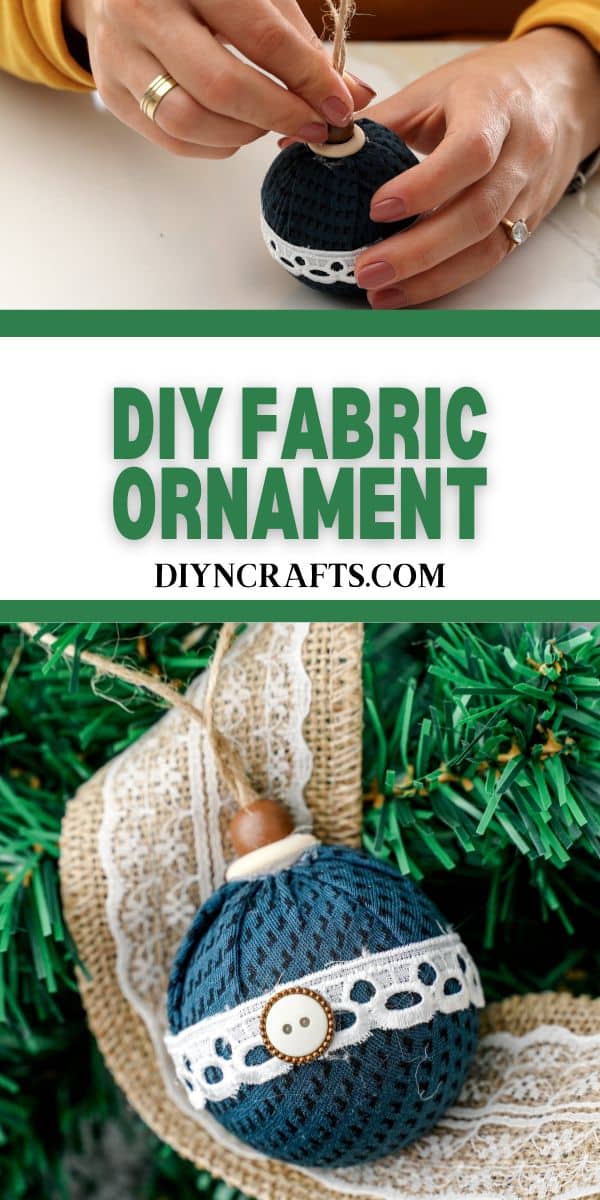
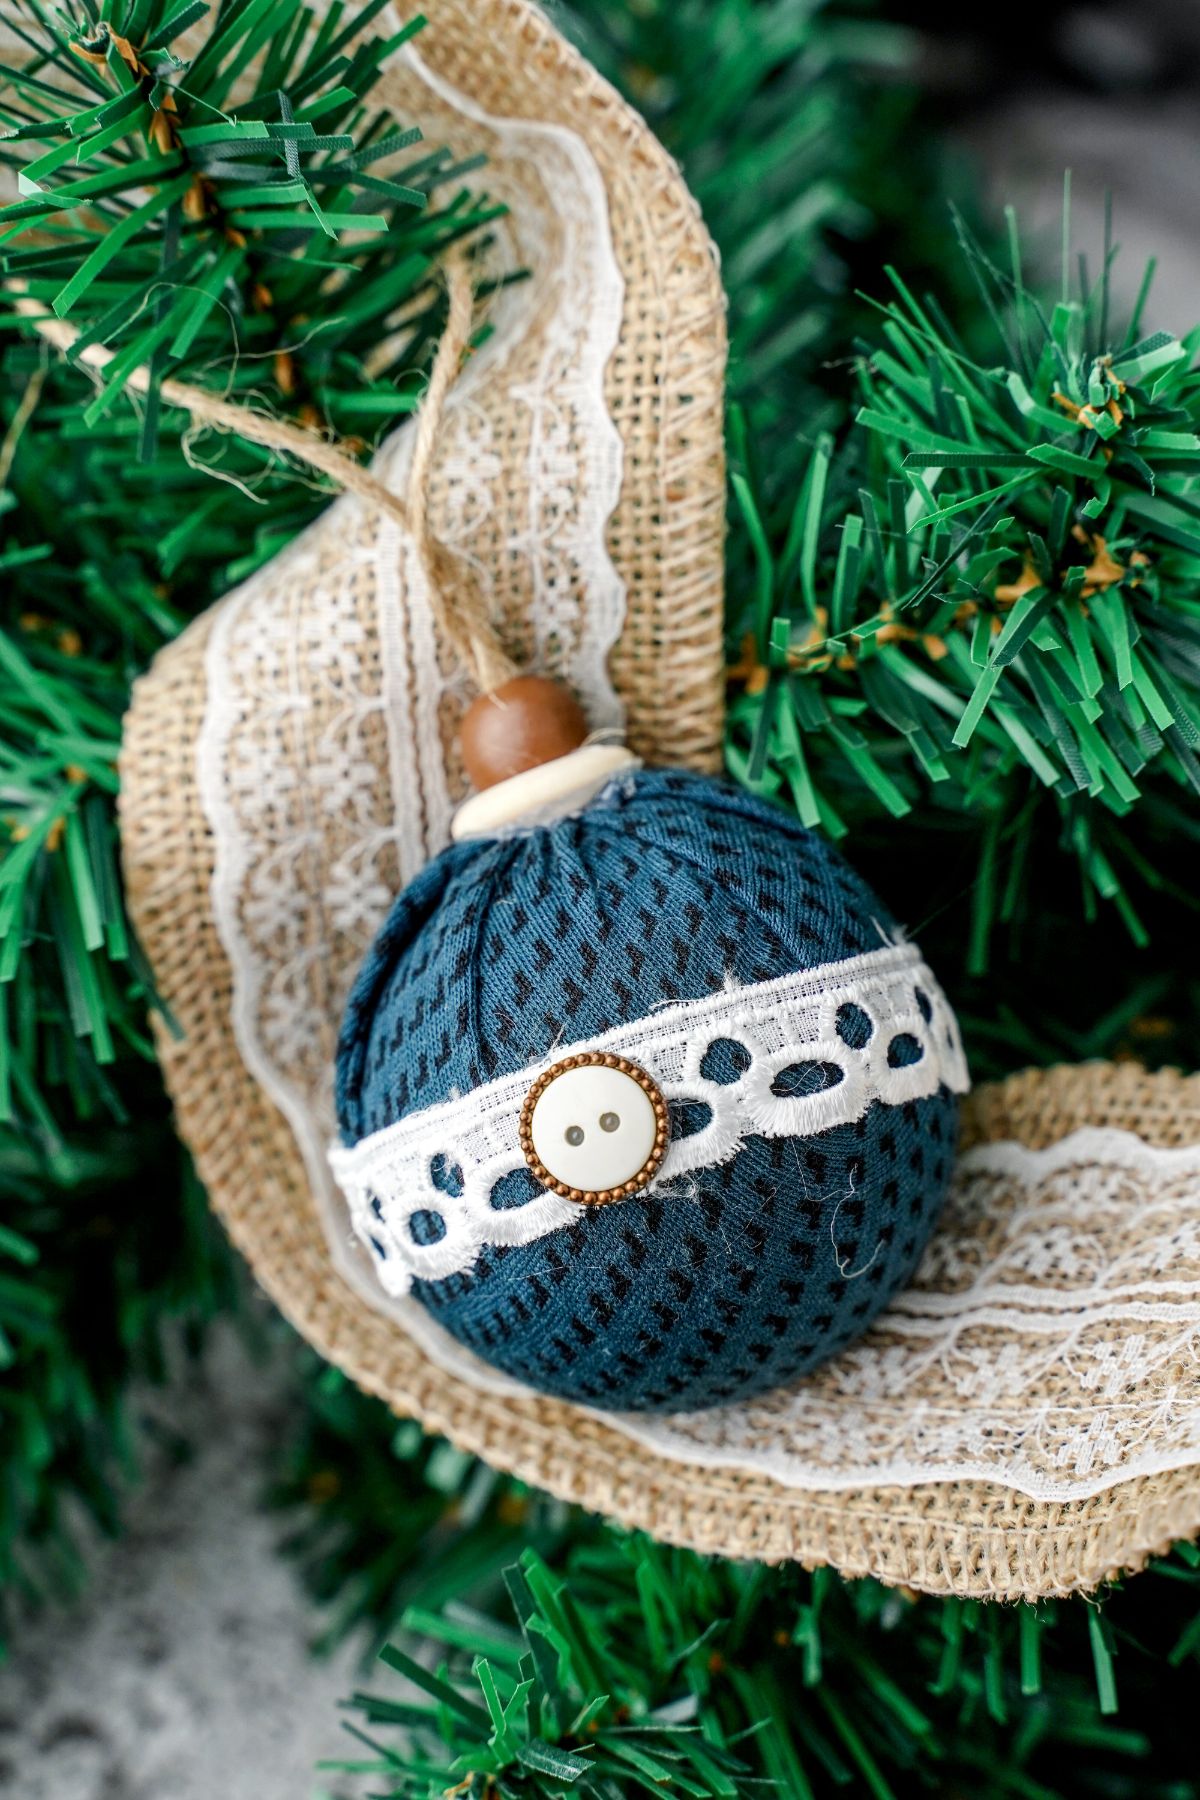
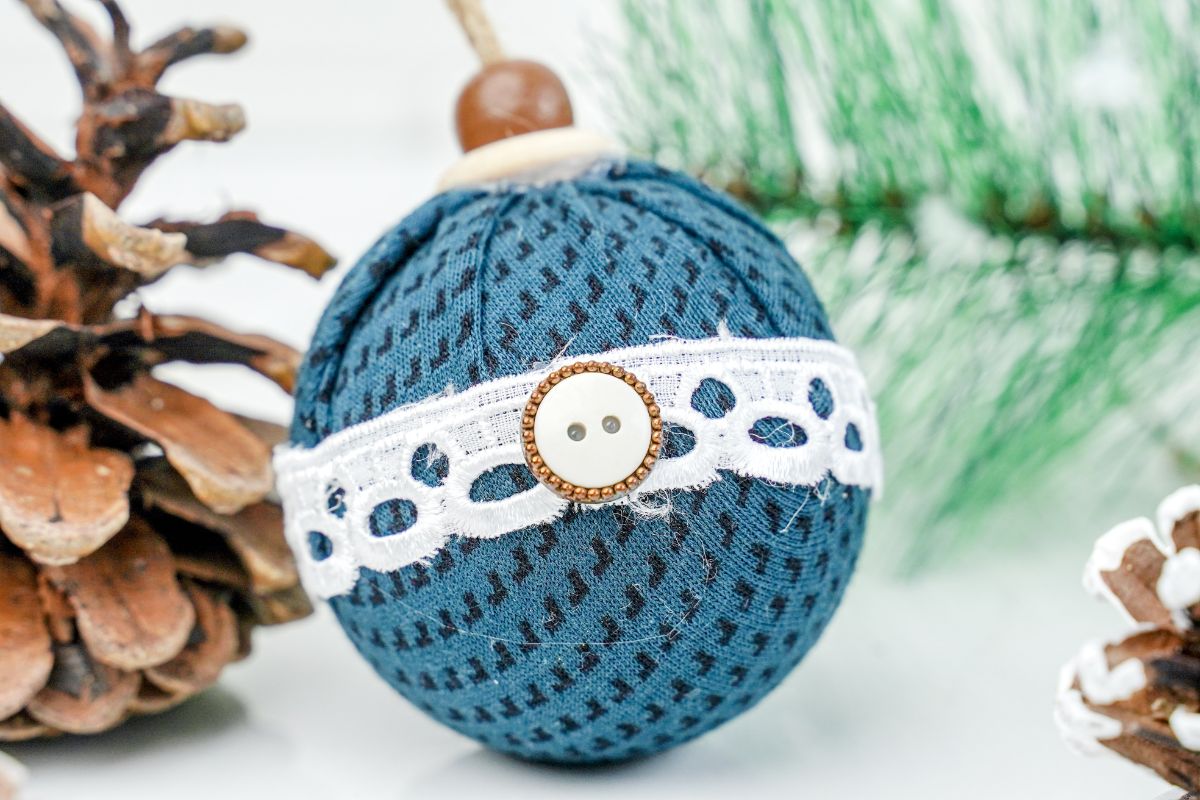
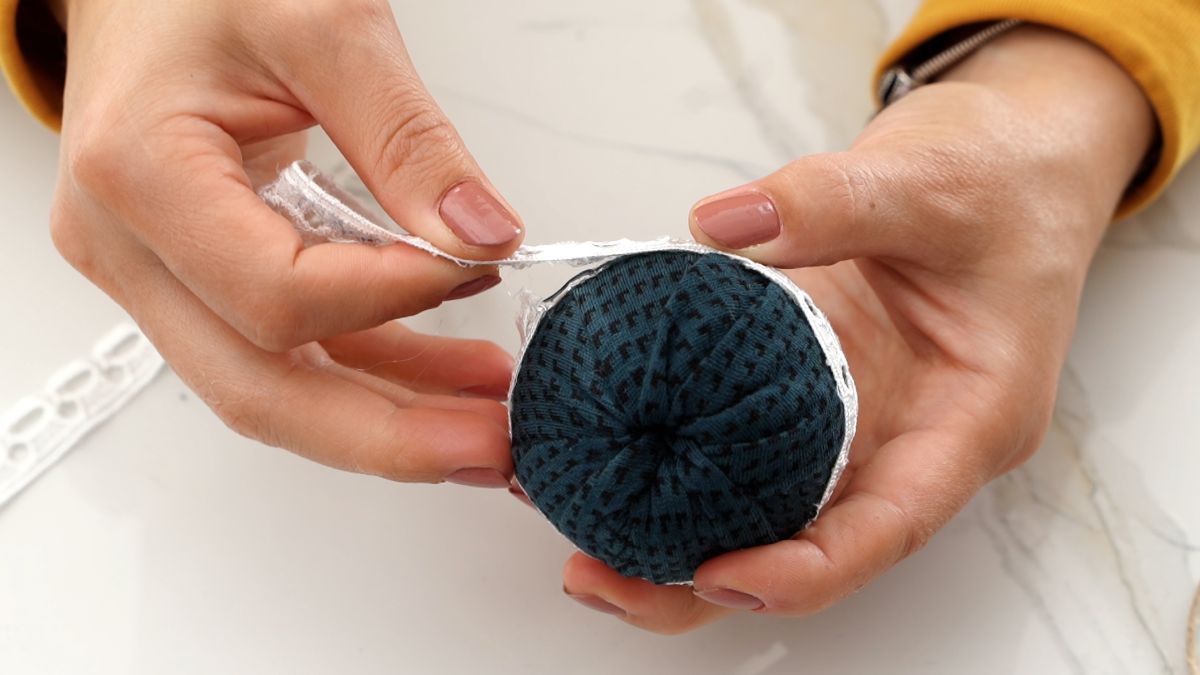
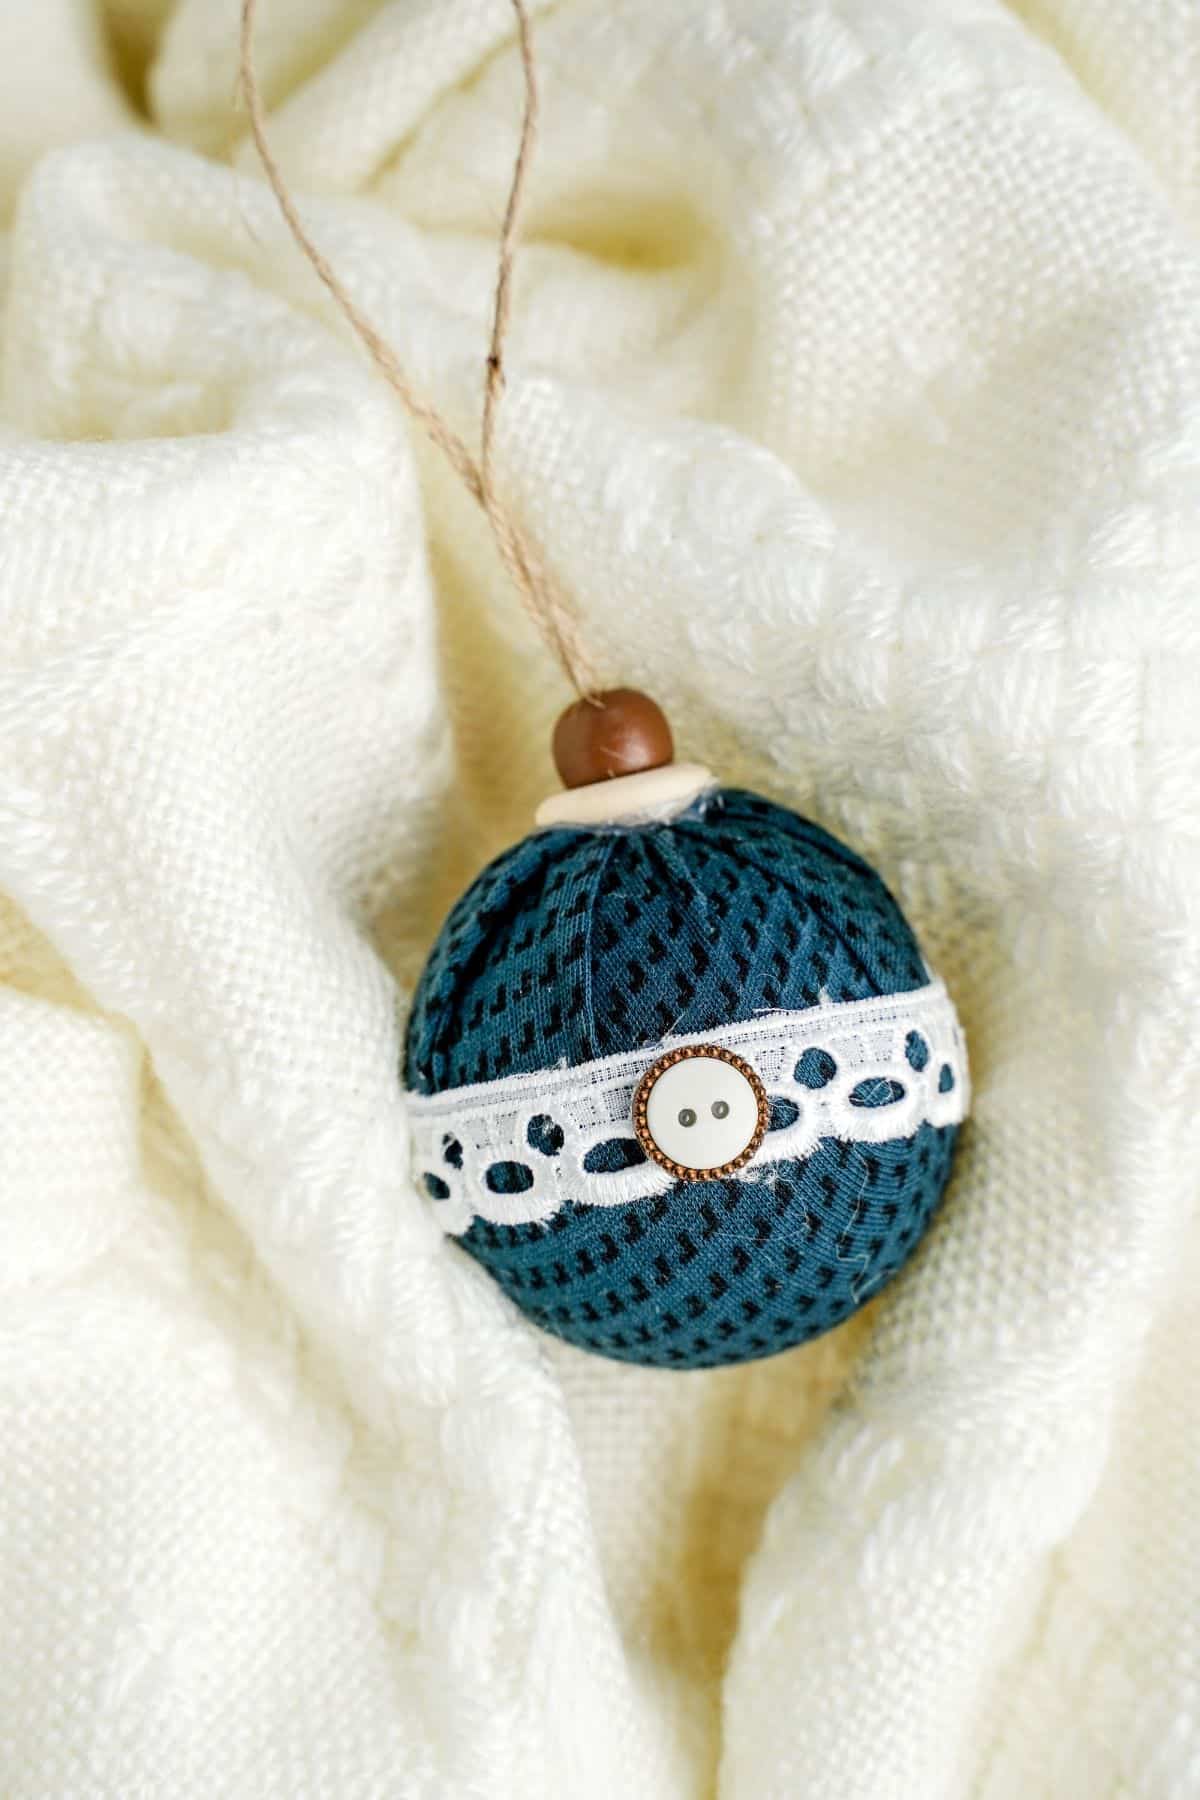
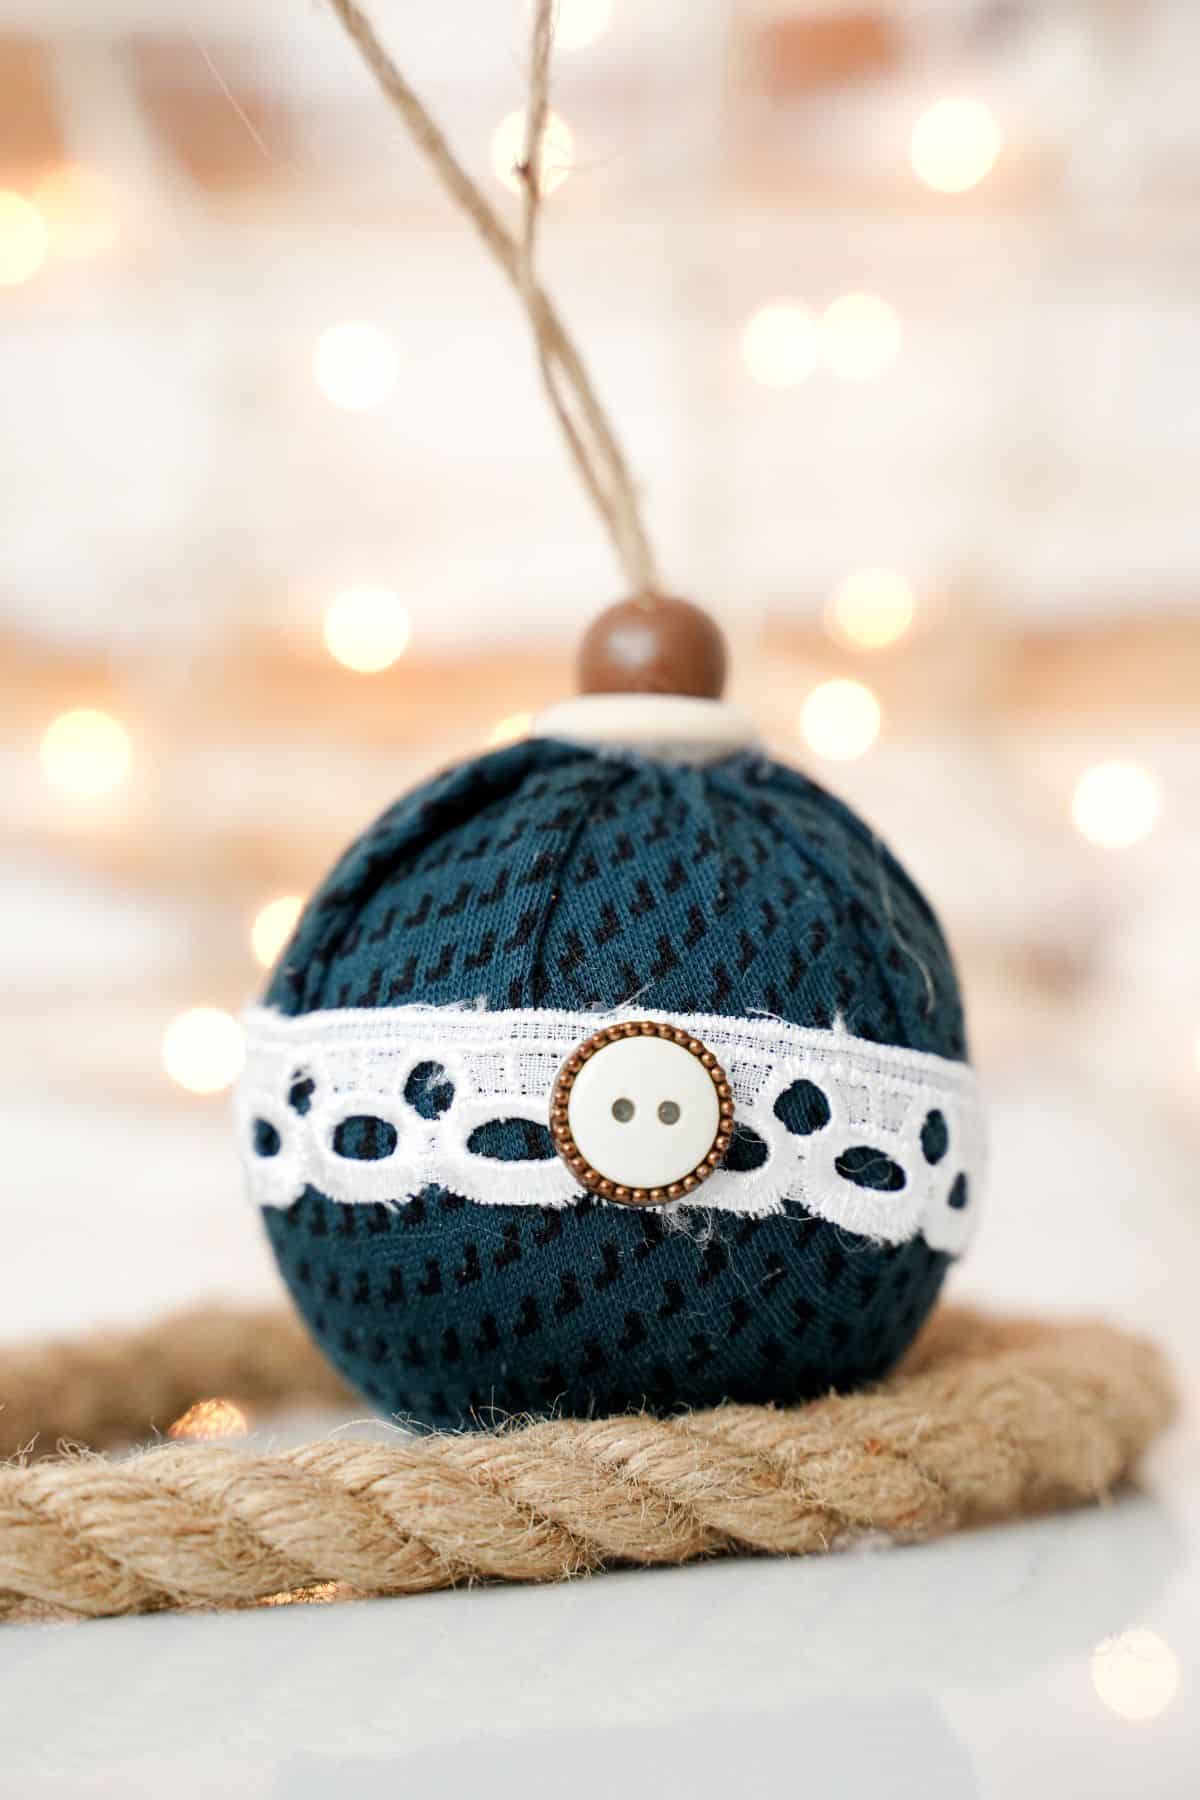
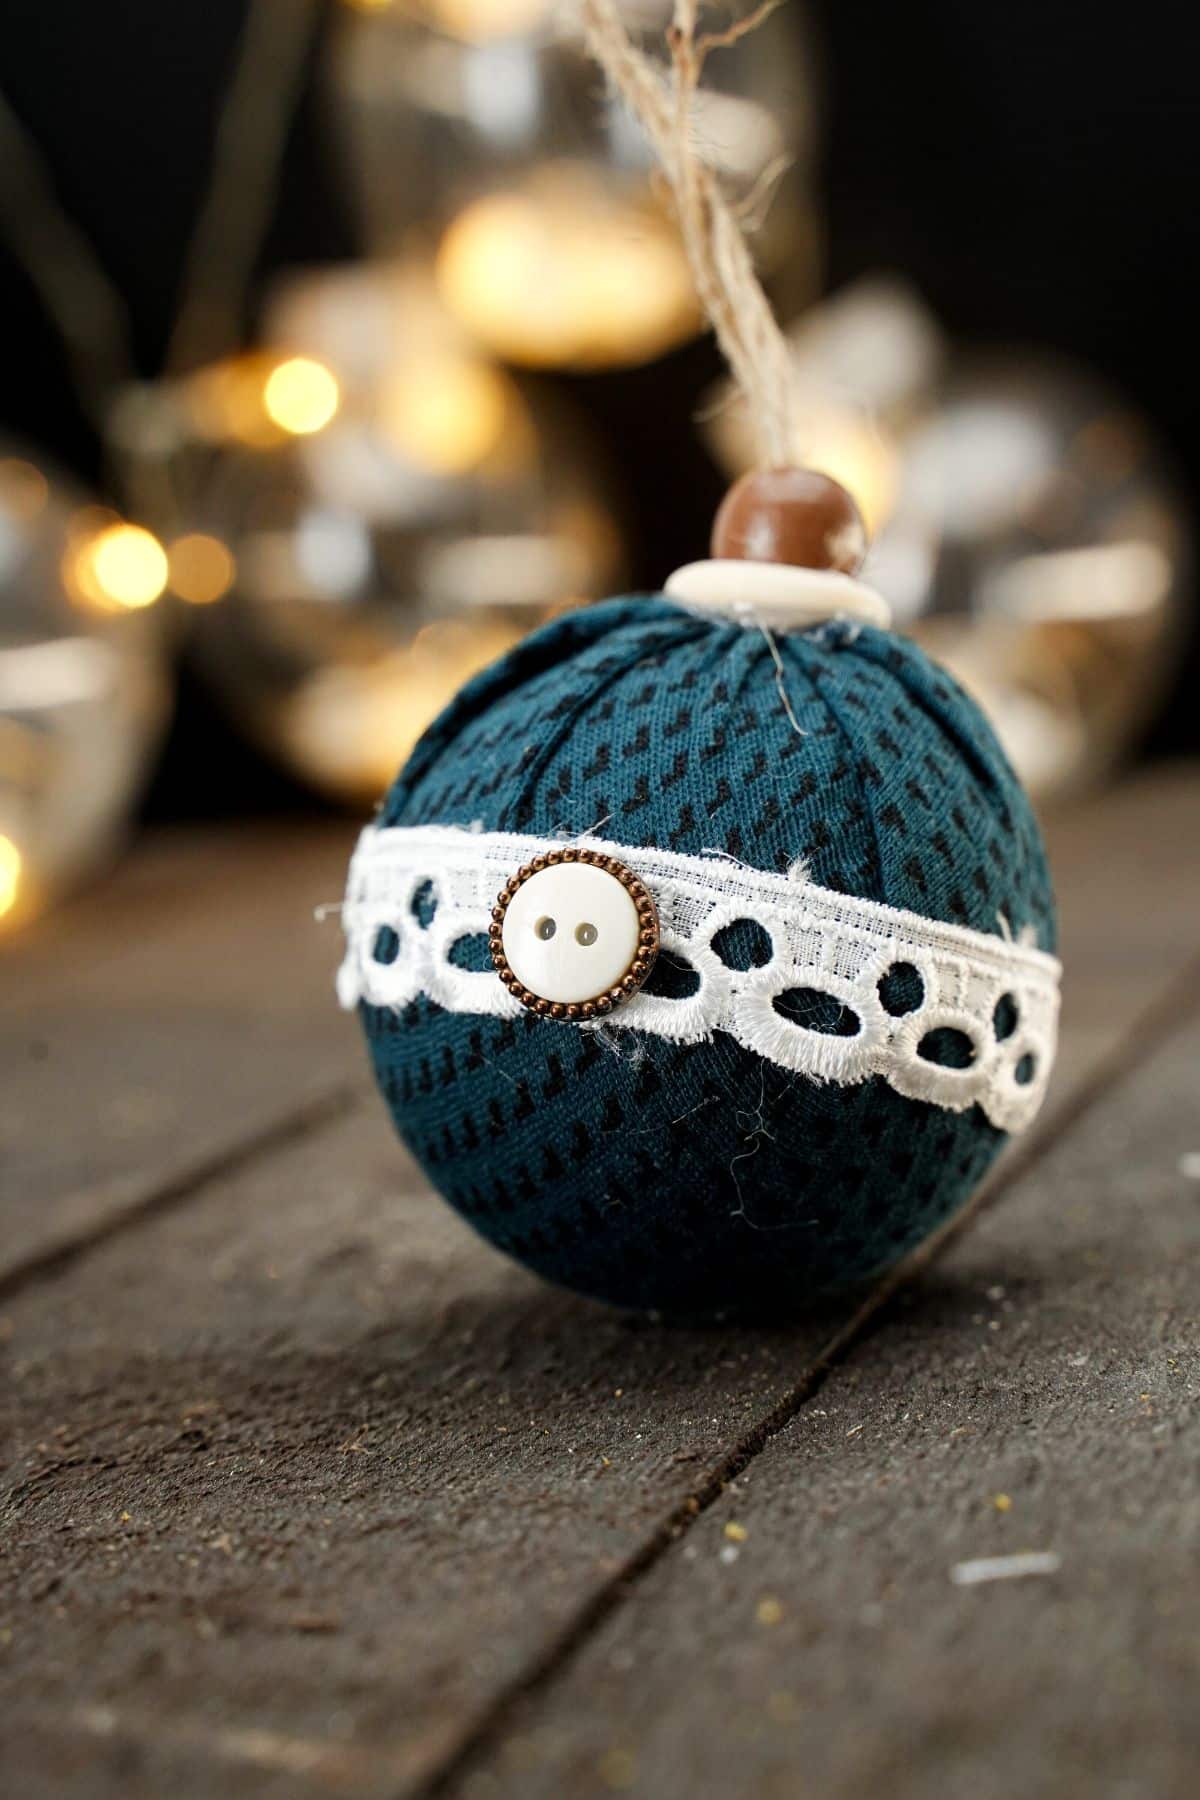
Next, you will wrap the center of the ornament with lace and glue into place.
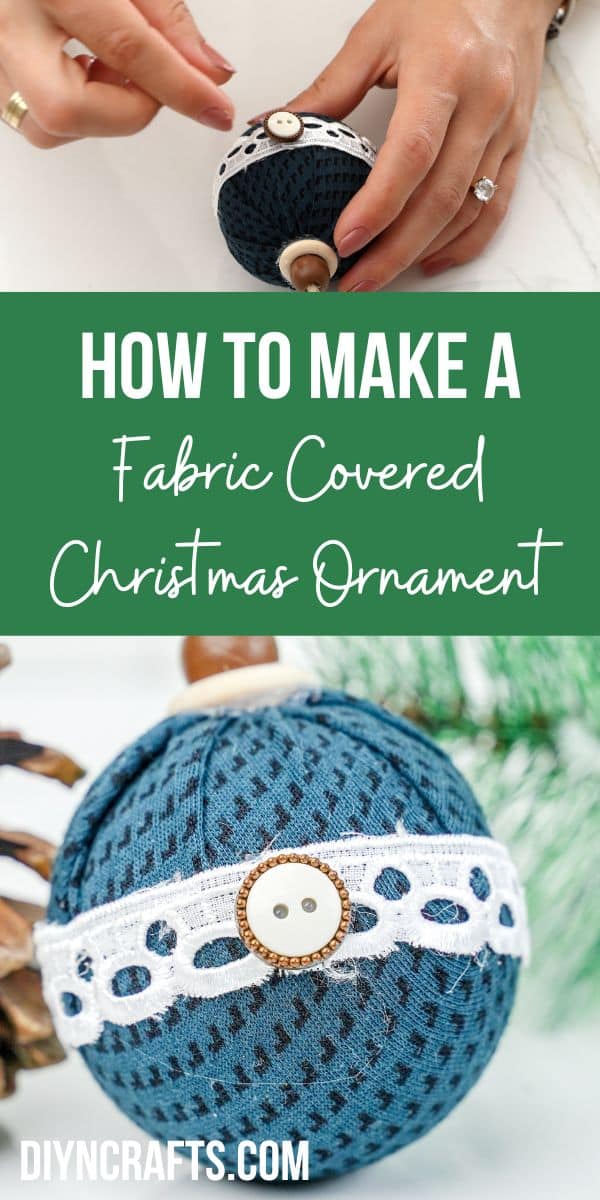
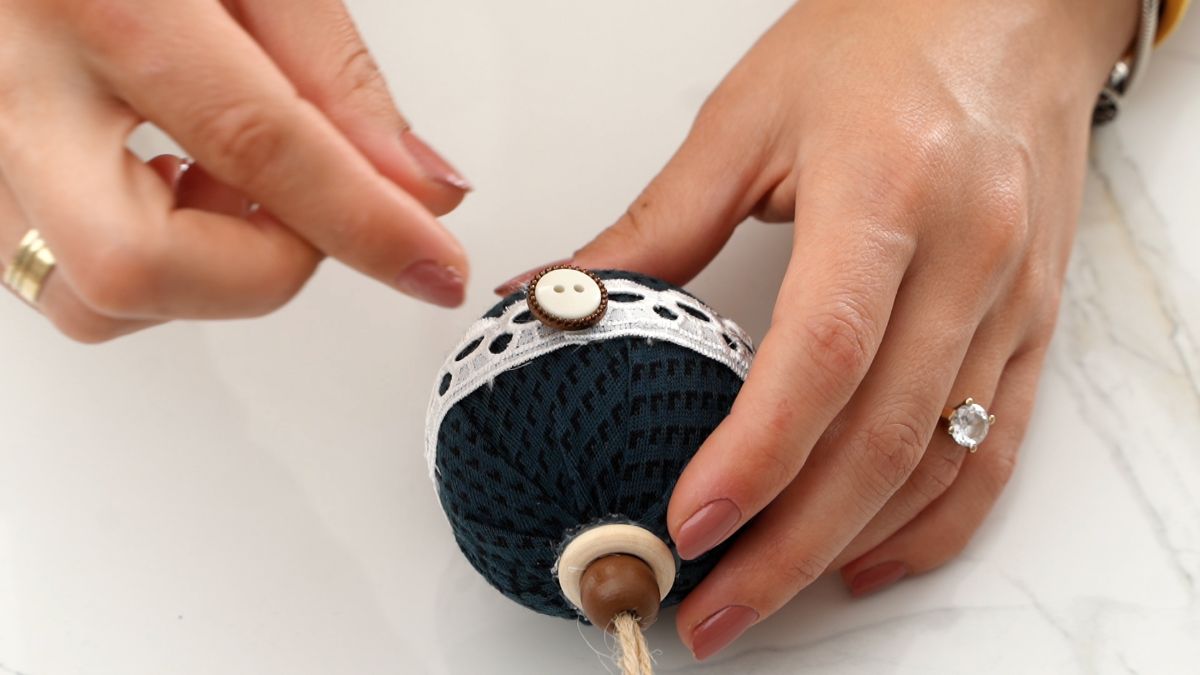
Add a decorative button where the seam of the lace lands.
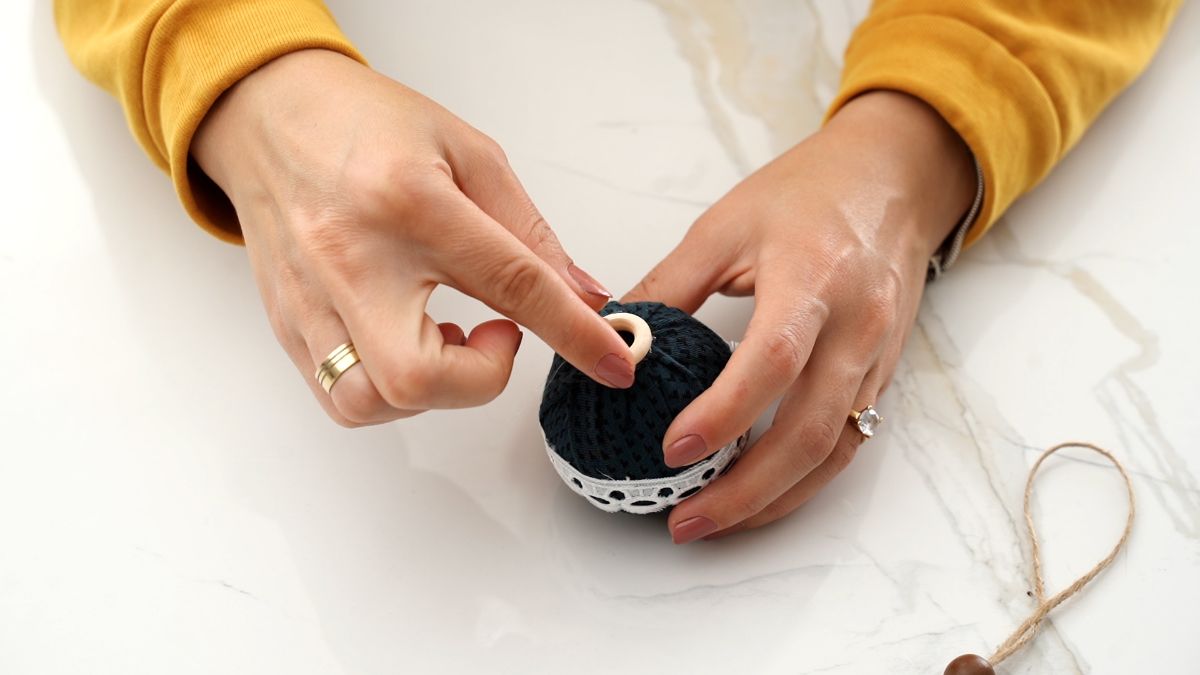
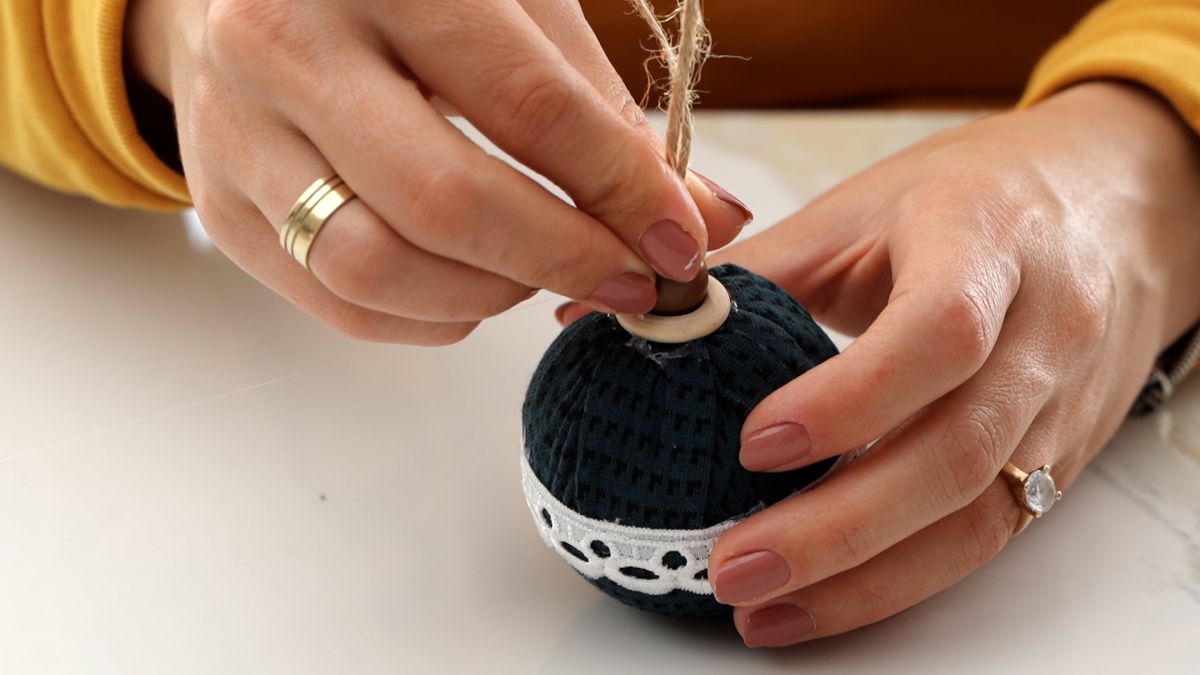
Then, you will glue the wooden bead and ring onto the top of the ornament for hanging.
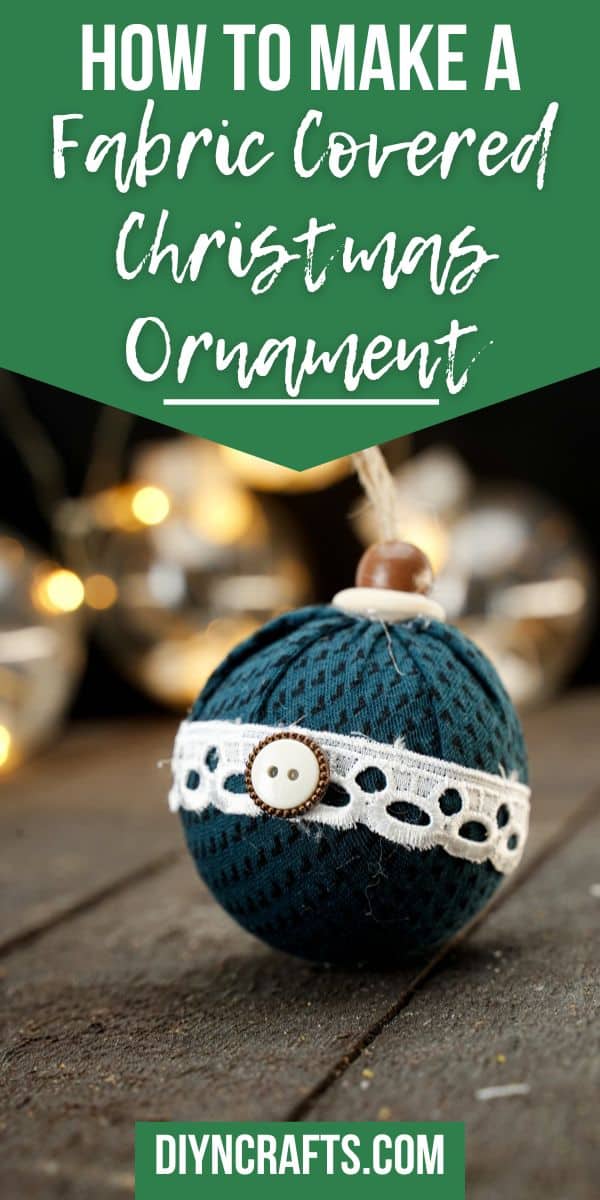
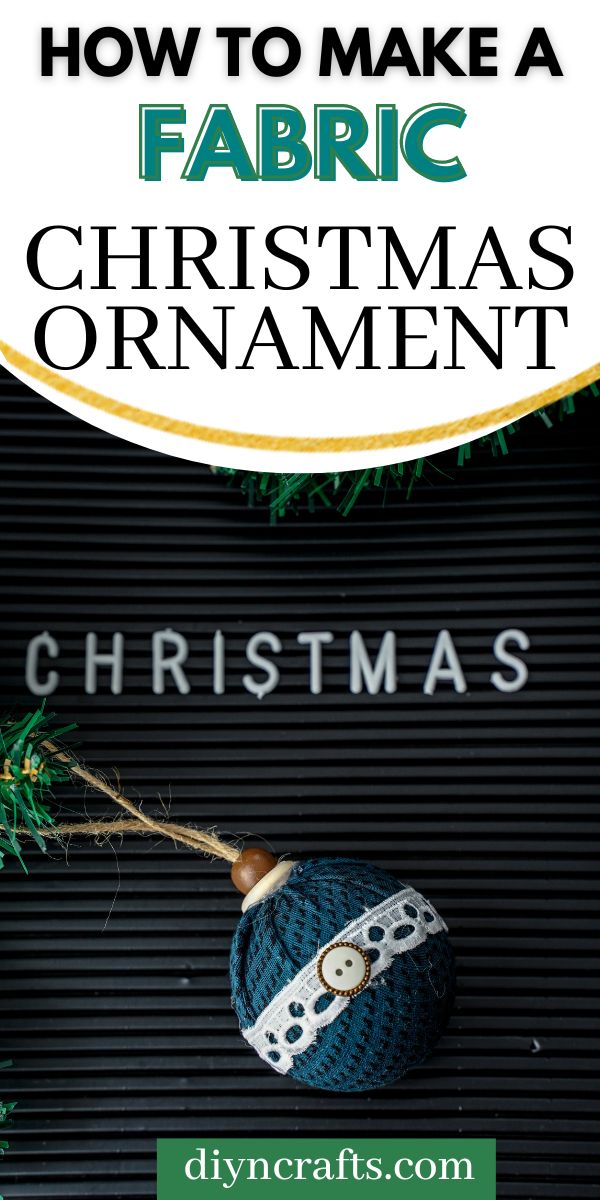
Now your ornament is ready to hang on your tree.
What Should I Use as the Base of the Ornament?
When making this fabric-covered Christmas ornament, you can use a variety of items for the base. Below are some favorites if you aren't sure where to begin.
- Plastic or Glass Ornament: This is the most common choice and is ideal for upcycling an ornament that is faded, scratched, or odd color.
- Styrofoam Ball: One of the most popular choices is a styrofoam ball, which is lightweight and easy to work with. You can find styrofoam balls in various sizes at craft stores or online.
- Foam Ball: Similar to styrofoam, foam balls are another lightweight option that provides a sturdy base for your fabric ornament.
- Cardboard: Using cardboard as a base is a budget-friendly option. Cut out a circular shape from thick cardboard and wrap it with fabric to create the ornament.
- Fabric-Wrapped Foam Stuffing: If you prefer a softer feel to the ornament, you can create a base using foam and then wrap it tightly with fabric to form the ball shape.
When selecting the base, consider the size and weight you desire for your ornament. Smaller bases are ideal for delicate ornaments, while larger ones can accommodate more fabric patterns and decorations.
What is Best for Securing the Fabric to the Ornament?
For this craft, I just grabbed my trusty hot glue gun and glue. It has a strong bond between the fabric and other elements, and it is inexpensive.
You could also use a craft glue such as E6000 for this project. A tacky craft glue will work, but won't have as secure of a hold.
While it will stick for this project, I don't recommend using school glue (Elmer's) as it doesn't have the strong bond others will have for this project.
Can Kids Make This Fabric Ball Ornament?
Yes, kids can make this fabric ball ornament. Let them have creative freedom to create whatever kind of ball they want. Use kid-safe scissors or cut the fabric for them.
If the child is too young to use a hot glue gun safely, glue the pieces for them or let them use double-sided tape.
Ways to Customize DIY Christmas Ornaments
Customizing DIY Christmas ornaments is a fantastic way to add a personal touch and make your holiday decorations truly unique. Here are some creative ways to customize your DIY Christmas ornaments:
- Paint: Use acrylic paints to add colorful designs, and patterns, or even write names or messages on plain ornaments.
- Glitter: You can also apply glitter for a sparkling finish, creating a festive and eye-catching effect.
- Decoupage: Cut out images or patterns from wrapping paper, napkins, or old Christmas cards, and adhere them to the ornament with decoupage glue. This technique allows you to incorporate various designs and themes into your ornaments.
- Personal Photos: Insert small photos of family members, pets, or memorable moments into glass or plastic ornaments.
- Fabric and Ribbons: Wrap fabric or ribbons around the ornament base, creating a textured and visually appealing design.
- Glitter Vinyl or Stickers: Cut shapes or designs from glitter vinyl sheets or use pre-made stickers to decorate the ornaments effortlessly.
- Monogram: Use stickers, paint, or other embellishments to create a monogram.
- Embellishments: Attach small embellishments like beads, sequins, buttons, or miniature figurines to the ornaments with glue.
- Snowy Effect: Apply artificial snow or white paint in a speckled pattern to create a snow-covered effect on the ornaments, bringing a wintry charm to your Christmas tree.
- Nature-Inspired: Glue small pine cones, dried flowers, or twigs onto the ornament, evoking a natural and rustic vibe.
- Themed Ornaments: Design ornaments based on specific themes, such as a winter wonderland, gingerbread house, or travel-inspired.
More Christmas Craft Tutorials
If you are looking for more ornaments to add to your holiday tree, check out some of our favorites below. Get creative and bookmark your favorites to make soon!
- 20 Adorable Christmas Ornaments Made From Paper
- 35+ Creative DIY Disney Ornaments for Christmas
- 30 Easy Crochet Christmas Ornaments
- 35+ DIY Snowman Crafts Perfect for Winter
- 30 Craft Stick Christmas Crafts for Kids
Elegant Fabric Ball Christmas Ornament Craft
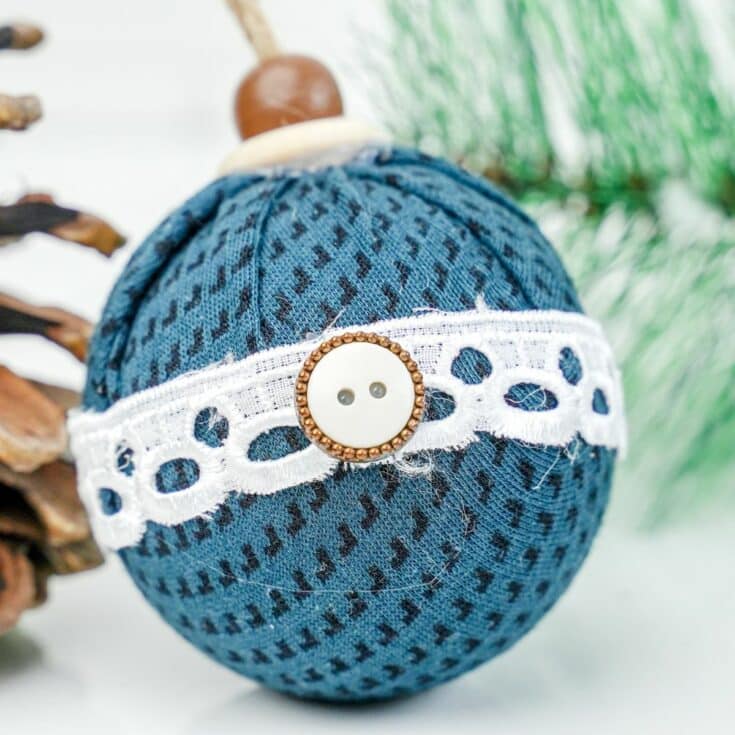
Create festive cheer with our DIY fabric ball Christmas ornament tutorial. Handmade charm for your holiday tree!
Instructions
- Start by removing the ornament's top and setting it aside. Cut a piece of fabric large enough to wrap the ornament entirely, leaving some extra to tuck inside the top.
- Position the ornament in the fabric's center, bring up the sides, and tuck them into the ornament's opening. You can secure this with glue, but be careful of sharp edges.
- Thread an 8" twine through a wooden bead's center, tie the ends together, and add glue to fasten it. Wrap lace around the ornament's center and affix with glue. Glue a decorative button at the lace seam.
- Finally, attach the wooden bead and ring to the ornament's top to create a hanging loop. Your ornament is now ready to adorn your tree.
Notes
- Cover the ball with any fabric or paper you prefer. If using paper, seal it into place using Mod Podge.
- Use pliers to remove the hook before covering the ball.
- If possible, opt for a plastic ornament over glass for safety.
Recommended Products
As an Amazon Associate and member of other affiliate programs, I earn from qualifying purchases.
-
 RAG BALLS Christmas Set of 12 Large 2.5 Farmhouse - Etsy
 -
 Fabric Ball for Wreath Attachments Fabric Ornaments - Etsy
 -
 Christmas Ornaments Quilted 2 Inch and 3 Inch - Etsy
 -
 Sage Ball Bowl Ornaments 3 Inch 7cm Centerpiece Fillers - Etsy
 -
 Fabric Balls Set of 6 Assorted - Etsy
 -
 Shabby Chic Fabric Ornament-rag Ball Ornament-farmhouse Ball - Etsy







Leave a Reply