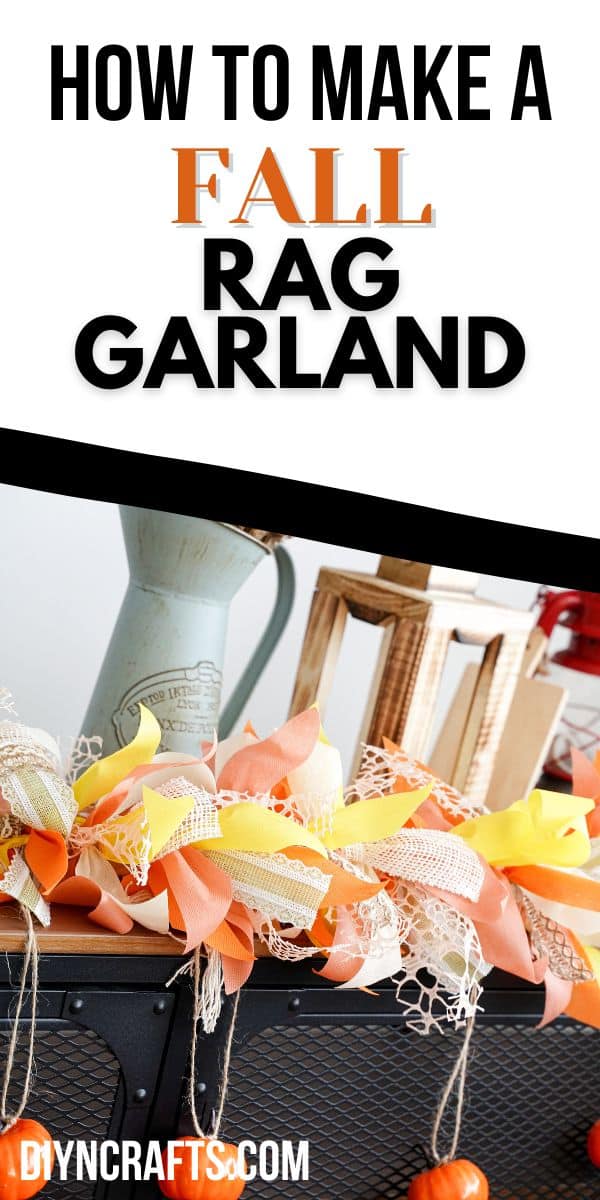
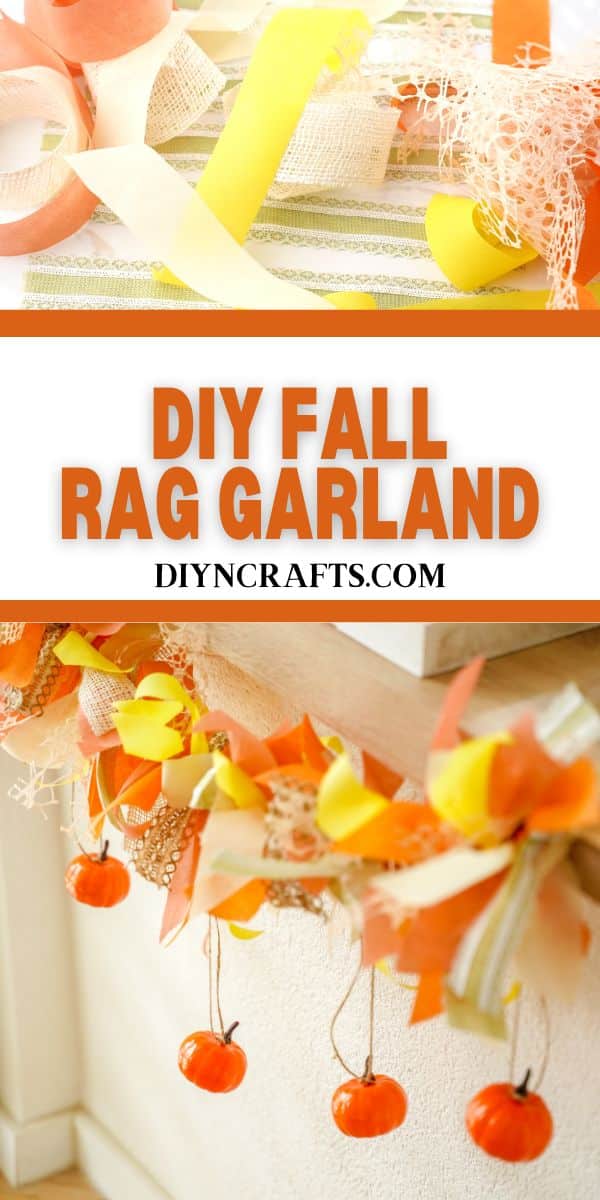
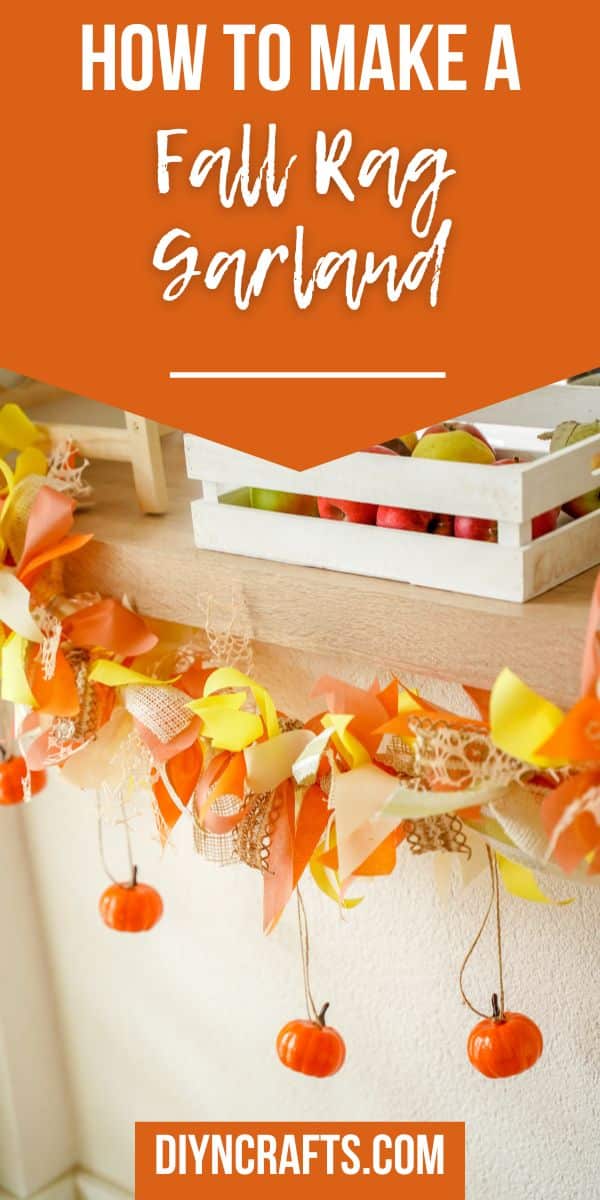
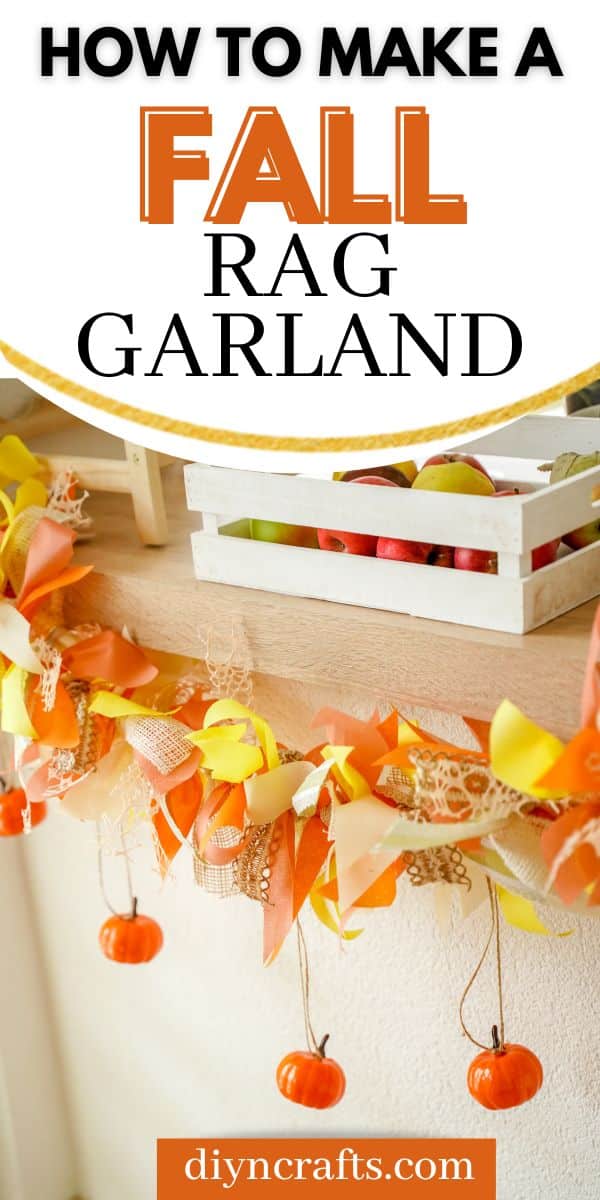
Craft a charming fall rag garland with this easy DIY tutorial. Learn to design cozy autumn decor using simple materials. Embrace the season's warmth with this delightful garland project.
Jump to:
- Fall Rag Garland Tutorial
- Supplies Needed
- How to Make a Fall Rag Garland
- What is the Best Type of Fabric for a Fall-Themed Rag Garland?
- What Kind of String or Rope Should I Use for a Homemade Garland?
- Can I Incorporate Fall Elements Like Leaves or Pumpkins?
- How Should I Hang a Homemade Garland?
- Tips for Storing a Homemade Garland for Future Use
- More Fall Craft Ideas
- Materials
- Tools
- Instructions
- Notes
- Recommended Products
Fall Rag Garland Tutorial
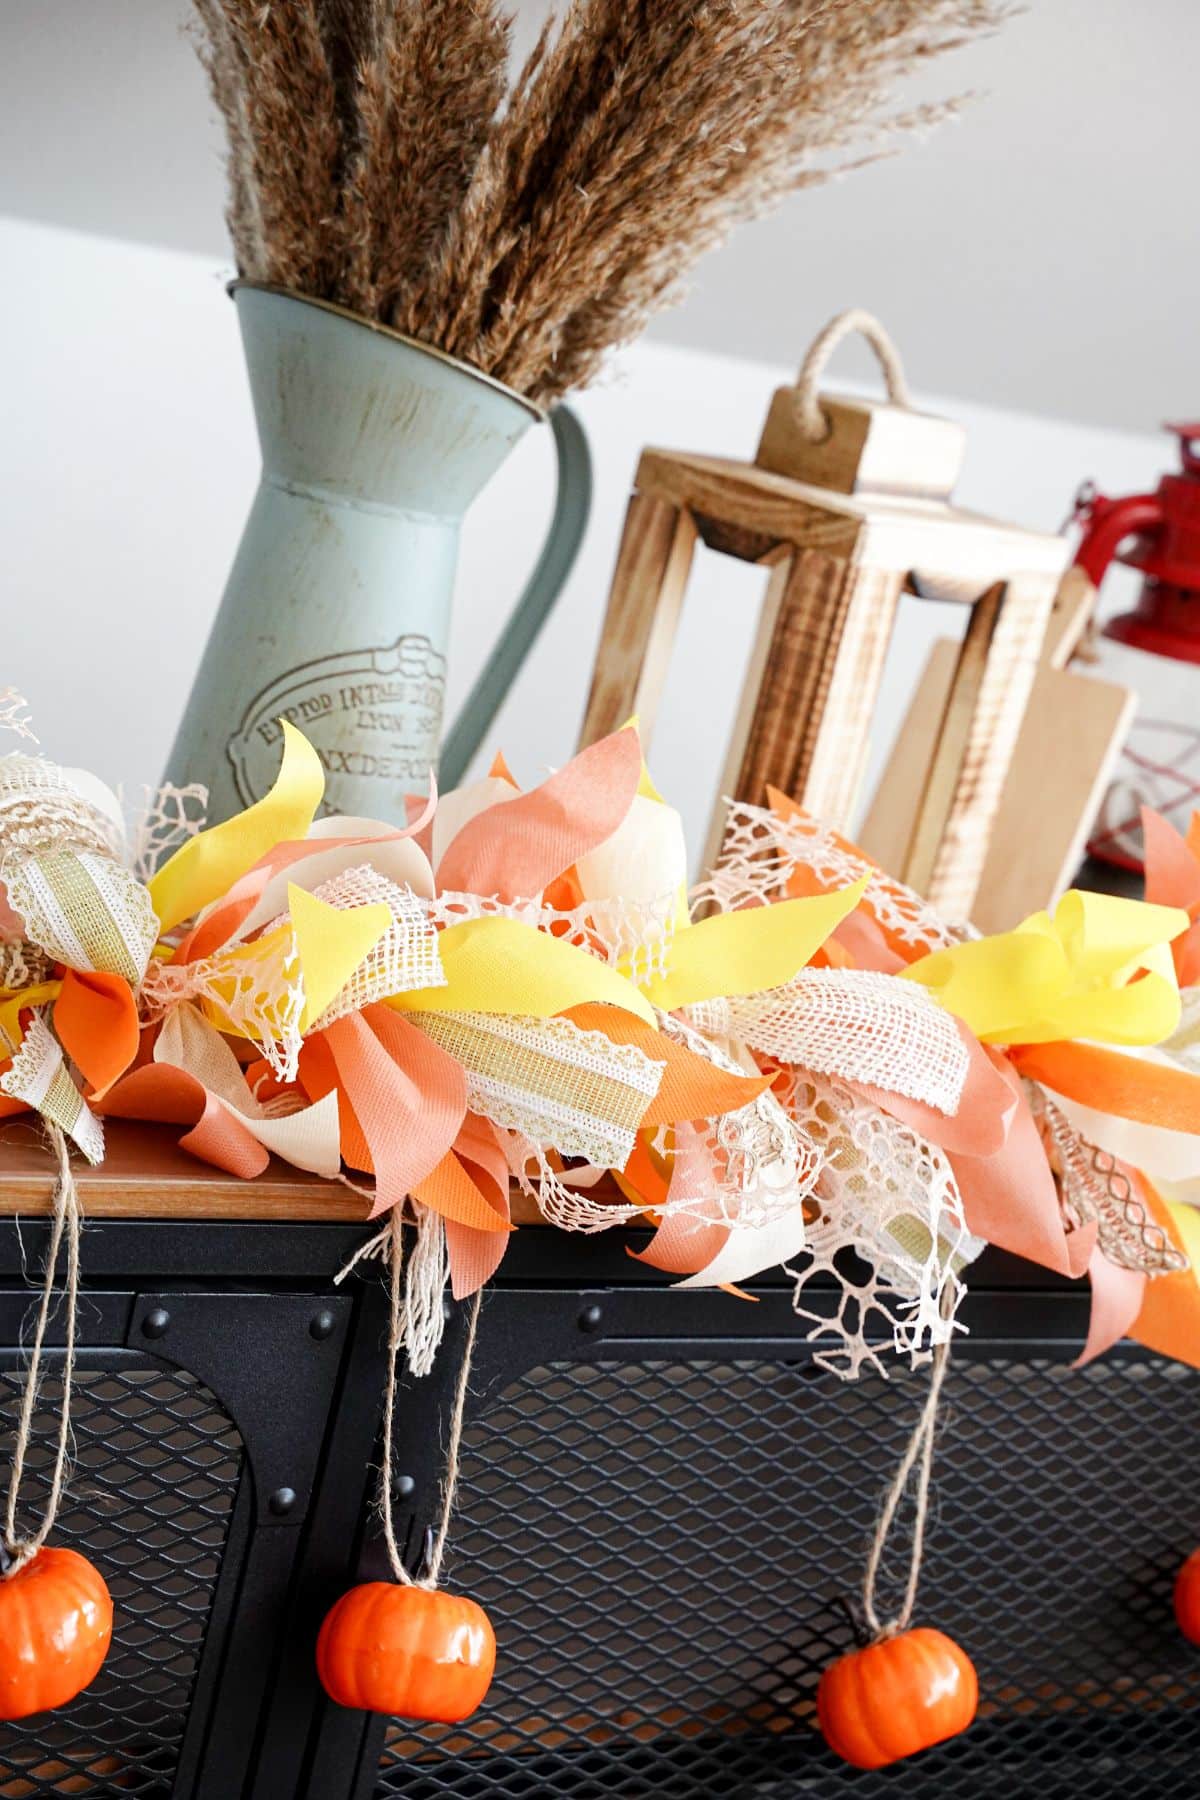
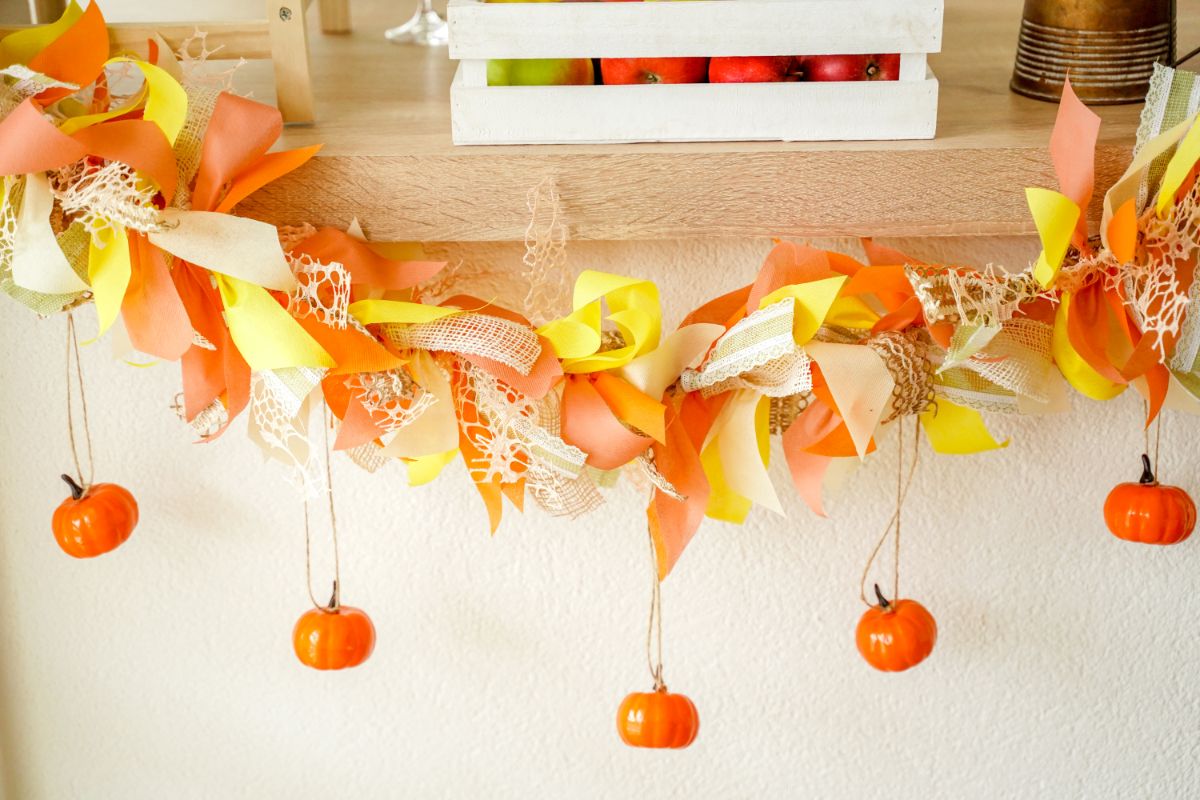
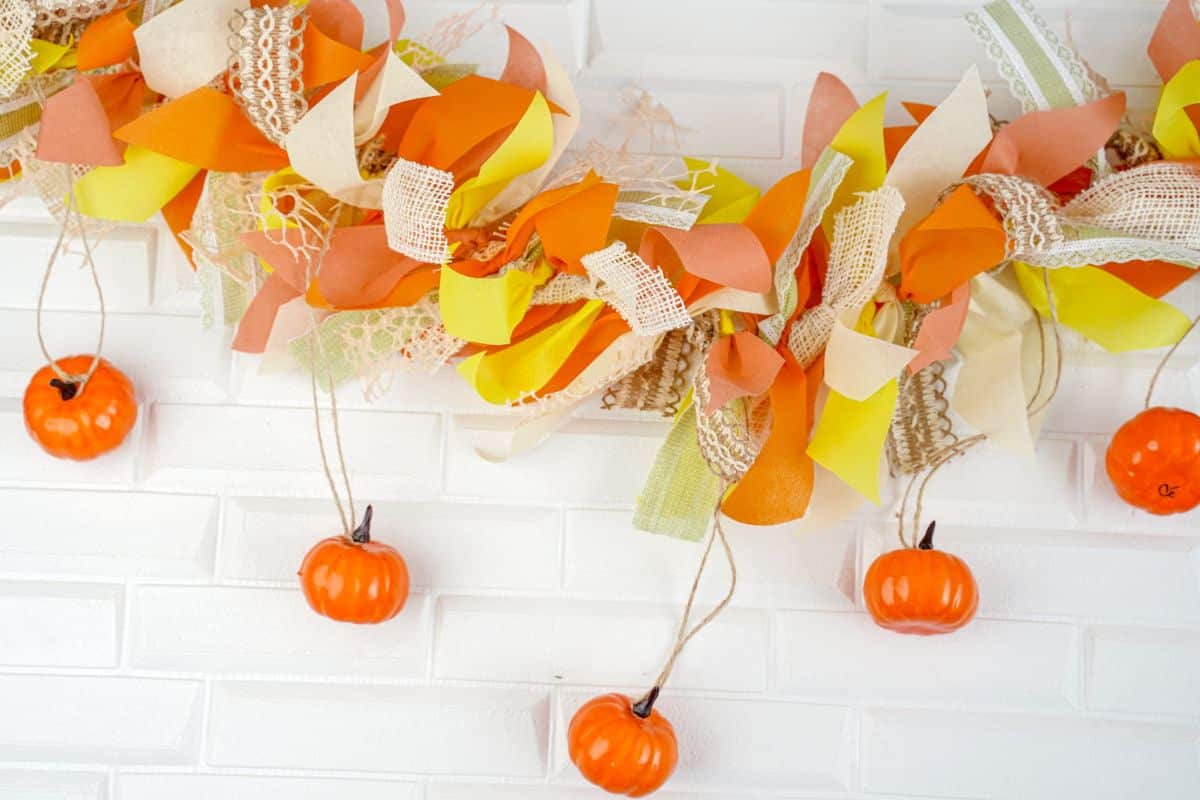
Deck your home with festive autumn vibes with our Fall Rag Garland Tutorial. This delightful craft is not only easy to make but also promotes recycling and upcycling. Transform old fabrics into a stunning garland that captures the essence of the season.
Embrace the joy of DIY as you create a fun and eco-friendly decoration, perfect for celebrating the beauty of fall without breaking the bank. Let your creativity flow and craft a charming garland that will bring a warm and inviting ambiance to your space.
Want more fall decor ideas? Check out this list of fall DIY wreaths for inspiration.
Supplies Needed
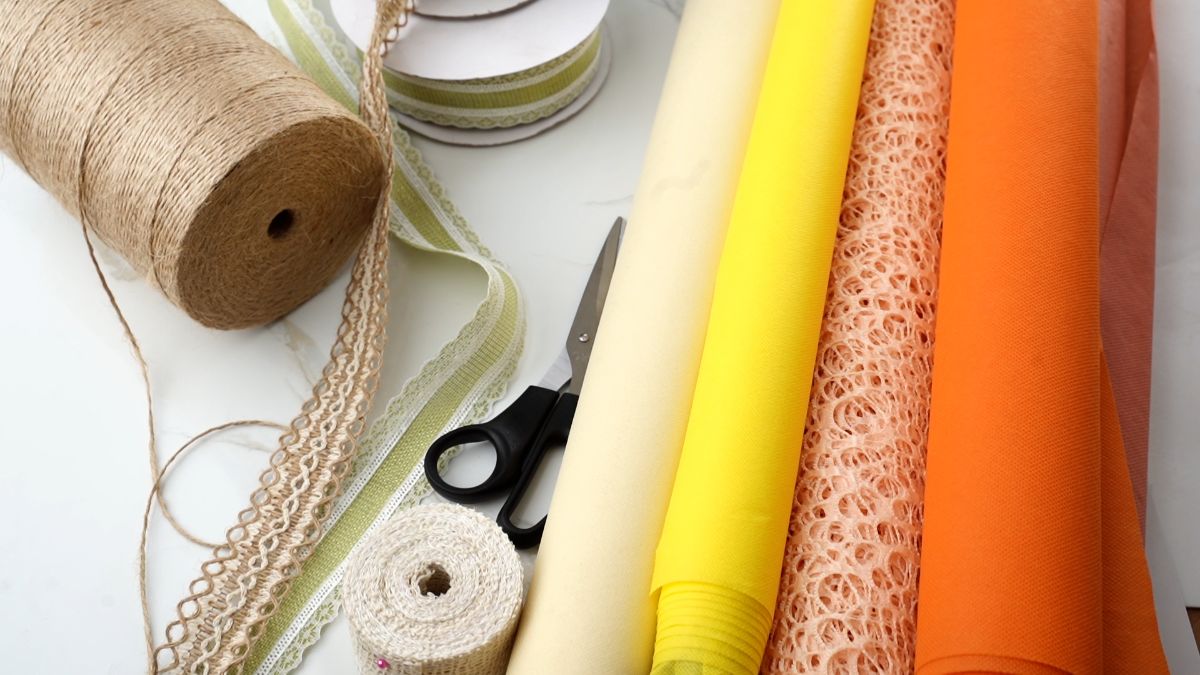
The best part of this project is that you likely already have everything needed already on hand.
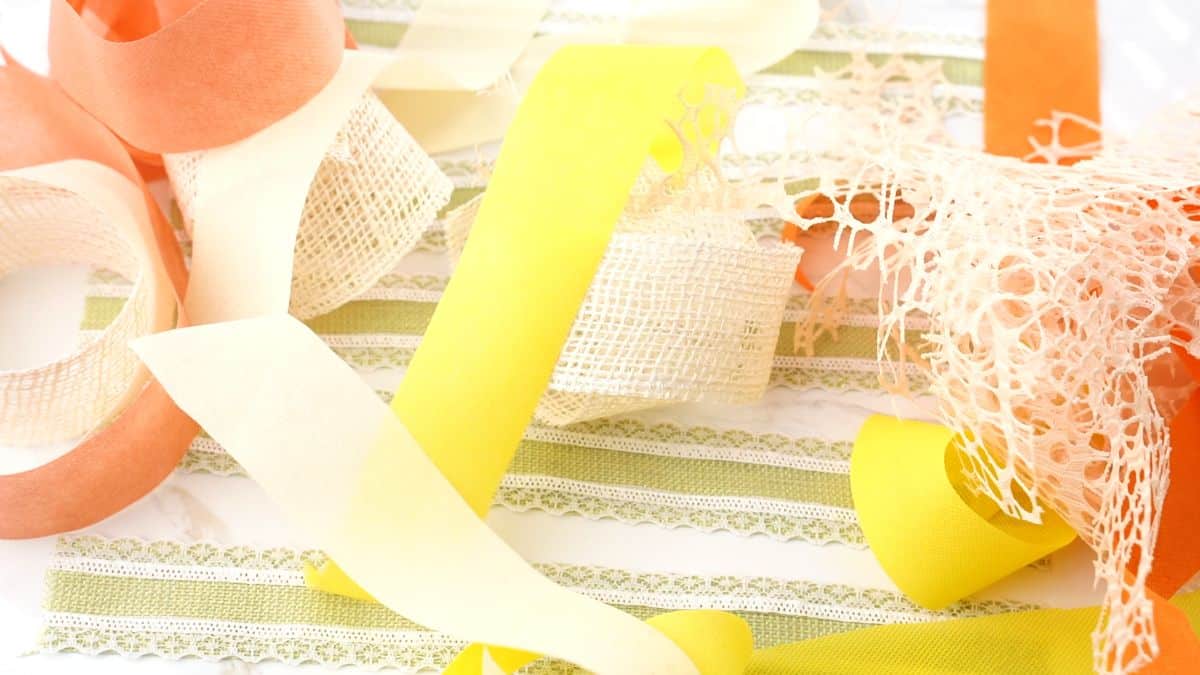
- Scrap fabric in cream, yellow, and orange
- Rustic ribbons
- Craft pumpkins
- Twine
- Scissors
- Hot glue and glue
How to Make a Fall Rag Garland
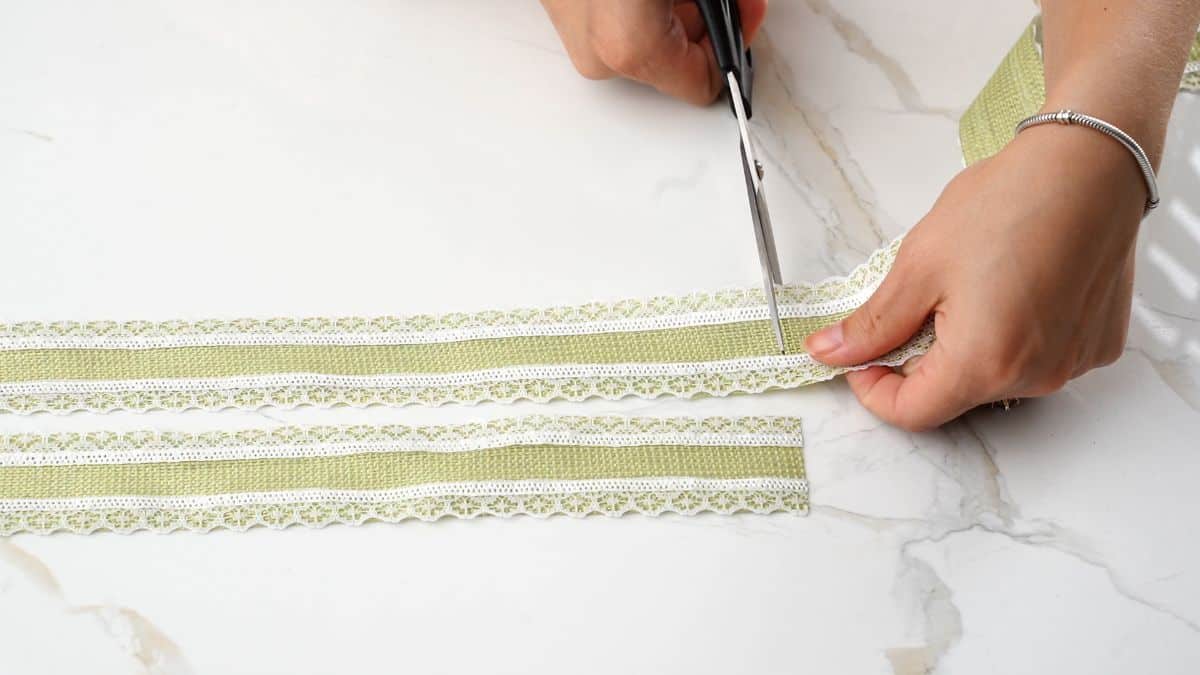
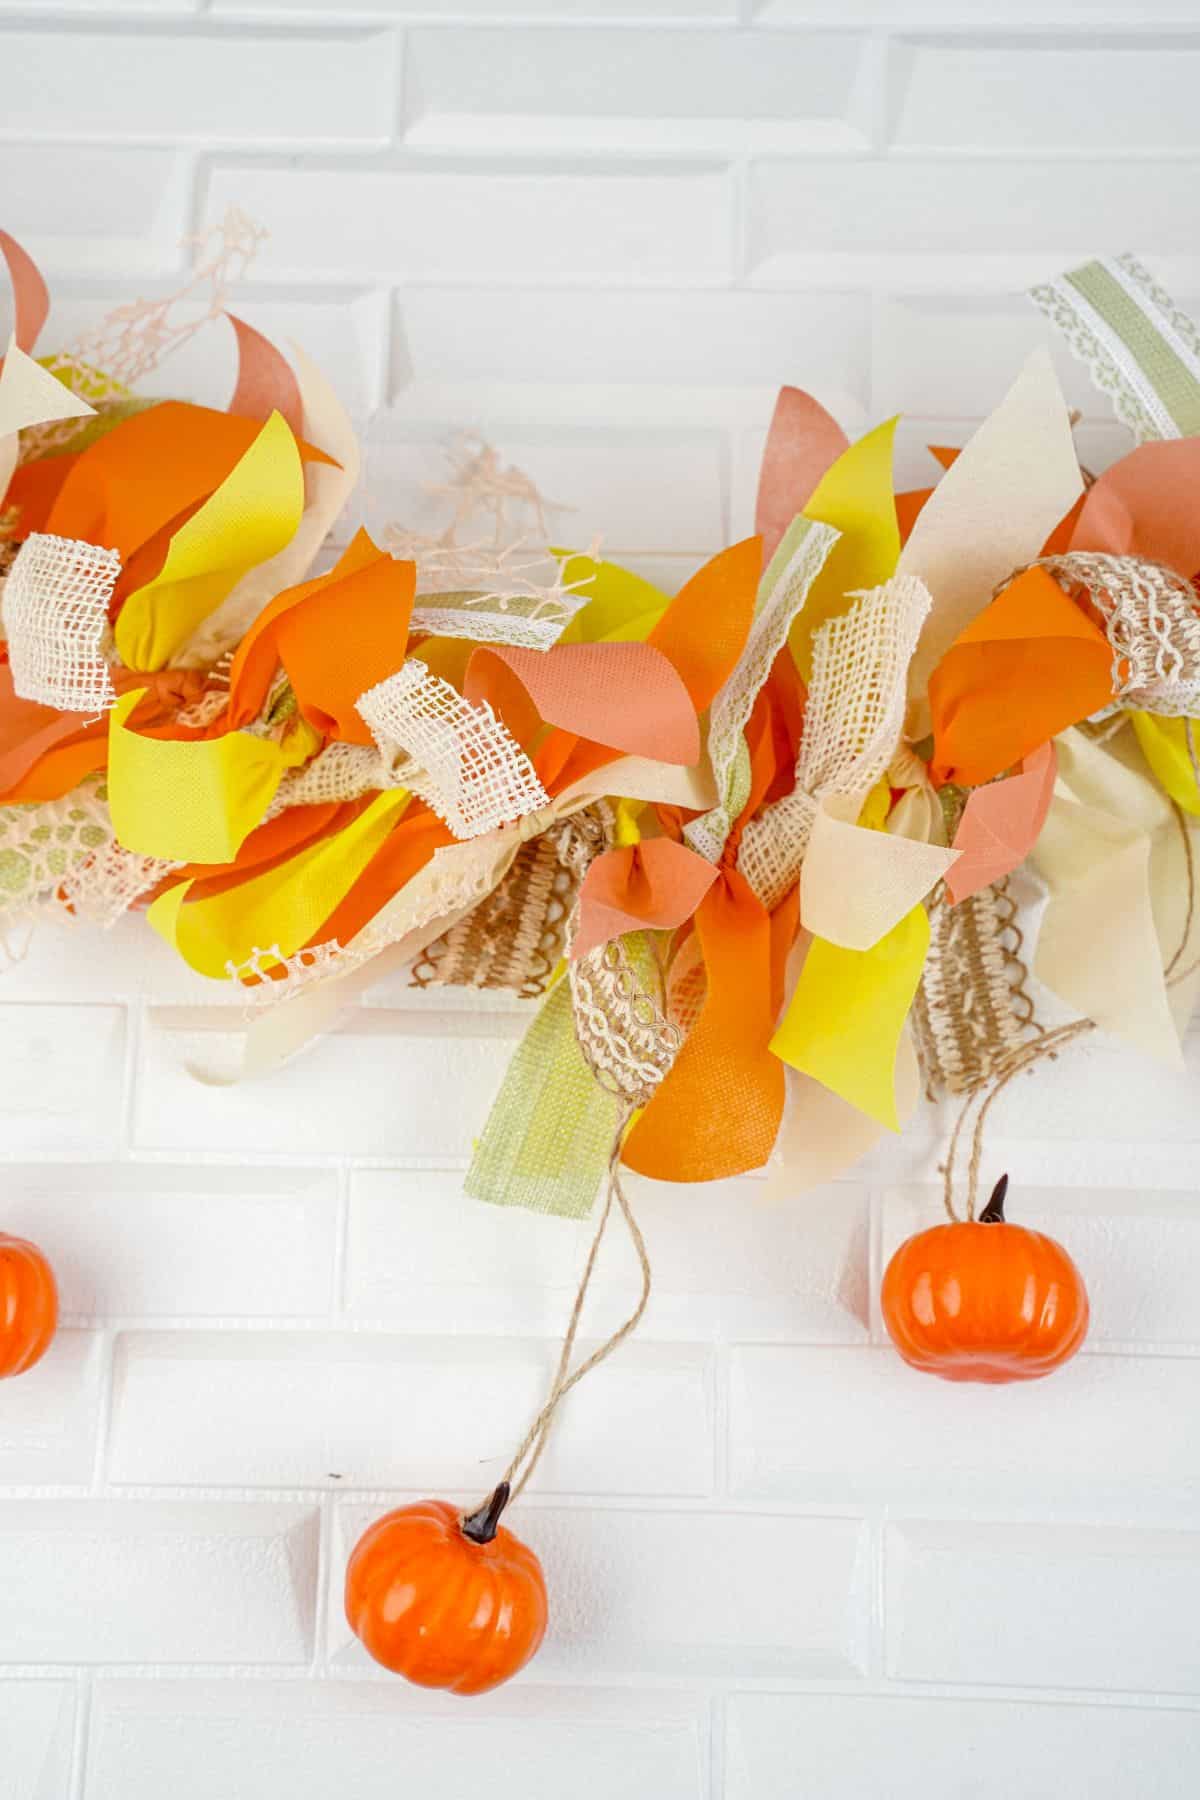
To make this garland, you will begin by cutting your ribbon into 8" lengths.
Do the same thing with the fabric strips making them 1" wide and 8" long. You will want to create anywhere from 50 to 100 strips total, depending upon your length preference for the garland.
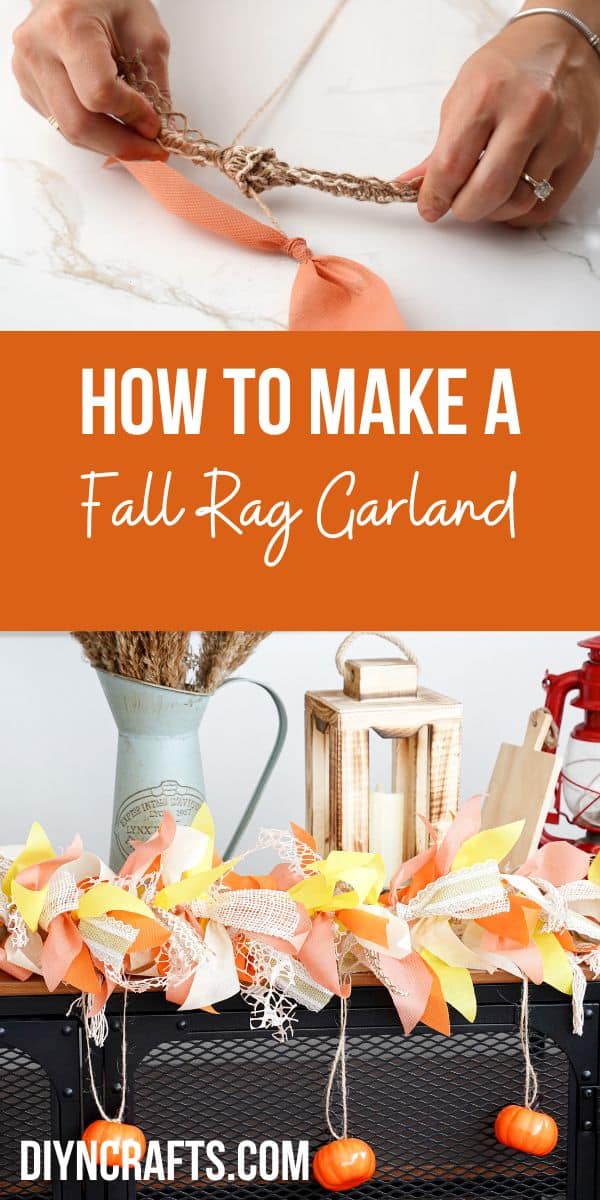
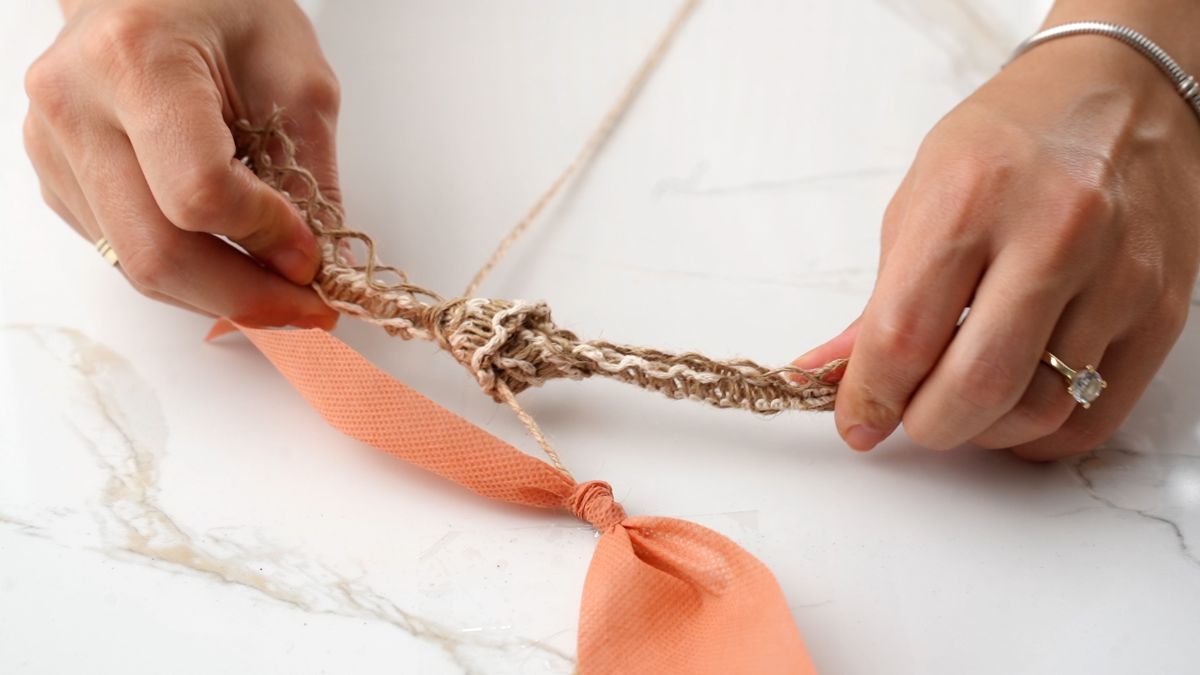
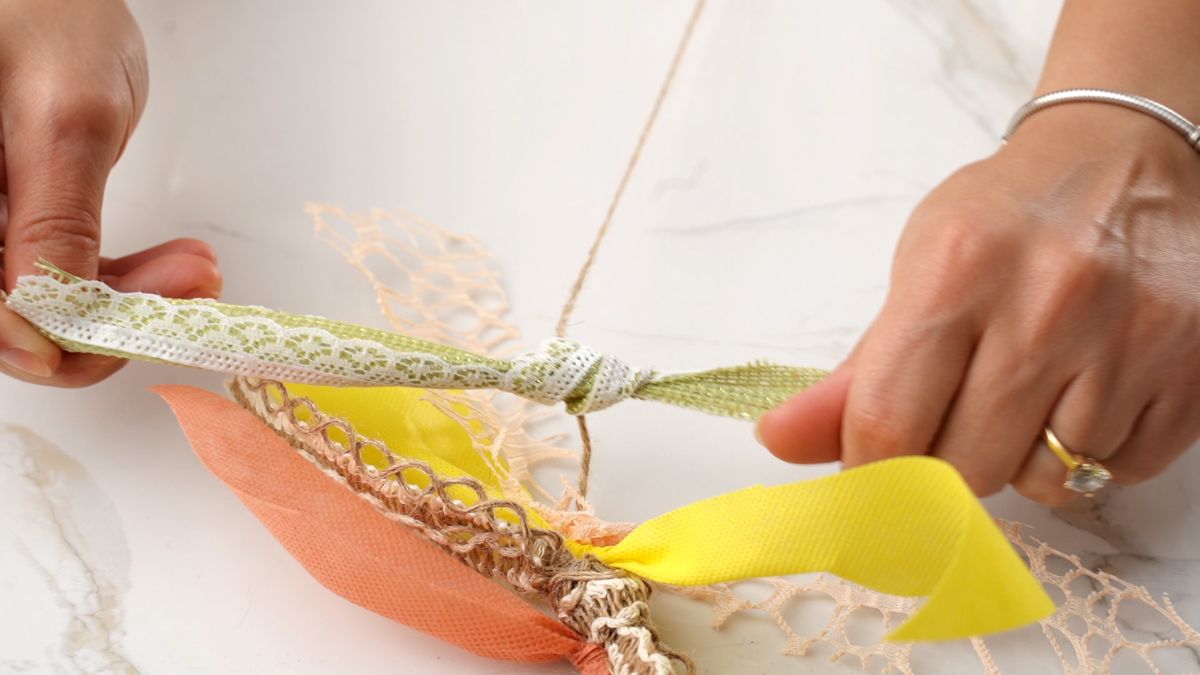
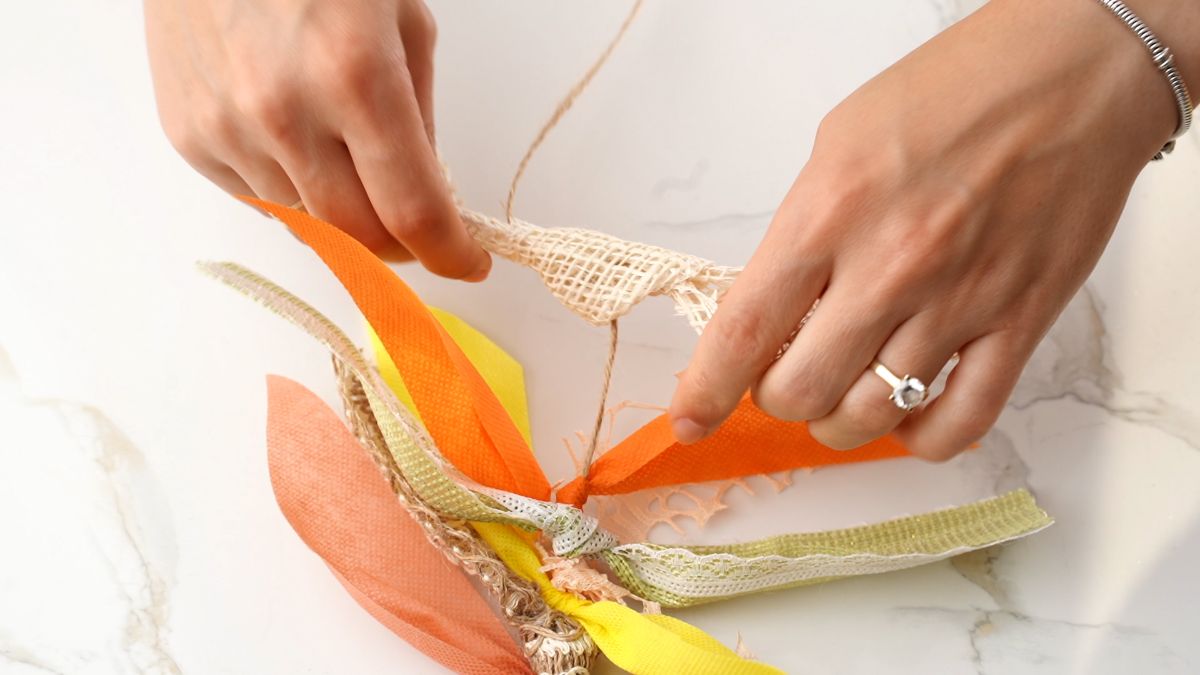
Now, create a loop on one end of the twine, this will be for hanging the garland. Next to the knot of the loop, begin trying the strips of fabric onto the twine.
Go back and forth alternating colors and creating a pattern or making it random, just spreading color throughout.
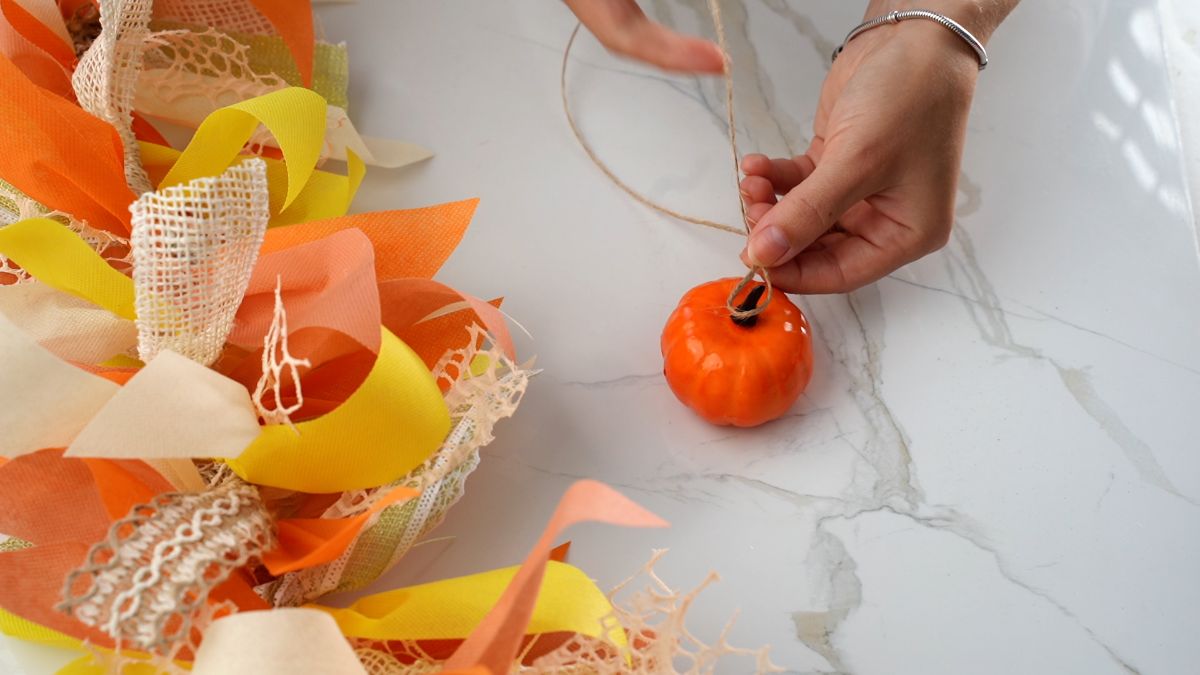
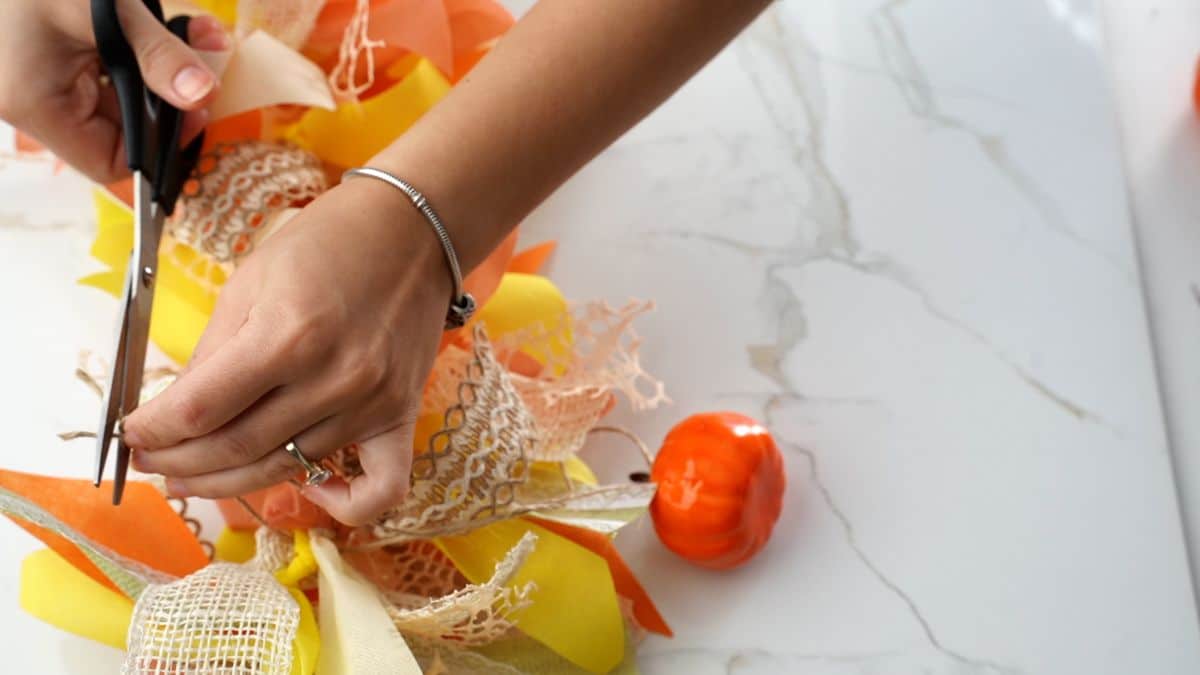
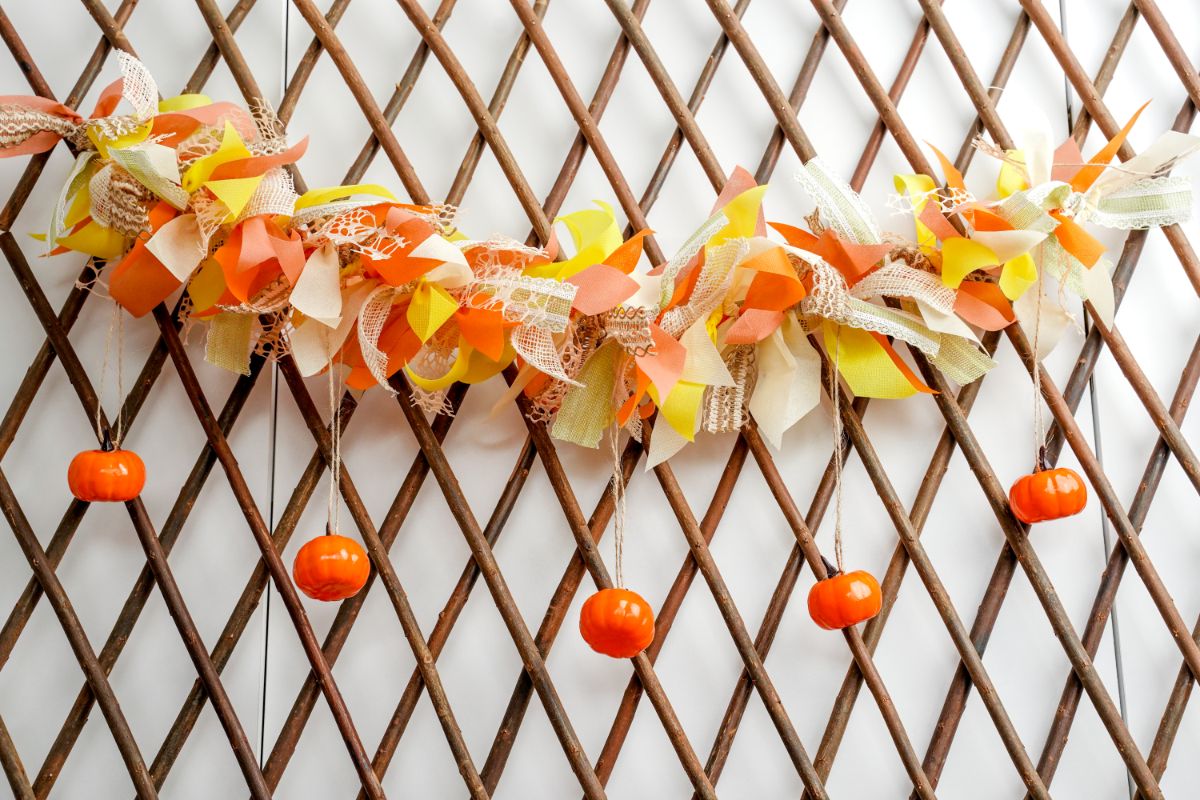
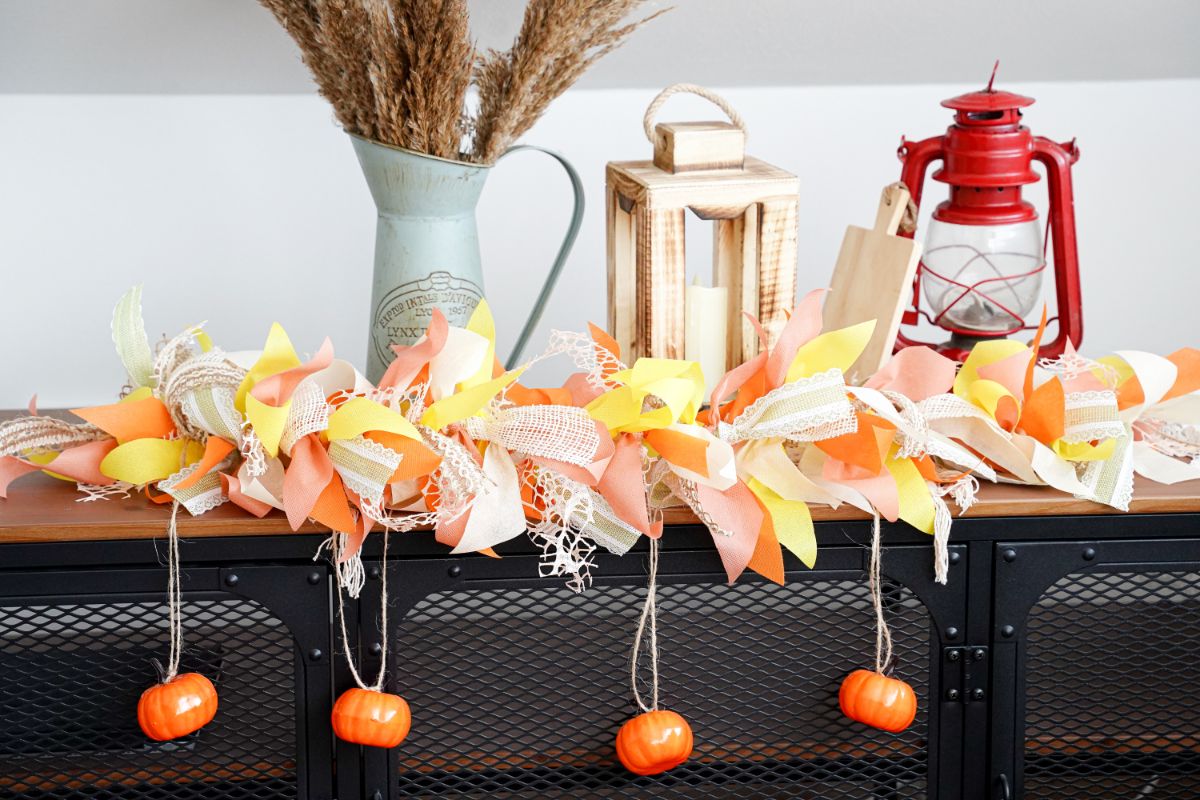
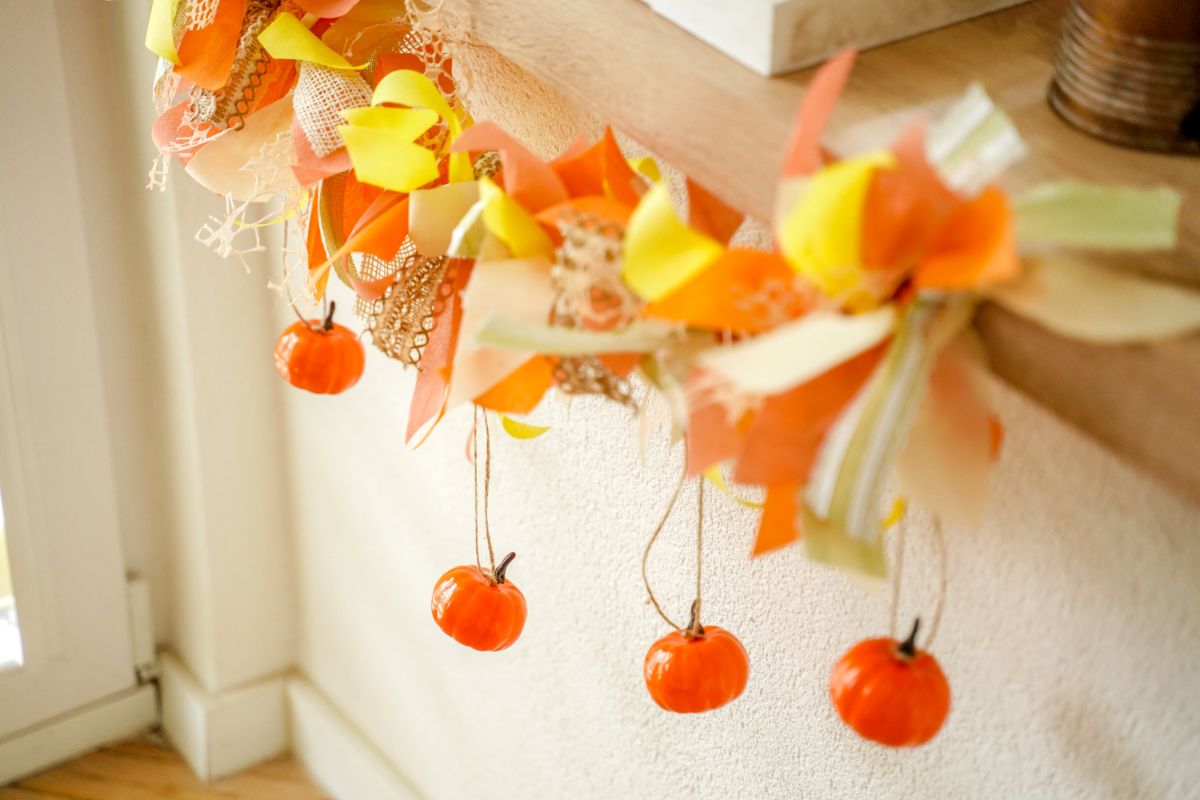
When you are happy with the length of the garland, add the mini pumpkins, fall leaves, acorns, or pinecones as desired.
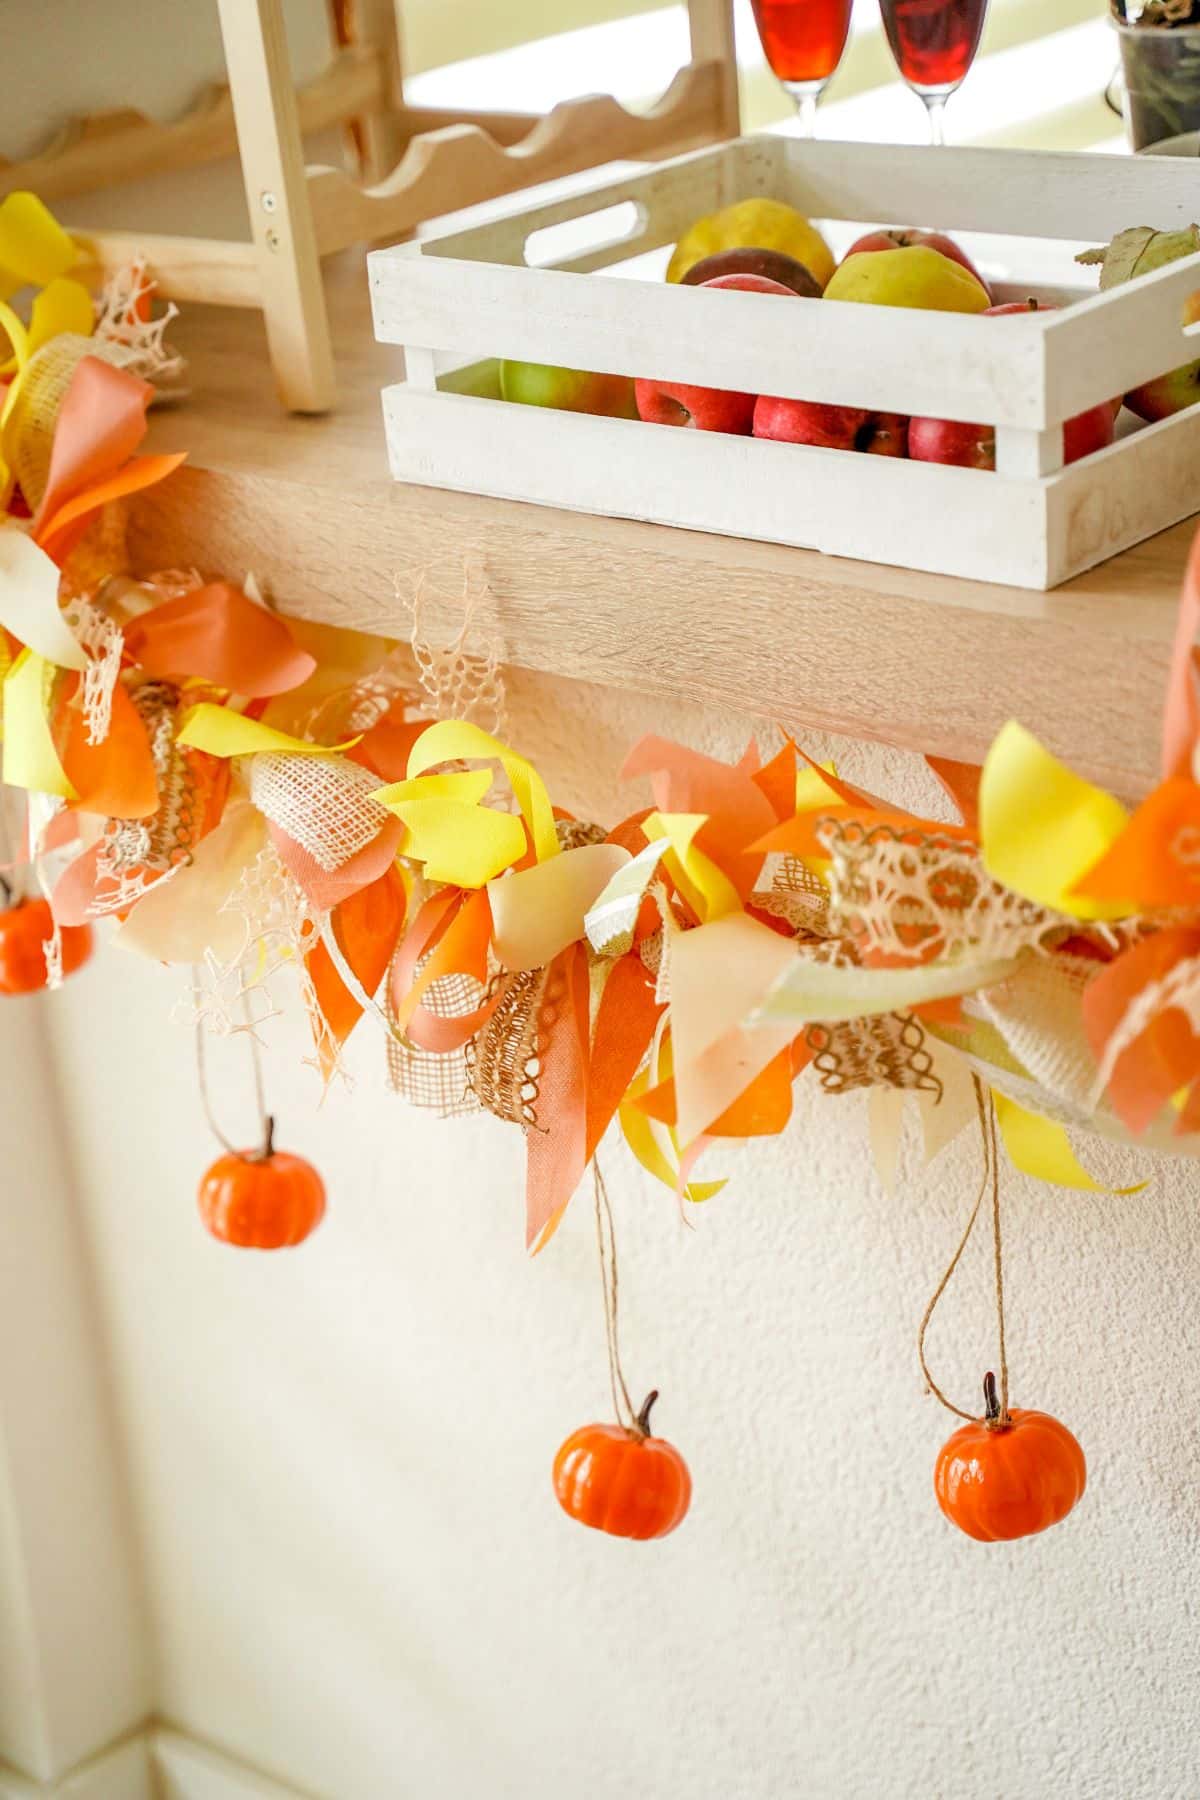
Hang on a mantle, doorway, or on stair banisters.
What is the Best Type of Fabric for a Fall-Themed Rag Garland?
When it comes to creating a fall-themed garland, the best type of fabric to use is typically flannel or cotton. More importantly, however, is that you use what you already have on hand. That could be any number of fabrics or ribbons. Below are some thoughts on what to choose.
- Flannel fabric offers a cozy and rustic feel, ideally suited for autumn. Its soft texture and warm colors add to the overall charm of the garland.
- Cotton fabric, on the other hand, provides a more lightweight option while still offering a wide range of patterns and colors that complement the fall theme.
- Burlap is a great choice if you have a rustic theme in your home. It is common in autumn as part of the decor and can be found in many shades and widths.
- Ribbon is another good choice you can use for this. We used just one color in our garland, but you could create the whole garland using various colors and widths of ribbon for something unique.
Consider using fabrics in rich shades of red, orange, yellow, brown, and green to capture the essence of the season and create a stunning fall-inspired decoration.
What Kind of String or Rope Should I Use for a Homemade Garland?
For a homemade garland, it's best to use a durable string or rope that can support the weight of the materials used in the garland.
Twine or jute rope are popular choices as they have a natural and rustic look that complements many DIY projects, including fall-themed garlands. These materials are strong enough to easily hold the fabric strips without snapping or fraying.
Another option is to use a thin ribbon or yarn, which can add a softer touch to the garland. However, be sure to select a ribbon or yarn that is strong enough to withstand the weight of the fabric strips.
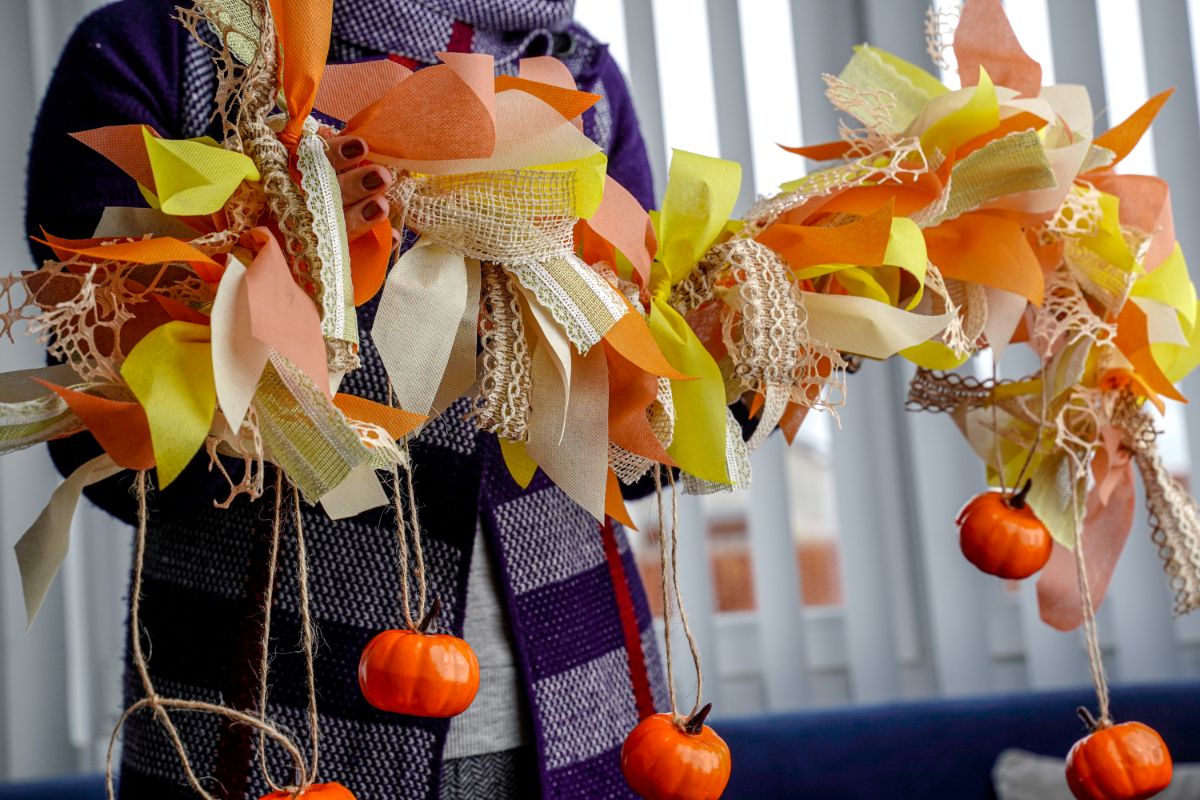
Can I Incorporate Fall Elements Like Leaves or Pumpkins?
Of course. You can enhance your DIY rag garland by incorporating delightful autumn elements such as leaves and pumpkins. Adding faux or dried leaves to the garland will infuse it with the season's colors. The vibrant reds, oranges, and yellows, create a visually appealing and festive touch. You can intersperse the fabric strips with these leaves or even attach them sporadically along the length of the garland.
Also, adding small fabric pumpkins or pumpkin-shaped cutouts will further add to the fall theme, adding a charming and playful element to the garland.
By combining fabric strips, leaves, and pumpkins in your homemade garland, you'll craft a captivating decoration that celebrates the beauty of fall and brings warmth and joy to your space.
How Should I Hang a Homemade Garland?
Hanging a homemade garland can be done in several ways, depending on your preferences and the location where you want to display it. Here are some popular methods:
- Command Hooks: Use small, removable Command Hooks to attach the garland to the wall or door frame. These hooks are easy to apply and remove without leaving any damage.
- Command Strips: You can use Command Strips to adhere the garland directly to the wall for lightweight garlands. These are easy to apply and won't damage the surface.
- Nails or Tacks: If you're hanging the garland outdoors or on a sturdy surface, you can use small nails or tacks to secure it in place. Just be careful not to damage the garland while hammering.
- String or Ribbon: Attach loops of string or ribbon to both ends of the garland, and then tie them to hooks, nails, or any other fixture on the wall. This method gives a more rustic and natural look.
- Over a Mantel or Shelf: If you have a mantel or shelf, you can simply drape the garland over it, letting it hang gracefully. Secure the ends if needed with small weights or clear tape.
- Curtain Rod or Dowel: Thread the garland through a curtain rod or dowel and hang it from hooks or nails attached to the wall.
Tips for Storing a Homemade Garland for Future Use
Storing a homemade garland properly is essential to ensure its longevity and preserve its appearance for future use. Here are some helpful tips for storing your DIY fall-themed rag garland:
- Before storing the garland, ensure it's clean and free of dirt or debris. If it's made from fabric or other materials that can be washed, consider giving it a gentle wash and letting it dry completely before storage.
- Take care to untangle the garland gently if it has become twisted or tangled during use. This will prevent any damage to the fabric strips or decorative elements.
- Find a suitable box or container that is spacious enough to accommodate the garland without squishing it. It's best to store the garland in a container with a lid to protect it from dust and pests.
- To further protect the garland, consider wrapping it in acid-free tissue paper before placing it in the storage box. This will help prevent any color transfer and keep it in pristine condition.
- Find a storage location that is cool, dry, and away from direct sunlight. Extreme temperatures and humidity can damage the fabric and decorative elements over time.
- Ensure that the storage container is not too tight or packed with other items that could crush the garland. Keep it stored in a way that maintains its shape and appearance.
Label the storage box with its contents to quickly find the garland when you need it again. This will save you time and effort in the future.
More Fall Craft Ideas
Need the inspiration to fill out your home with gorgeous fall and autumn-themed decor? Check out some of our favorite projects below and use them to inspire your own crafting sessions.
- Gorgeous Fall Wreath Wind Catcher Mobile
- 55+ Unique Pumpkin Crafts for Fall Decorations
- Farmhouse Style Fall Lettered Mason Jars
- Beautiful Fall Rose Made From Artificial Fall Leaves
- 25 Fall Porch Decorating Ideas
DIY Fall Rag Garland Tutorial
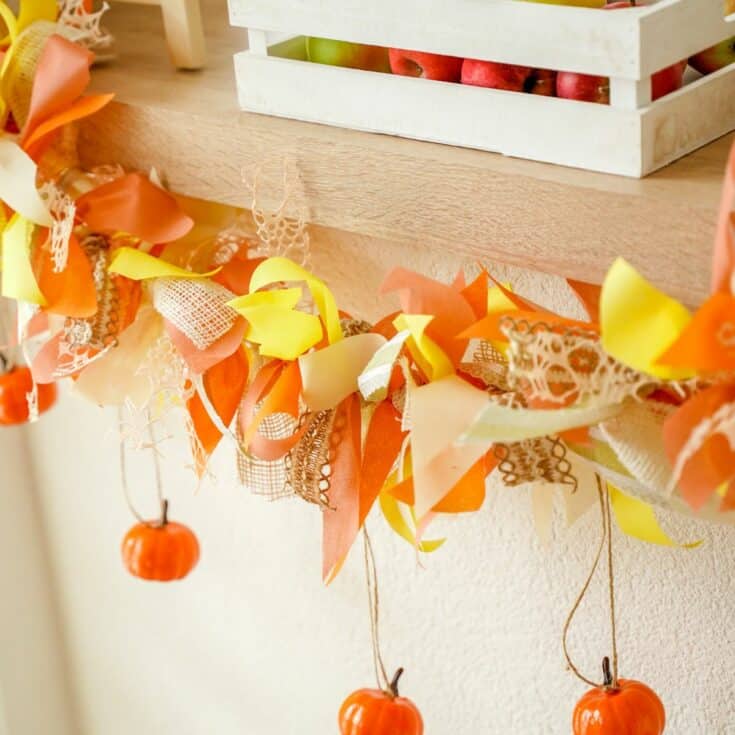
Get festive with a stunning fall rag garland, perfect for autumn decor. Handcrafted beauty to adorn your home.
Materials
Instructions
- Cut the ribbon into 8" lengths.
- Prepare fabric strips, 1" wide and 8" long. Aim for 50 to 100 strips based on your desired garland length.
- Create a loop at one end of the twine for hanging the garland.
- Begin tying the fabric strips onto the twine next to the knot, alternating colors to create a delightful pattern.
- Continue back and forth until you achieve your desired garland length.
- Optional: Enhance your garland with mini pumpkins, fall leaves, acorns, or pinecones for a charming touch.
- Display your handcrafted masterpiece on a mantle, doorway, or stair banister.
Notes
- For a unique rustic look, replace the fabric with dyed burlap in rich jewel tones.
Recommended Products
As an Amazon Associate and member of other affiliate programs, I earn from qualifying purchases.
-
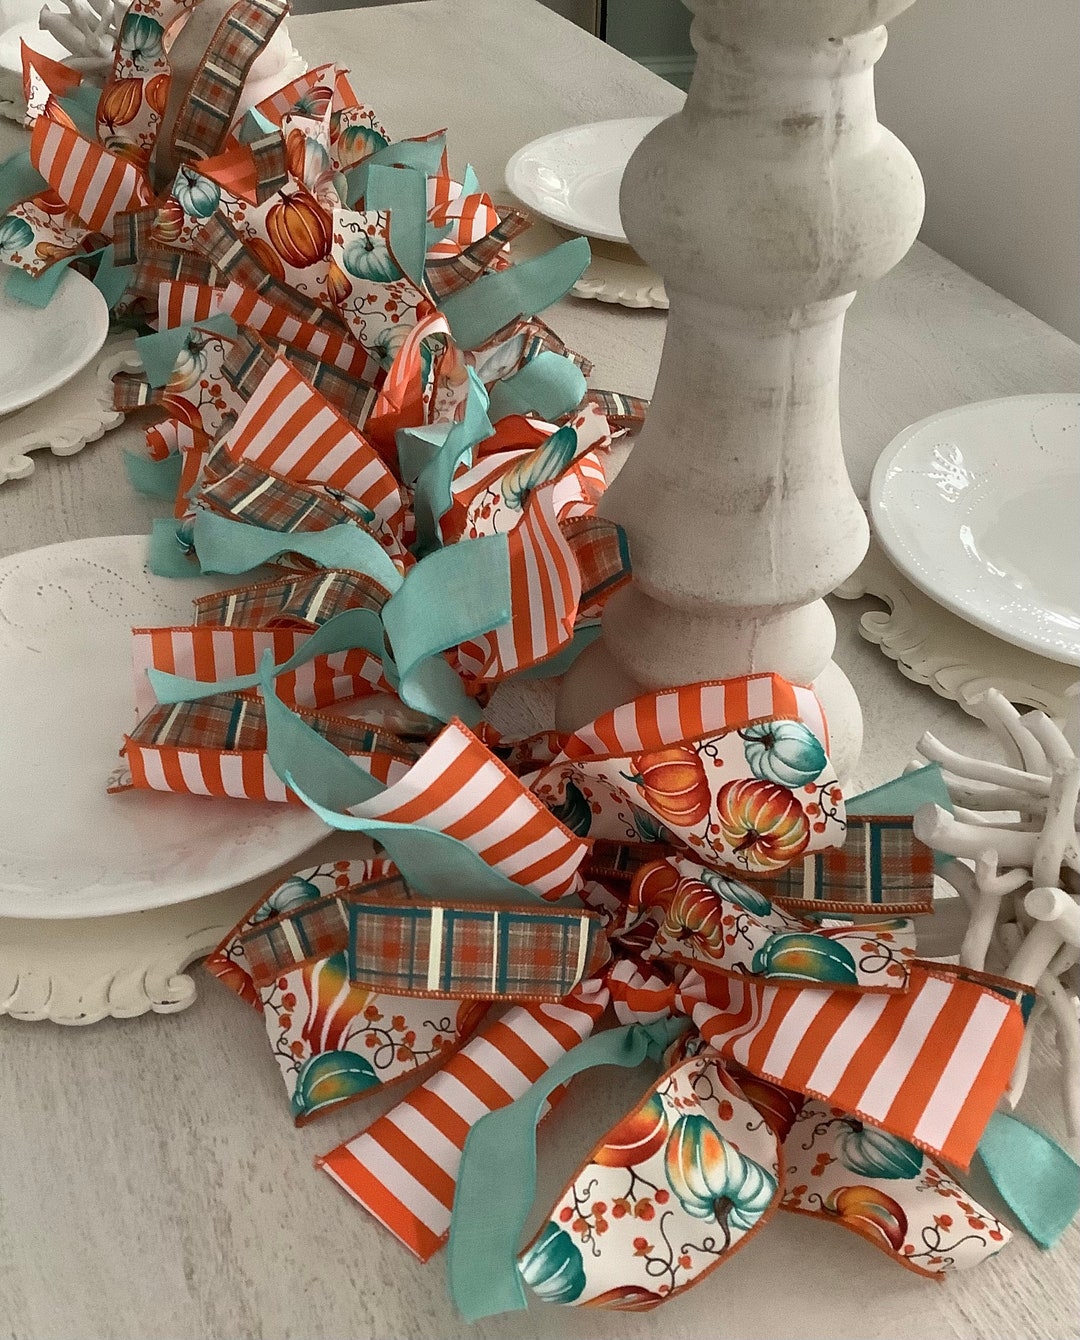 4 Foot Fall Rag Tie Garland Home Decor Fall Farmhouse Rag - Etsy
 -
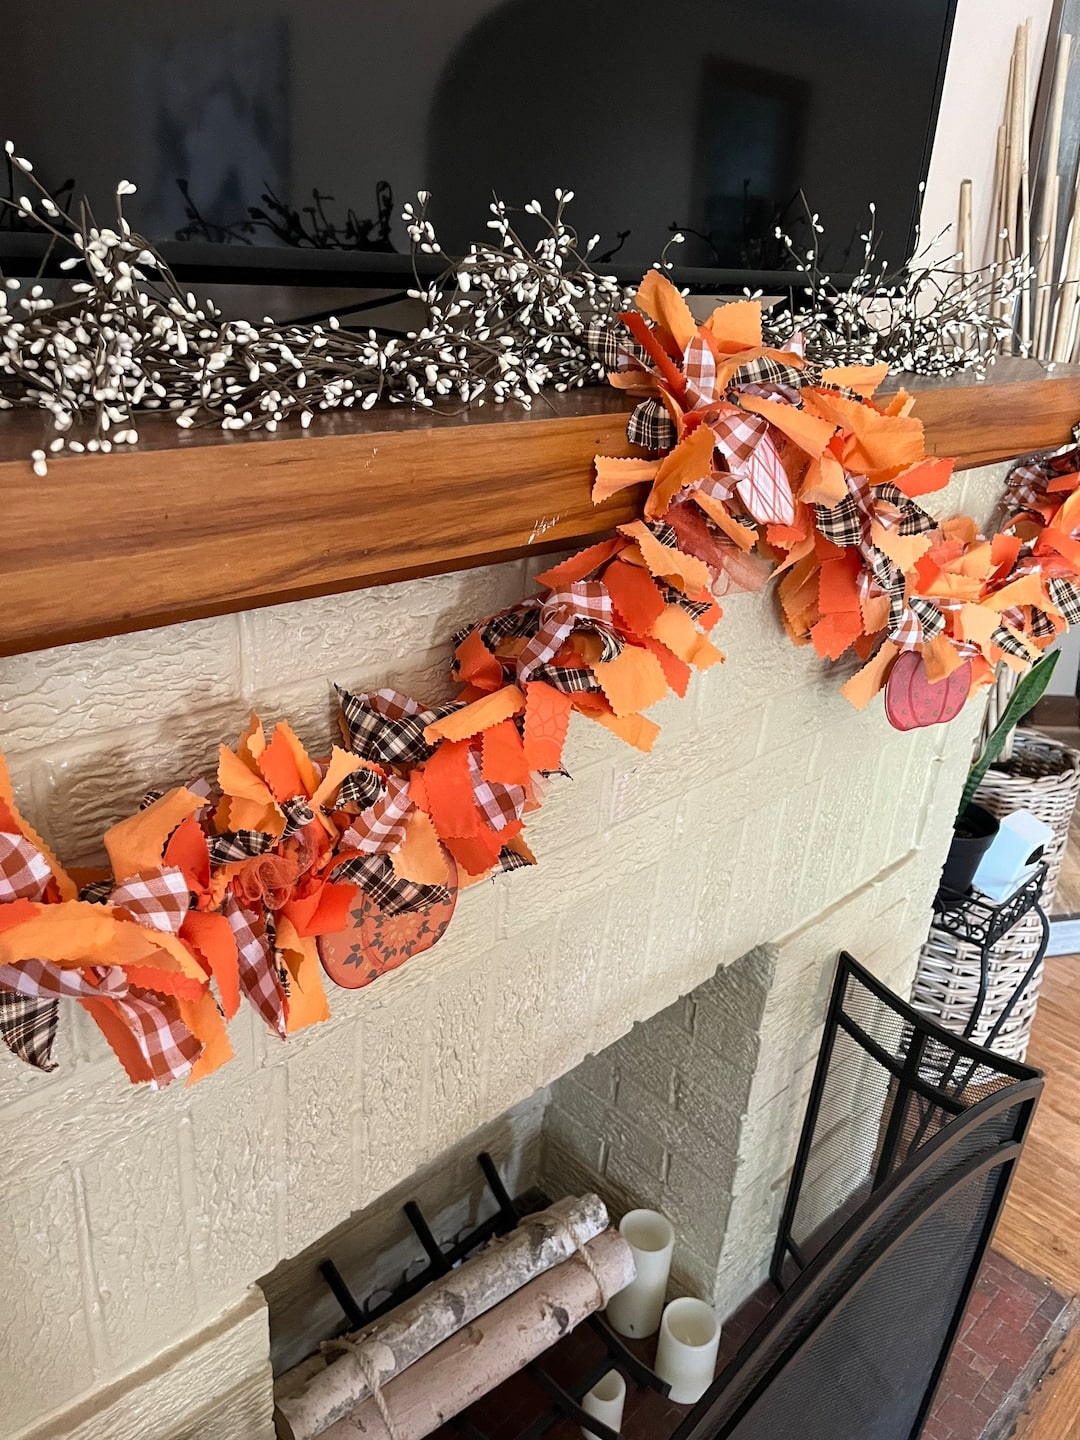 Fall Pumpkin Rag Garland Pumpkin Garland Fabric Fall Pumpkin - Etsy
 -
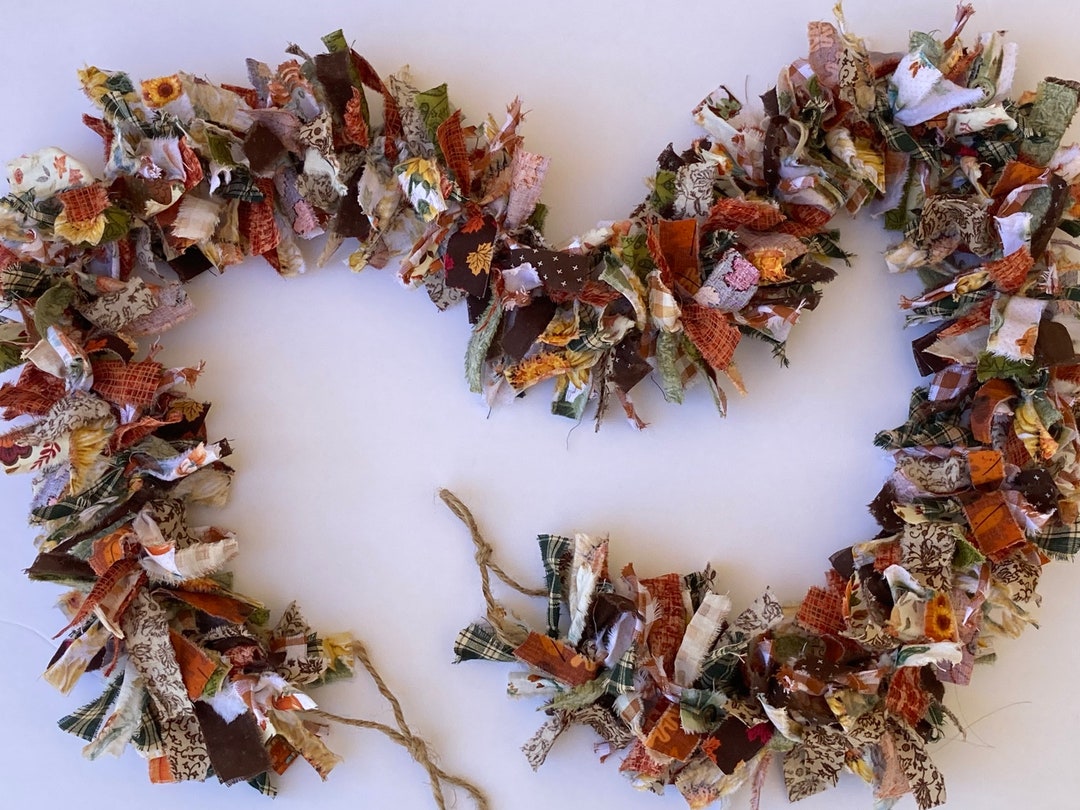 Fall Rag Garland Farmhouse Rag Garland Rag Garland Wall - Etsy
 -
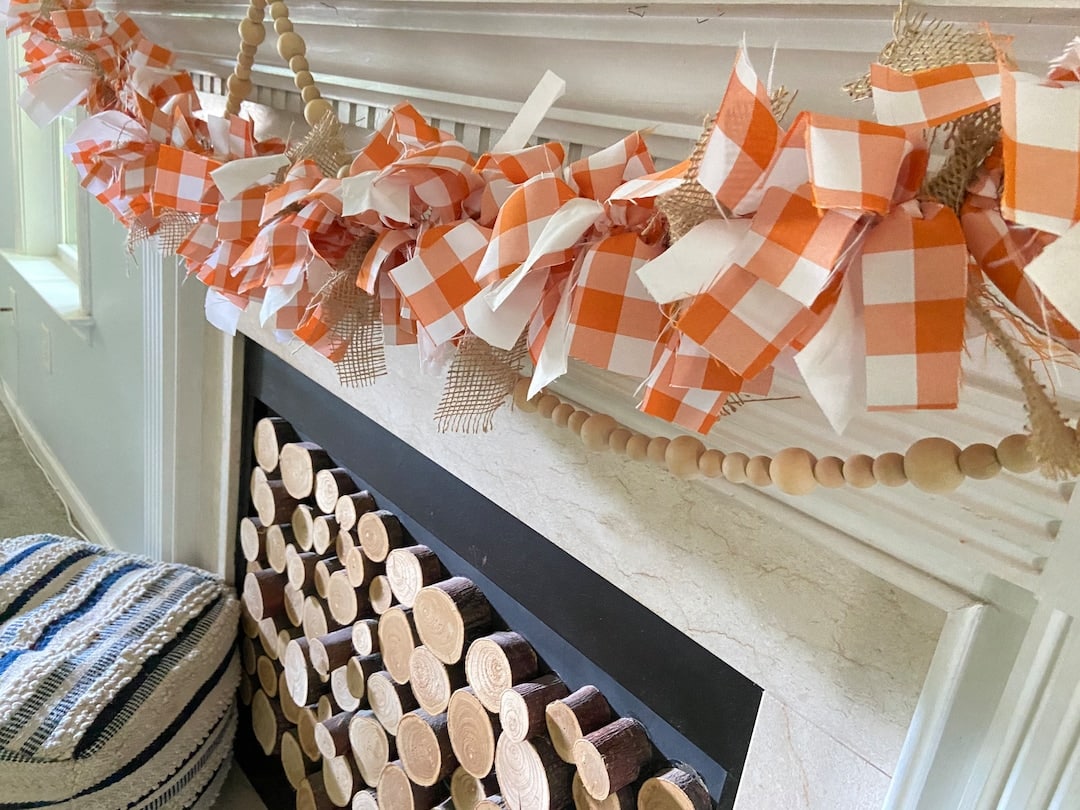 Fall Rag Garland Orange and White Buffalo Check Rag Garland - Etsy
 -
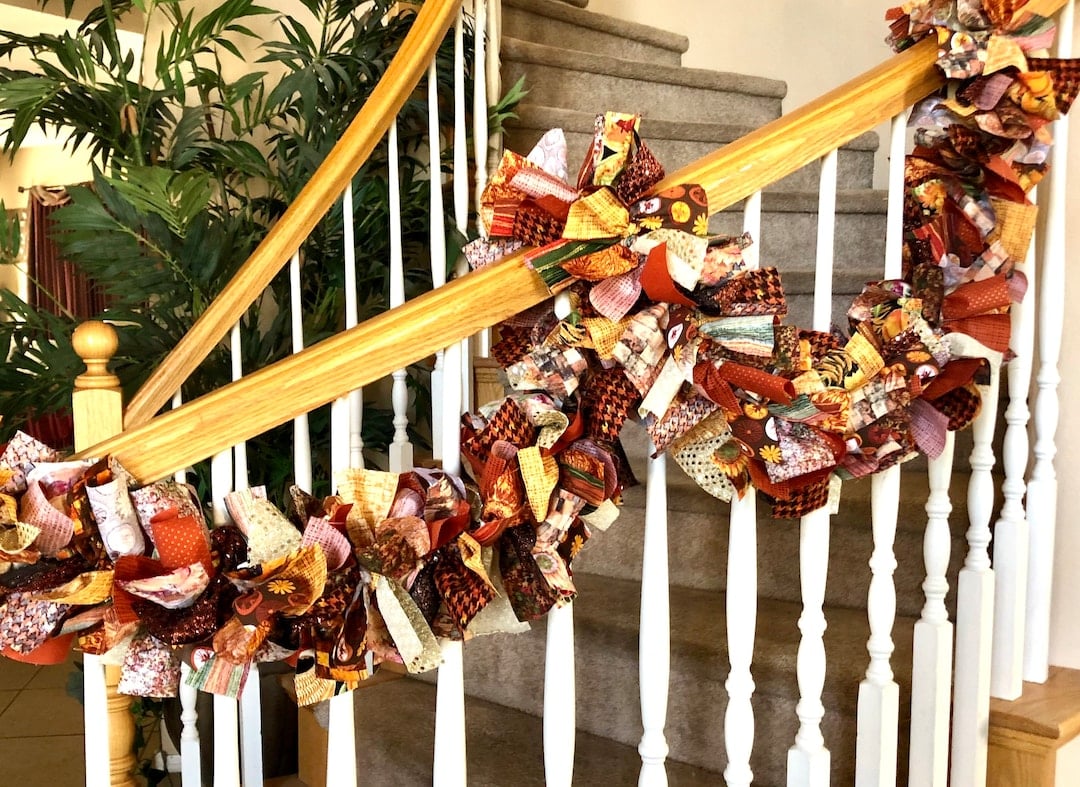 Sparkling Fall Garlandautumn Garlandfall Rag Garlandfabric - Etsy
 -
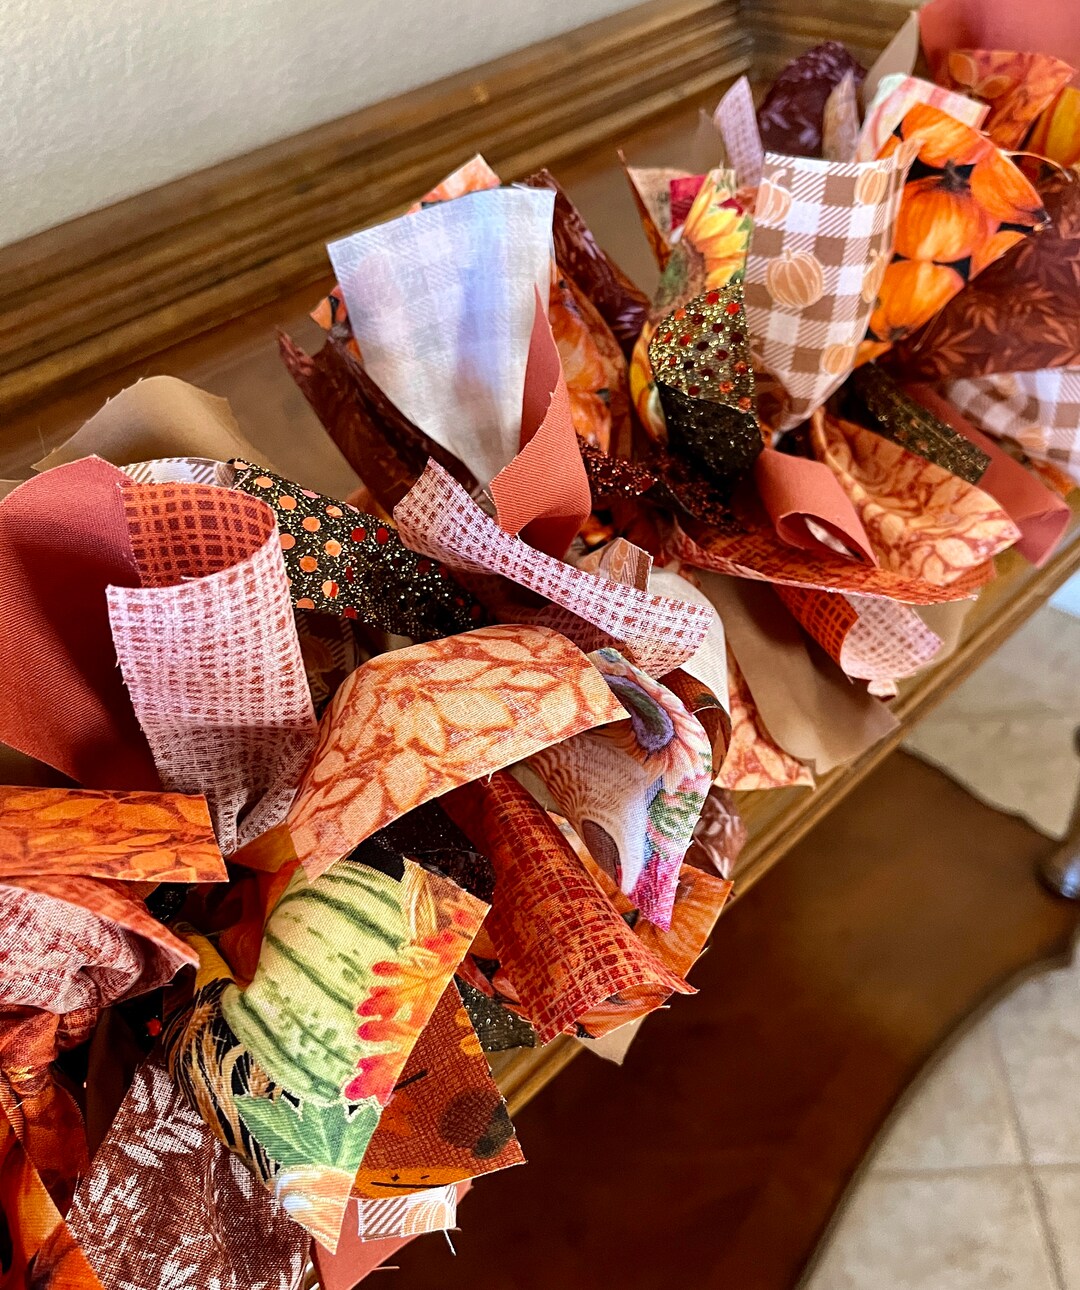 Sparkling Fall Garlandautumn Garlandfall Rag Garlandfabric - Etsy




Leave a Reply