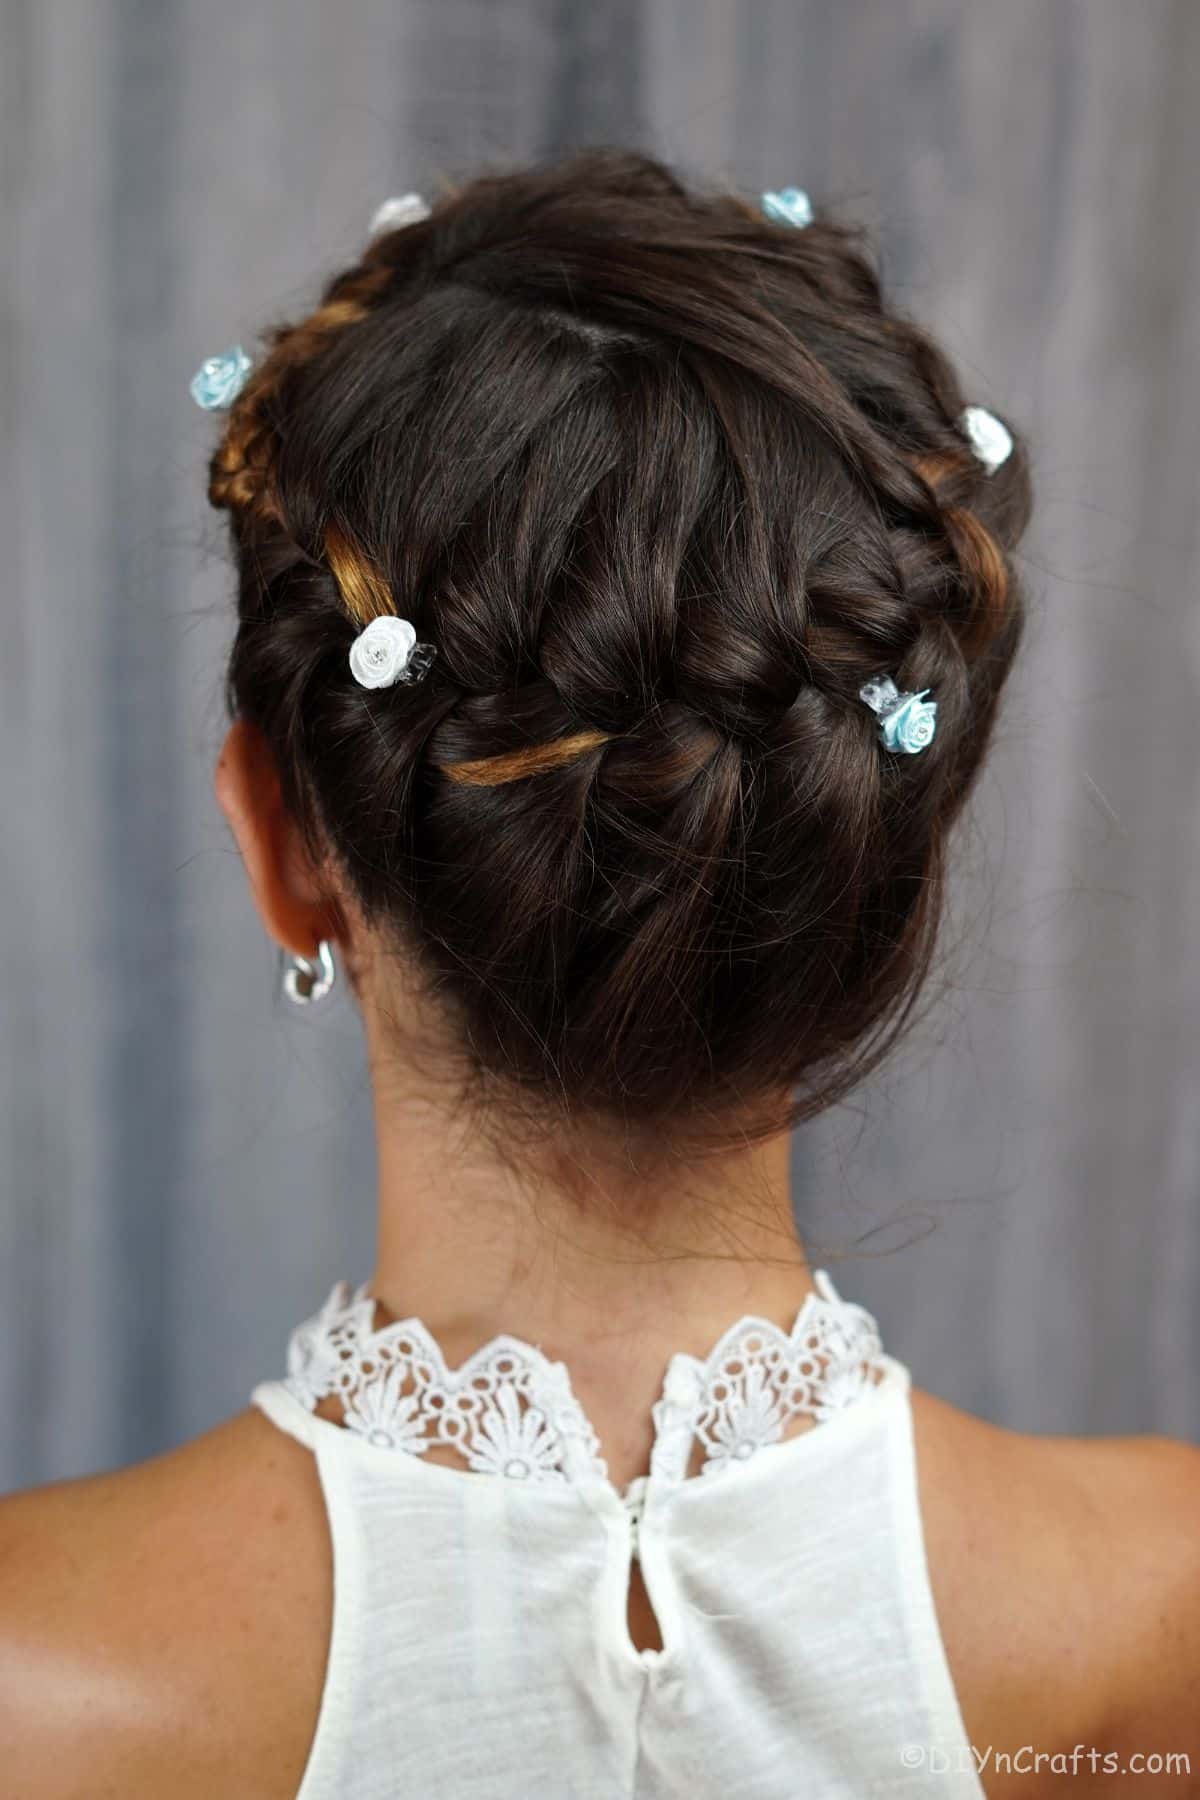
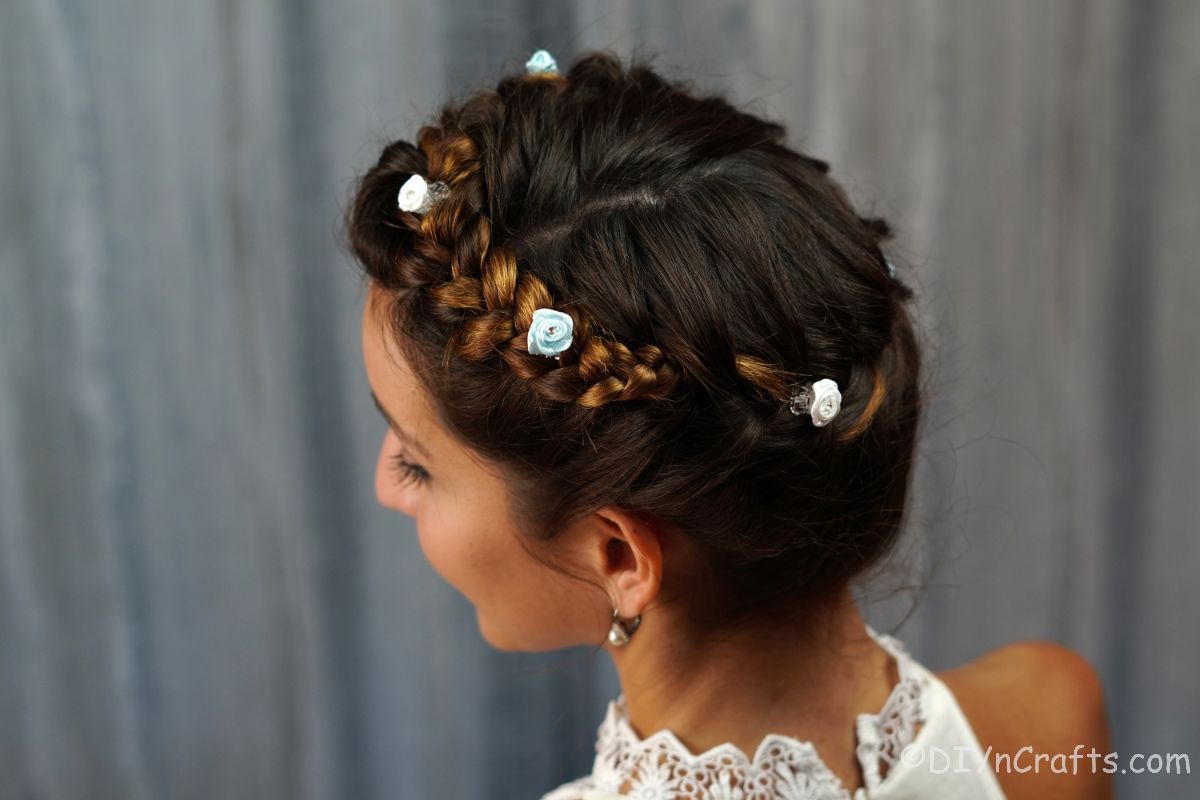
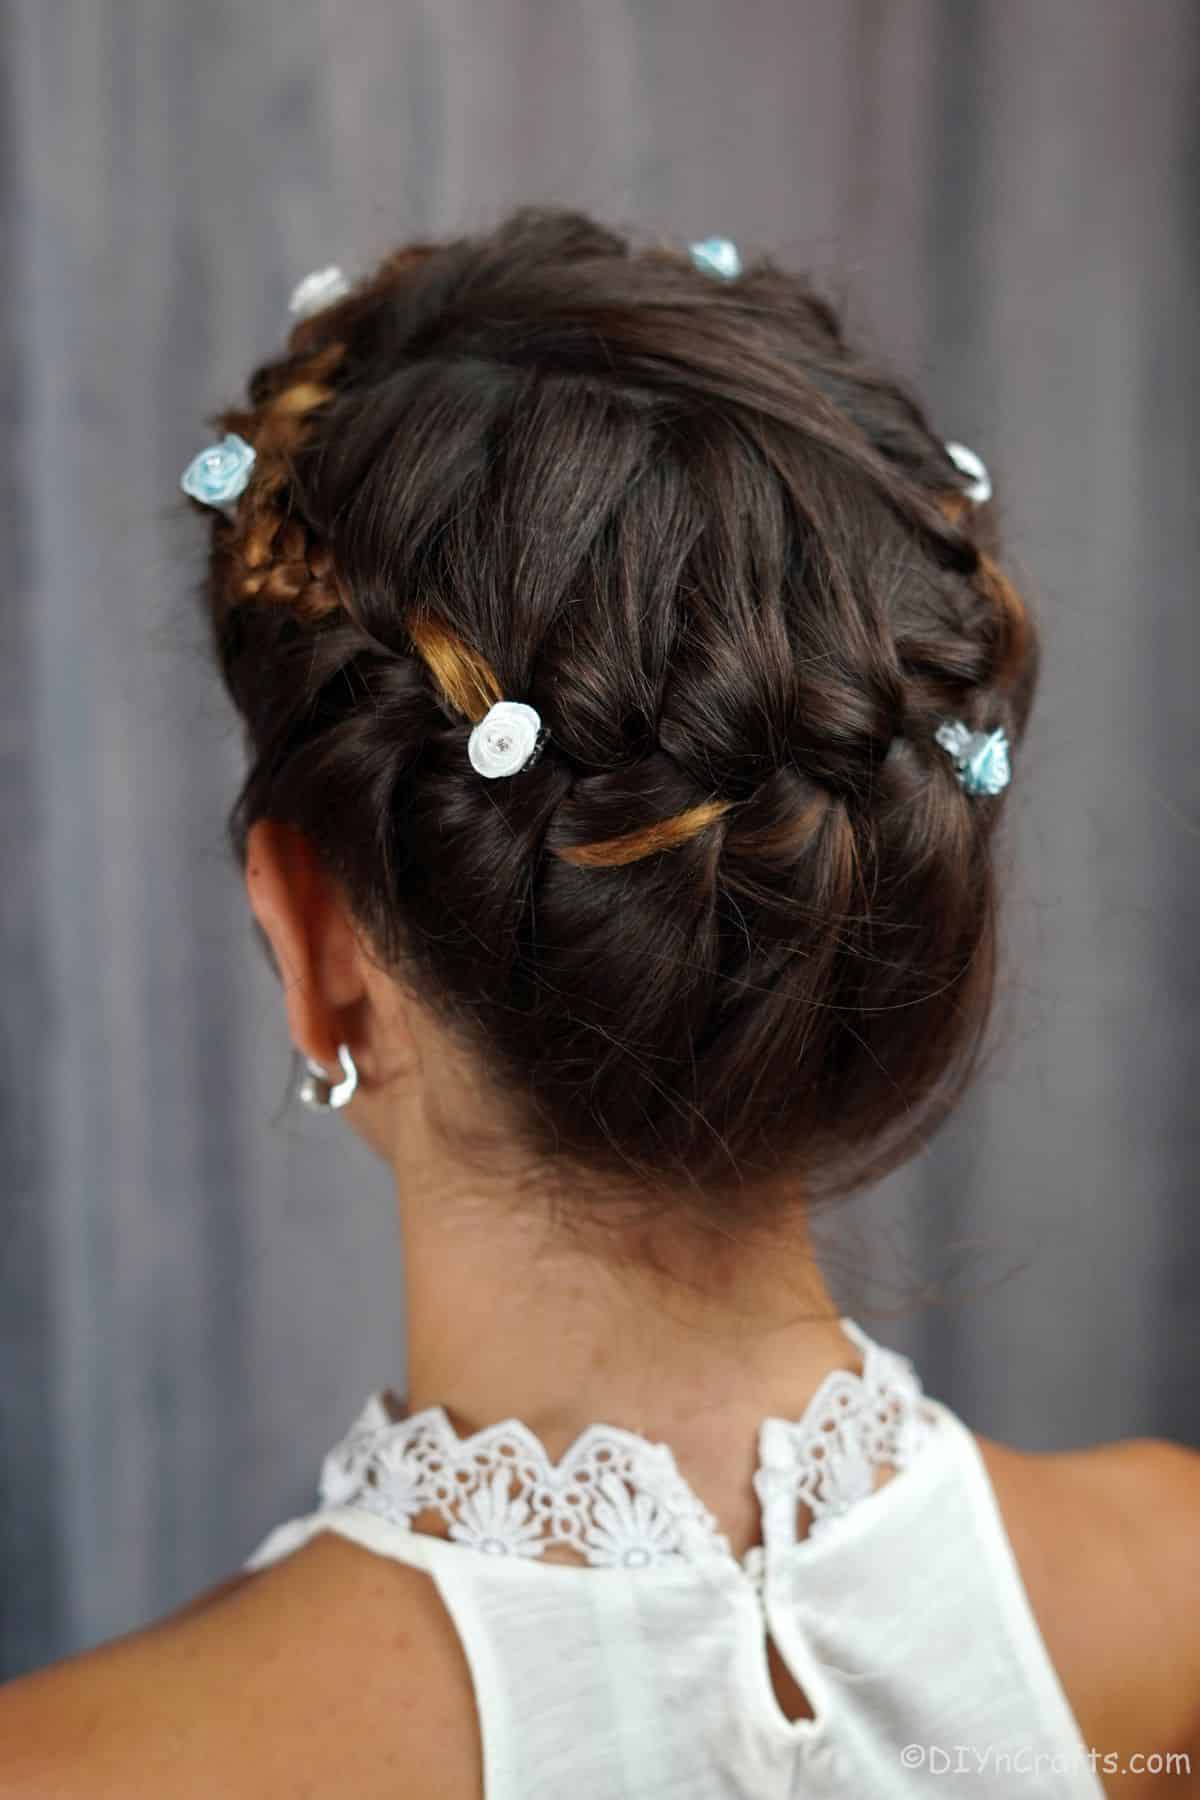
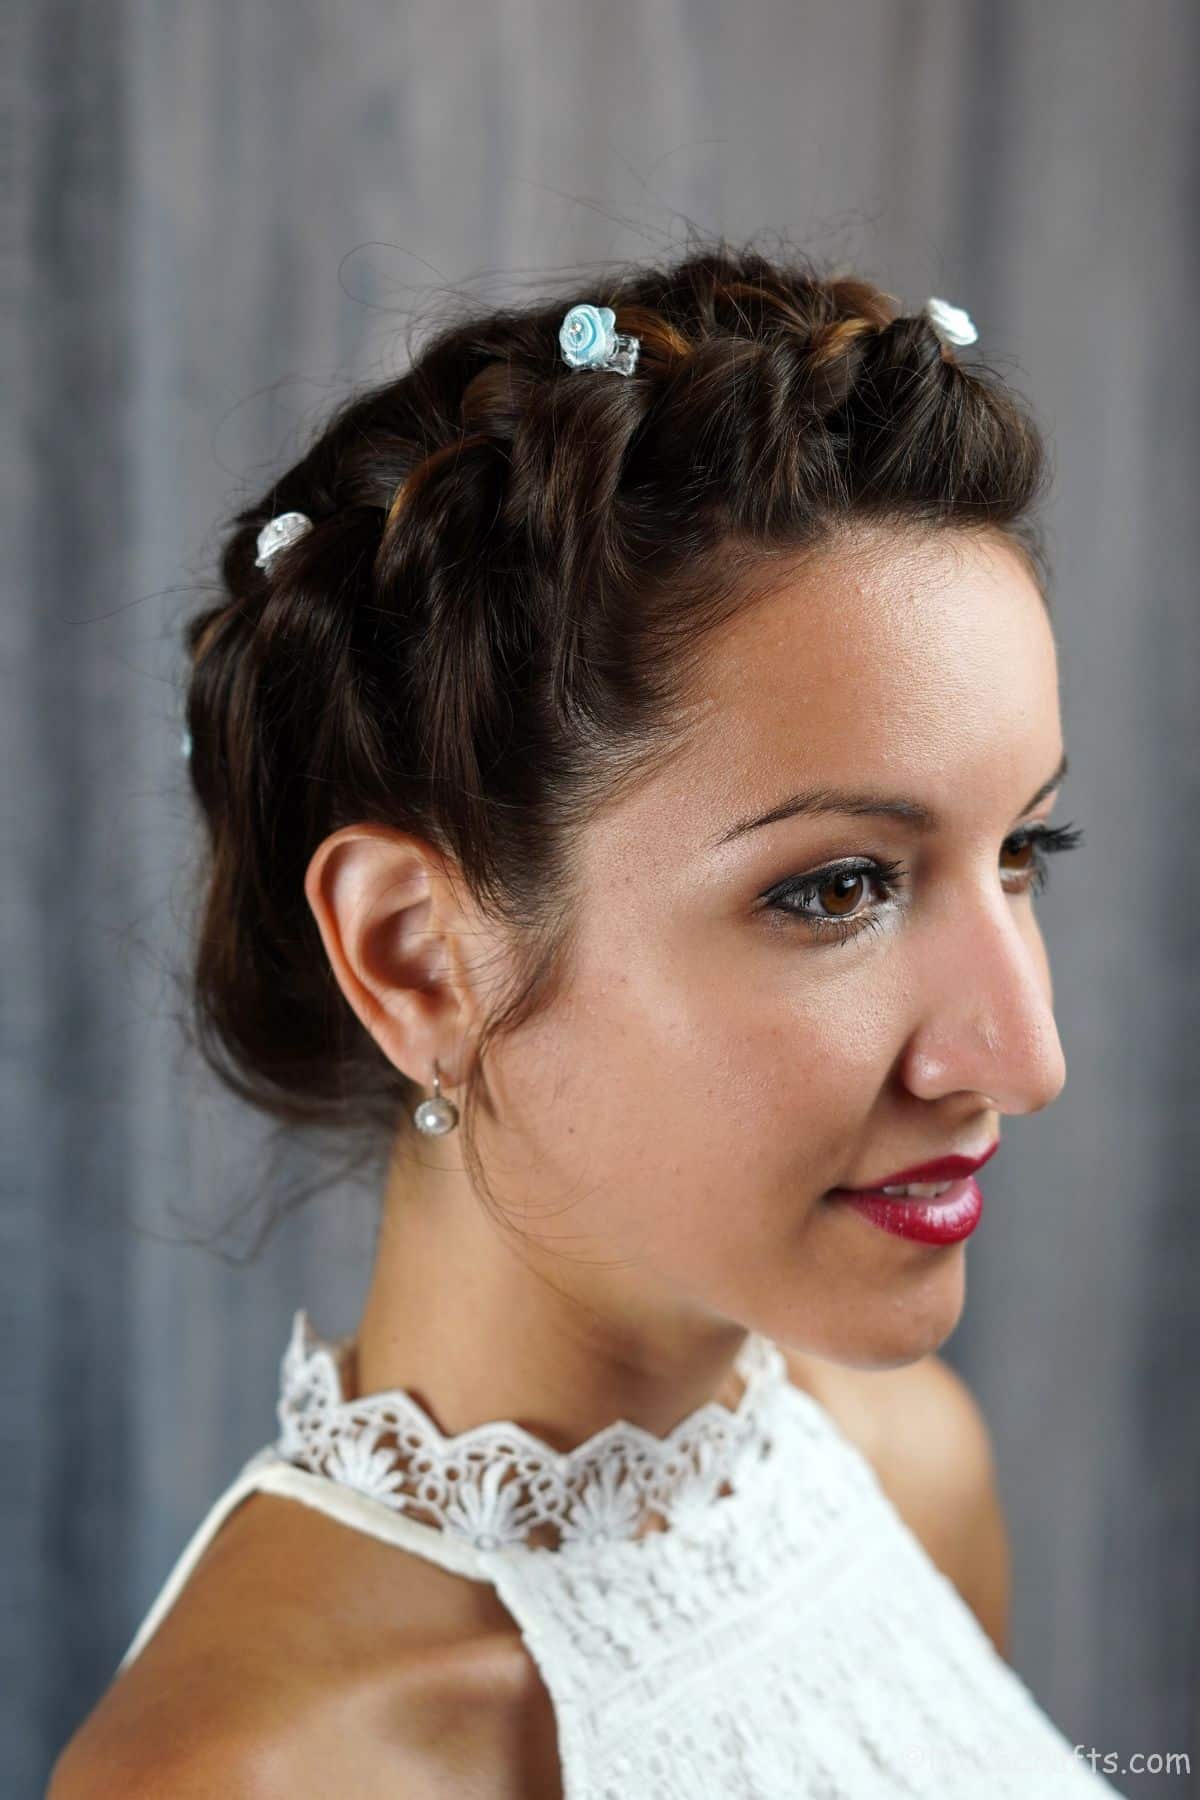
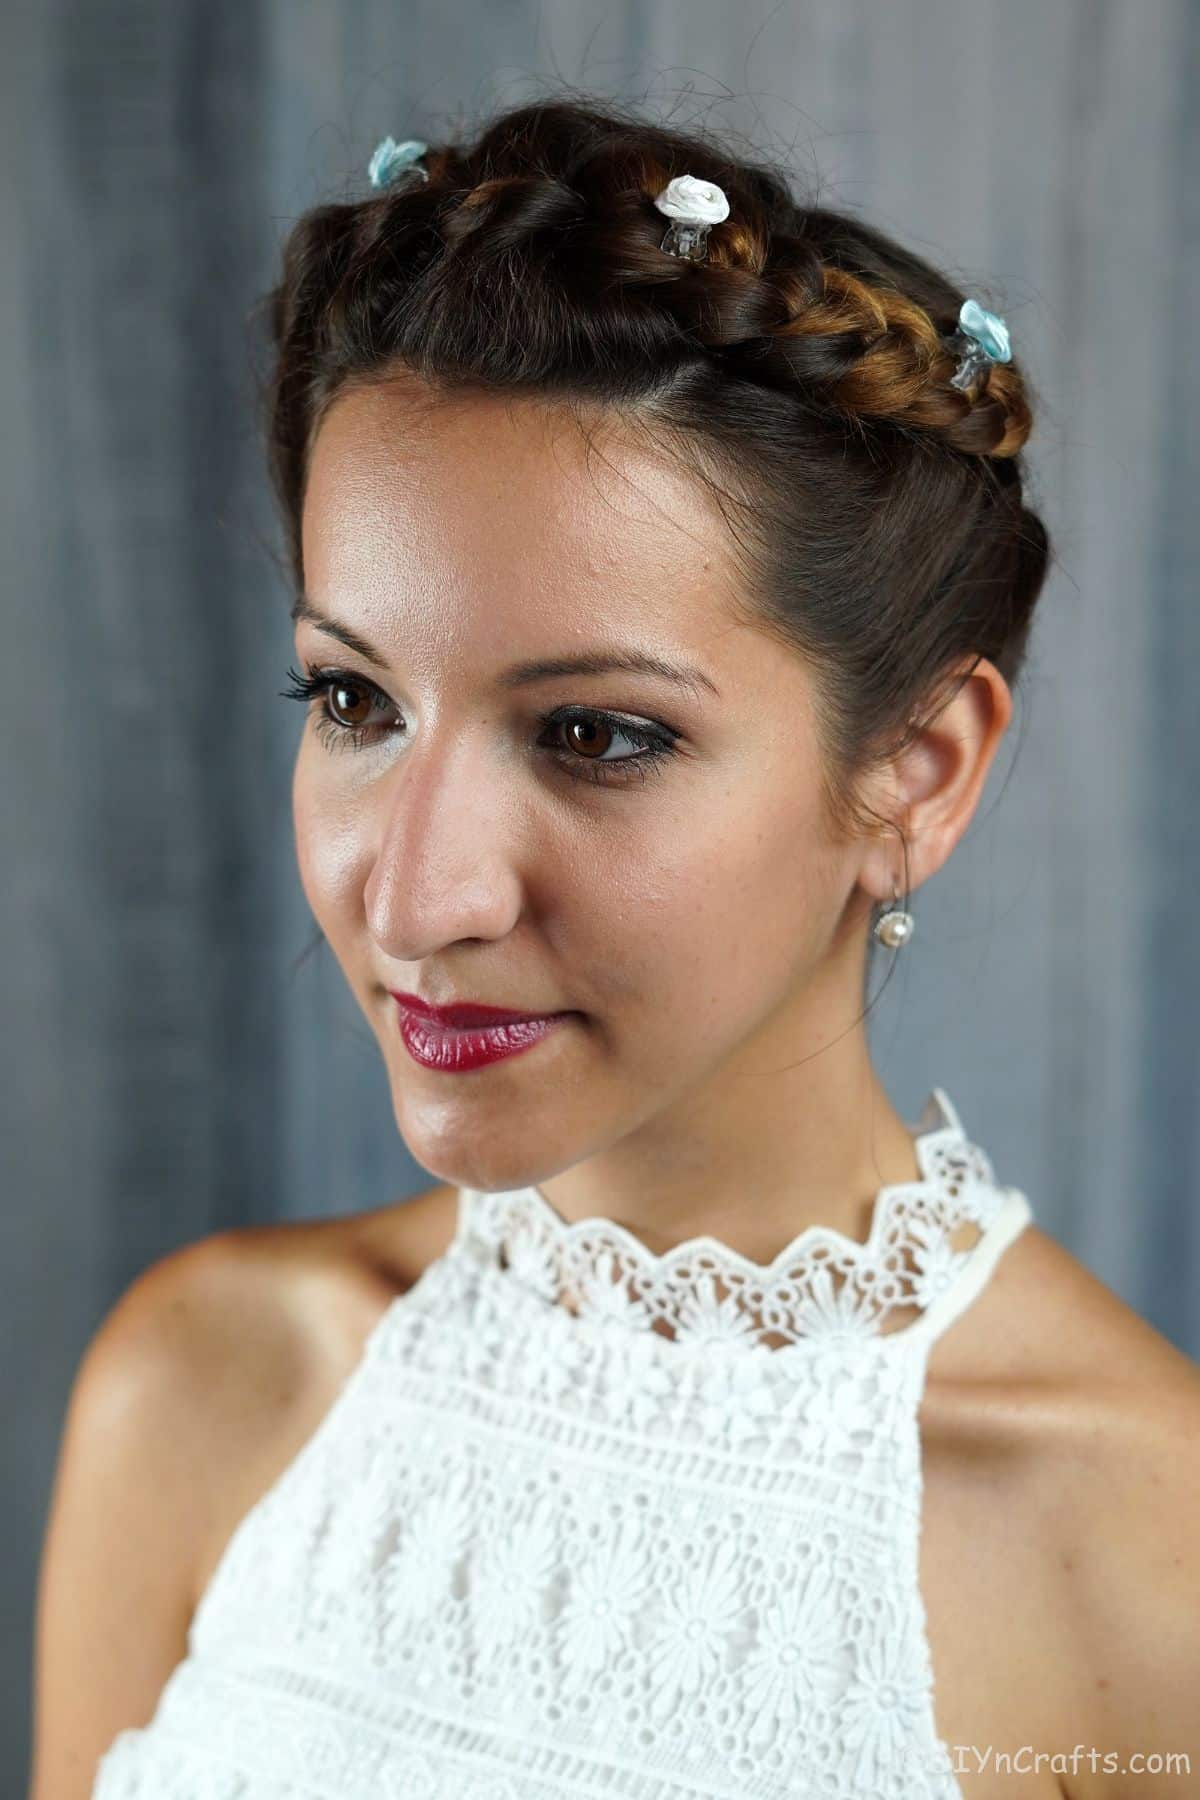
Do you like the Bohemian look? I do, and this crown French braid hairstyle is a perfect way to live in the moment but still look pulled together. You've probably seen a braid around the crown in various styles, and this one incorporates the classic heard wrapping style along with a French braid. It creates texture while keeping the hair in place for a long day.
Crown French Braid
If you want ab raid but also need your hair in an updo or off your neck and shoulders, then this crown French braid hairstyle is a perfect solution. It has a bit of a whimsical or Bohemian style, and adding in the small flowers just makes me think of festivals and dancing around the Maypole as a child.
If you need another idea involving braids, you might want to check out these braided updo styles or even these waterfall braid looks. Both lists have something unique that can be created with different lengths and textures of hair. If one doesn't work, try another next time!
What Do I Need to Create the Crown French Braid Hairstyle
I love that while this style looks super intricate, it really just needs a few basic items you already have on hand. You will, of course, need a brush or comb to remove any tangles and smooth your hair. Alongside this, you will need a hair band, a Topsy Tail or hair needle, and decorative pins. You can also use extra bobby pins to hold the braid in place if you want added security.
Tools I Use
While the items above are a necessity for this style, the ones below may not be. I like to include these as my favorite hair-styling accessories. They are handy and useful and may be a good addition to your own hair care routine.
- Wide-tooth comb
- Detangling brush
- Hair rubber bands
- Satin hair ribbon (optional)
- Topsy Tail braiding tool (optional)
Other Items I Love:
French Braid Crown Tutorial
This hairstyle looks best on straight hair but can be done with curly or wavy hair. You will find a bit more difficulty in braiding, but it will still look beautiful. It can be created with both clean and dirty hair and is a perfect choice for an event or wedding.
Note: Before you begin the braid, I highly recommend adding a b it of mousse or a styling gel to help hold the look. Since this is a tighter braid, you will find fewer flyaways, but a bit of gel can make a huge difference.
Step 1
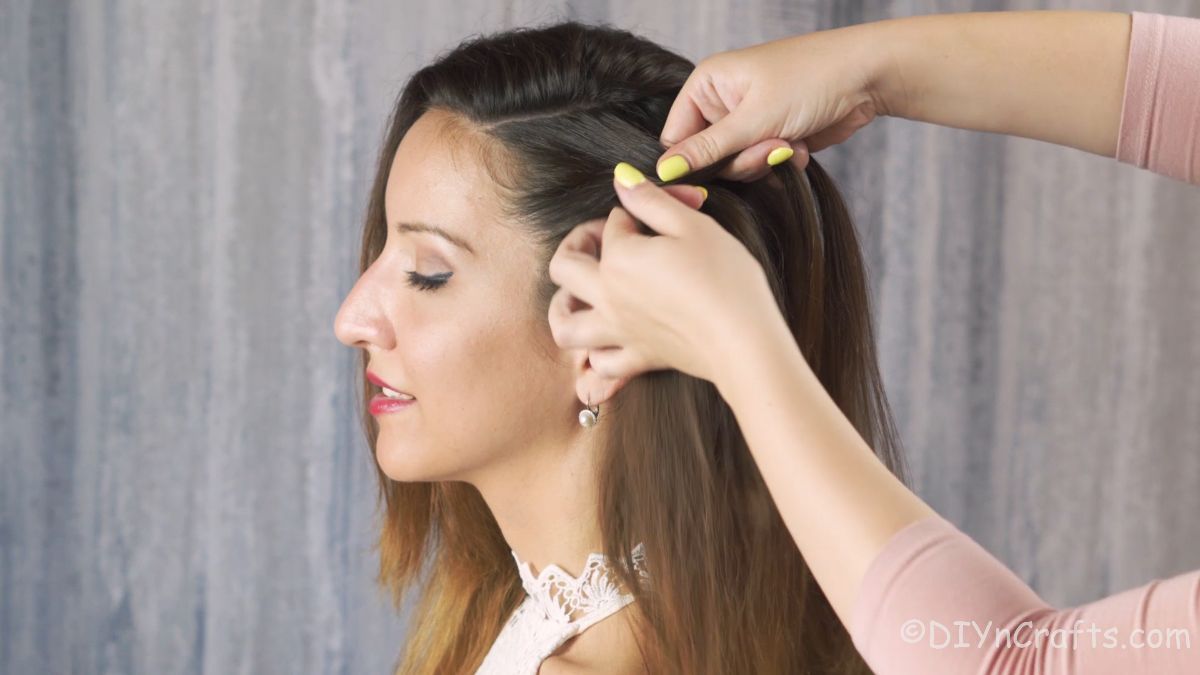
Comb or brush hair to remove any tangles then part on the side. On the same side as the part, beginning at the edge of your hair, and tightly braid backward toward the back of your head.
Step 2
Create a French braid by starting with three small strands, and adding another small amount to the outer strands with every new "braid" you create.
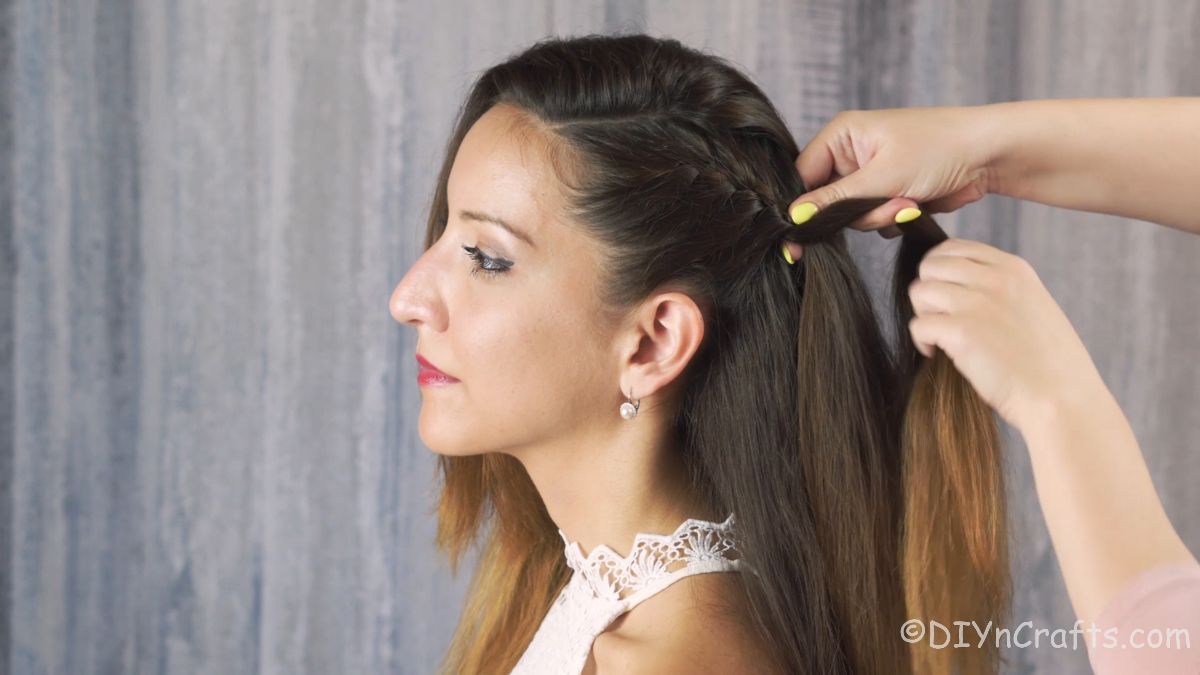
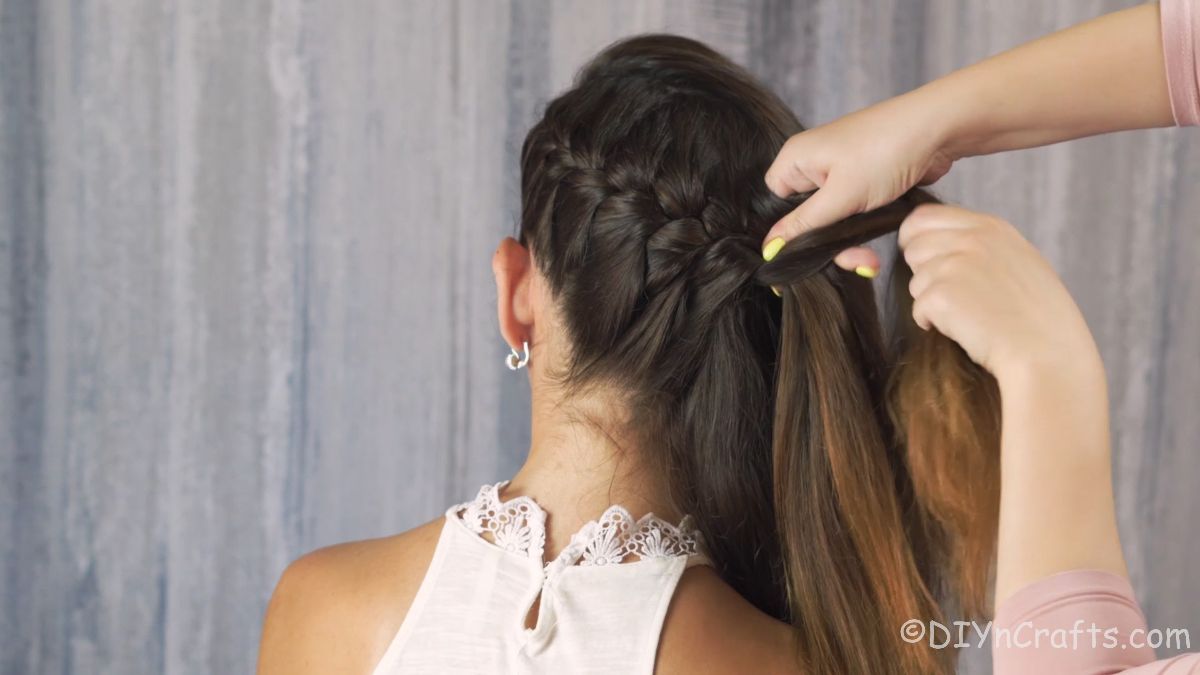
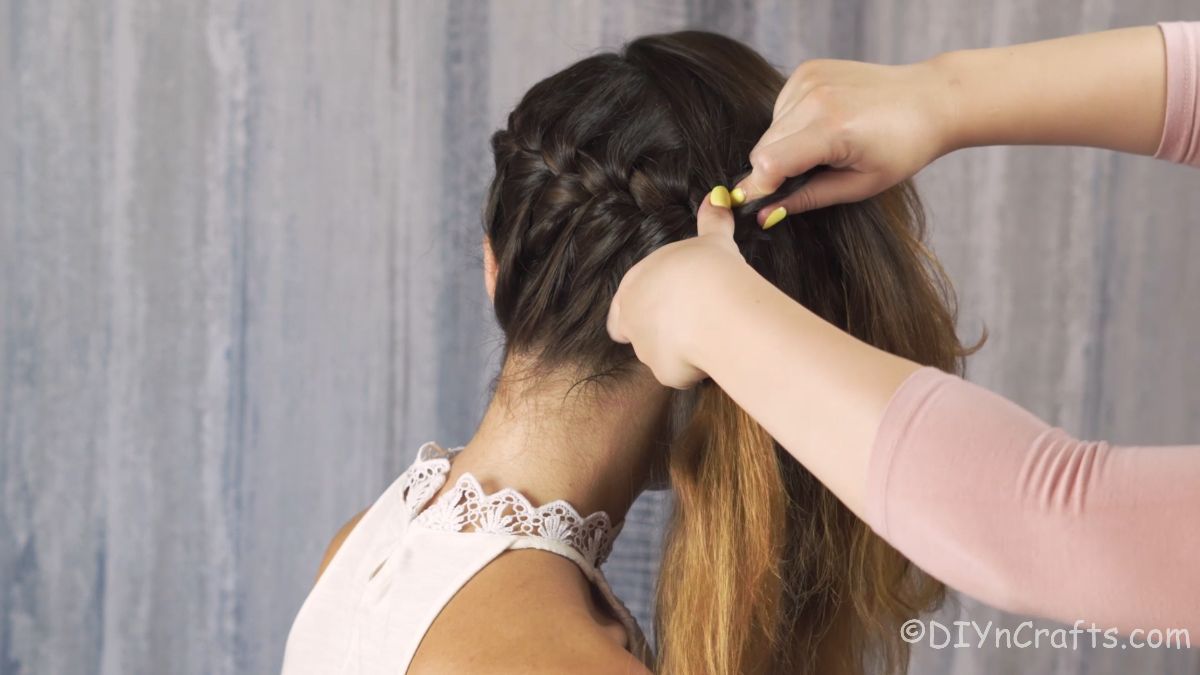
Continue this braiding process down and to the side, angling the hair across the back of your head, rather than straight down. Incorporate more hair as you go.
Step 3
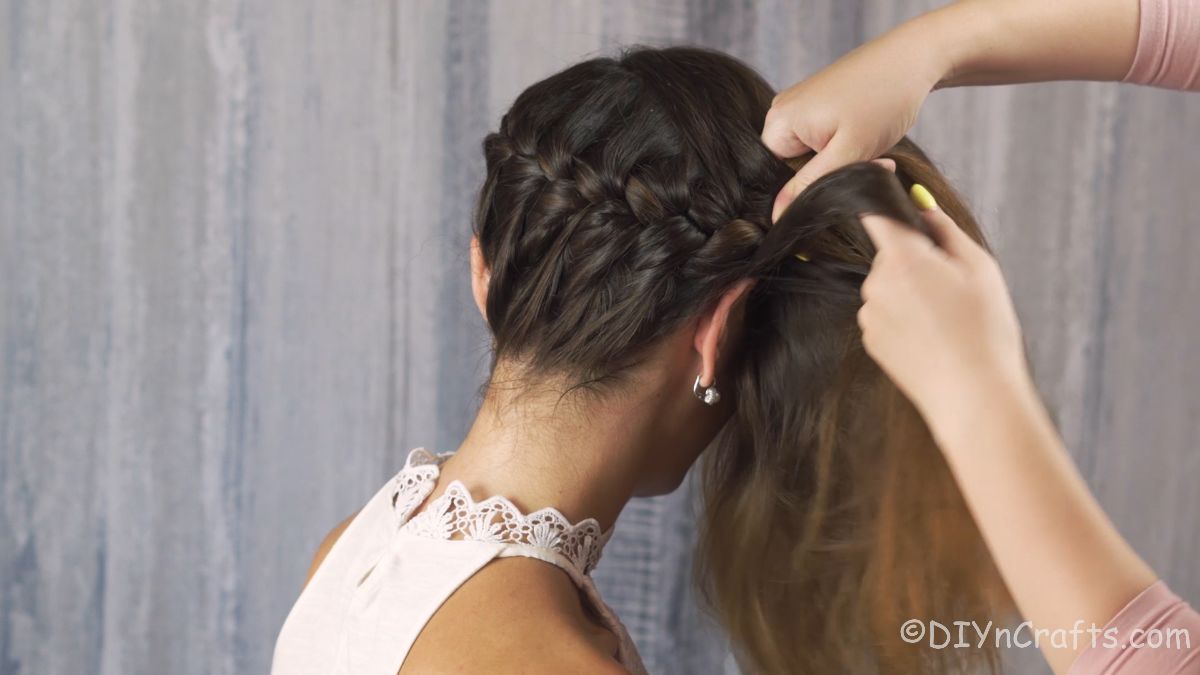
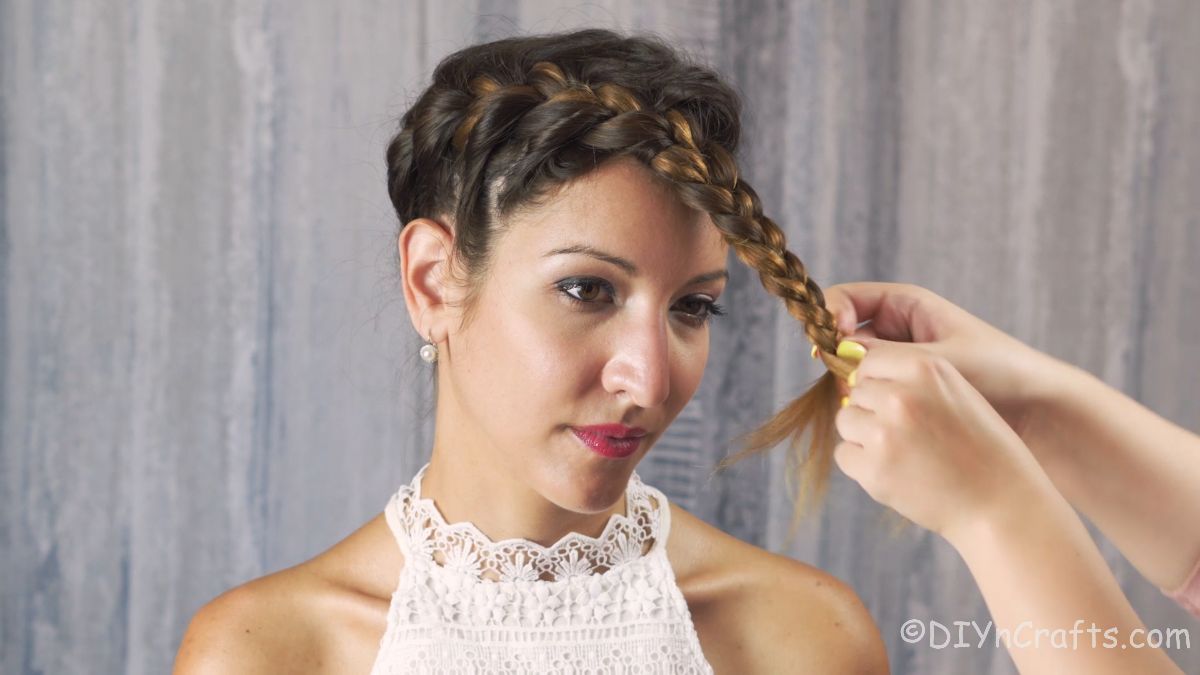
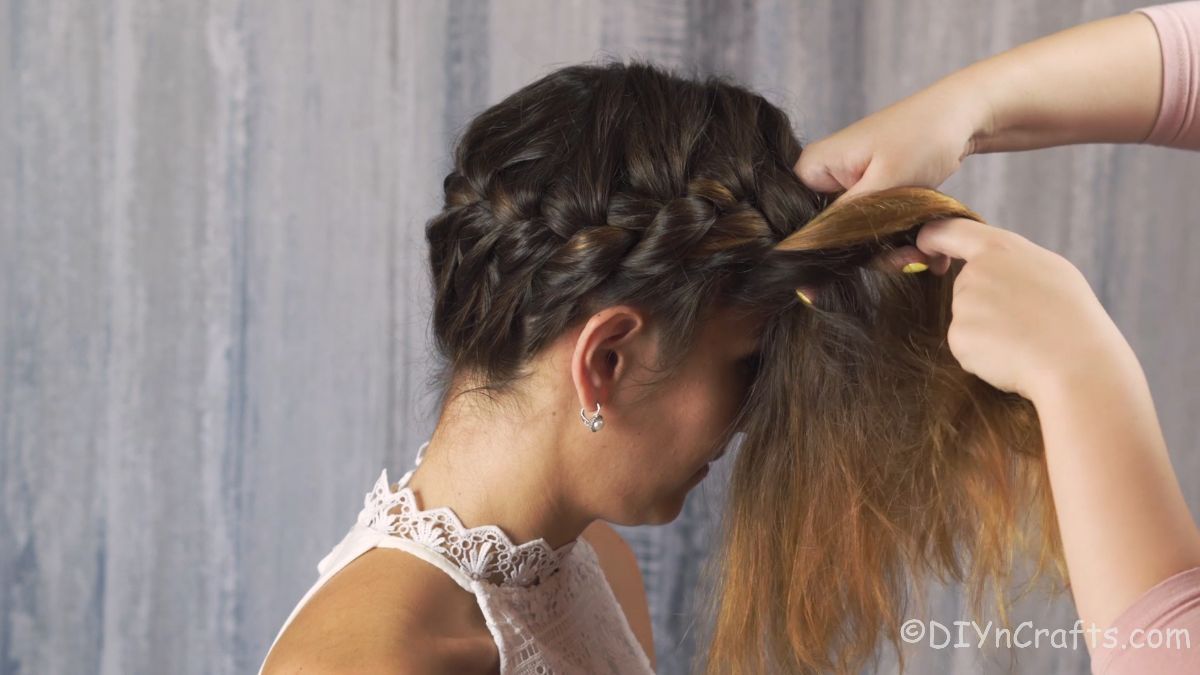
Once you have braided across the back of your head, you will then begin moving this braid up the opposite side of your head and over the forehead.
Continue until you have incorporated all hair, then finish by braiding the rest of the hair in a basic three-strand braid.
Step 4
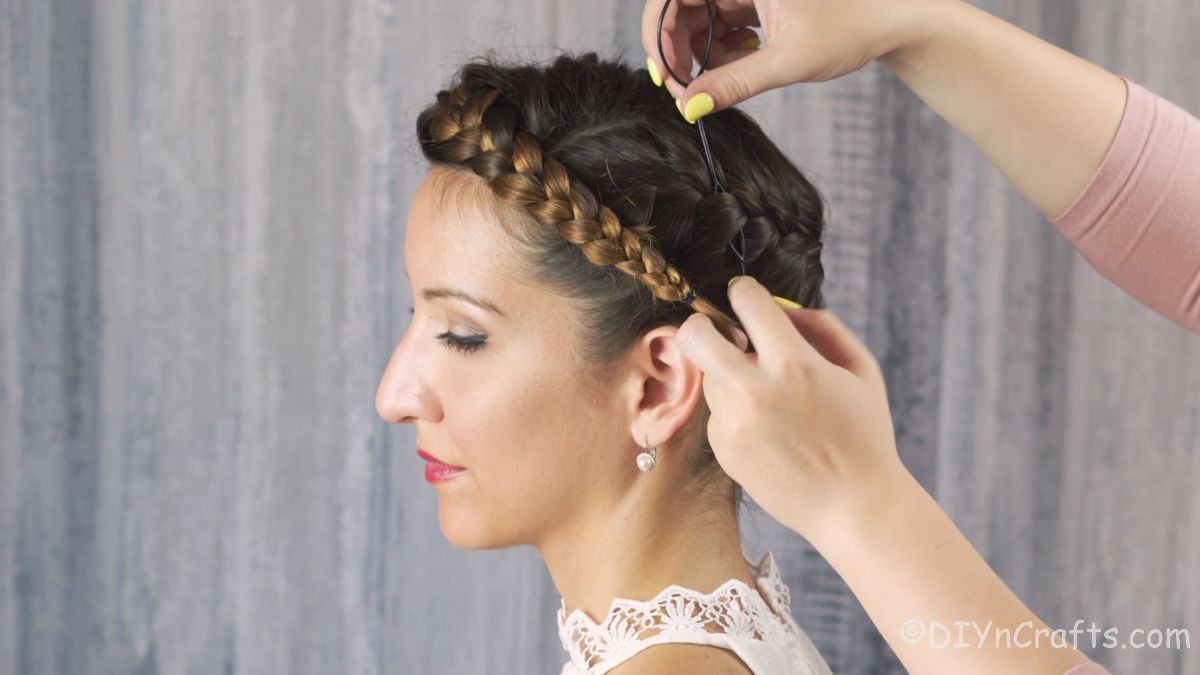
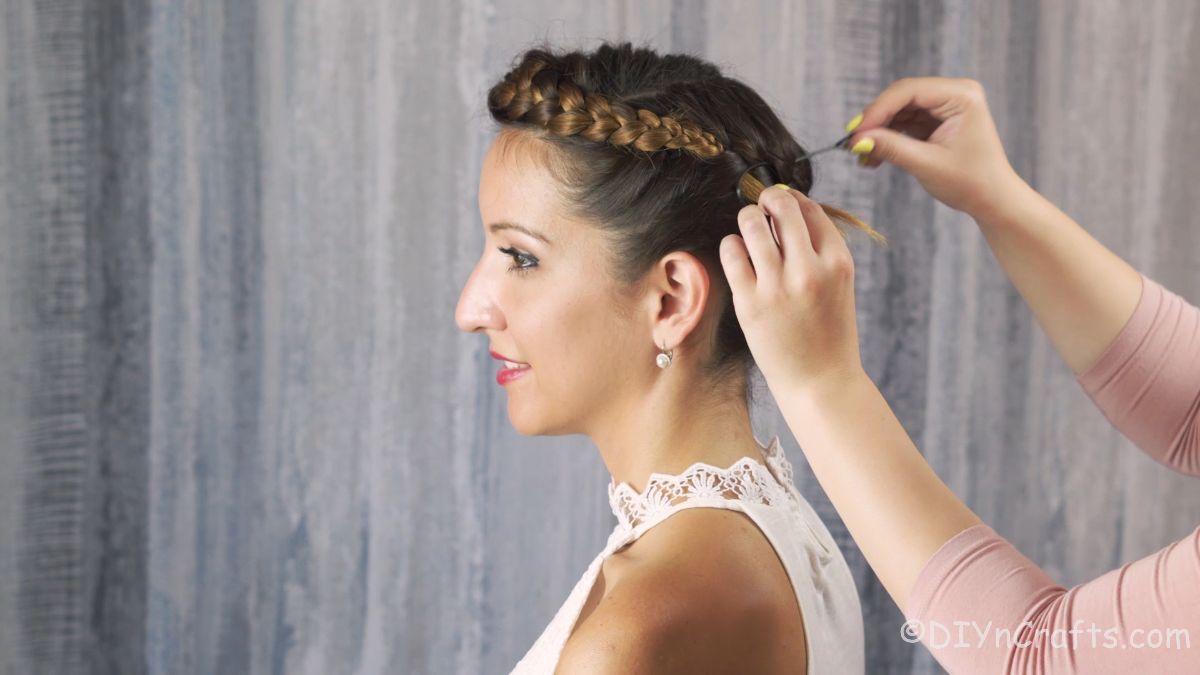
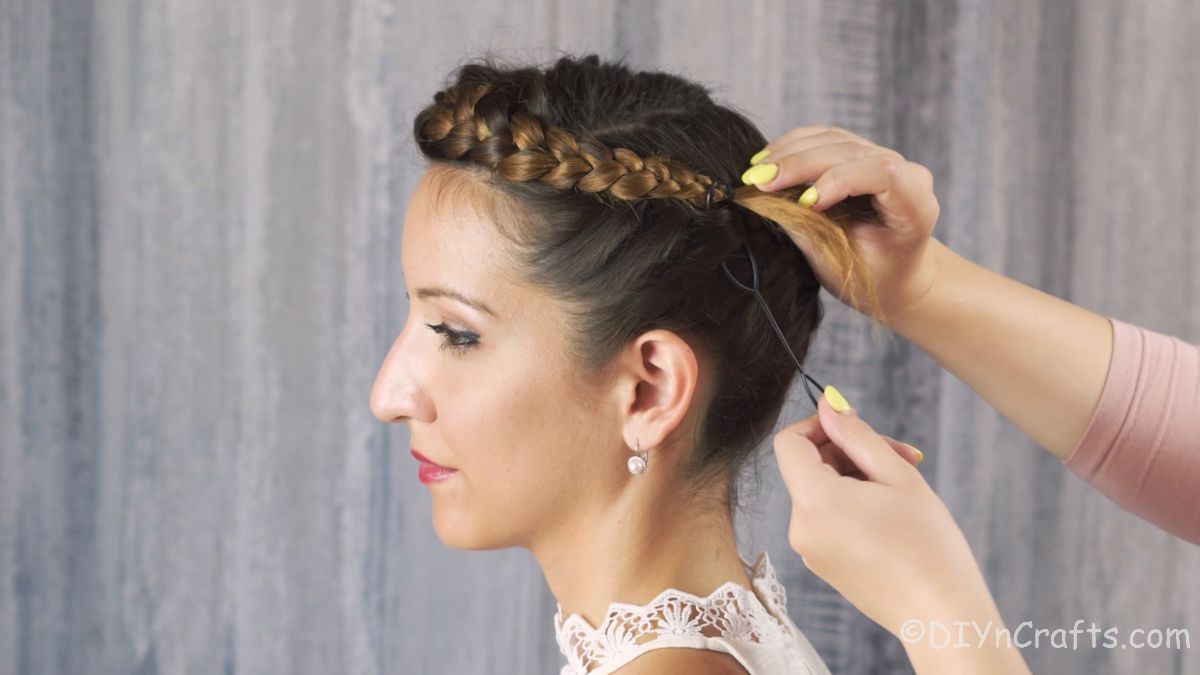
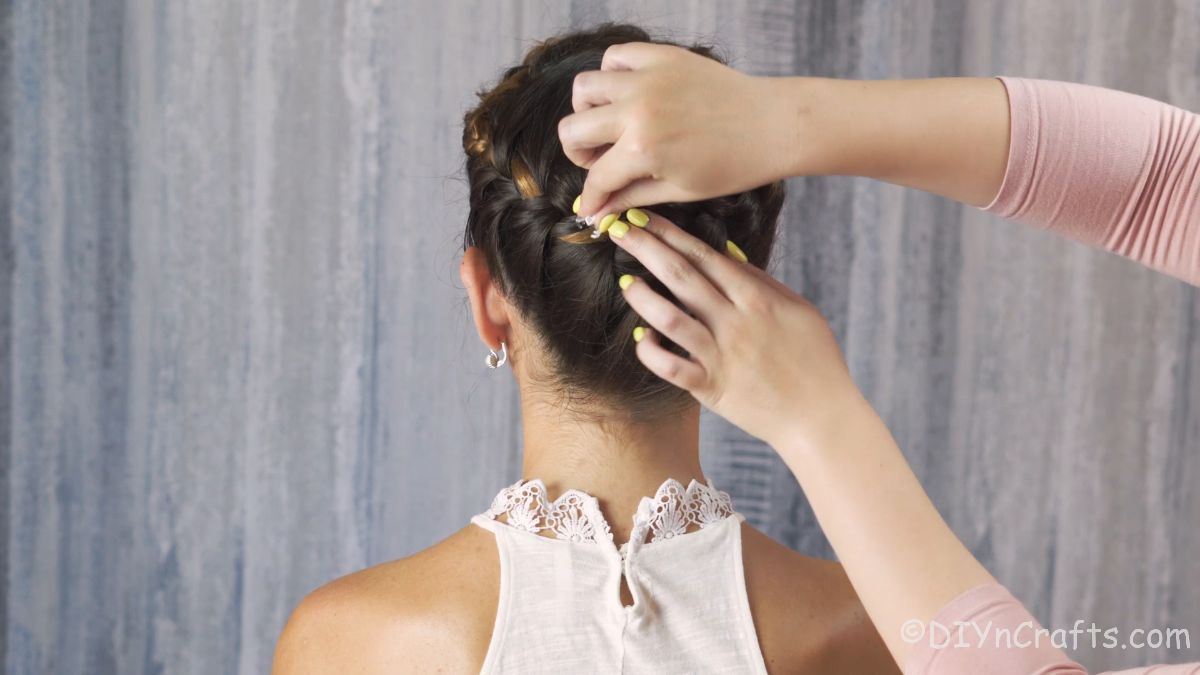
Now, use a hair needle or Topsy Tail tool to weave the end of the braid into the side of the hair that you started the French braid on.
Alternately, you can tuck this under and in the braid and pin it into place with bobby pins or hair pins. Just make sure all loose ends are under existing braids and not poking out the top.
Step 5
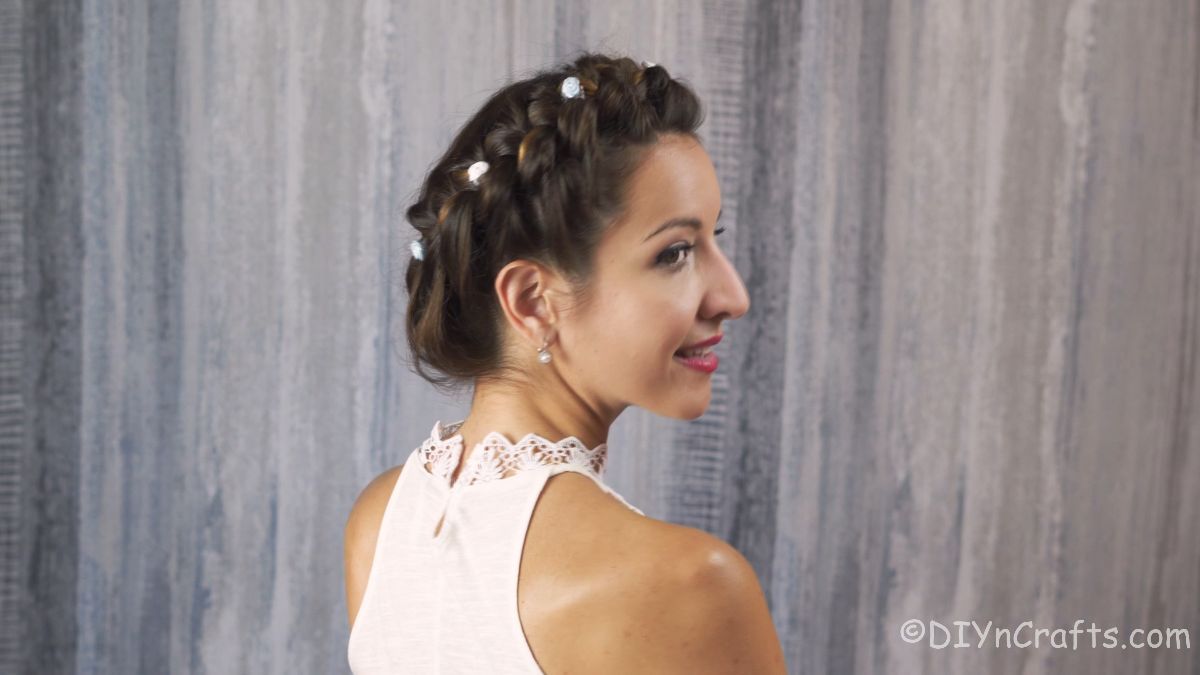
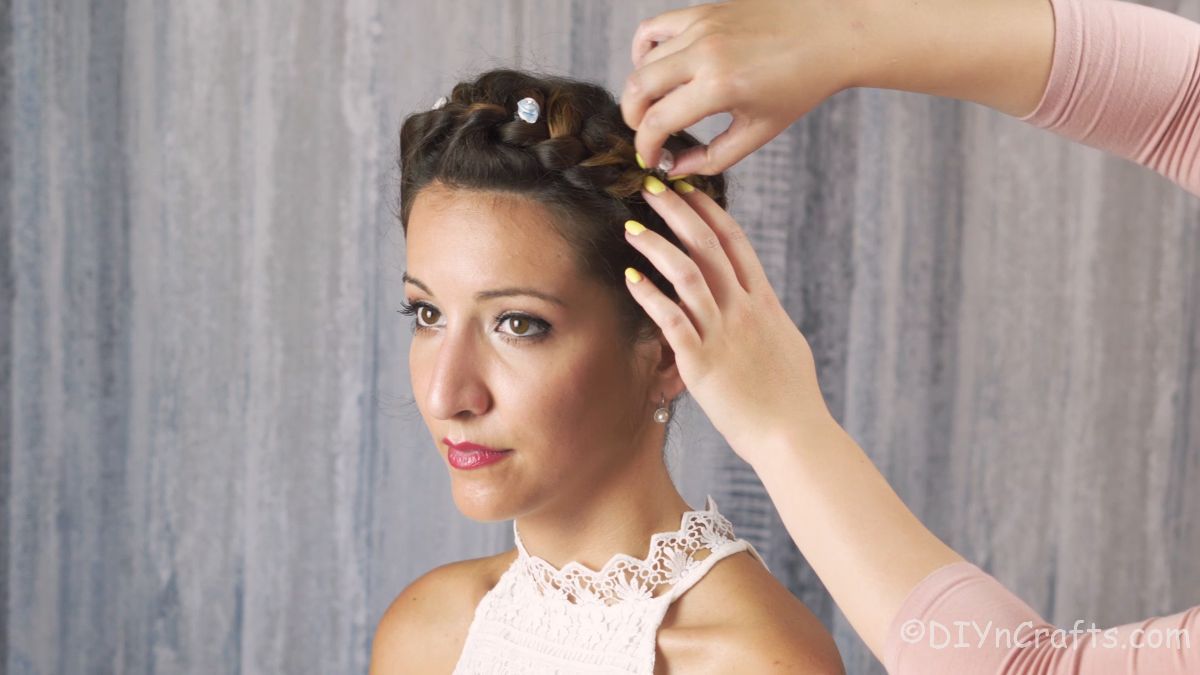
Once you are happy with the hair and how secure it is, you can decorate the braid with a few decorative bobby pins or fake flowers. Add one every 2" to 3" around your head until satisfied with the look.
How Do I Make Sure This Braid Stays in Place?
One of the things I hate about doing my hair is that it is super fine so want to fall out of a style super easily. This braided style can be done in a few minutes' time, but how long will it last? This is one style that you can wear all day, or for several hours, but I do not recommend trying to sleep in it overnight. Below are some tips to help you keep this in place all day long.
- Before you begin braiding, add mousse or gel to your hair. This will help hold it in place better and result in fewer flyaways.
- For a tighter braid, do this style with hair that has just been washed and is still wet. Apply gel or mousse while still damp then braid.
- Alternatively, do this style with dirty hair that has more oil and is less likely to fall out of the braid.
- Don't be afraid to use several bobby pins. Just get them in the color of your hair, and slide in extras for safety.
- Spray the look with quality hairspray.
- Just be careful to not touch your hair too much, put a hood over it, or wear a hat with this style.
The best tip for keeping this braid in place is to make sure you are weaving it tightly. This is not a loose braid but should be tight against your head. Use a comb to pull any shorter hairs up into the braid and spray with hairspray to hold if needed.
More Easy Braided Hairstyles
Braiding your hair is a wonderful way to look pulled together with minimal effort. While this style of French braid takes a bit more effort than some, we have some other great options for you to choose from. Below are some of my favorite styles that are easy to pull off and add to your hair routine. Take the time to bookmark these tutorials, print them out (with images), or just pin them to a hairstyle board on Pinterest. Keep them handy for the next time you want to braid your hair!
- Simple Braid with Ribbon Hairstyle
- Fishtail Ponytail Pigtails with Bow Accent
- Braided Crown Princess Hairstyle
- Braided Dual Top Knot Buns Half Up Hairstyle
- Easy Half Up Side Braids Hairstyle
Bohemian Crown French Braid Hairstyle
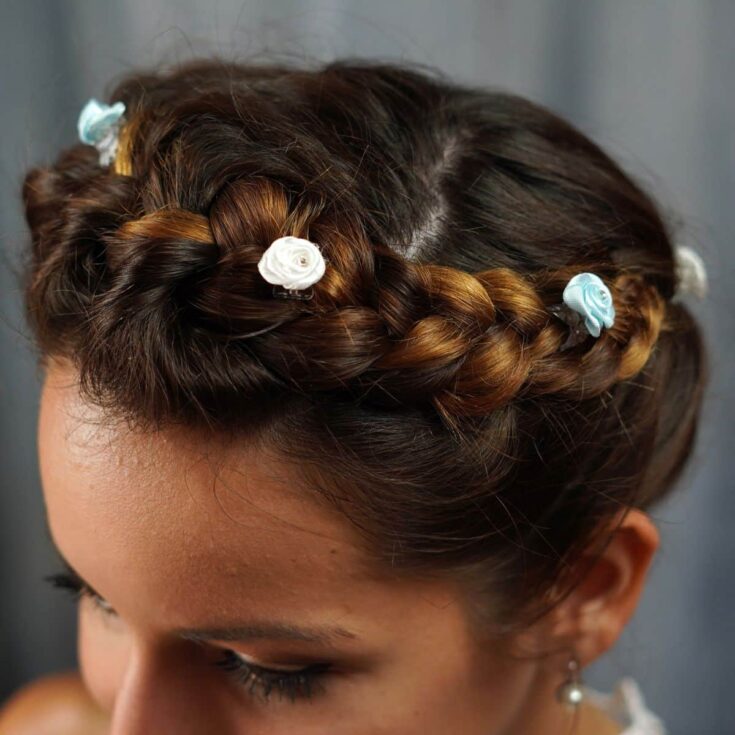
Create a Bohemian crown French braid with a few minutes of time and just a few tools needed. A gorgeous look for any event!
Materials
Tools
Instructions
- Comb your hair then part on the side. On the side of the part, begin at the temple creating a tight French braid that goes back and down below the ear.
- Once you reach the base of your neck, braid across and over to the other side, continuing the French braid by pulling a small section of hair in with the outer stands of each braid.
- Next, you will begin braiding up the opposite side and over the forehead and front. Once all of the loose hair has been incorporated, you will finish with a classic 3-strand braid.
- Tuck the end of the braid into the original side of the braid, or pin it into place.
- Add decorative bobby pins or fake flowers around the braid as desired.
Notes
For added effect, weave a ribbon throughout the braid to give pops of color.
Recommended Products
As an Amazon Associate and member of other affiliate programs, I earn from qualifying purchases.
-
 Multy-Colored Hair Ties for Thick Hair, 120 PCS Large Hair Elastics, No Damage Ponytail Holders for Women, Men and Girls
 -
 8 Pcs Big Satin Hair Bows for Women Girls, 8 Inch Large Bow Hair Clip Barrette Hair Ribbon Bows French Style Hair Accessories
 -
 LilMents 12 Mixed Designs Satin Head Hair Handbag Handle Highlights Scarf Tie Lot (Solid Colors A)
 -
 Youxuan 1000-Pack Elastic Hair Ties Non-slip Rubber Hair Bands for Girls, Clear
 -
 Bartosi Star Hair Pins Rhinestones Hair Clips Crystal Hair Barrettes Decorative Bobby Pin Fashion Hair Pieces Hair Accessories for Women and Girls (Pack of 4)
 -
 WSYUB 10Pcs Topsy Tail Tools, Hair Tools Braid Accessories Ponytail Maker for Girs, French Braid Tool Loop for Hair Styling, 5 Colors



Leave a Reply