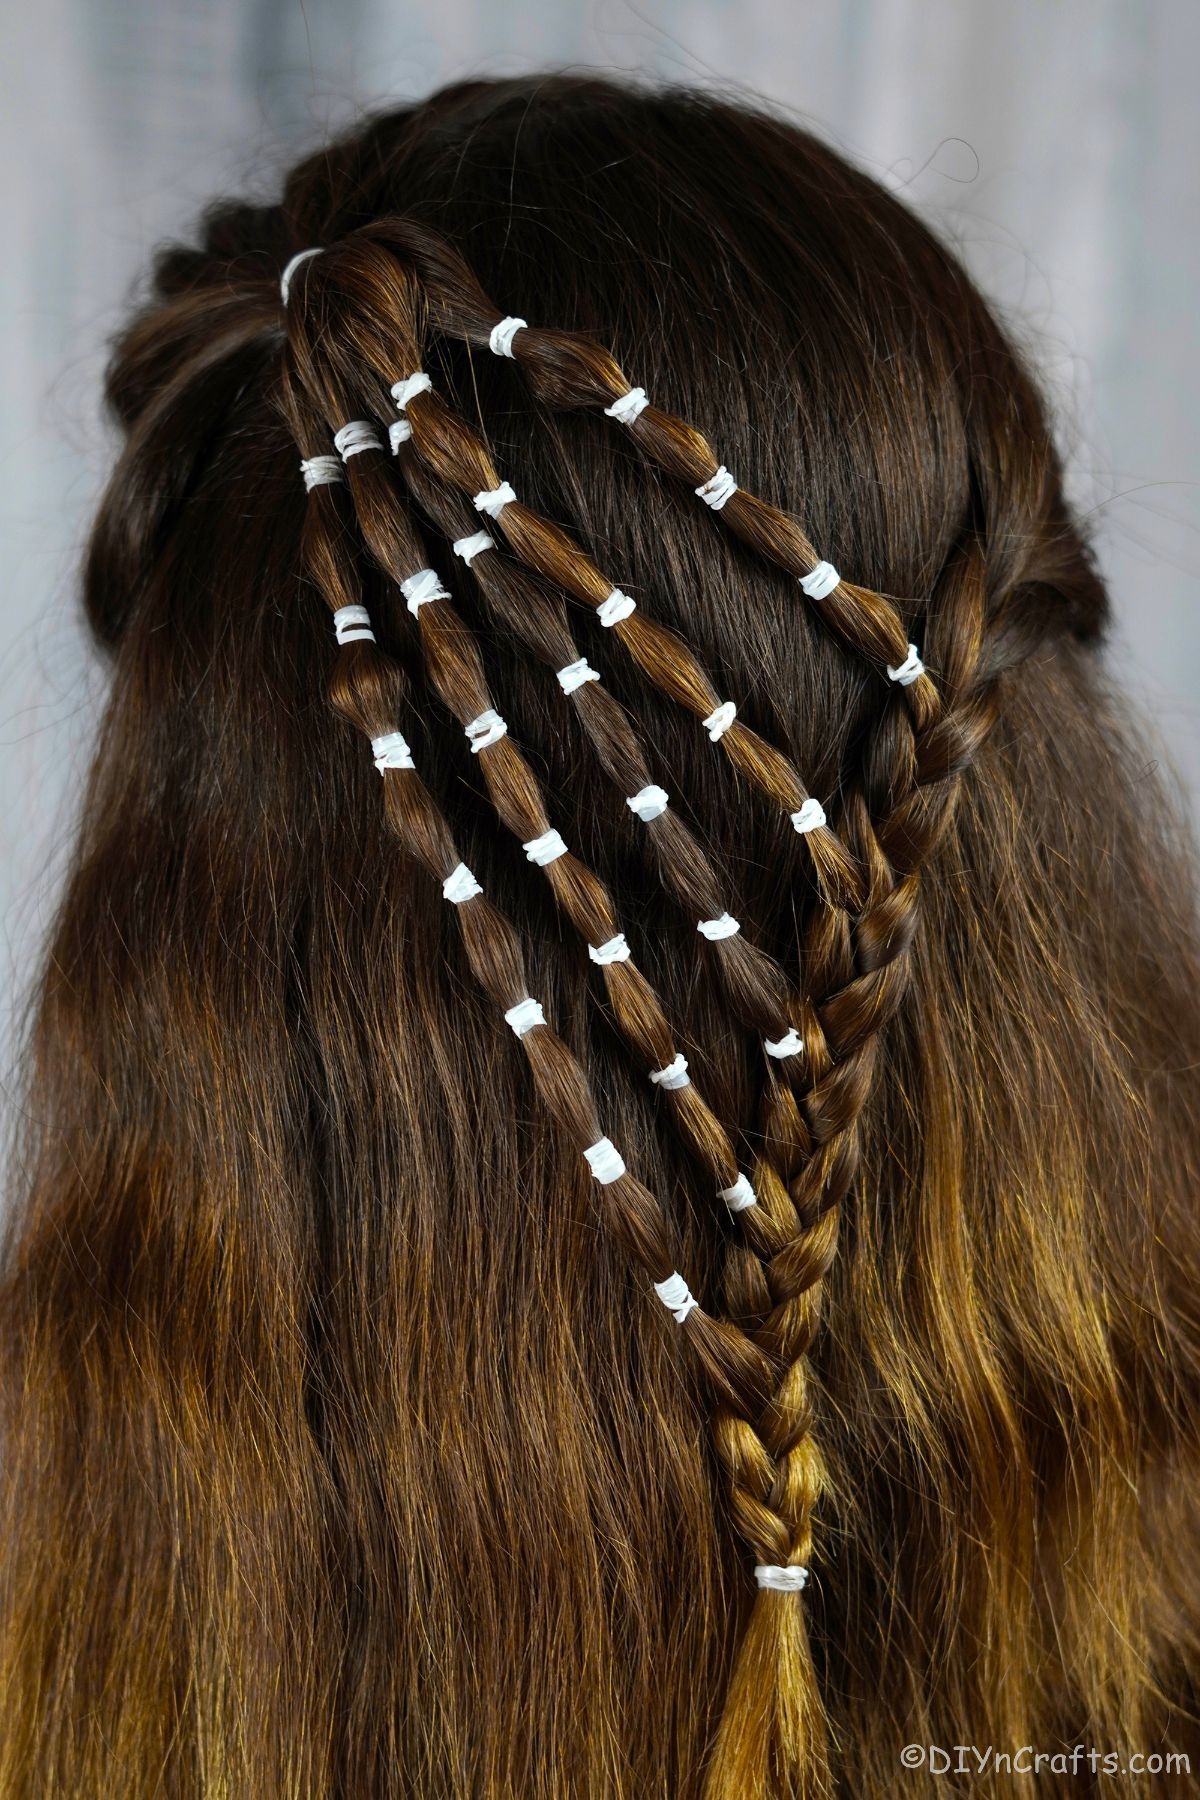
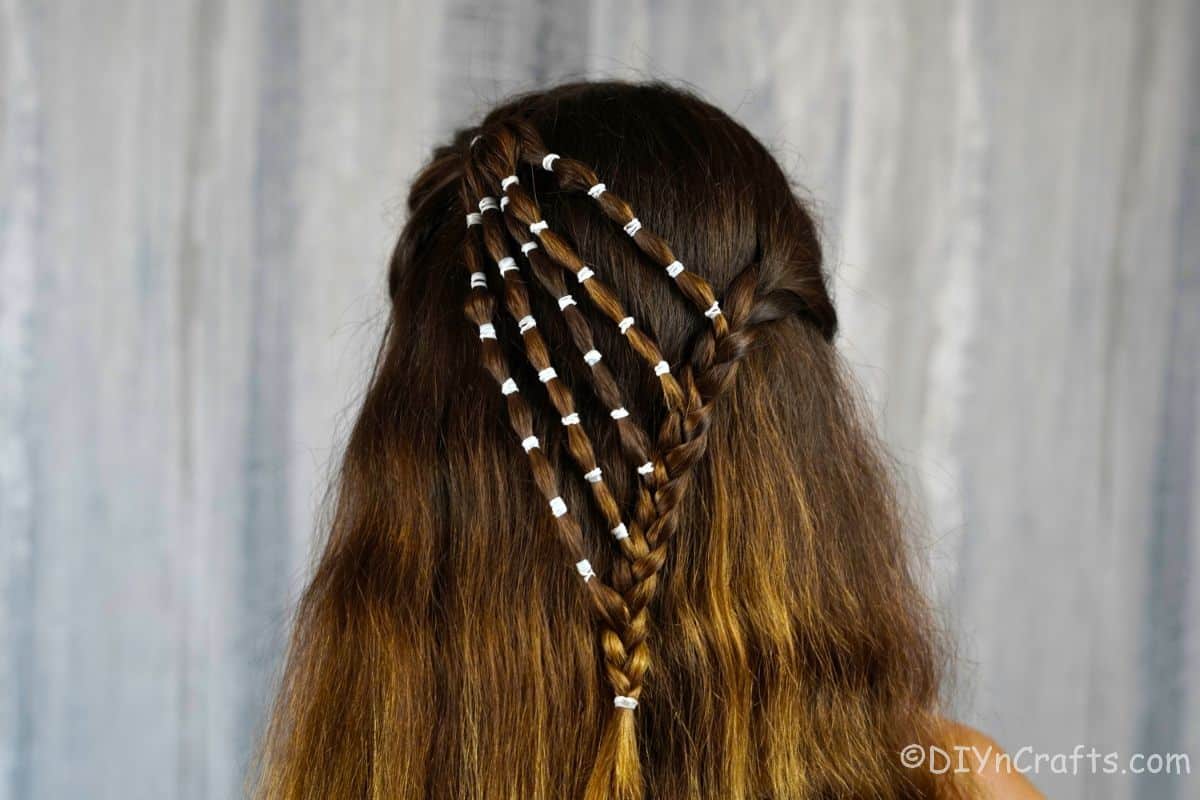
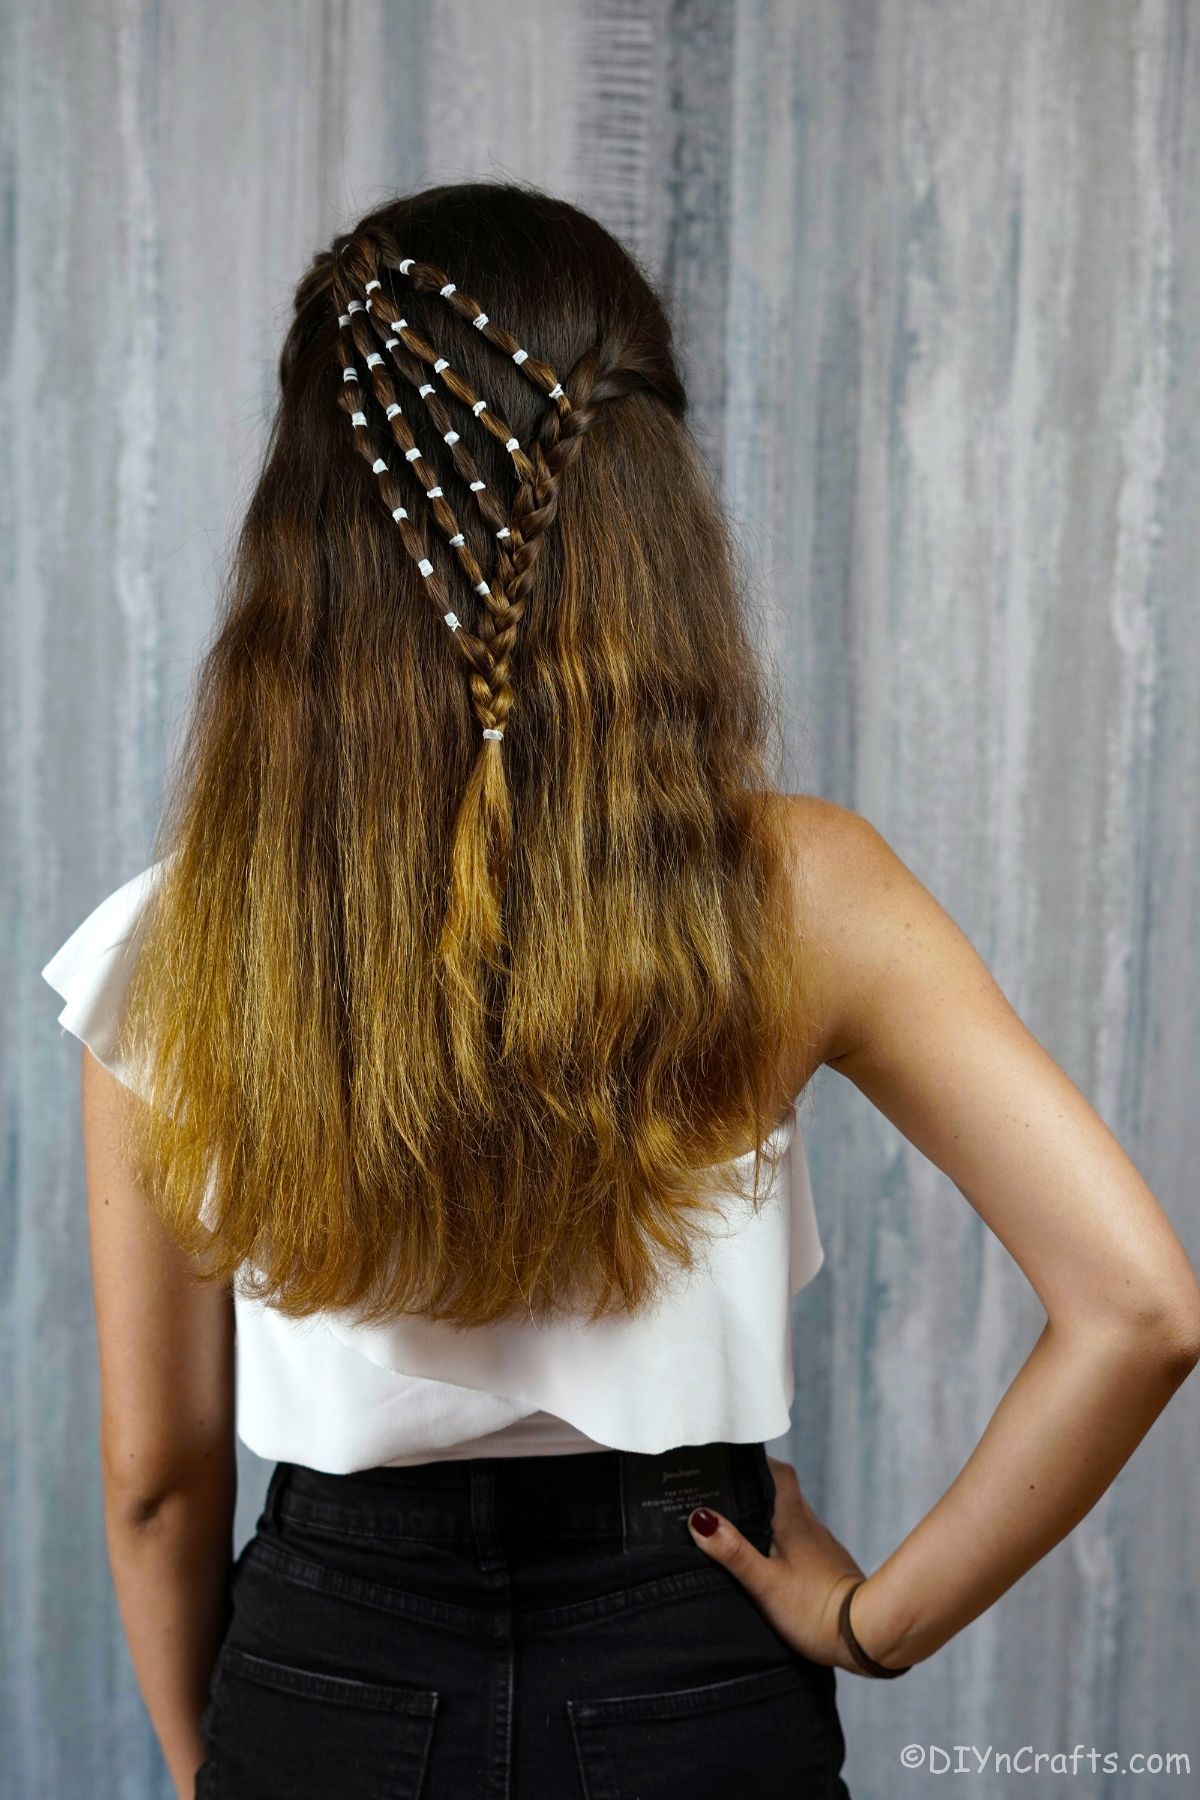
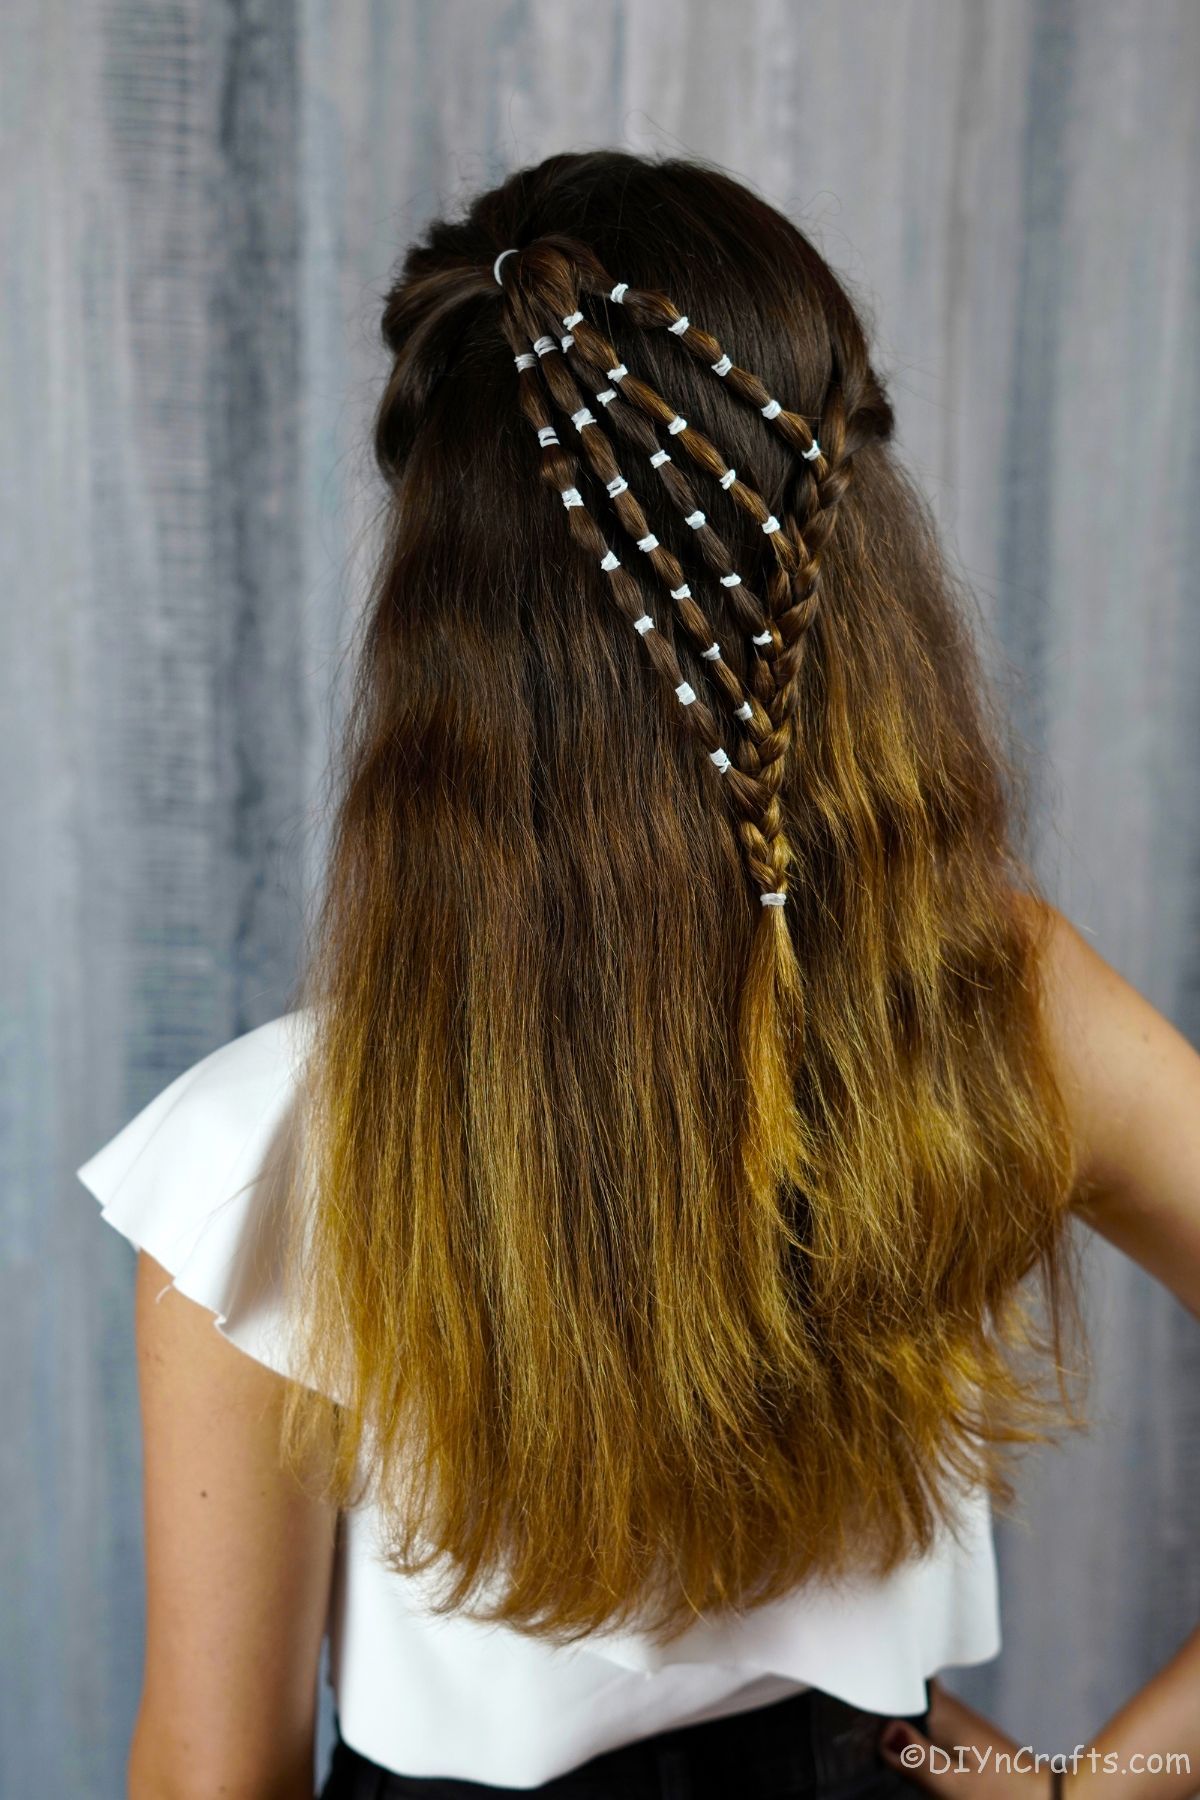
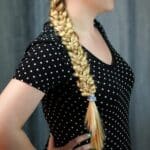
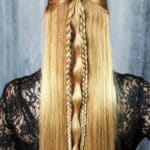
A waterfall bubble braids hairstyle is an adorable addition to your hair routine. This is ideal for short, medium-length, or long hair. Since it can be adapted to your unique hair easily, it's a great choice for anyone to wear. I especially love this as a hairstyle for bridesmaids at a wedding. The look is all the same, but a unique per person! How cool is that?
Waterfall Bubble Braids
Bubble braids are one of my favorite styles, but this design includes them with the classic waterfall braid. A waterfall braid is just a fun version of a French braid. Adding in smaller braids on the ends of the portions gives it even more texture creating a look unlike any other. You are sure to love how this turns out, no matter your hair length or texture.
If you are looking for something unique that doesn't take as long to put together, check out our list of 5-minute hairstyles. We also have a huge list of ponytail tutorials that can turn the boring style into an event-worthy look.
What Do I Need to Create Waterfall Bubble Braids
This hairstyle requires just a few items. Mostly you will need hair ties. For this one, I recommend using the smaller non-slip hair bands. Depending upon your preferences, you can use colored ones or clear ones. Additionally, while not used in the final look, having some bobby pins on hand can be helpful for keeping hair separated and out of the way.
Waterfall Bubble Braids Tutorial
This hairstyle works great with any length or texture of hair. Another benefit is that it works great with both clean hair and dirty hair. I like doing braids like this the day or two after a hair wash. It helps hold the hair in place and has fewer flyaways.
Start by combing out your hair and making sure you have it completely detangled. Our model has a side part, and that looks great with this braid. However, if you prefer, you can have a middle part for this style. Do what is most comfortable for you.
Step 1
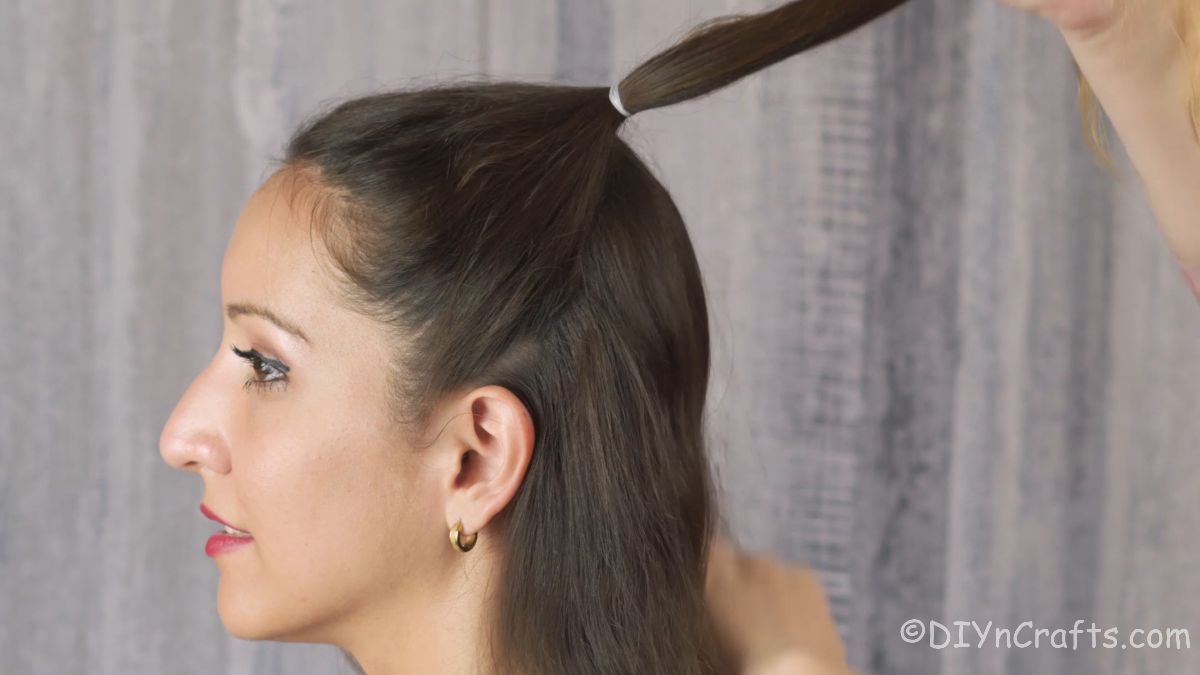
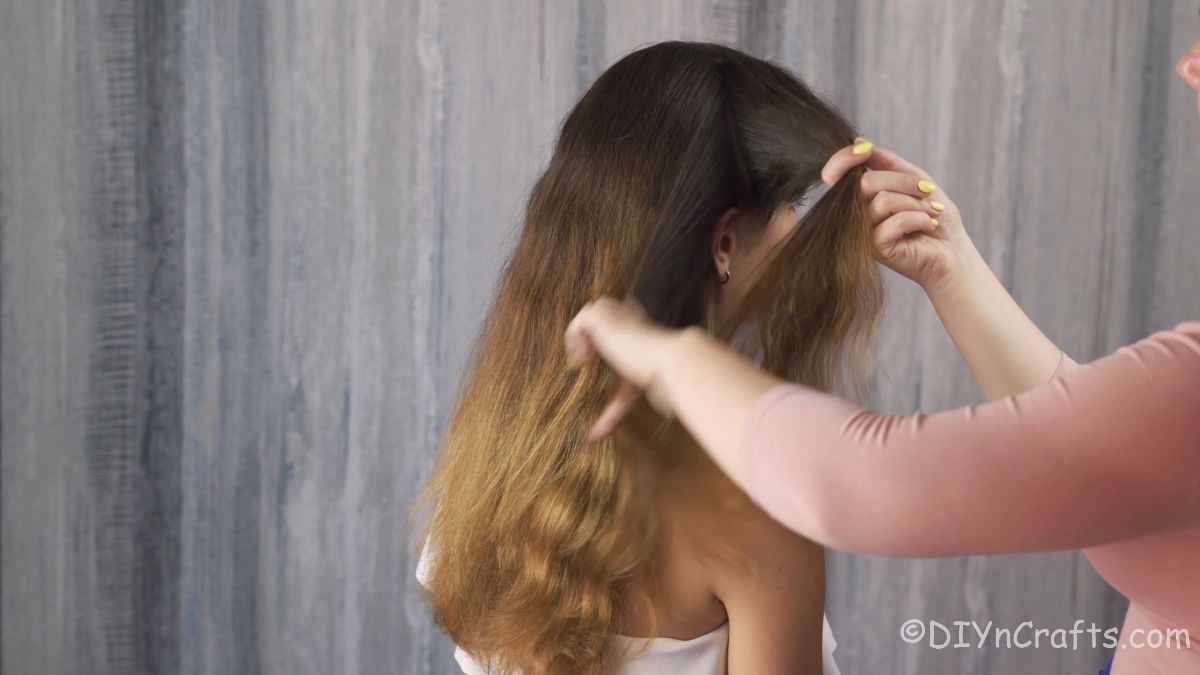
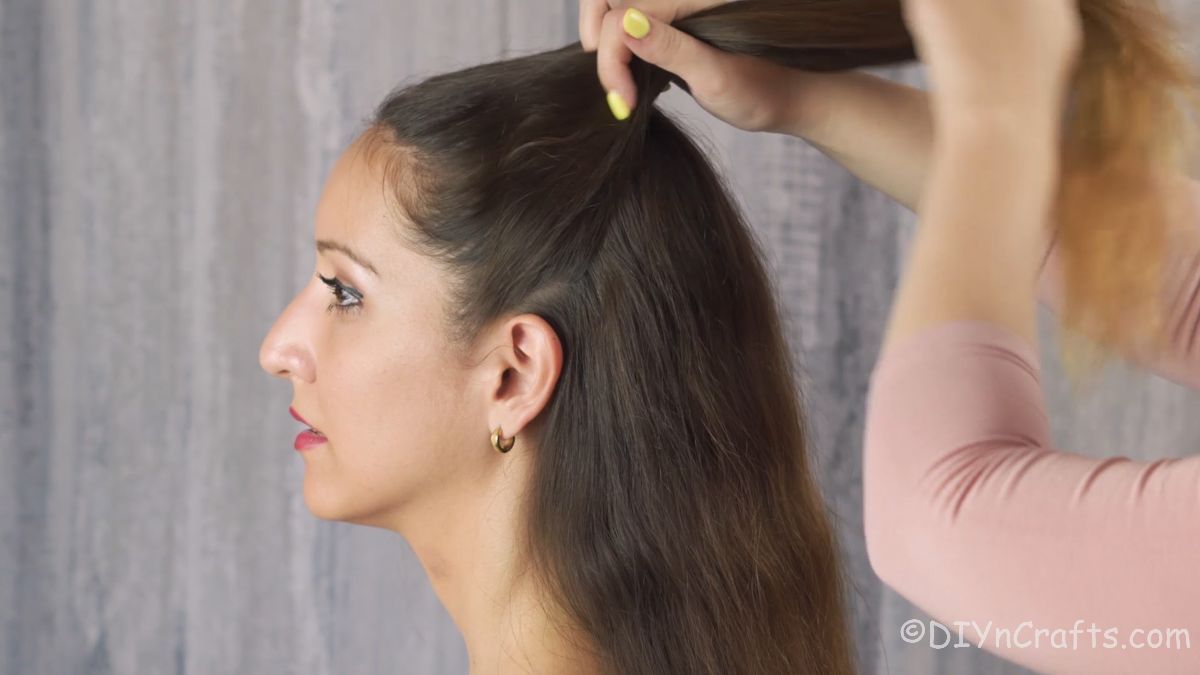
On the side opposite the part in your hair, pull back the hair from the part over to just behind your ear.
Secure this with a hair tie as a half-up side ponytail. Your braid will begin on this side and be the longer portion, so go ahead and tidy up the edges and smooth this back if needed.
Step 2
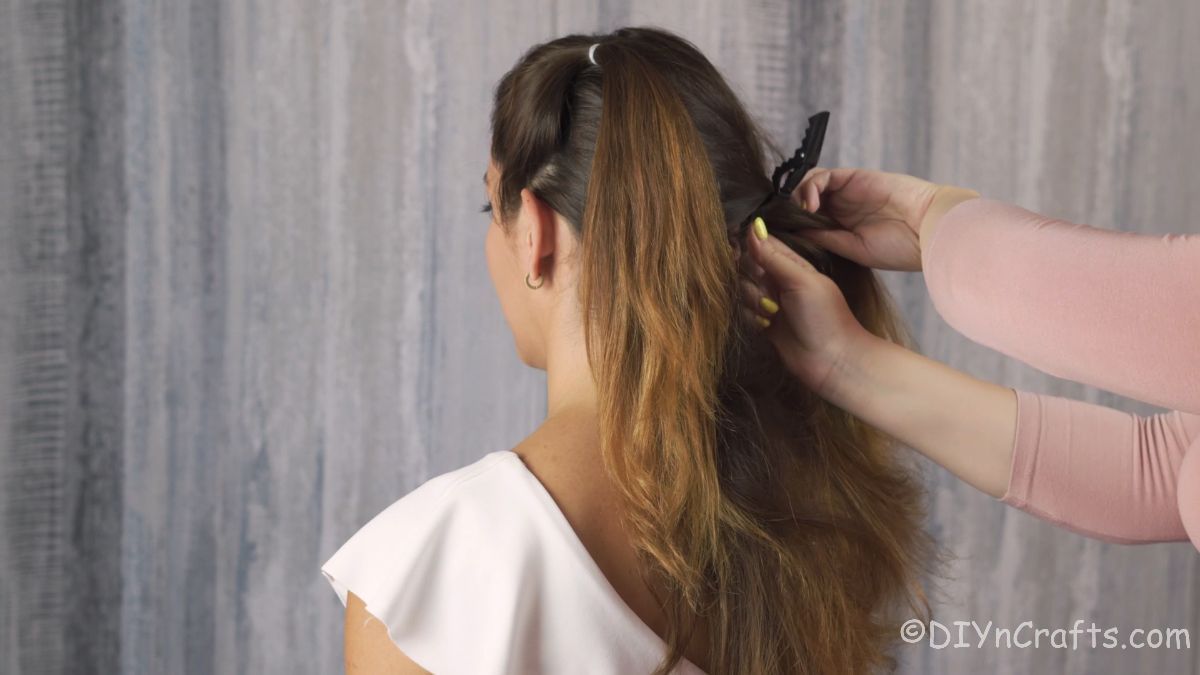
Now, pull the hair from underneath and on the opposite side, over to the side without the ponytail. Clip this out of the way until later. This will help keep your braids and the waterfall look easier to manage.
Step 3
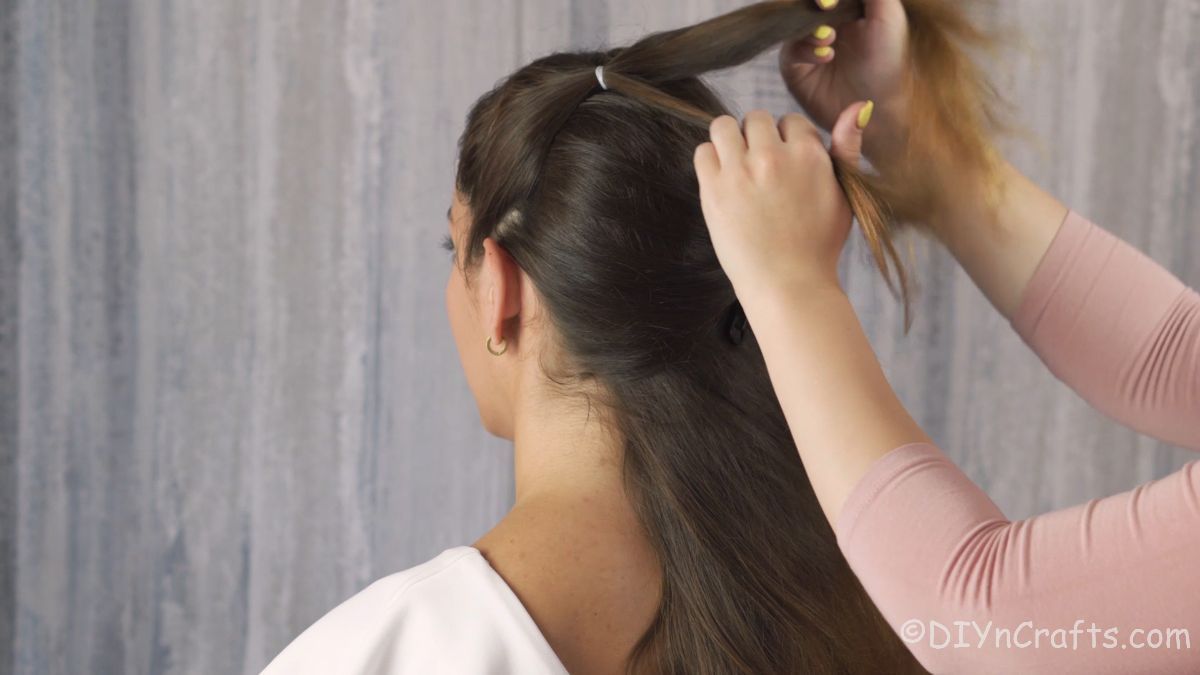
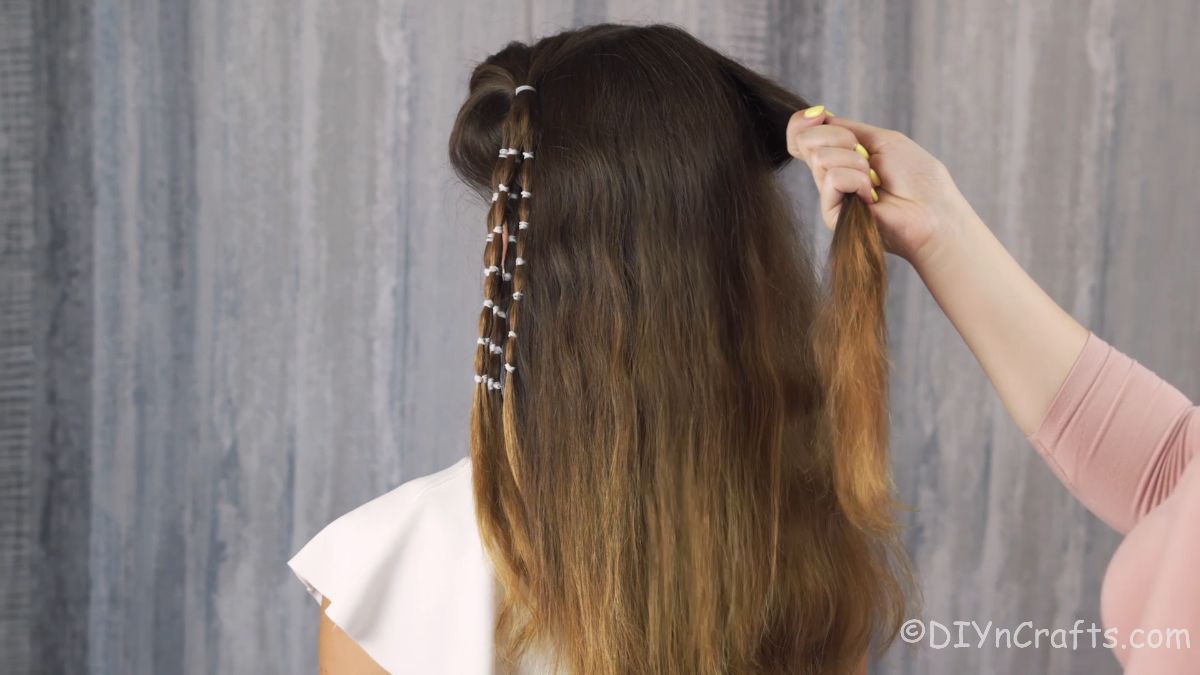
Next, you will begin adding bubble braids and the waterfall look to the style. Begin by dividing the ponytail hair into 5 sections. These will be small sections that will be turned into "bubble" braids.
Now, starting with the section on the outside end, add a hair band about 1" below where the main ponytail is in place.
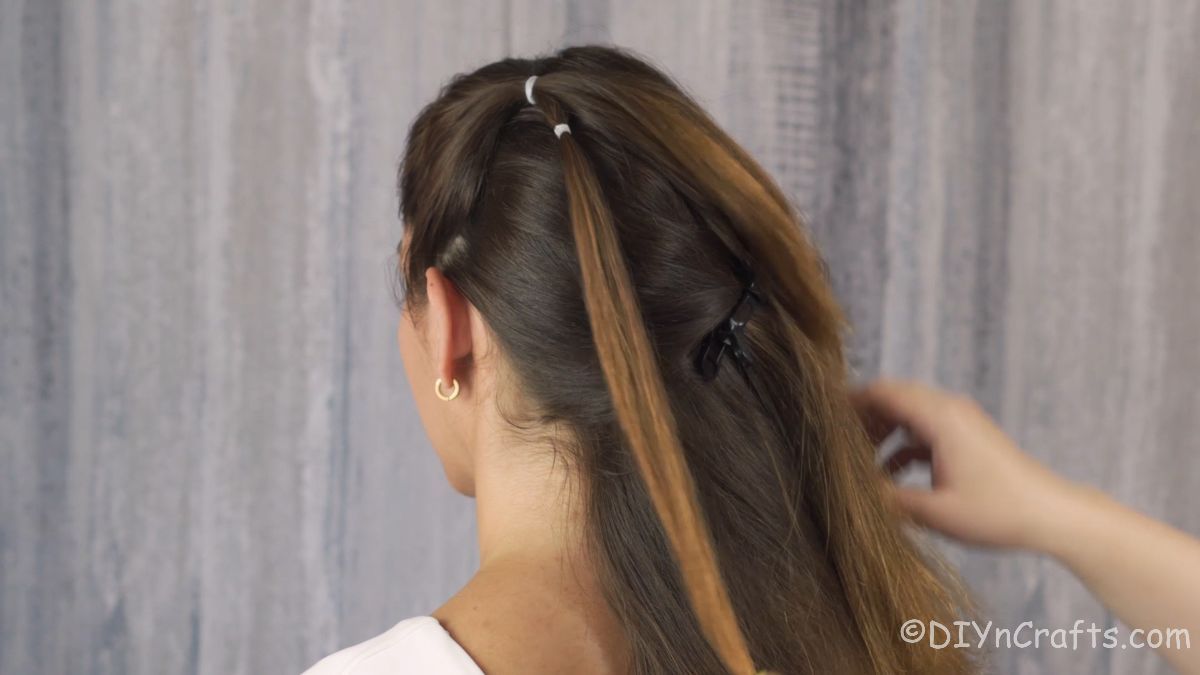
Then, every ½" until about ¾ of the way down the braid, you will add another hair tie.
Now, repeat this same process with the other four sections of that ponytail. Remember, you are only wrapping the hair you pulled back and not anything laying underneath or to the side of the braids.
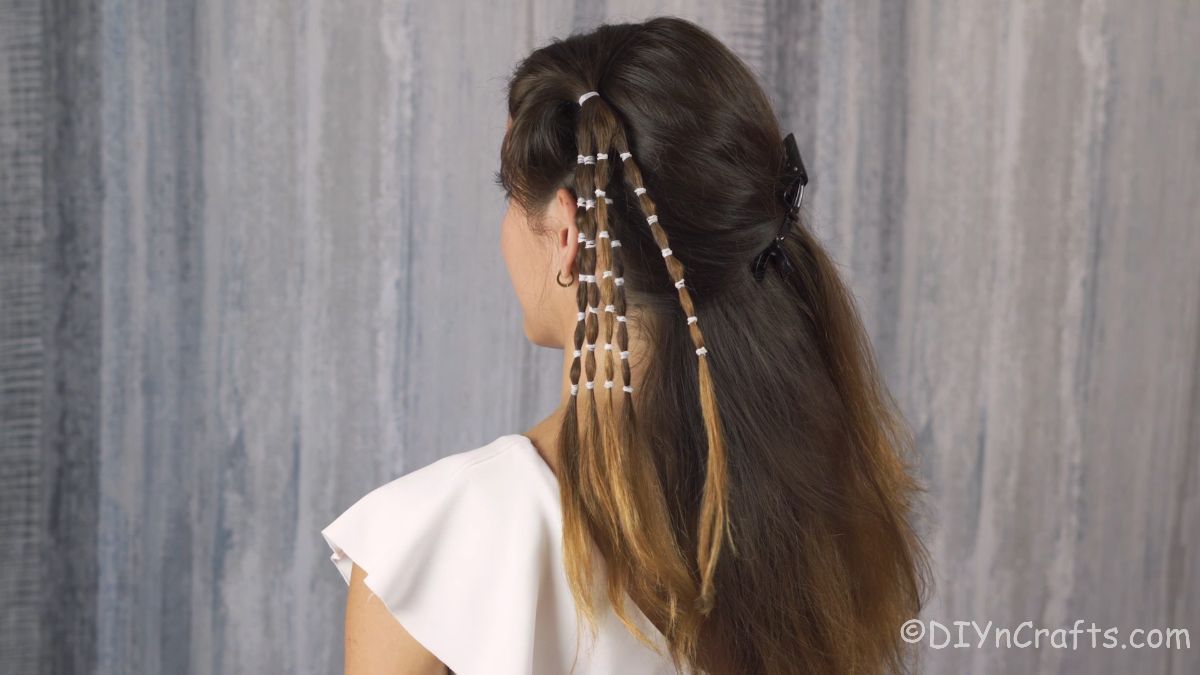
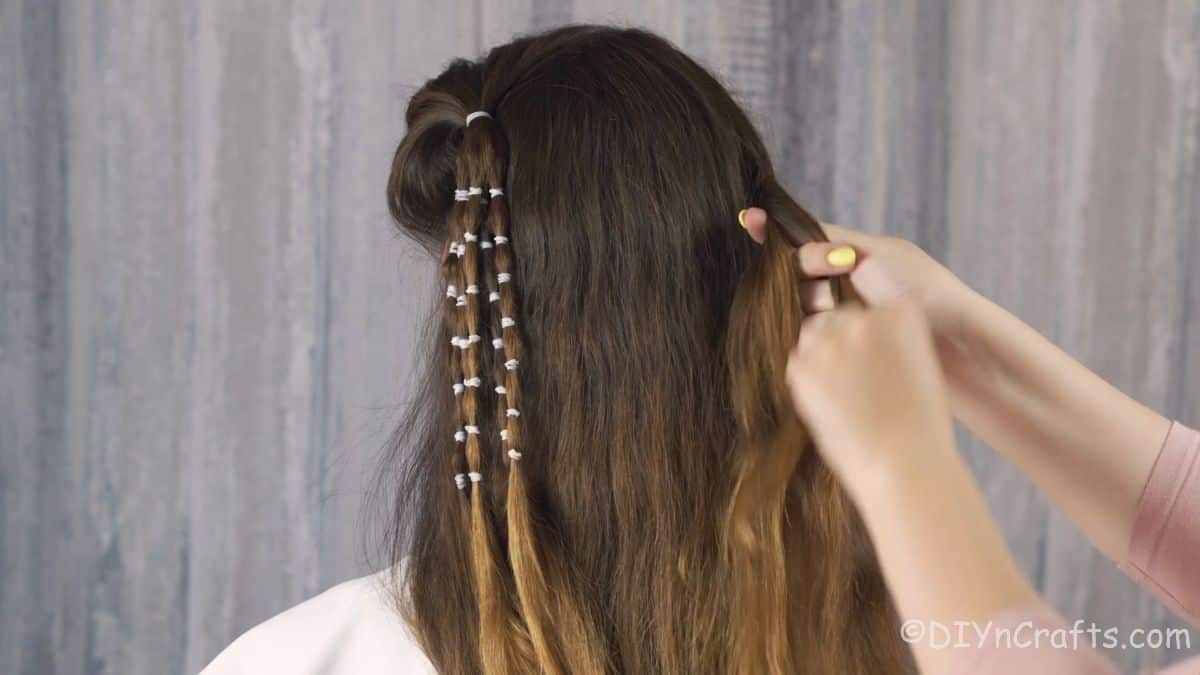
When done, you will have 5 small bubble braids hanging down from the half-up partial ponytail you made.
Step 4
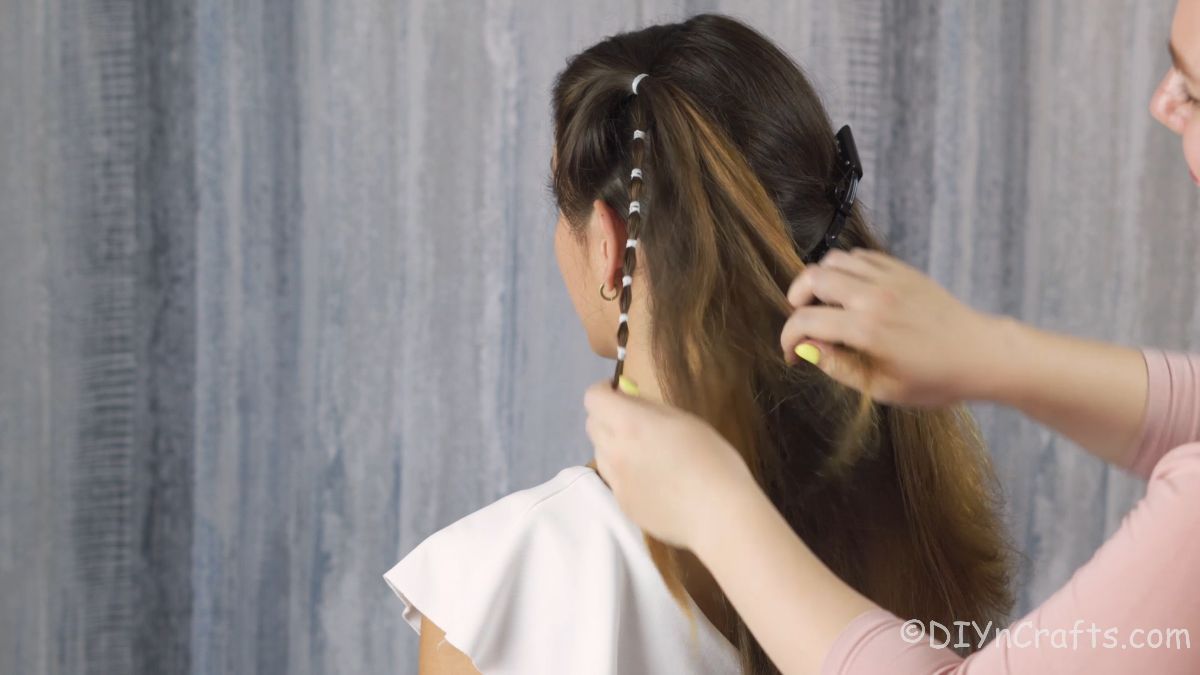
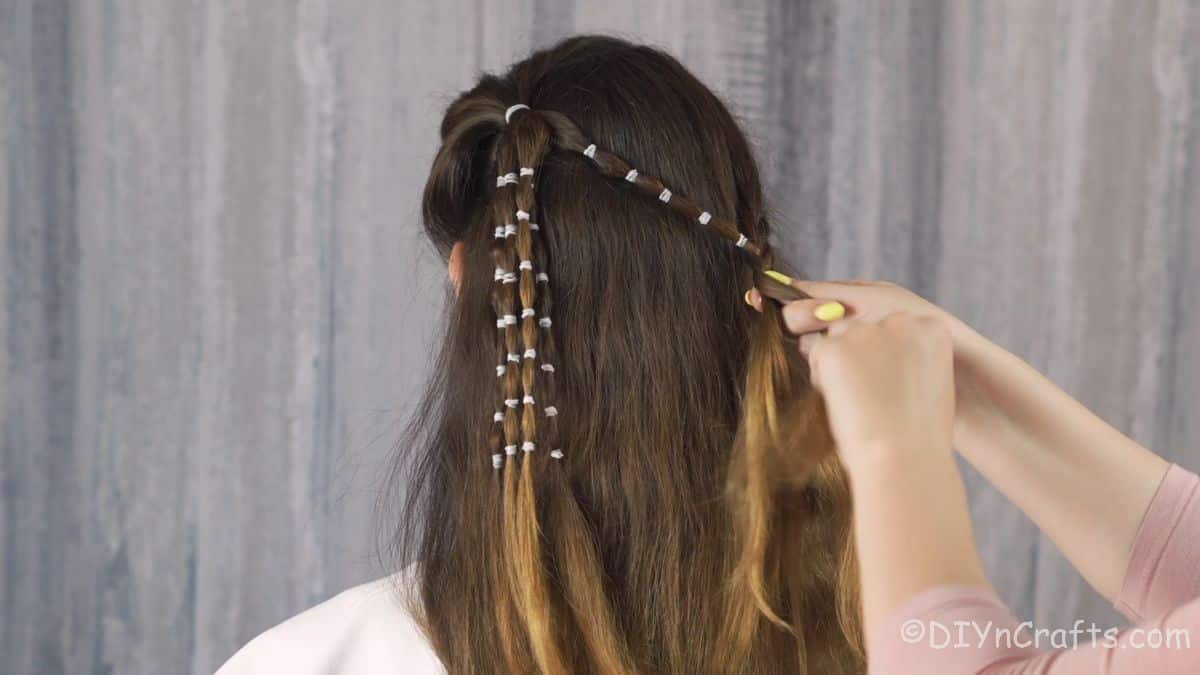
Once all of the bubble braids are done, you will move to the other side of your head. Unclip the hair, and then pull the front section of hair, from the ear forward to the back. Use the hair on the side from the part down to the ear/edge of your hairline.
Step 5
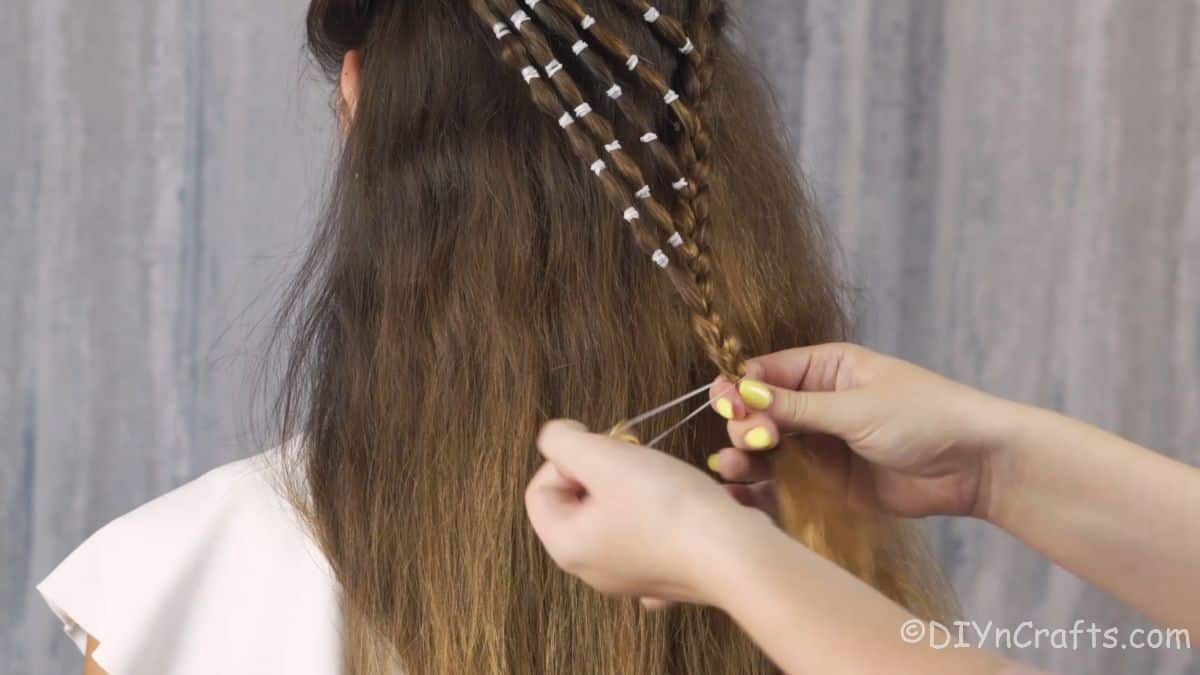
Separate this into three sections and braid once.
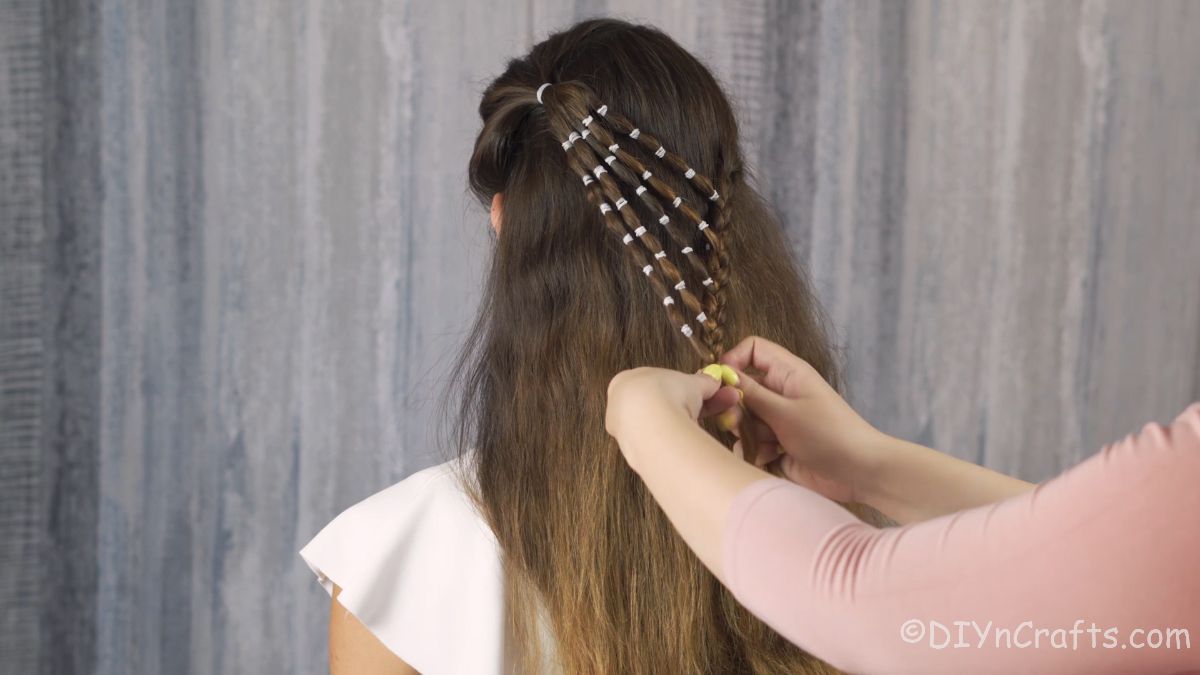
Then, pull the bubble braid that is closest to you, toward the braid you just started. Braid the ends of that braid into the original braid.
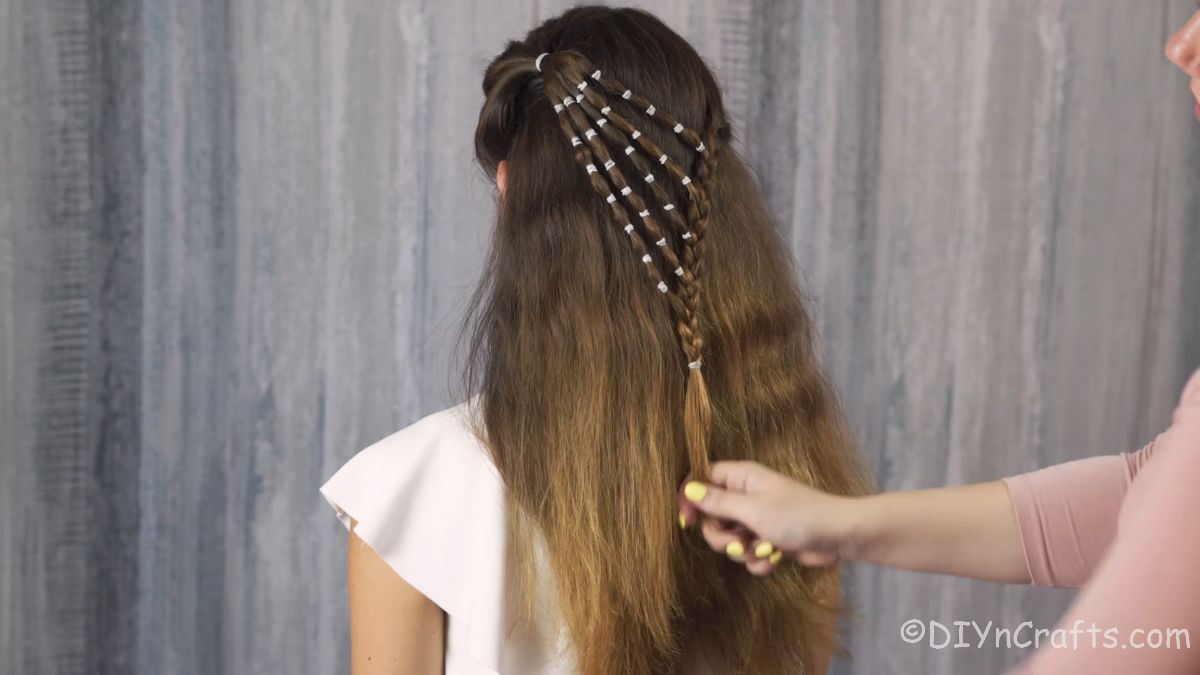
Continue this process, adding another of the bubble braids each time you cross over for another braid.
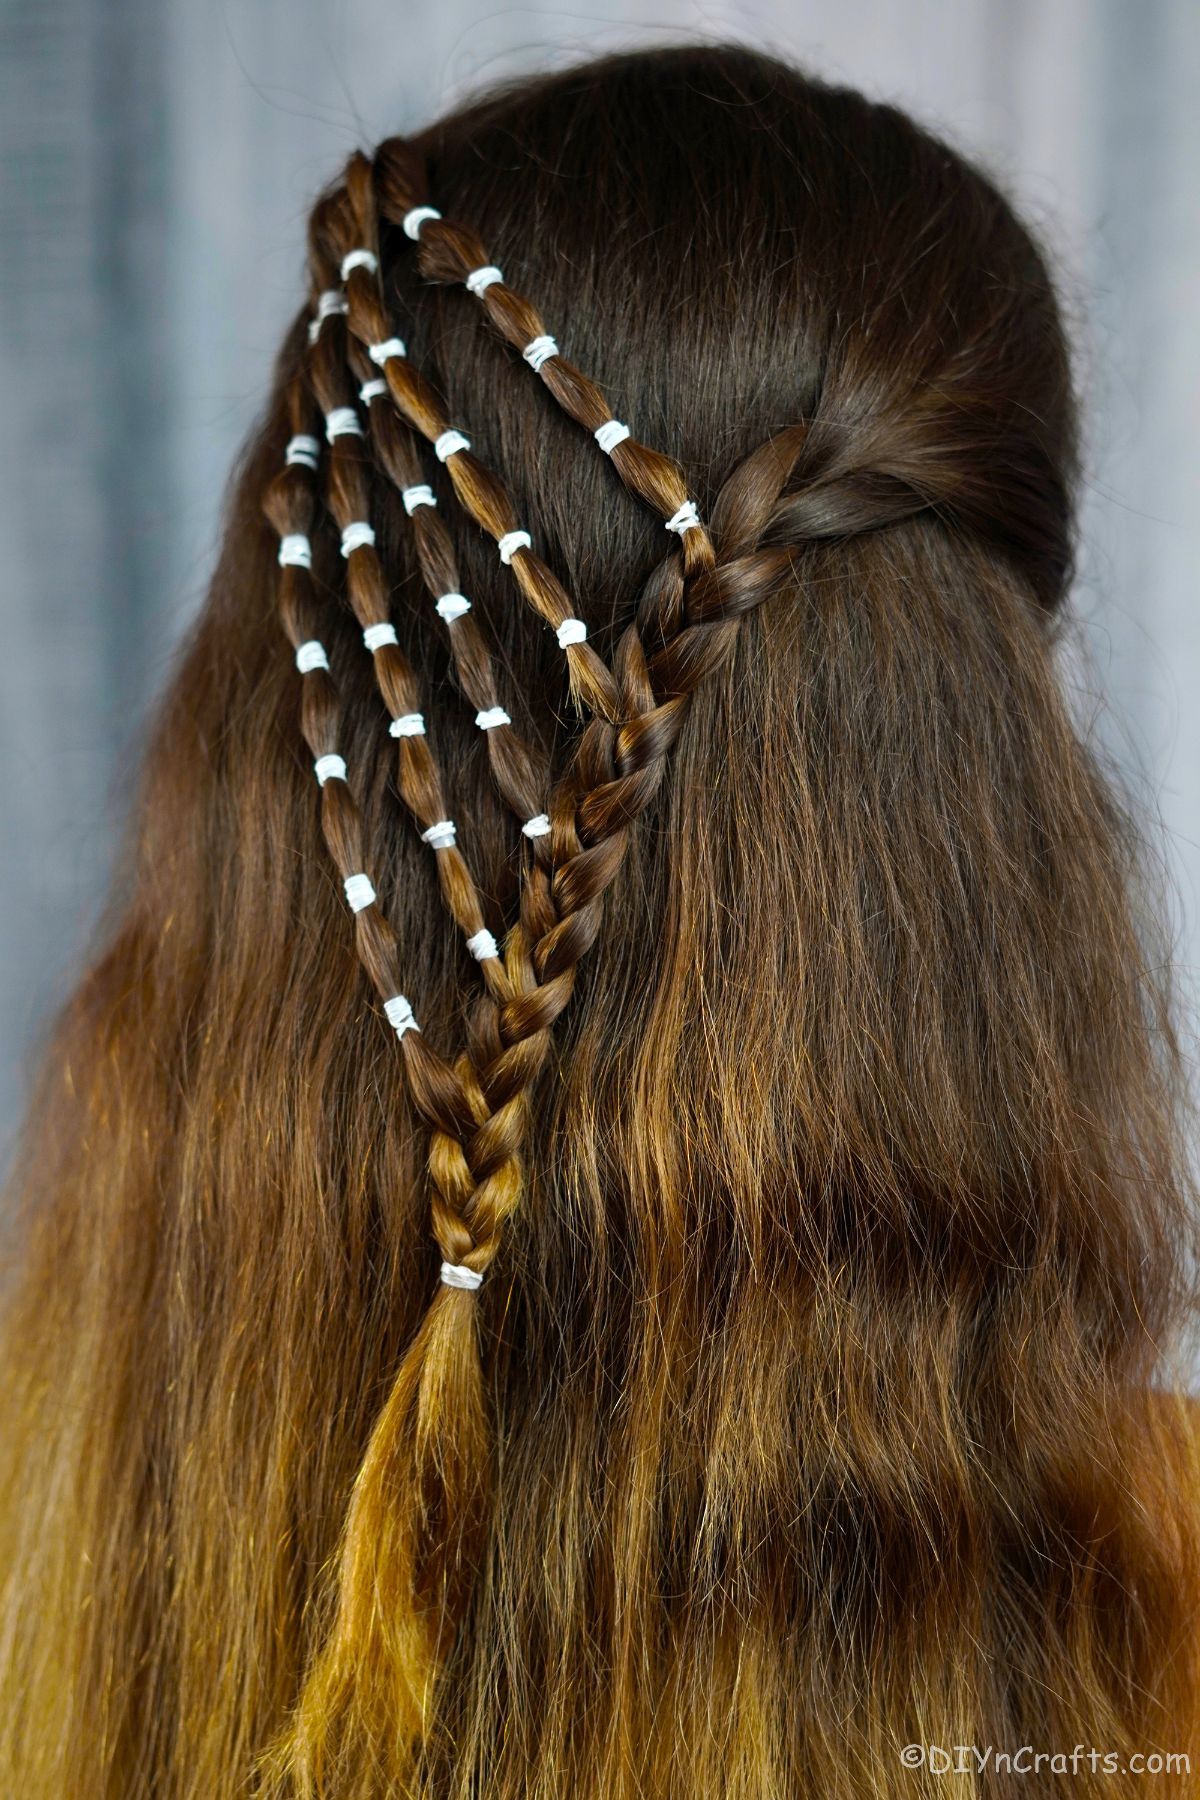
Once you have added all five mini braids into the main side braid, you will secure it at the end with a hair band.
Tips For Making Waterfall Braids
A waterfall braid is a unique version of a French braid. It is in fact, a French braid where part of the hair is left to cascade down your back or hair. It seems super tricky, but it's actually a very simple process. If you are worried about doing this, below are some easy tips for making sure your braid works out great.
- Make sure your hair has been combed or brushed out and has been detangled. For extra ease, I recommend using a smoothing product if you are doing this with curly or wavy hair.
- Gather all of your supplies up and have them on hand. Since you are adding multiple small hair ties and multiple braids, you will need to have a bunch of them on hand. For this braid, the tiny rubber or elastic bands are best.
- Grab some extra bobby pins or small clips to help hold hair out of place as you work the waterfall braid.
- Don't rush the process. While it isn't a hard style, it does take some attention. Do this when you have time to practice first, or when you have plenty of time and no distractions.
More Easy Hairstyles
If you want to add something unique or new to your hairstyle routine, look no further. I have long hair and am always looking for a new way to put my hair up. Below are some of my personal favorite hairstyles that include tons of unique methods for medium or long hairstyles. If you like these, make sure to bookmark them. You can also print out the tutorials or even pin them to a hairstyle board on Pinterest to make soon!
- Elegant Braided Side Ponytail Hairstyle
- Single Twist Half-Up Prom Hairstyle
- Braided Dual Top Knots Half-Up Hairstyle
- Spring Inspired Half Up Half Down Hairstyle
- Half Up Half Down Hairstyle Tutorial with a Twist
- Easy Bubble Braids Festival Hairstyle
- Lazy Day Knot Braid Hairstyle
Cute Half Up Waterfall Bubble Braids Hairstyle
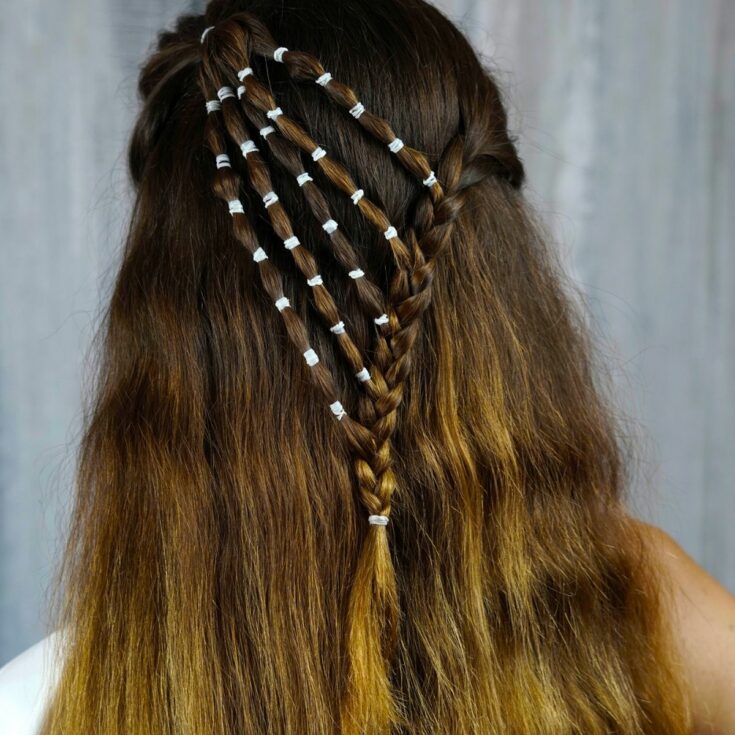
This half up waterfall bubble braids hairstyle is an adorable look that is super easy to create and ideal for any length hair!
Materials
Instructions
- Part your hair on the side. Then, pull the front and top section of the hair on the larger side of the part backward into a ponytail above the ear.
- Then divide this ponytail into 5 sections, and clip all of the other hair out of the way.
- Add a hair tie every ½" down the section until you have added several and are about ¾ of the way down the hair.
- Repeat this with all 5 sections.
- Then unclip your hair and pull the front section on the opposite side back and begin a single three-strand braid.
- Now, as you would with a French braid, on the next cross-over of that braid, pull at the end of one of the dangling bubble braids.
- Repeat this process adding a bubble braid to each new cross-over on the braid. Then, finish braiding the hair to the end and tie it to secure it.
Notes
If you prefer, the individual bubble braids can simply be smaller braids without the bubles.
Recommended Products
As an Amazon Associate and member of other affiliate programs, I earn from qualifying purchases.
-
 8 Pcs Big Satin Hair Bows for Women Girls, 8 Inch Large Bow Hair Clip Barrette Hair Ribbon Bows French Style Hair Accessories
 -
 LilMents 12 Mixed Designs Satin Head Hair Handbag Handle Highlights Scarf Tie Lot (Solid Colors A)
 -
 Crave Naturals Glide Thru Detangling Brush for Adults & Kids Hair - Detangler Hairbrush for Natural, Curly, Straight, Wet or Dry Hair (TURQUOISE)
 -
 The Honest Company Conditioning Hair Detangler | Leave-in Conditioner + Fortifying Spray | Tear-free, Cruelty-Free, Hypoallergenic | Sweet Orange Vanilla Everyday Gentle, 4 fl oz
 -
 Youxuan 1000-Pack Elastic Hair Ties Non-slip Rubber Hair Bands for Girls, Clear
 -
 Bartosi Star Hair Pins Rhinestones Hair Clips Crystal Hair Barrettes Decorative Bobby Pin Fashion Hair Pieces Hair Accessories for Women and Girls (Pack of 4)




Leave a Reply